Two-point white balance calibration adjusts the display’s color temperature at both the bright end and the dark end of the grayscale. This is done using two sets of RGB controls:
- Gain controls (Red Gain, Green Gain, Blue Gain)
- These affect the high-brightness portion of the grayscale and function like individual Contrast controls for each primary color.
- Sometimes referred to as Drive, High, or Contrast
- Offset controls (Red Offset, Green Offset, Blue Offset)
- These affect the low-brightness portion of the grayscale and function like individual Brightness controls for each primary color.
- Sometimes referred to as Cutoff, Bias, Low, or Brightness
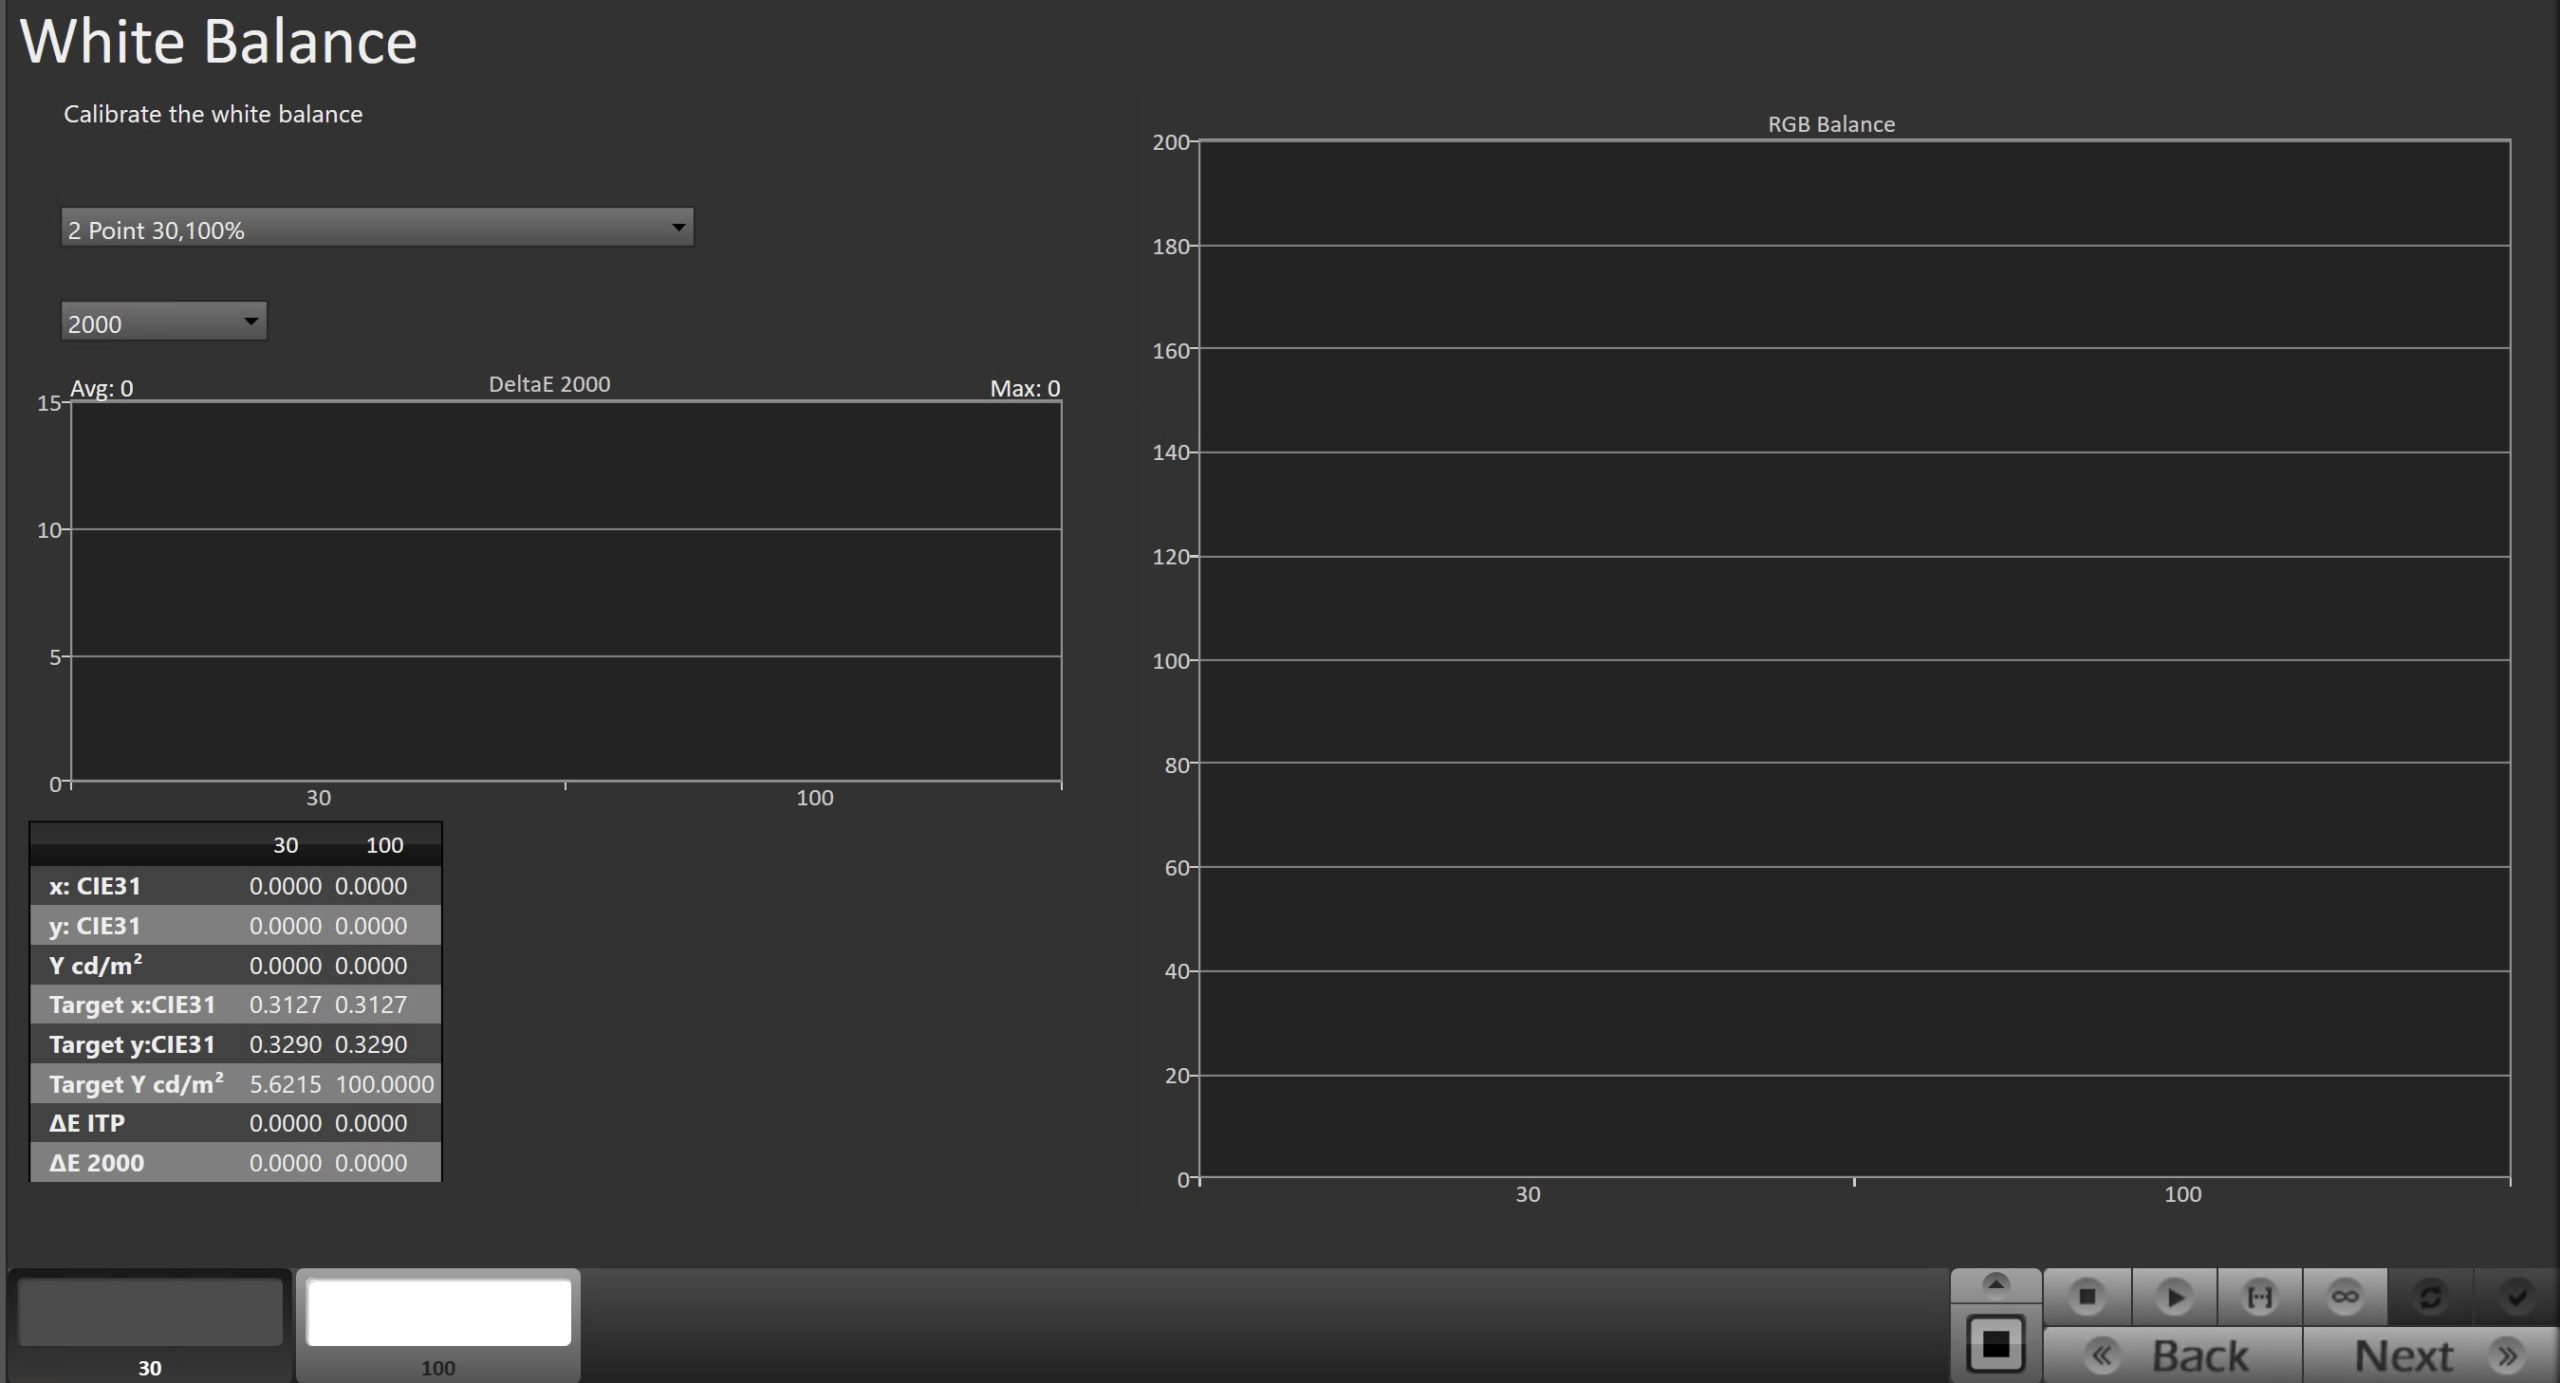
Two-point grayscale calibration adjusts a display’s white balance at two brightness levels: a high level (typically between 70% and full-white) using the Gain controls, and a low level (typically 20–30%) using the Offset controls. High- and low-brightness test patterns are measured, and the red, green, and blue channels are adjusted to match the target white or gray as closely as possible at these two points. The TV’s inherent linearity then determines white balance accuracy across the rest of the grayscale, though tracking errors are usually larger at the very dark and very bright ends.
Two-Point Grayscale Calibration Procedure
- Prepare the Meter and Test Pattern Source
- Ensure your meter and test pattern source are properly configured in Calman and connected to the display.
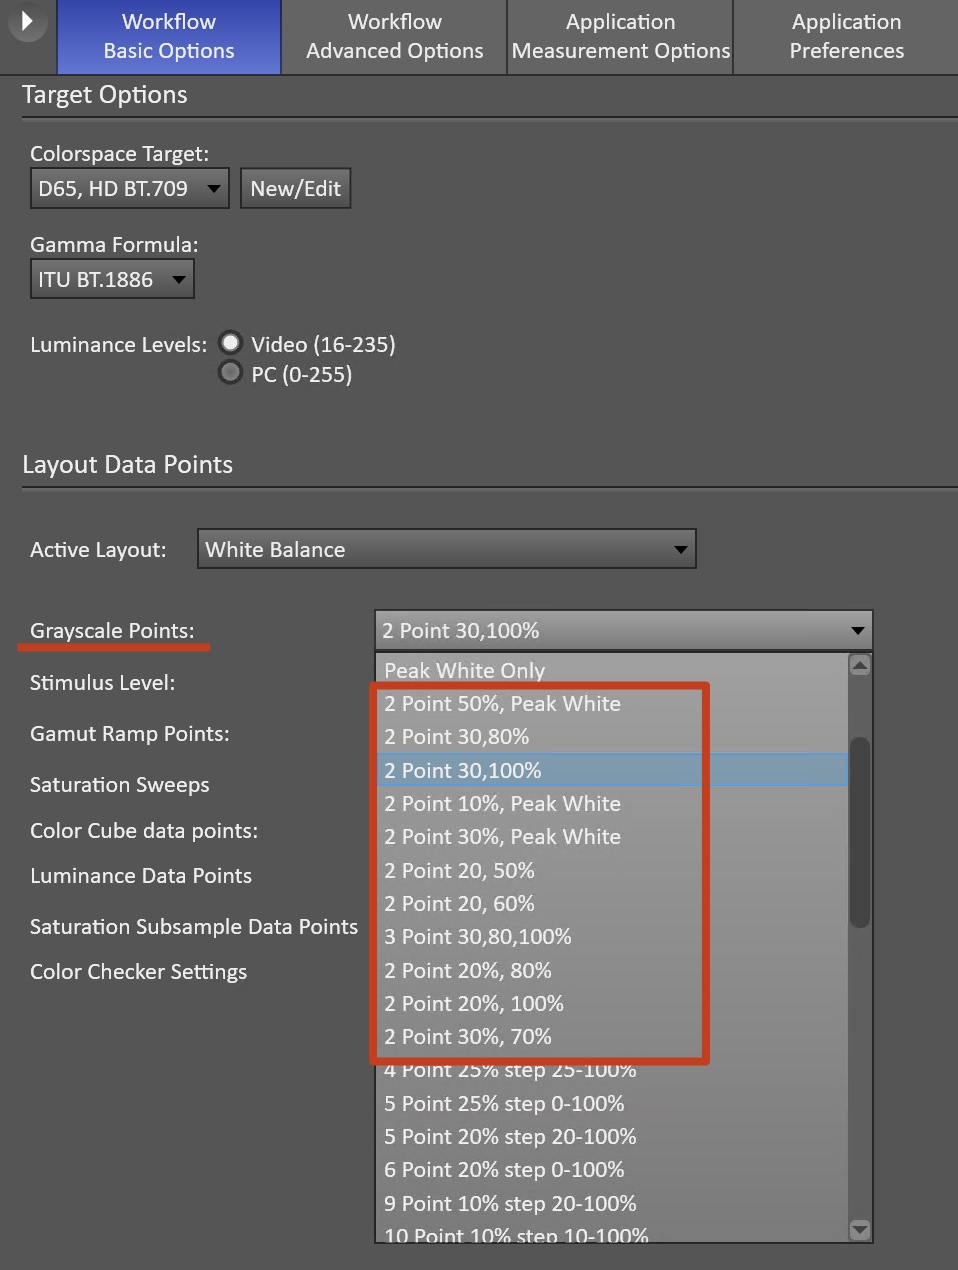
- Select Calibration Points
- Go to Calman Settings → Workflow Basic Options → Grayscale Points and select the number of points for the display you’re calibrating.
- Measure Initial Grayscale Tracking
- On the White Balance Calibration page, press Read Series to measure the display’s current grayscale performance.
- Select High Brightness Level
- On the bottom Pattern Slider bar, choose the high-brightness adjustment level.
- Start Continuous Measurement
- Press Read Continuous to begin continuous measurements.
- Adjust Gain Controls
- Adjust the display’s Red and Blue Gain controls to match the Green level on the single-level RGB Balance chart.
- Repeat Adjustments as Needed
- Select Low Brightness Level
- On the bottom Level Select bar, choose the low-brightness adjustment level (usually 20–30%).
- Adjust Offset Controls
- Adjust the display’s Red and Blue Offset controls to match the Green level on the RGB Balance chart.
- Repeat Adjustments as Needed
- Verify
- After adjusting low brightness, check high brightness again. Some displays experience drift at high brightness after low-brightness adjustments.
- Repeat Gain (high brightness) and Offset (low brightness) adjustments until both levels are optimized and interaction is minimized.