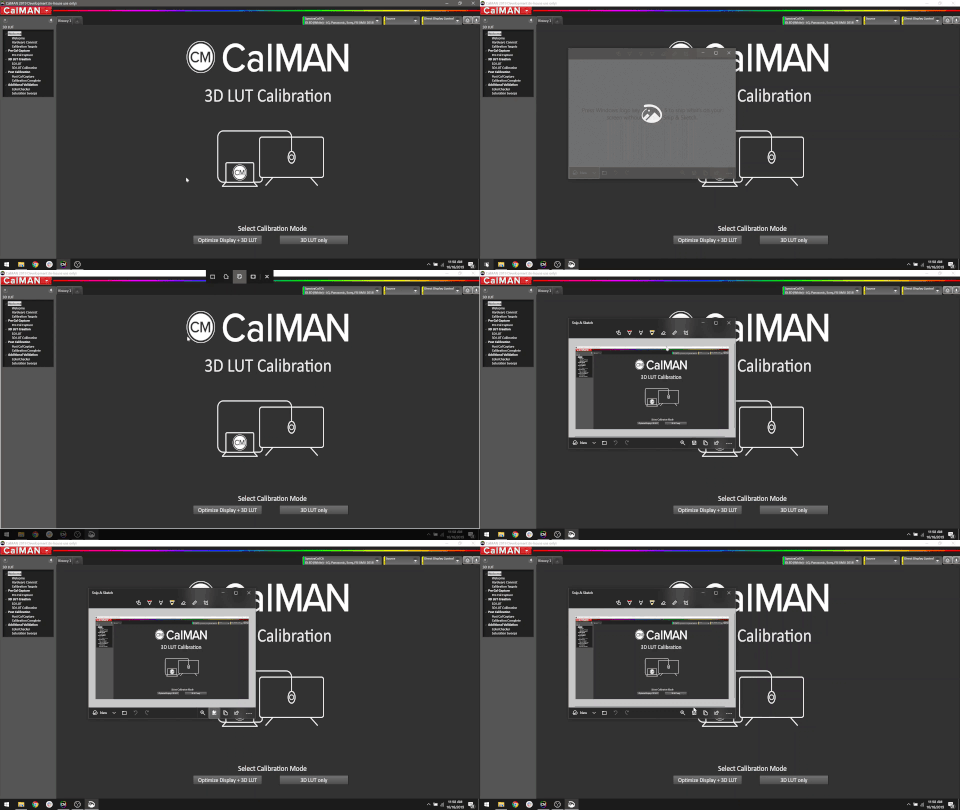
When troubleshooting, Calman support may ask for screenshots illustrating an issue. It can be difficult to evaluate these if they are not taken with the operating system’s native screenshot tool.
Windows
Using the Snip & Sketch app
The Snip & Sketch tool allows you to easily annotate the screenshot after capture

- Press Windows logo key+Shift+S to open the Snipping Tool directly.
- After entering the keyboard shortcut, you’ll see a box at the top of your computer.
- Choose between the following screenshot options: (from left to right) rectangular selection, freehand selection, window, or full-screen capture.
- Pick the rectangular selection or use freehand selection to highlight a designated screenshot area for an active window or your full screen.
- Look for a thumbnail image of your selection at the lower-right-hand corner of your screen after capturing your screenshot.
- The Snipping Tool copies your screenshot directly to your clipboard, so you can paste (CTRL+V) your image into another app if needed.
More Info: How to take screenshots on Windows 11
For older versions of Windows see: Use Snipping Tool to capture screenshots
MacOS
(Patterns for Mac, Client3, Virtualforge)
Capture a window
Follow the steps below
In all macOS versions
- Press Shift-Command-4.
- Press the Space bar. The pointer changes to a camera.
- Click a window to capture that window.
- To exclude the window’s shadow from the screenshot, press and hold the Option key while you click.
- Find the screenshot on your desktop.
More Info: How to take a screenshot on your Mac