The AOC Monitor Calibration Workflow in Calman will guide you through calibrating compatible AOC Calman Ready monitors.


Calman Supported Models
- AOC Q27U3CV
- AOC U27U3CV
- AOC U32U3 / U32U3CV / U32U3D
Calman Required Version
- Calman (Ultimate or Studio) Version 5.15.8 or later
Required Hardware
- Calman Compatible Pattern Generator
- External HDR capable generator required for HDR calibration
- Calman Compatible Meter
Welcome
Welcome to the AOC Monitor Calibration Workflow for AOC Calman Ready Monitors
To load the workflow, locate the dropdown menu on the top left Calman logo and navigate to the AutoCal – AOC Monitor selection:
- Open Workflow Template → Display Specific → AutoCal – AOC Monitor
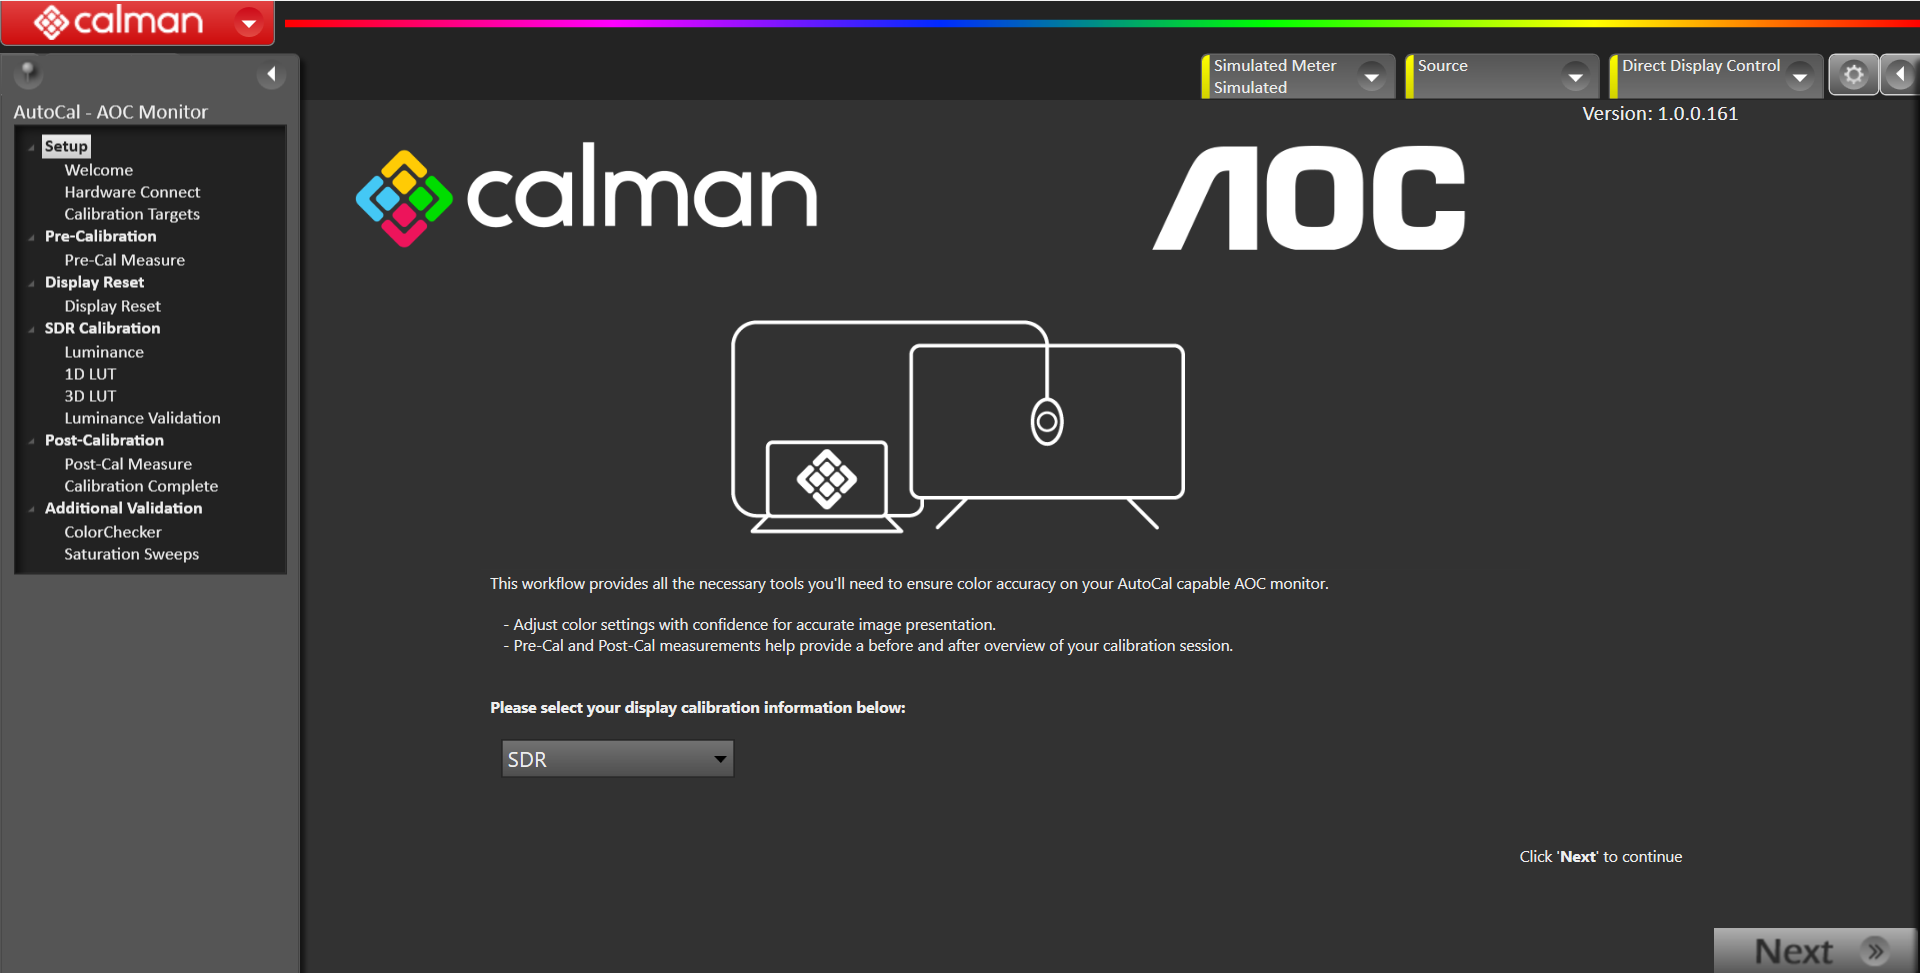
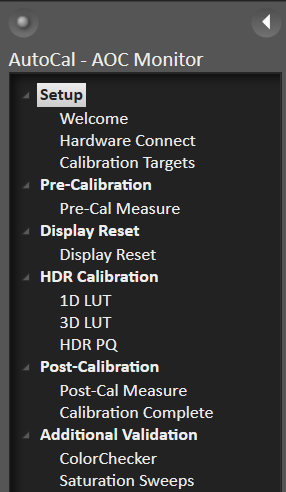
- Open the dropdown menu and select SDR for SDR display modes or HDR for HDR display modes. The EOTF graph will differ slightly between the SDR and HDR display
- The workflow steps will differ between SDR and HDR selection
 |
 |
- Click Next to continue
|
Notes:
|
Hardware Connect
- Connect your AOC Monitor and calibration hardware

- Connect Meter
- Connect your meter to the computer
- After connection, your meter should be listed on the Find Meter dialog
- If your meter is not listed on the dialog, click on the Find Meter button to open the Find Meter window and click Search
- Select the Target Display Type from the dropdown menu (e.g., LCD (LED White Wide Gamut)
- Note: once placed, do not move your meter throughout calibration.
- Connect Pattern Source
- Click on Find Source
- On the Find Source dialog, select the external pattern generator you’re using from the dropdown menu connect
- Connect Display
- When connecting the display, if you’re using the HDMI input for your video Source, you’ll need to make sure the setting is properly designating the function of the USB-C port:
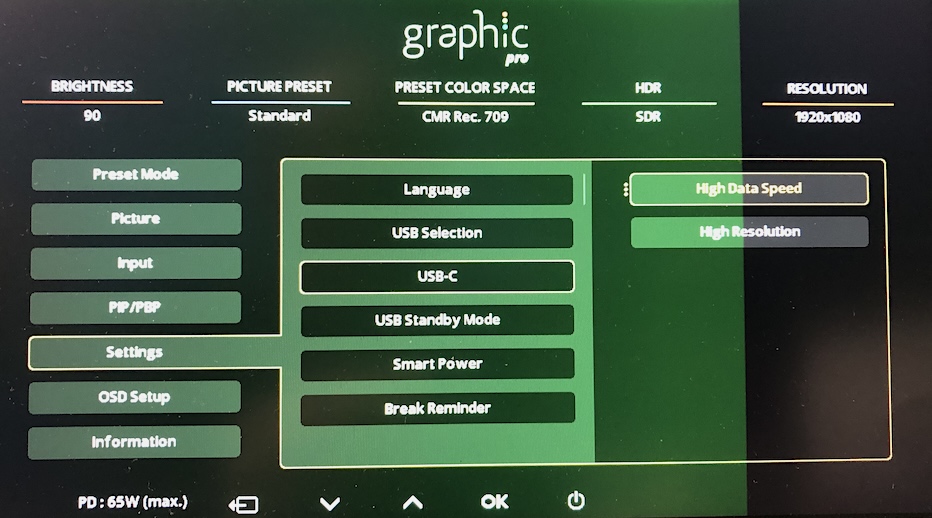
- When connecting the display, if you’re using the HDMI input for your video Source, you’ll need to make sure the setting is properly designating the function of the USB-C port:
|
Note:
|
-
- HDR Calibration Set-Up
-
-
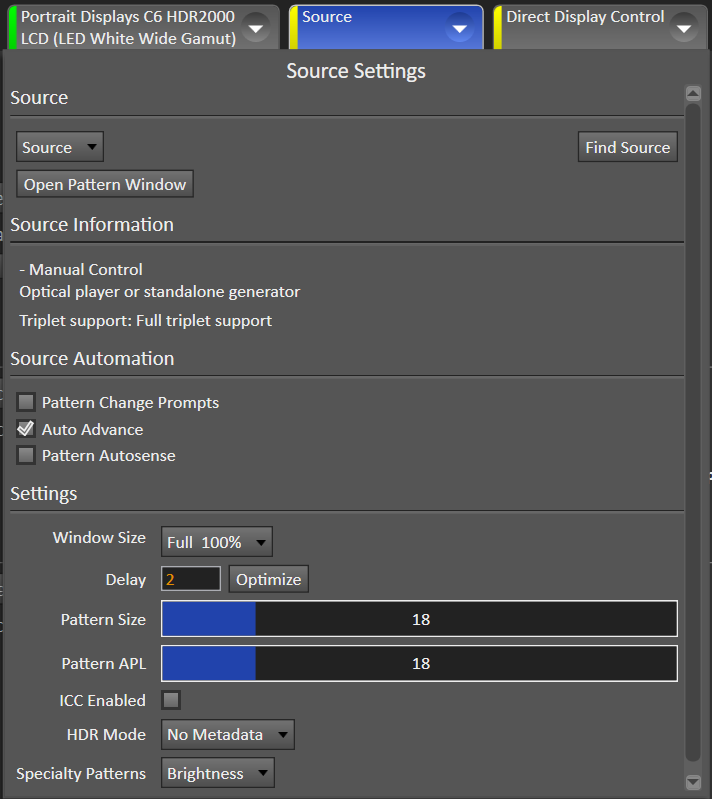
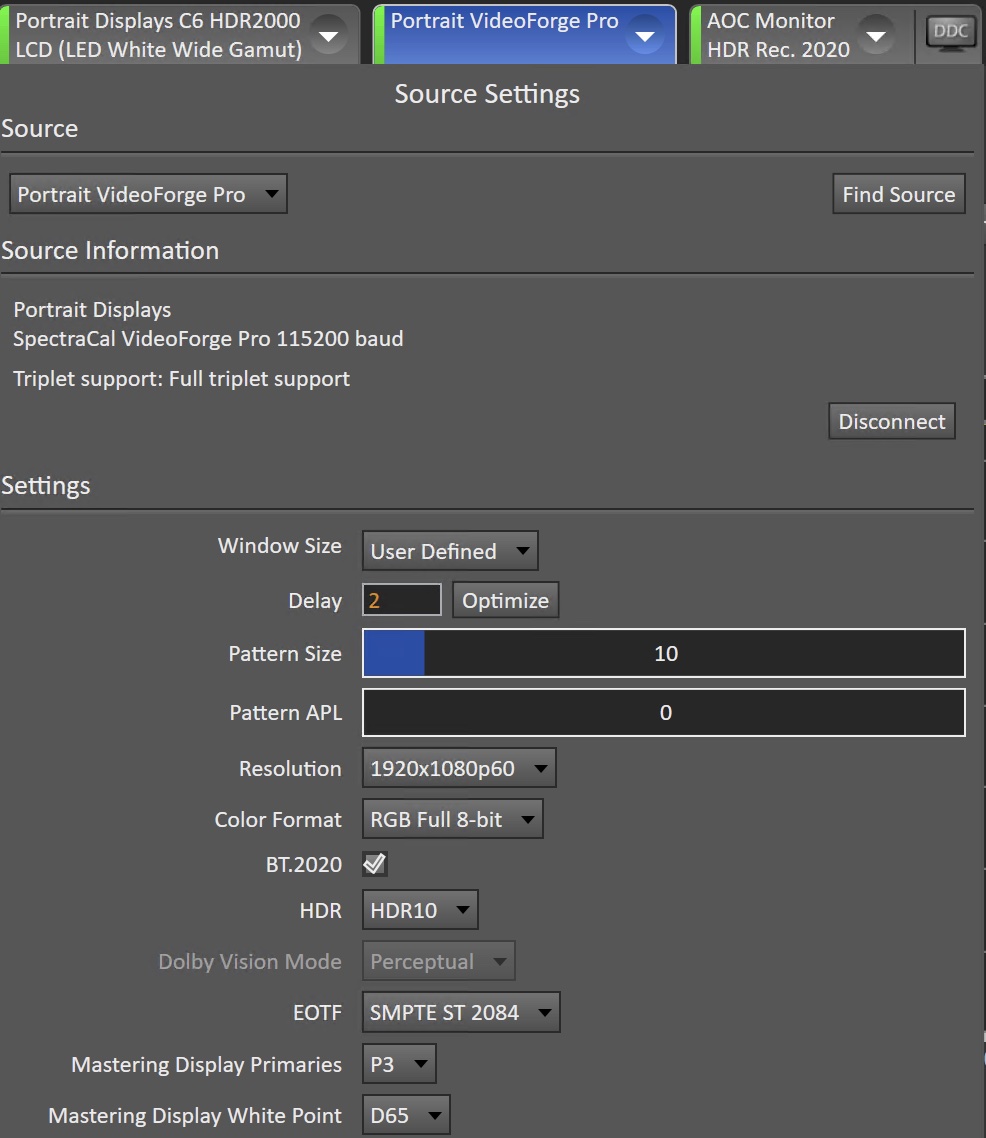
- External Pattern Generator: Recommended settings for an external pattern generator such as Portrait VideoForge PRO would be as follows:
- HDR: HDR-10
- COLOR: RGB FULL 8
- RESOLUTION: [CURRENT]
- Recommended Calman VideoForge Pro Source Settings:
- External Pattern Generator: Recommended settings for an external pattern generator such as Portrait VideoForge PRO would be as follows:
-
-
-
- Target Options (Gear Icon)

- Confirm Colorspace Target: (e.g., BT.2020 HDR or D65, P3)
- Confirm Gamma Formula: ST 2084 HDR(PQ)
- Target Options (Gear Icon)
-
-
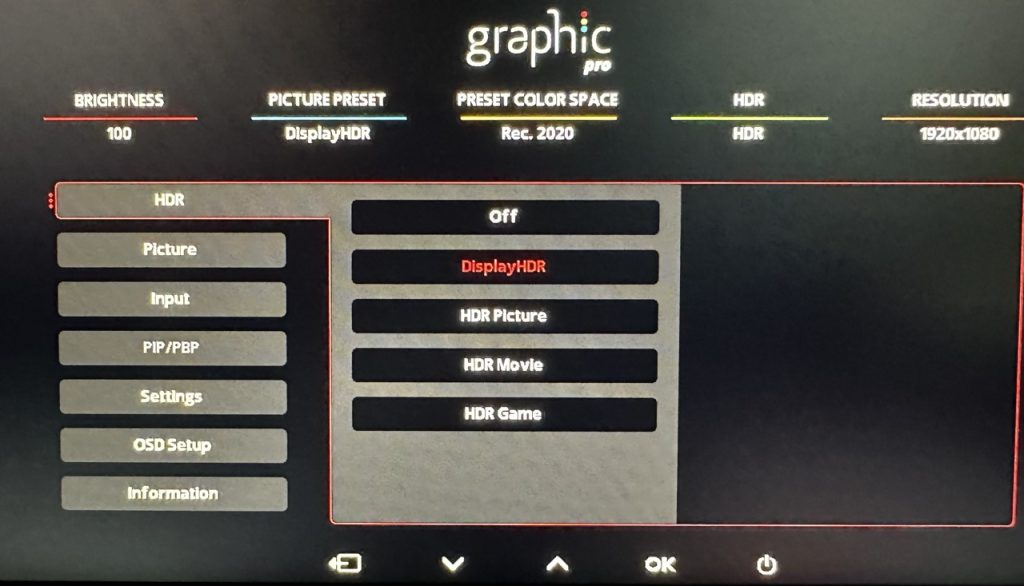
- In the monitor OSD, confirm that HDR Picture Mode is set to DisplayHDR:
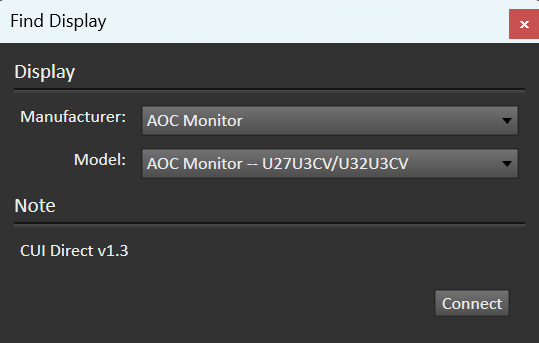
- Connect Monitor
- Click on Find Display
- Select Manufacturer AOC Monitor and your model being calibrated, click Connect to continue
|
Note:
|
For further instructions, click on which calibration method you selected:
Select Calibration Type (SDR)
- Confirm Select calibration type: Matrix or 3D LUT

- Click Next to continue
|
Notes:
|

Calibration Targets
- Select the calibration target from the dropdown menu. This example shows that Adobe RGB is selected.
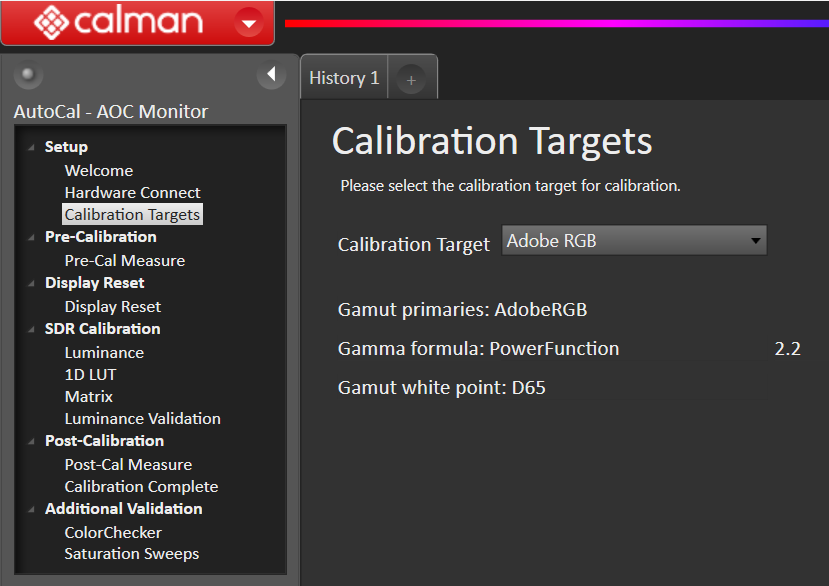
- Click Next to proceed to pre-calibration measurements
Pre-Cal Measure (SDR & HDR)
- Calman will take readings of the display before the actual calibration. This data will be used to compare the calibration results.
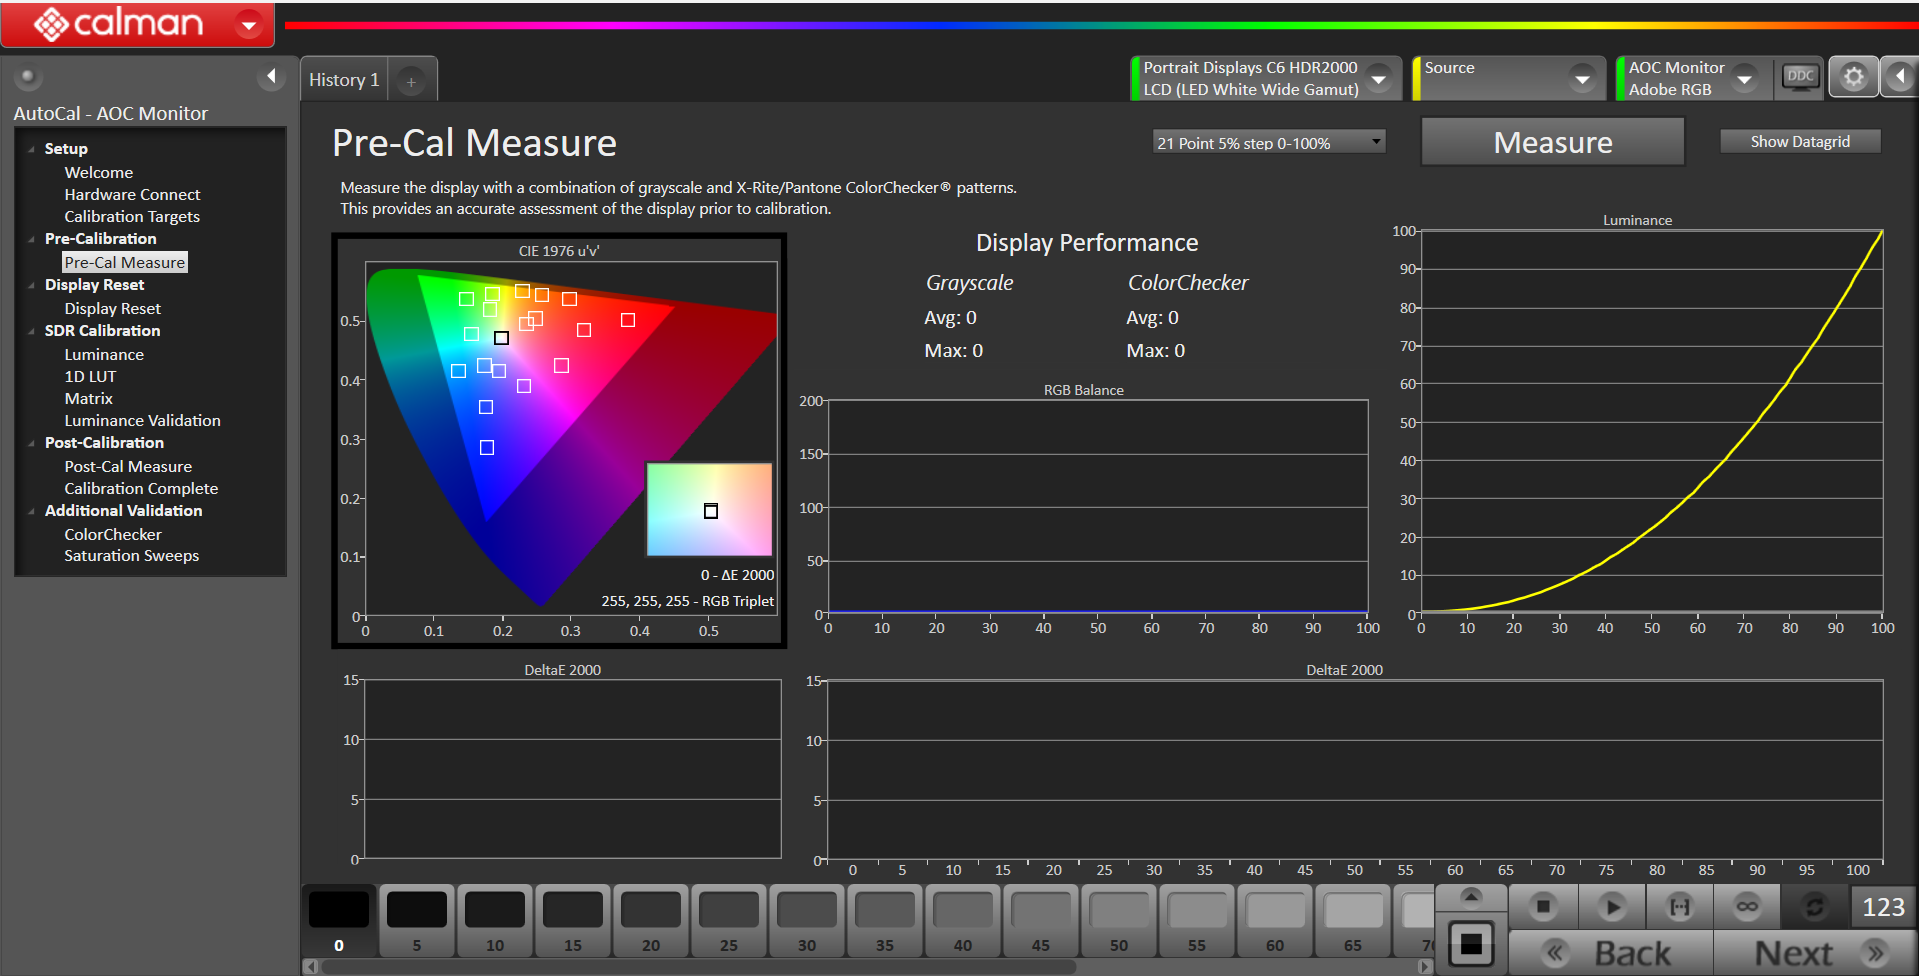
- Click Measure to take Pre-Cal Measure
- When completed, click Next to continue
|
Notes:
|
Display Reset (SDR & HDR)
This step will reset the display before the calibration process begins
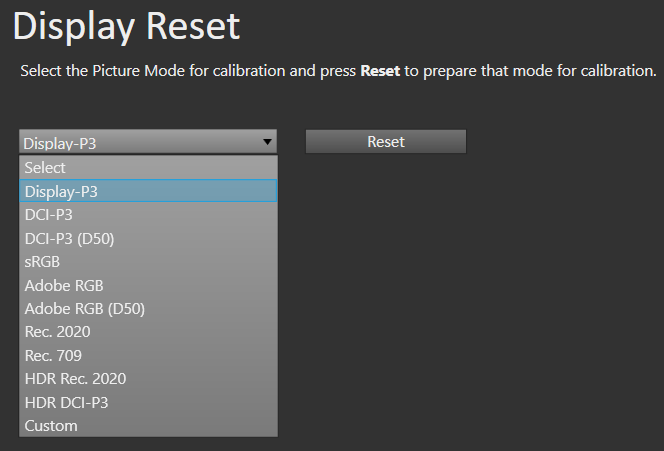
- Select the picture mode you’re calibrating from the dropdown menu to prepare that mode for calibration
- Click Reset to prepare the selected mode
- When completed, click Next to continue
Luminance (SDR only)
This step will measure the Luminance on the display
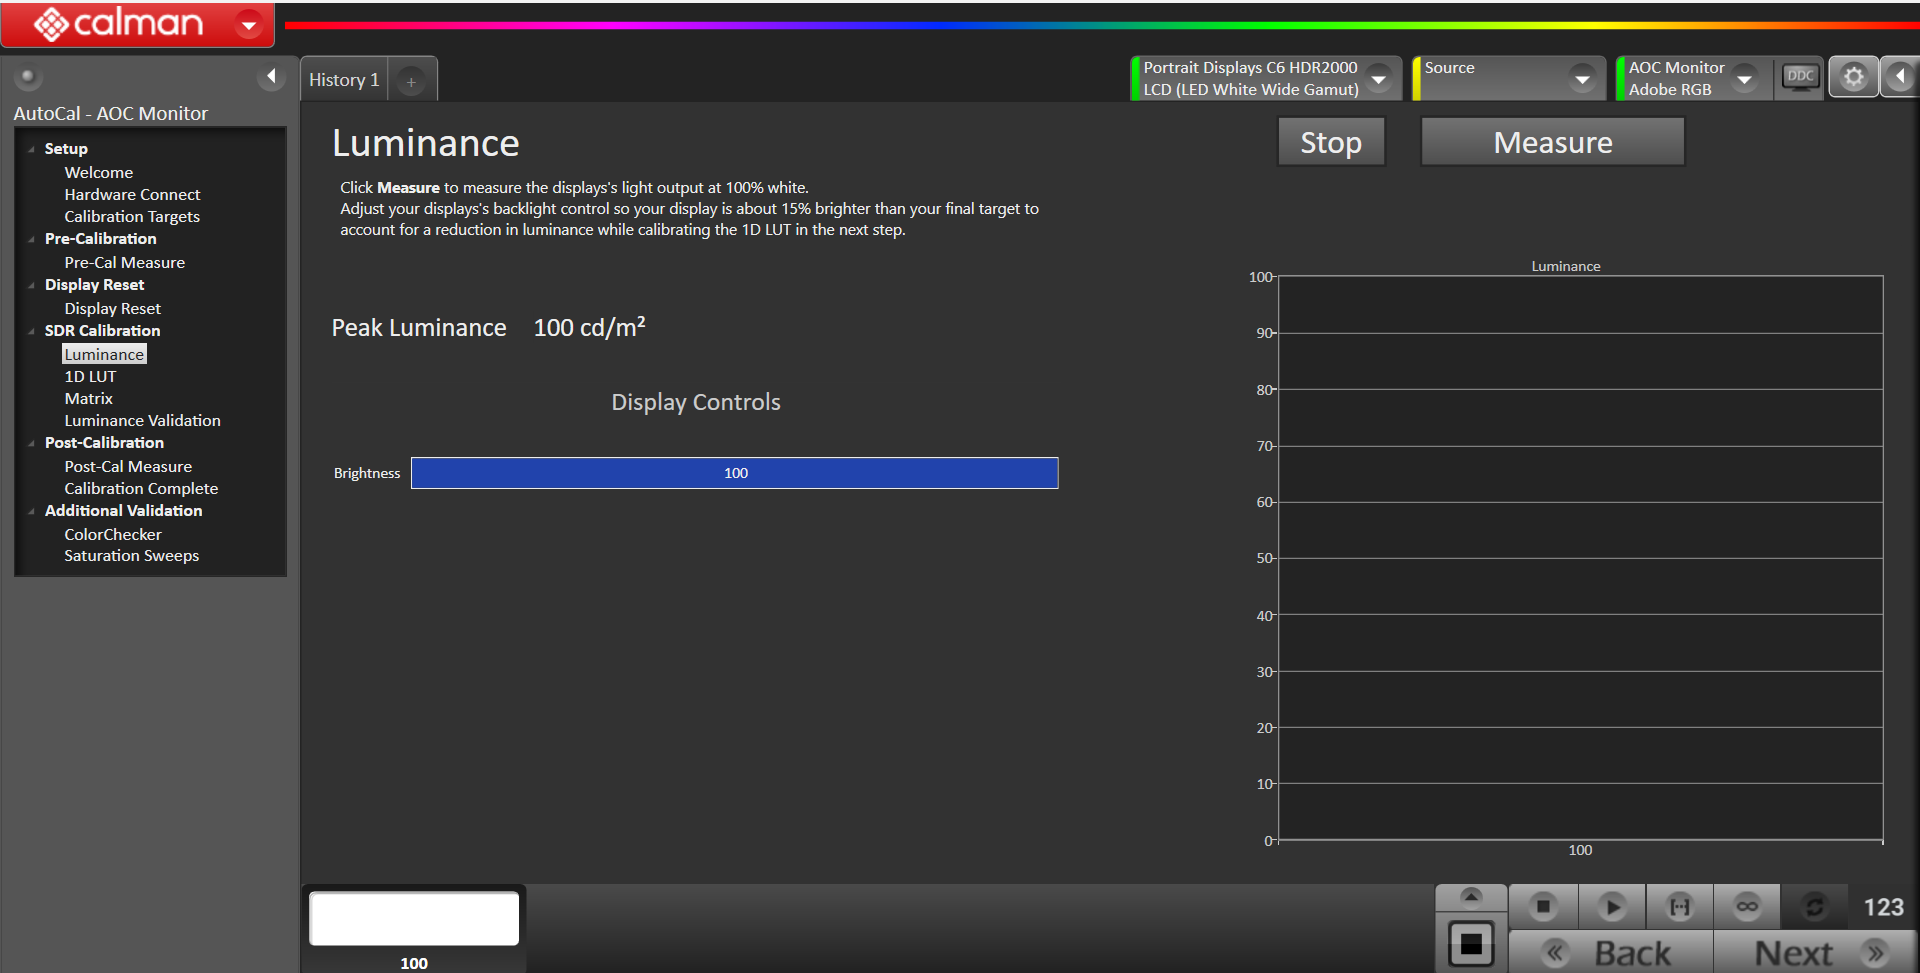
- Click Measure to measure the display’s light output at 100% white
- Luminance is a subjective target, so you may need to target higher to account for the ambient light in your environment.
- Below are some general luminance levels for different viewing environments
- Dim Room: 80-120 cd/m^2
- Overhead lights: 120-160 cd/m^2
- Bright Room: 200+ cd/m^2
- Below are some general luminance levels for different viewing environments
- When completed, click Next to continue
1D LUT
With this step, we can now calibrate the displays grayscale and luminance using a 1D LUT
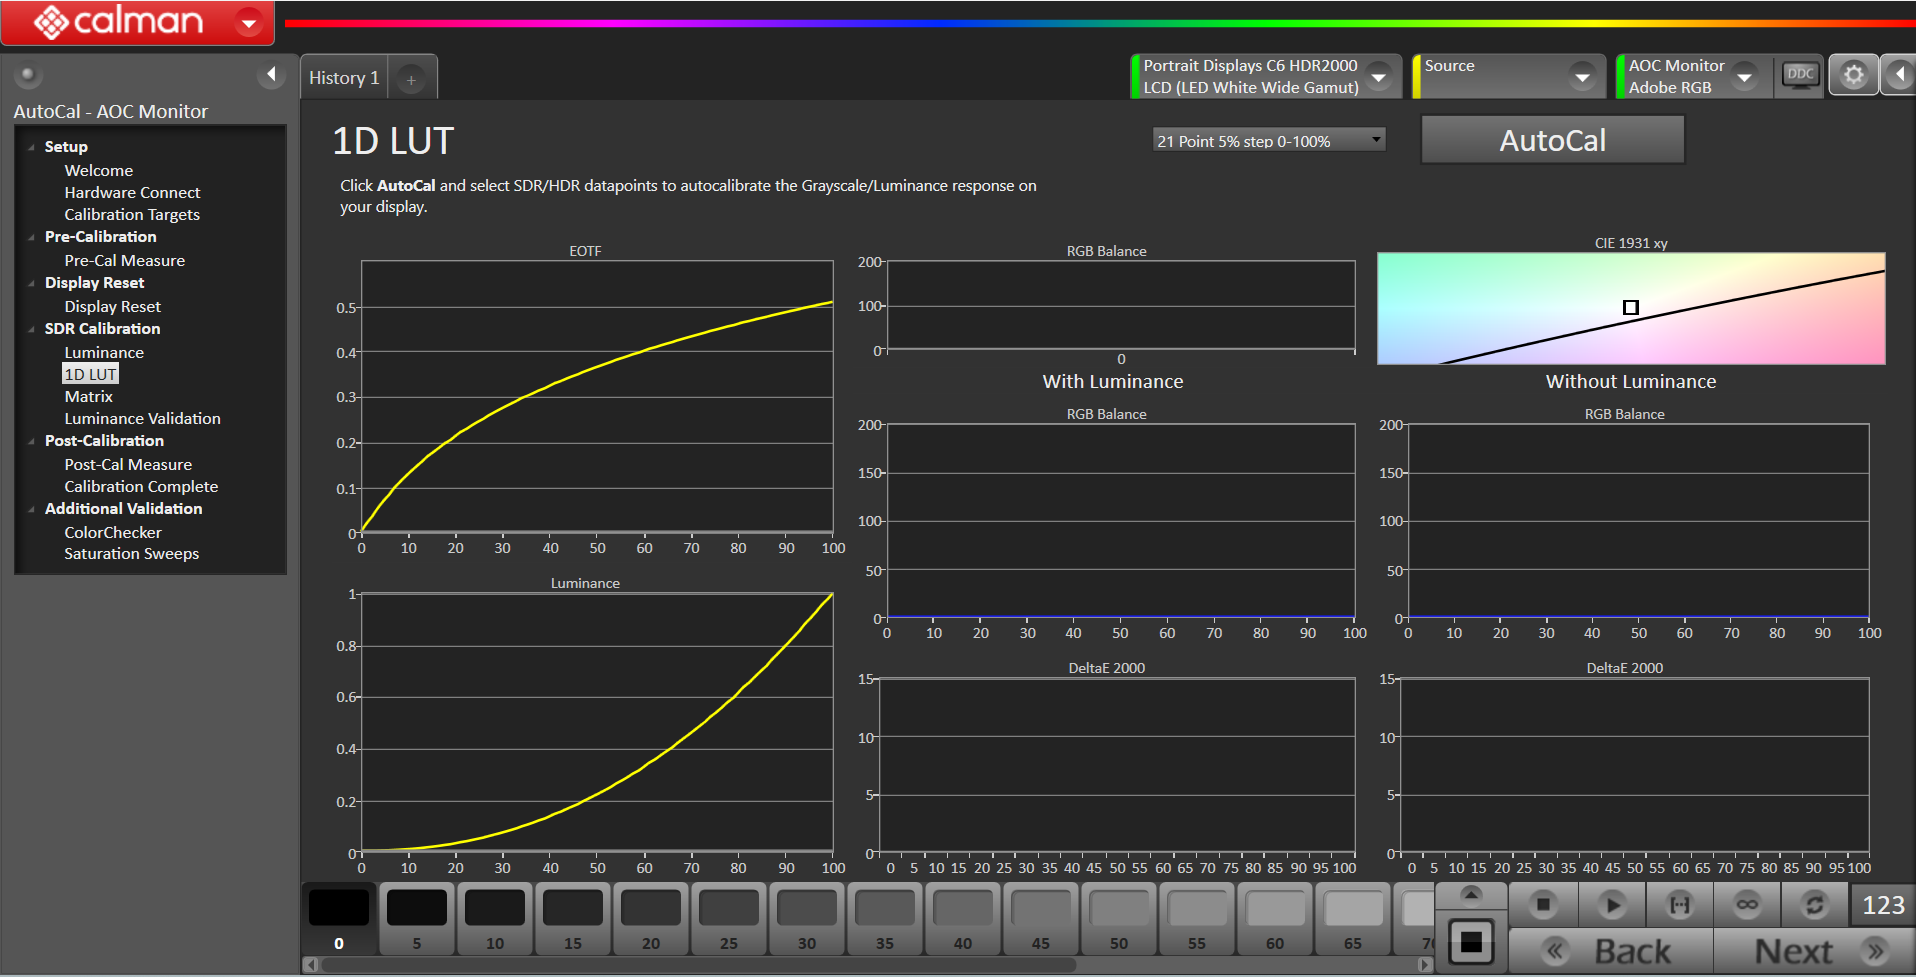
- Click AutoCal button to calibrate the Grayscale/Luminance response automatically
- On the AutoCal Dialog You can choose between 11, 17, or 21 points for your grayscale calibration
- This increases the amount of grayscale test points used to calculate the 3D LUT. Additional points may increase the accuracy of calibration but will increase overall calibration time
Calibration
SDR Mode: With 1D LUT calibration complete, this next step calibrates either the Matrix or 3D LUT on the display depending on your selected calibration type
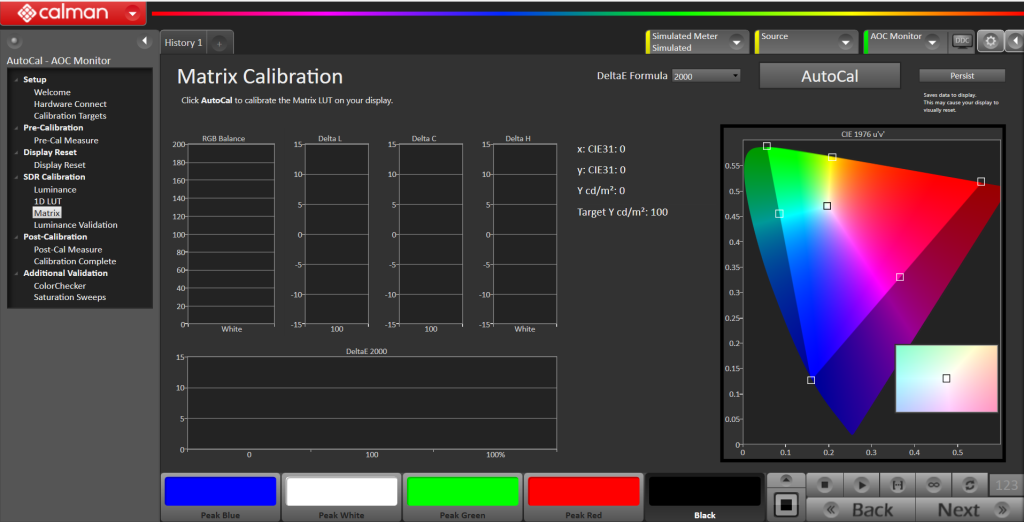 |
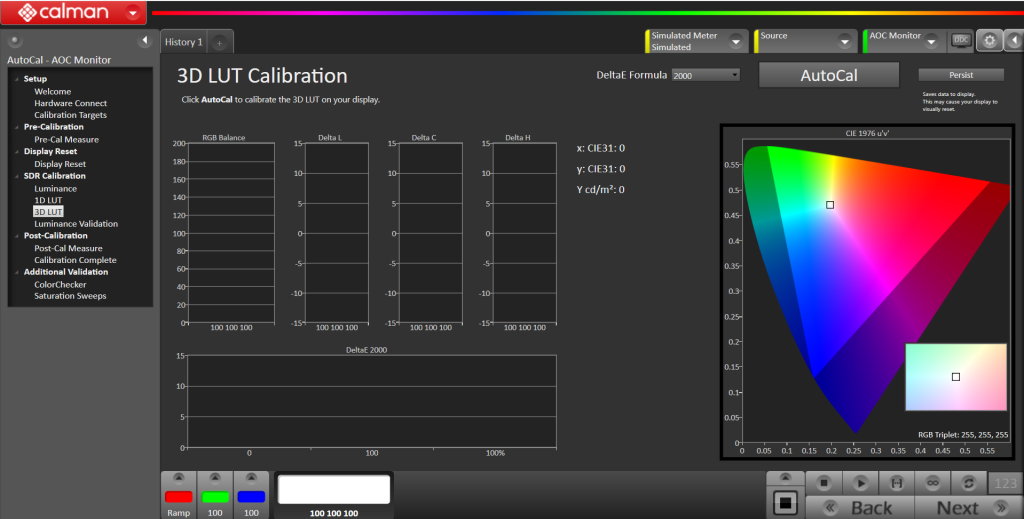 |
| Matrix Calibration (SDR) | 3D LUT Calibration (SDR) |
HDR Mode: With 1D LUT and 3D LUT calibration complete, this next step calibrates HDR mode
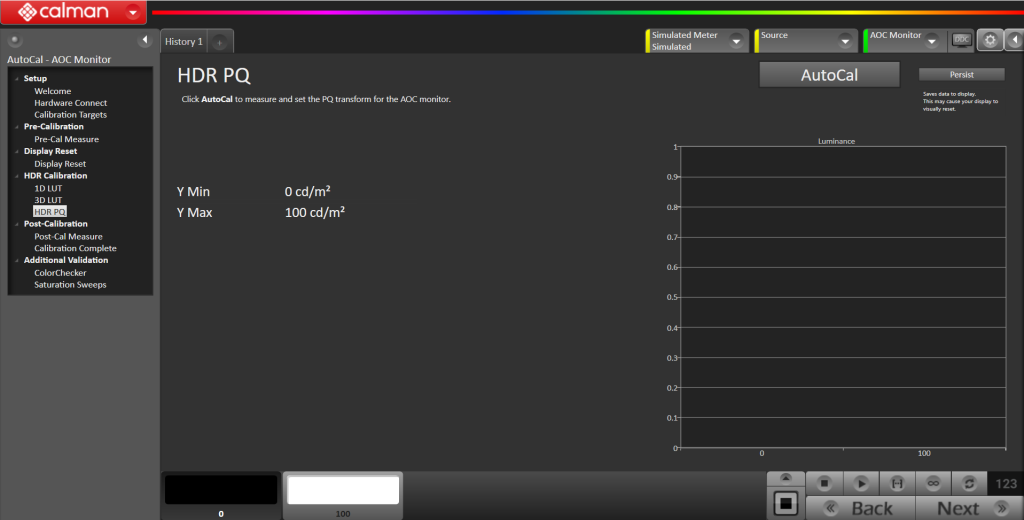 |
|
| HDR Calibration (HDR) |
- For all modes, click AutoCal to calibrate
|
- Press OK to begin.
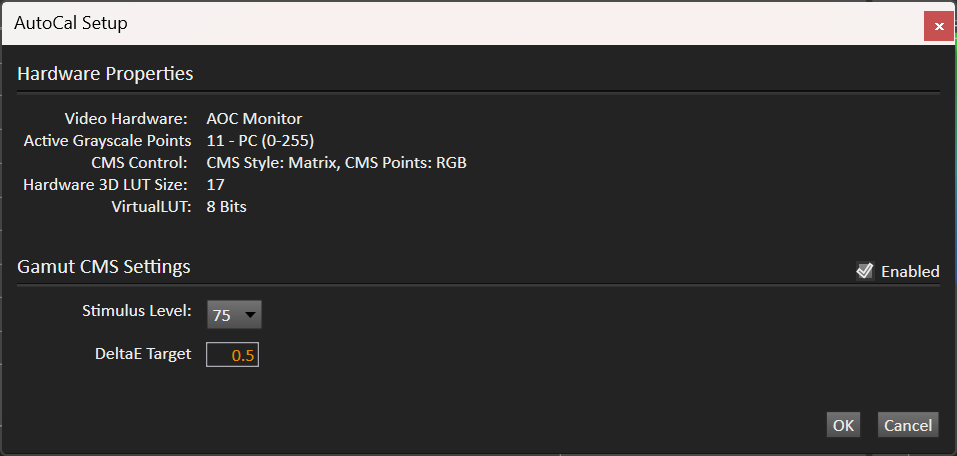
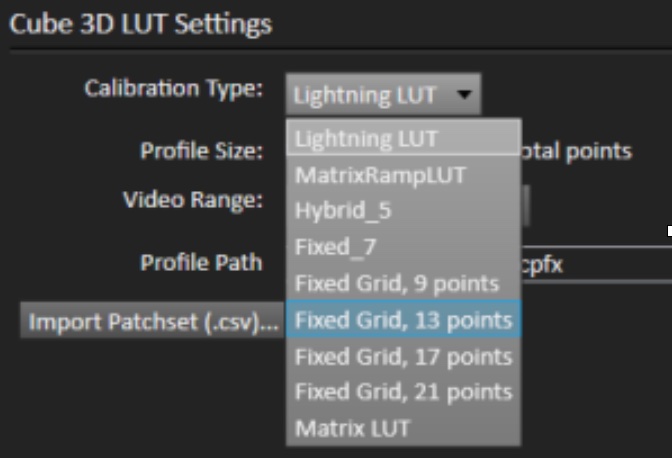
- For 3D LUT calibration in SDR and HDR modes, you may choose between a few LUT types.
- Lightning LUT and Matrix LUT options will complete the calibration process in a few minutes
- Hybrid and Fixed Grid options will take significantly longer to calibrate but may improve accuracy
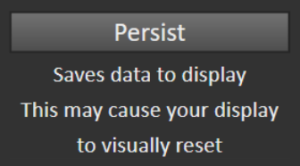
- When completed, click the Persist button to save the calibration data to the display.
- This will cause your display to power cycle to apply the calibration.
- Click Next when complete
|
Notes:
|
Luminance Validation (SDR only)
It is common to lose some overall luminance after the 1D LUT calibration. Use step this to adjust back to your luminance target if it has changed.
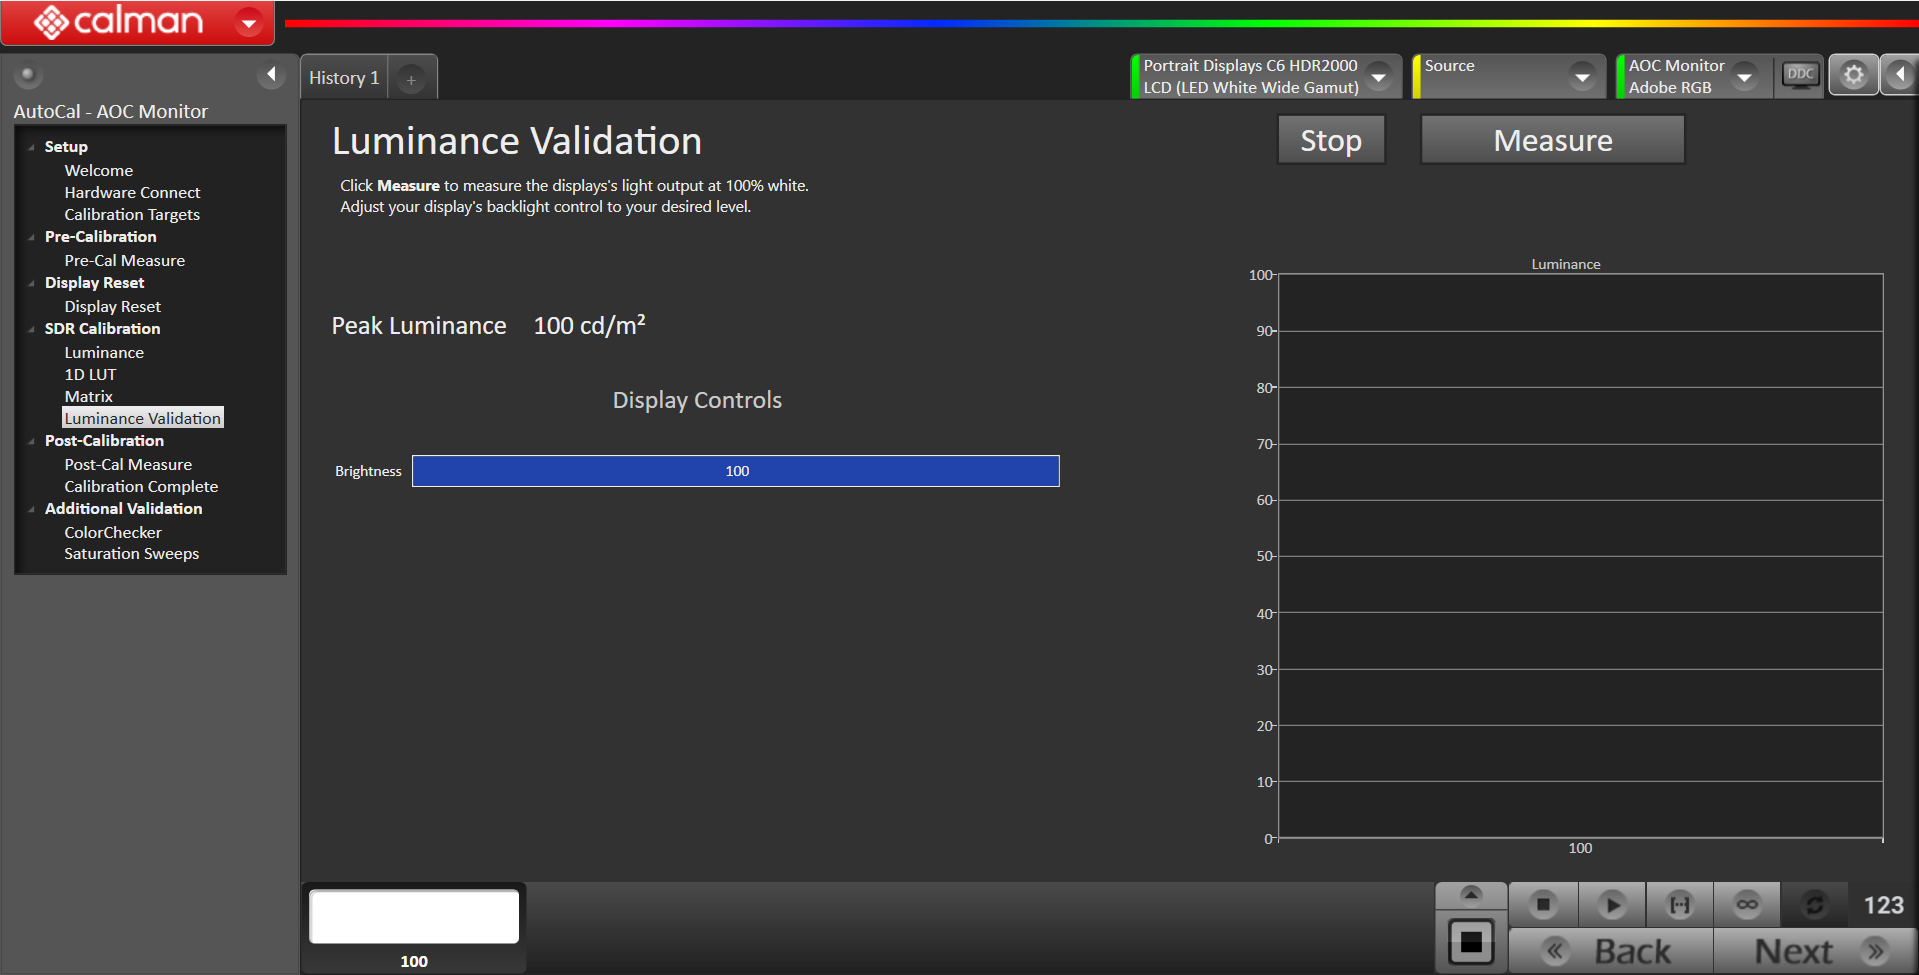
- Click Measure to measure the display’s light output at 100% white
- When completed, click Next to continue
Post-Cal Measure (SDR & HDR)
With the calibration completed, we are now ready to measure the post-calibration results of the display
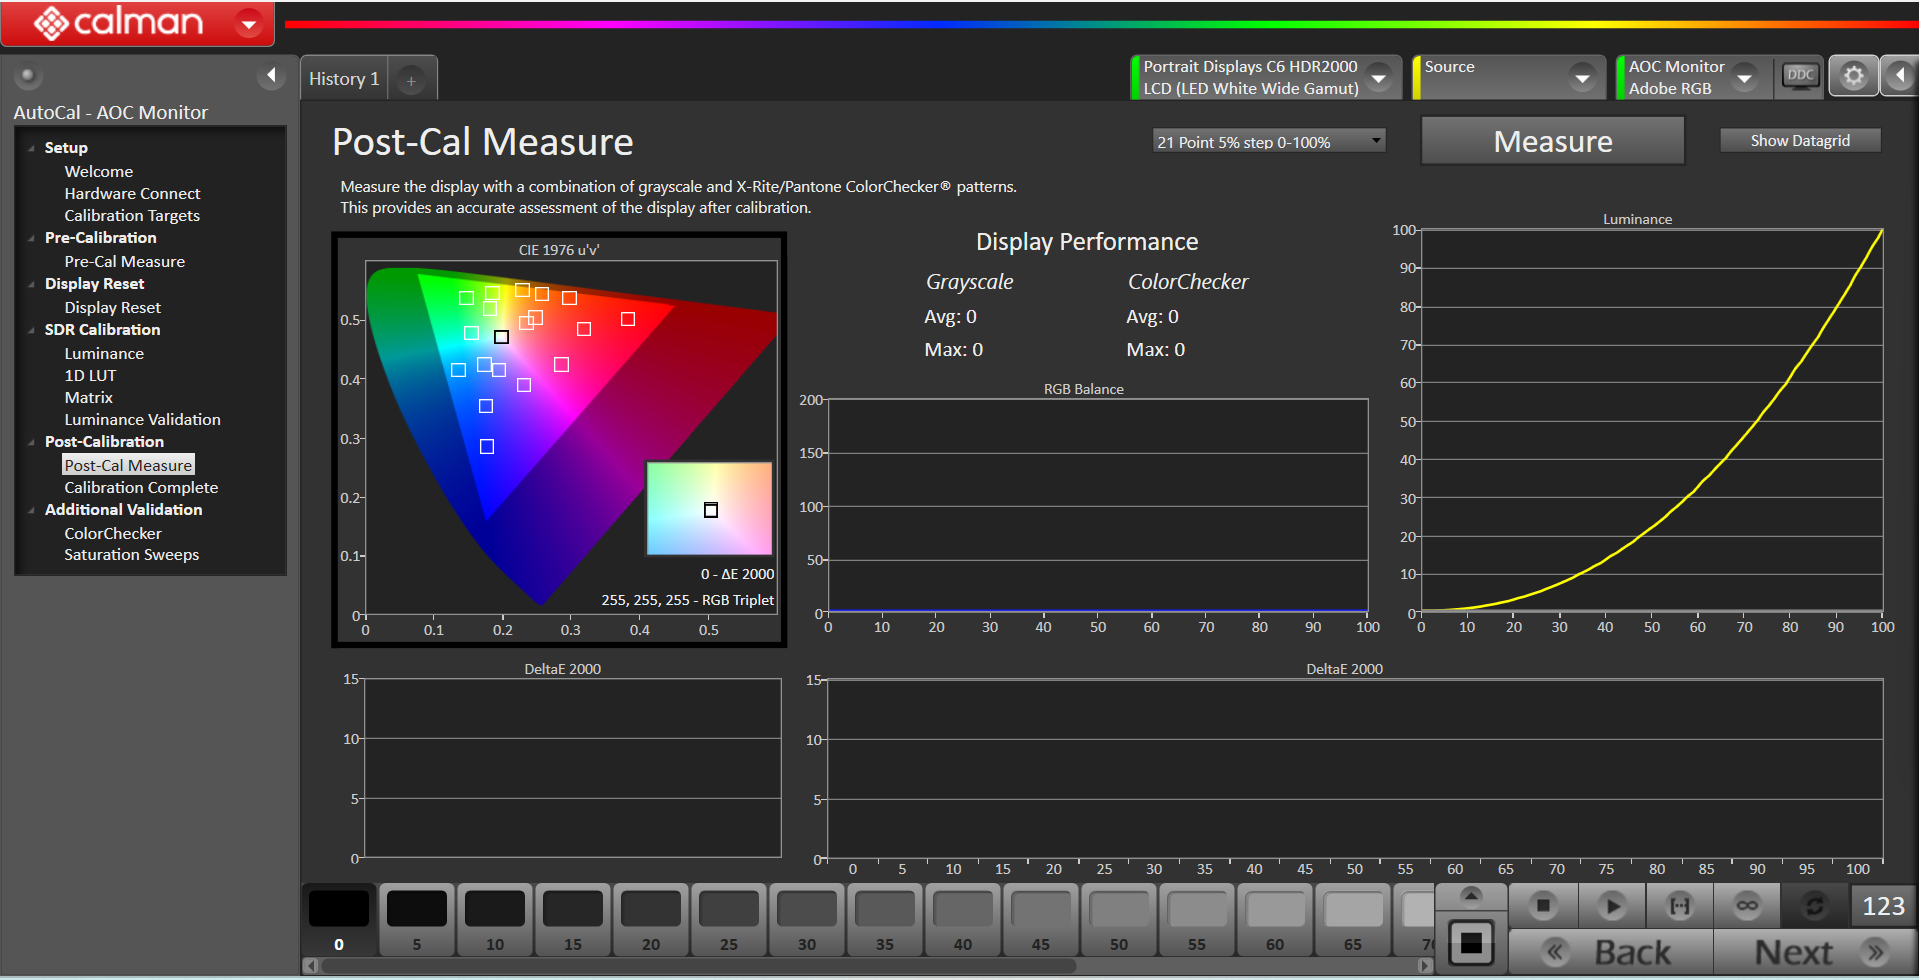
- Click Measure to begin the post-calibration measurement
- The display will be measured with a combination of grayscale and X-Rite/Pantone ColorChecker® patterns
- When completed, click Next to continue
|
Note:
|
Calibration Complete
Congratulations! Your Calman Ready AOC Monitor calibration is now complete.
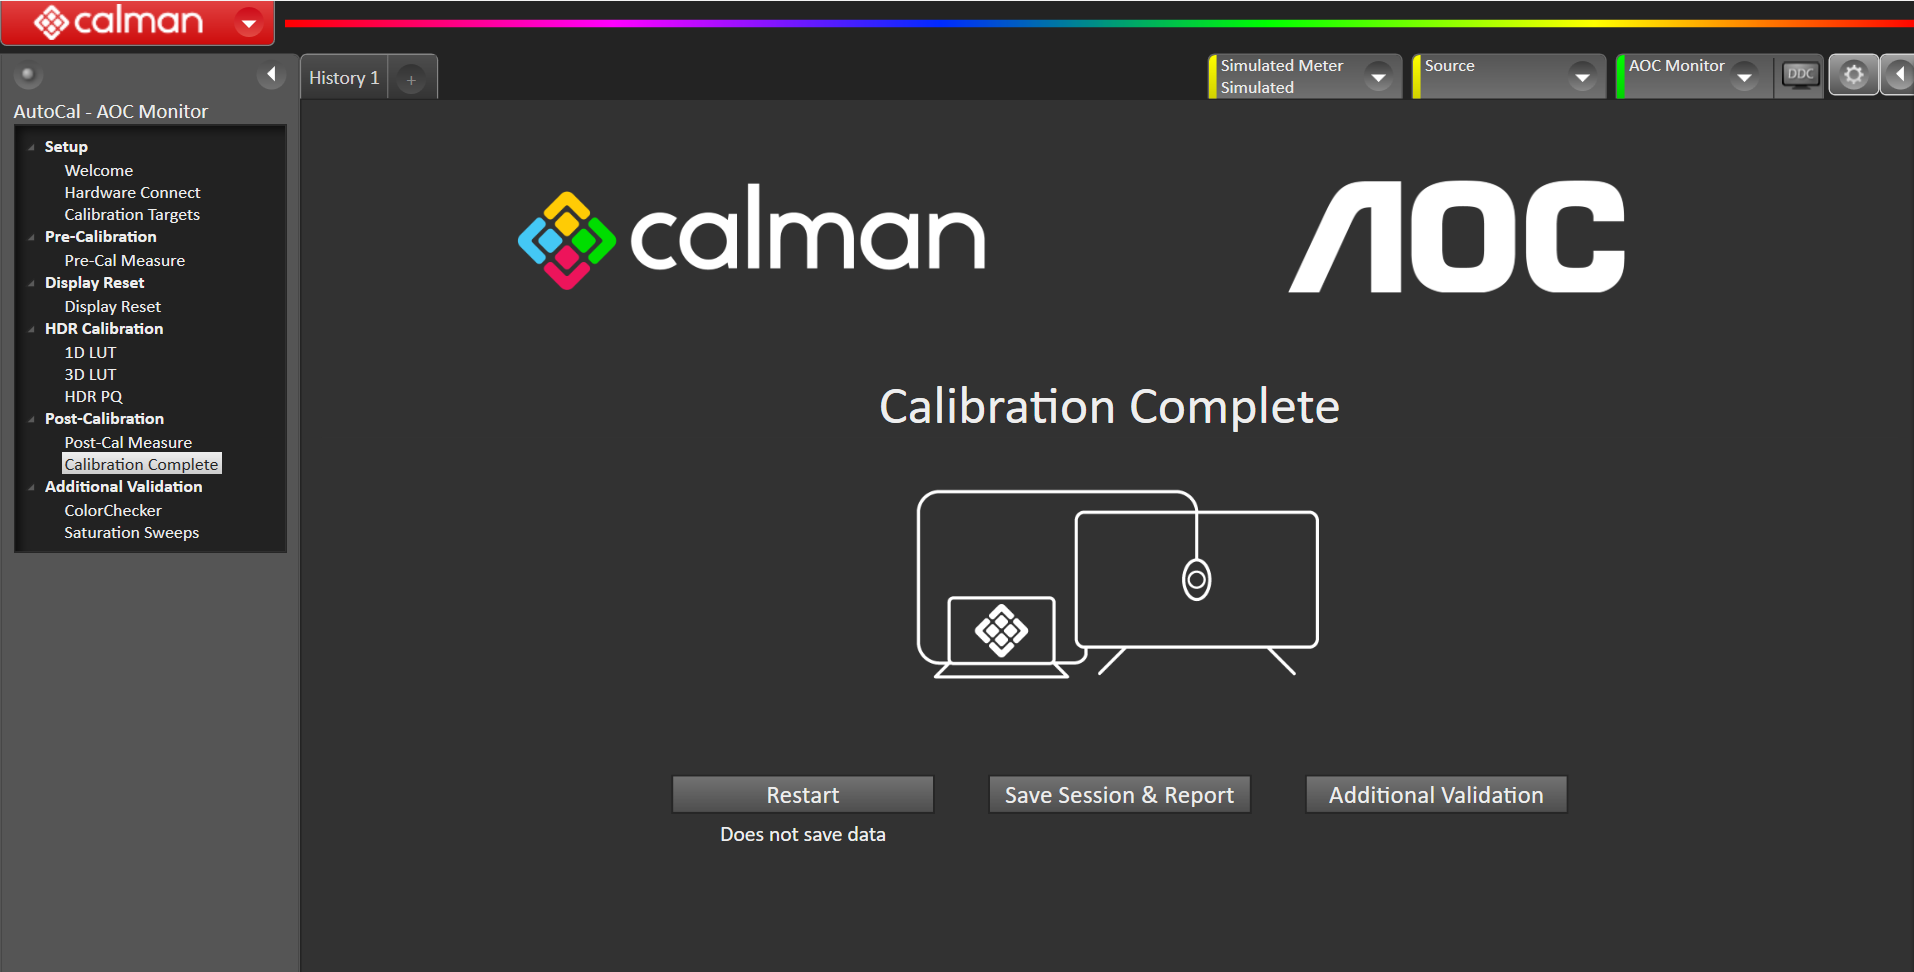
- Restart
- Restarts the AutoCal – AOC Monitor workflow
- Save & Report
- Saves calibration results and creates a report
- Additional Validation
- ColorChecker
- Saturation Sweeps
Additional Validation
As an option, you can choose to perform Additional Validation steps
ColorChecker®
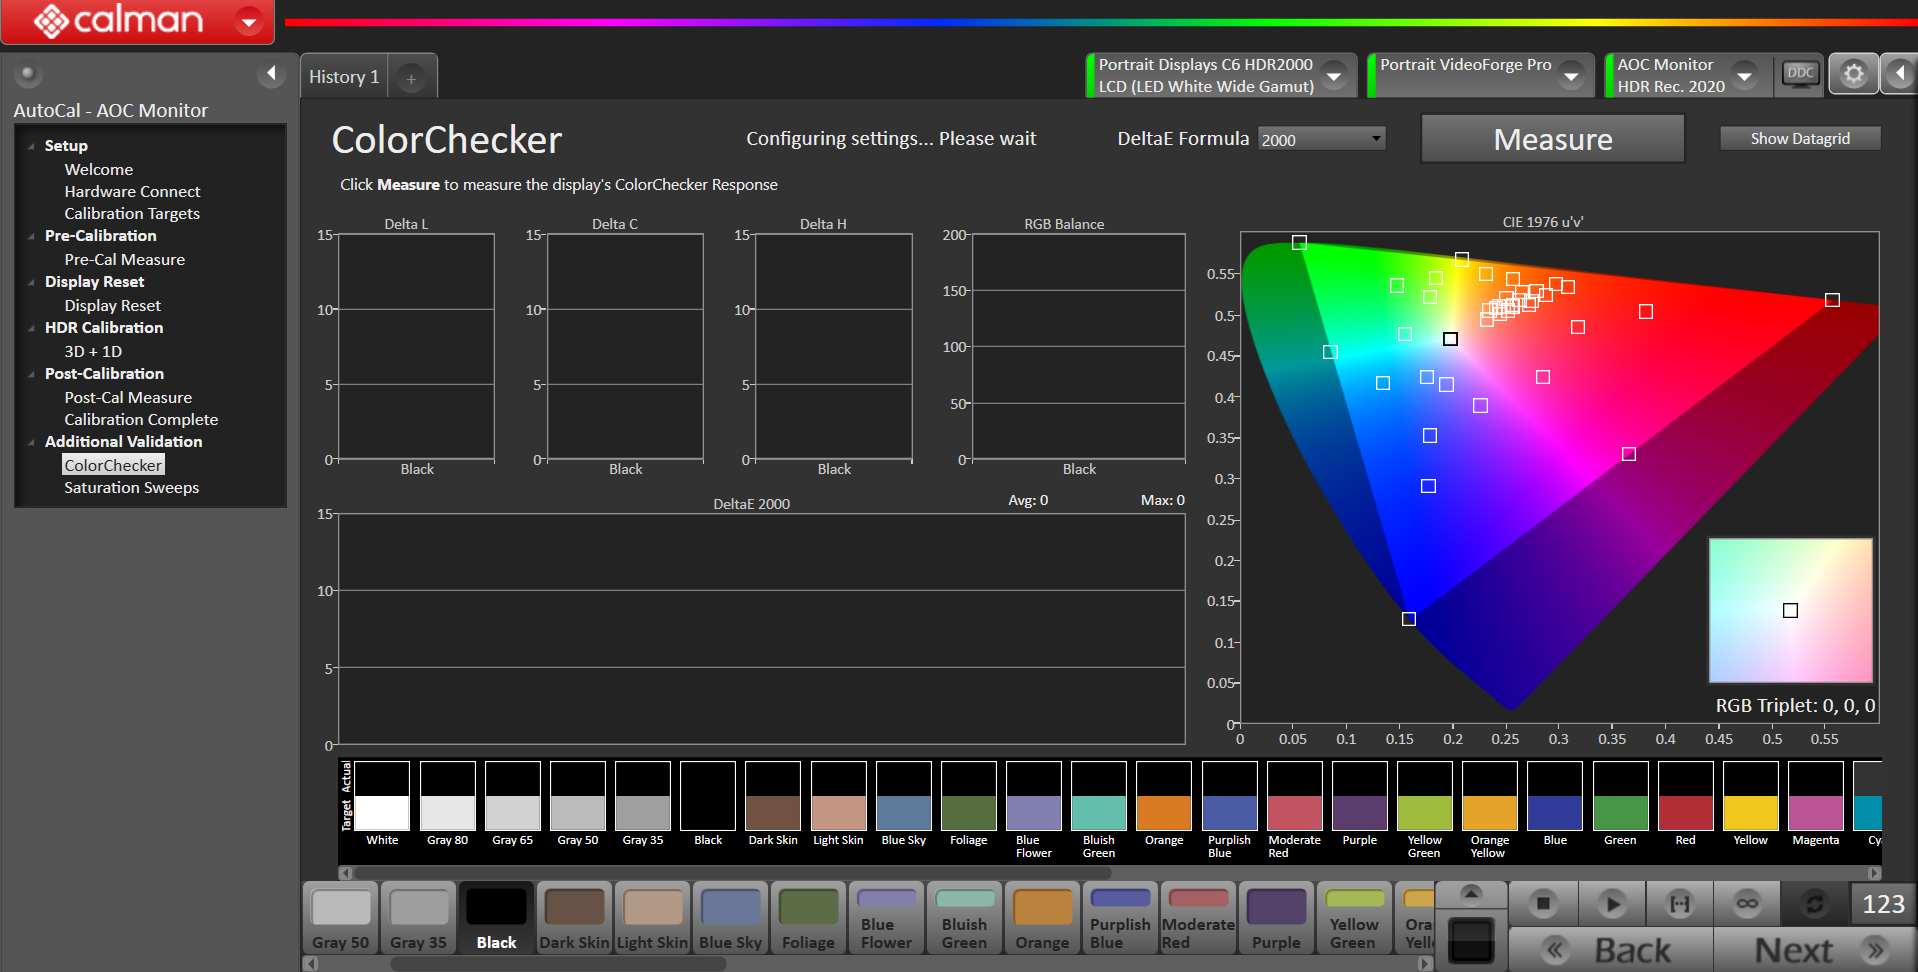
- Click Measure to measure the display’s ColorChecker response
Saturation Sweeps
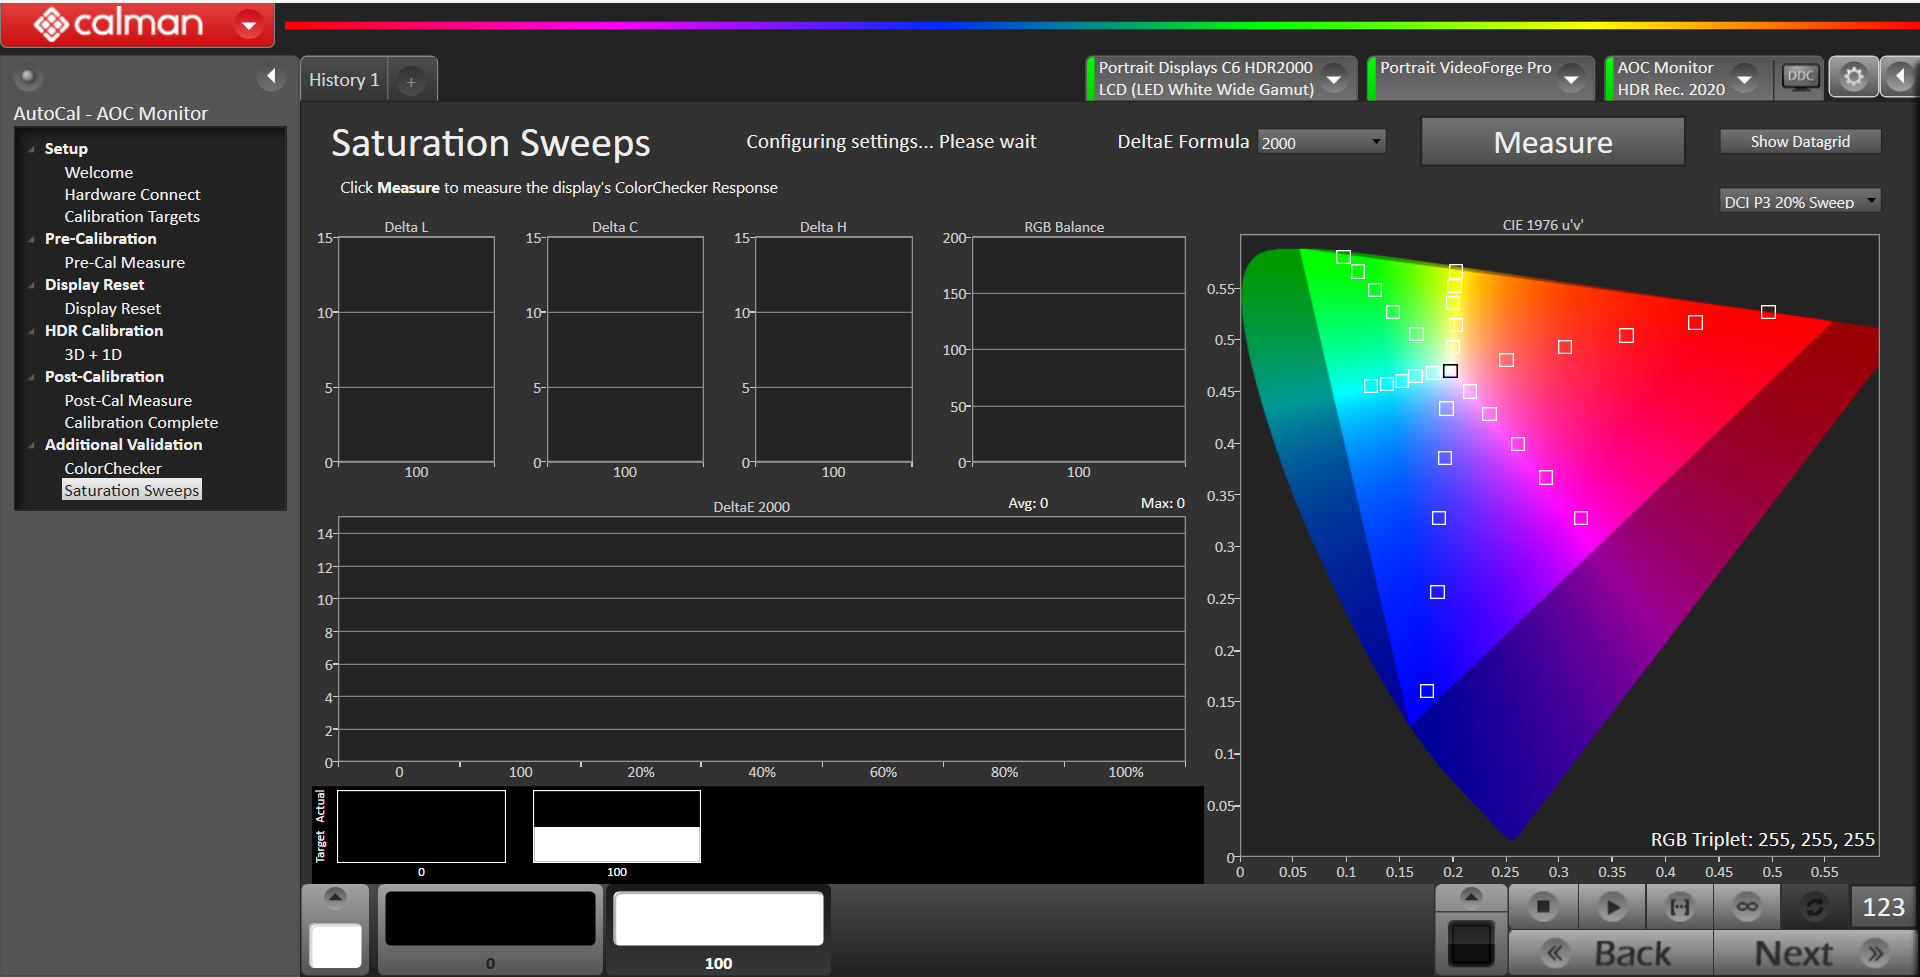
- Click Measure to measure the display’s Saturation Sweeps