For compatible BenQ monitors, Calman can automatically calibrate the display by loading calibration data to the display’s internal 3D LUT or by using a combination of 1D LUT and color correction matrix.
Calman Required Version
- Calman (Ultimate or Studio) Version 5.13.0 or later
Calman Workflow
- BenQ Monitor HDR Calibration
BenQ Firmware
- Firmware updates for BenQ monitors can be obtained by contacting BenQ support in your region
BenQ Control Port
- USB A to B cable
![]()

Calman Supported Models
- BenQ SW272U
- BenQ SW272Q
- BenQ SW242Q
Step 1
- Welcome to the Calman BenQ HDR Monitor Calibration Workflow, press Start Calibration to begin calibration
Step 2
Here you will connect to your BenQ Monitor and calibration hardware
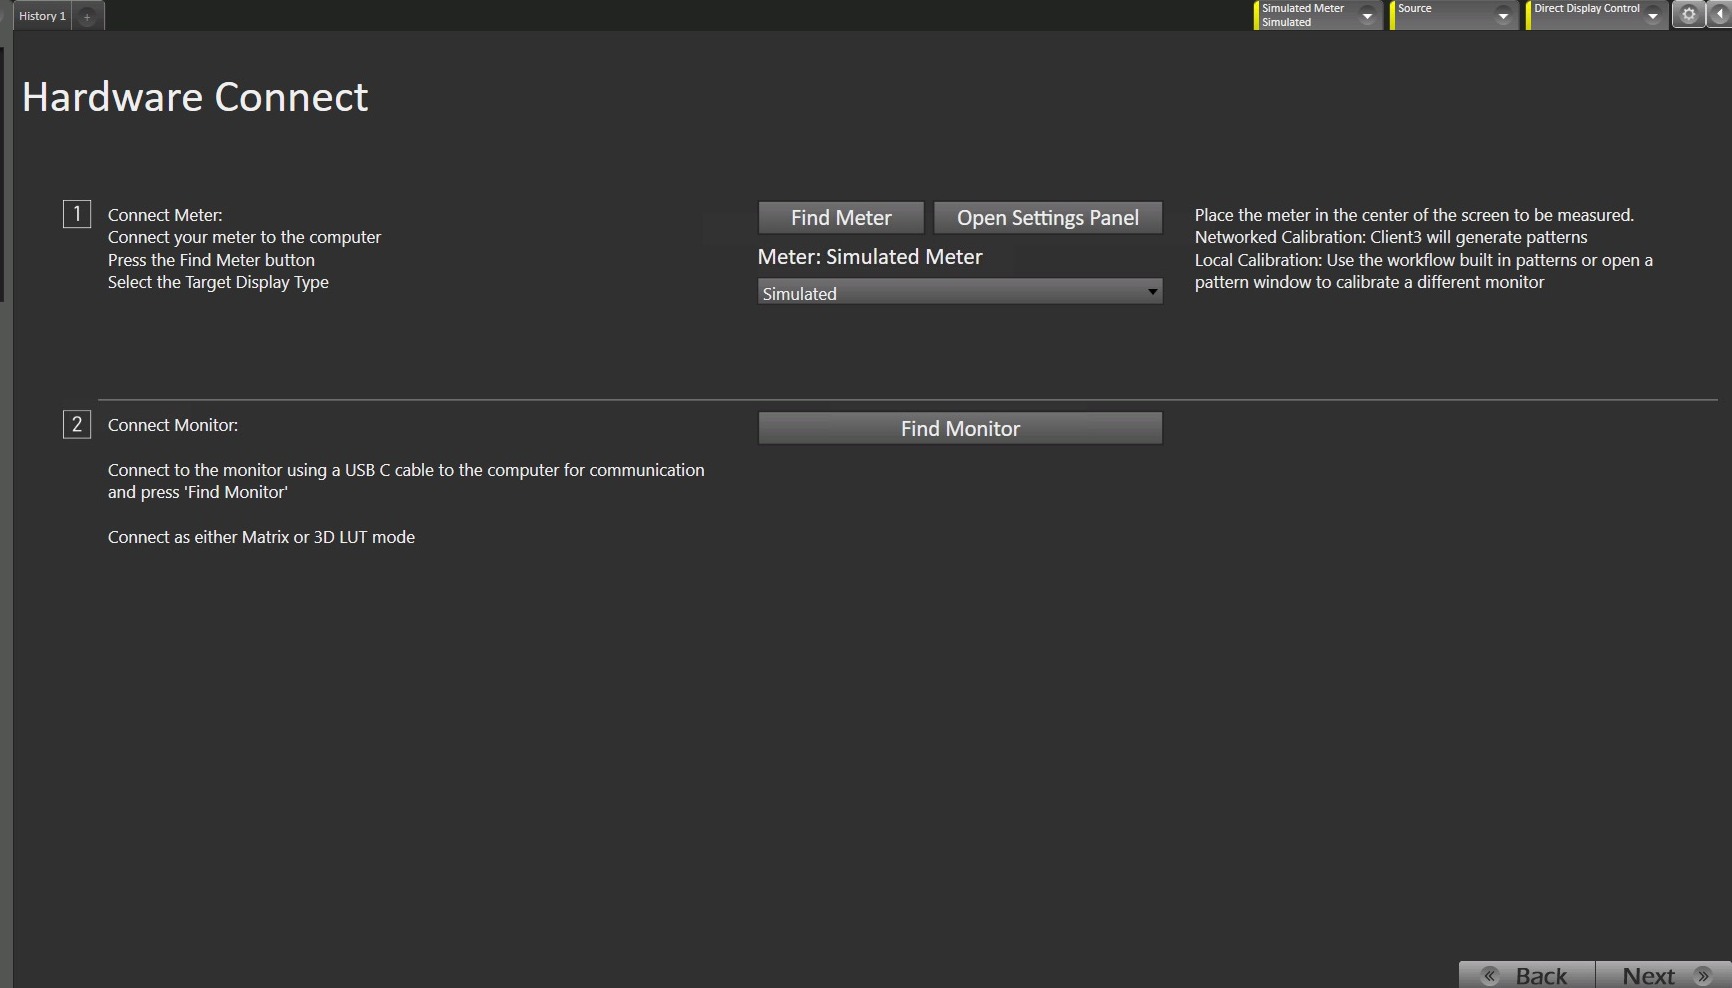
- Connect to your BenQ Monitor to your computer using a USB A to B cable (Can be USB 3.0 or USB 2.0 A > B Cable)
- On the Find Display dialog choose Manufacturer: BenQ and Model: BenQ – SW272U/SW272Q/SW242Q (USB)
- External Meter Connect
- Press External Meter Connect button
- On the Find Meters dialog, select your meter if it is listed, then click Search. If your meter is not listed on the Find Meters dialog, just click Search.
- On the Meter Settings tab, under the Meter Mode drop-down, for a colorimeter select a meter mode appropriate for the display type you are calibrating. For a spectrophotometer, no special selection is required.
- For C6 Meters select LCD (LED) BenQ
- External Source Connect
- For a hardware test pattern generator, connect the generator to a control port on the Calman computer.
- On the Source Settings tab, click the Find Source button.
- On the Find Source dialog, select the Manufacturer and Model of your test pattern source device.
- Select the Com Port, if appropriate.
- Click Connect.
Note:
- Pattern generator should NOT send any HDR metadata.
- PG and display should both be set to Full Range.
- Internal Pattern Generator not supported for HDR calibration
Step 3
In this step, you can configure your calibration targets

- Colorspace
- Rec.2020/ST 2084 HDR (PQ) targets
- Whitepoint
- Preconfigured at D65
- Gamma Formula
- ST 2084
Step 4
In this step, you’ll take readings of your display before the calibration. These will be used to compare your calibration results

- To take Pre-Calibration Measurements click the Read Series […] button to measure the display’s grayscale and ColorChecker response
Step 5
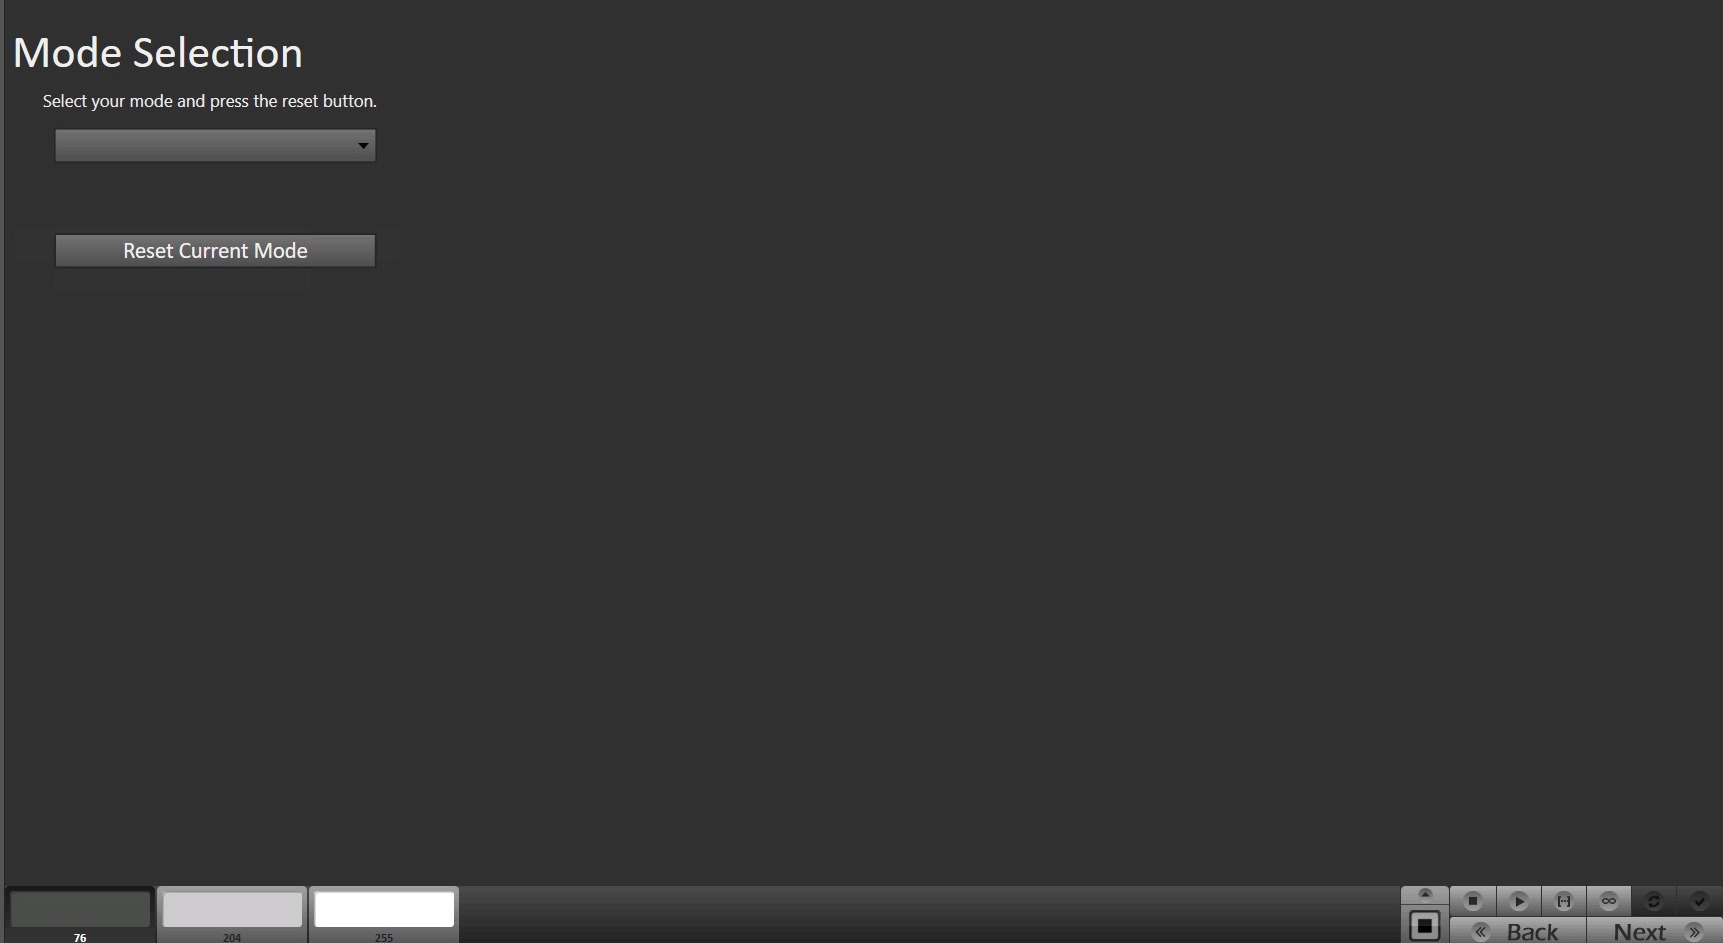
- Select the display mode you wish to calibrate you can choose two methods for calibration. Connect via the method you wish you calibrate with.
- 3D LUT
- Calibrates the monitor using a 1D LUT for grayscale calibration, and a 3D LUT for color gamut correction
- Matrix
- Calibrates the monitor using a 1D LUT for grayscale calibration, and a 3×3 matrix for color gamut correction
- NOTE
-
- Each mode (1 or 2) can only store a 3D LUT OR a Matrix calibration, not both.
- Each mode can only store an SDR OR an HDR calibration, not both
-
- 3D LUT
- Press Reset Current Mode to prepare the display for calibration
- NOTE: This process may take up to 15 minutes
Step 6

Press the AutoCal button to begin the AutoCal process.
- Depending on the calibration method chosen in Step 2 this will complete a full calibration on your display including a greyscale 1D LUT (look-up table) and 3×3 Color Matrix, or a greyscale 1D LUT and a 3D LUT color cube.
- A Lightning LUT will take 101 measurements to create a 3D LUT and will take less than an hour
- The fixed cube options will take several thousand measurements and take a few hours to complete
Step 7
Here Post-calibration readings are taken to document the post-calibration condition of the display.

Click the Read Series […] button
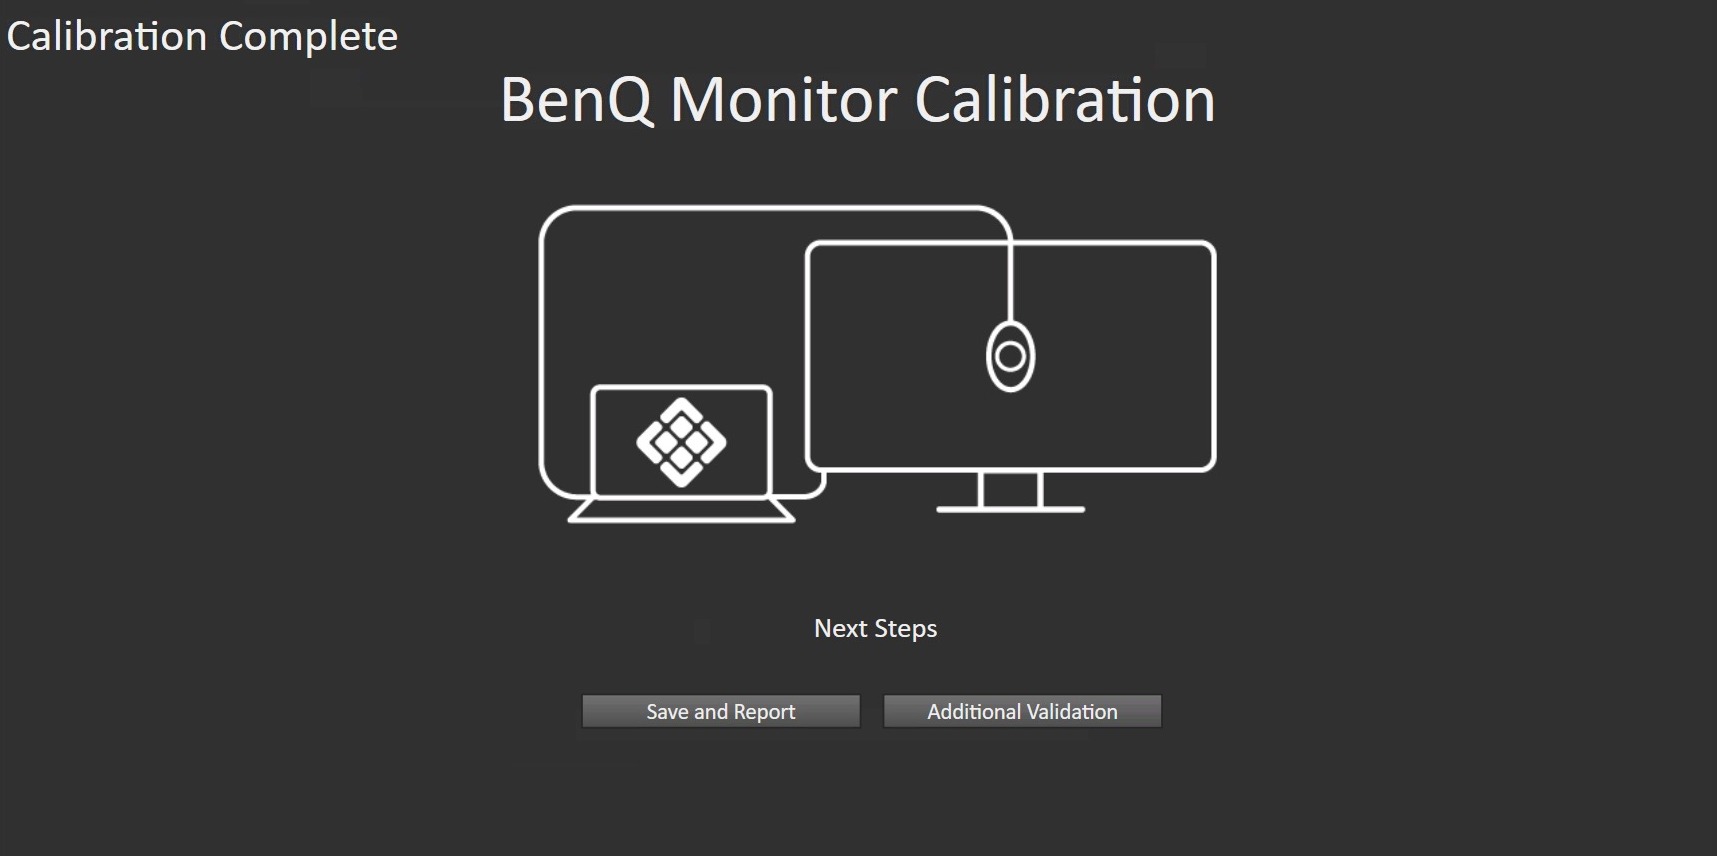
- HDR Calibration now complete.
- Press the Save Config button to load the calibration to the monitor.
- Press Save and Report to save your Calman session file and open a report
- Or, Press Additional Validation to perform additional post-calibration tests with Saturation Sweeps and Pantone ColorChecker patches.