The LG Monitor Calibration workflow in Calman will guide you through calibrating compatible LG OLED Pro monitors.

Calman Supported Models
- LG EP950
- LG BP95E
Calman Required Version
- Calman (Ultimate or Studio) Version 5.12.3 or later
- Calman (Ultimate or Studio) Version 5.14.2 or later for HDR calibration
Calman Required Workflows
- LG Monitor Calibration Workflow
Required Hardware
- Calman-compatible External Pattern Generator
- Calman compatible Meter
Step 1
- Welcome to the Calman LG Monitor Calibration Workflow, pres SDR or HDR to begin calibration for the respective colorspace
Step 2
In this step, you can configure your calibration targets
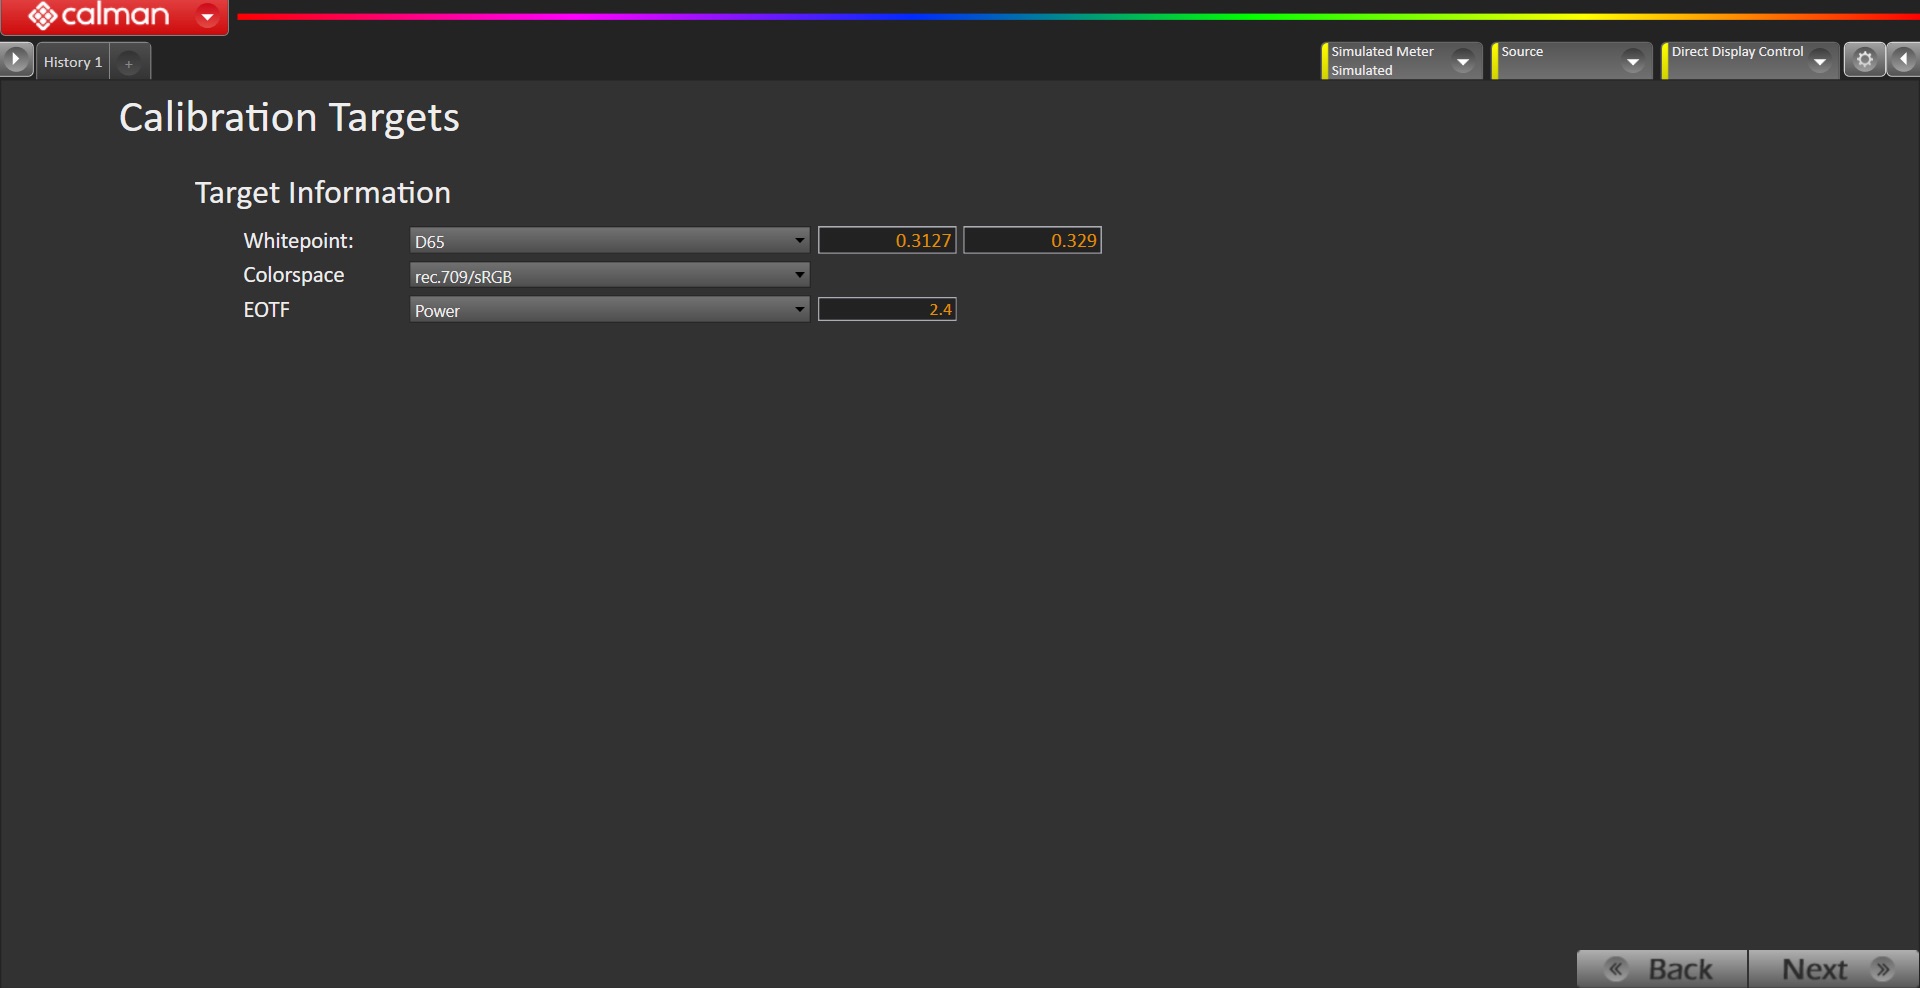
SDR:
- Whitepoint: D65
- Colorspace: rec.709/sRGB
- EOTF: Power 2.4
HDR:
- Whitepoint: D65
- Colorspace: DCI P3 or rec.2020
- EOTF: ST_2084_HDR
Step 3
Here you will connect to your calibration hardware
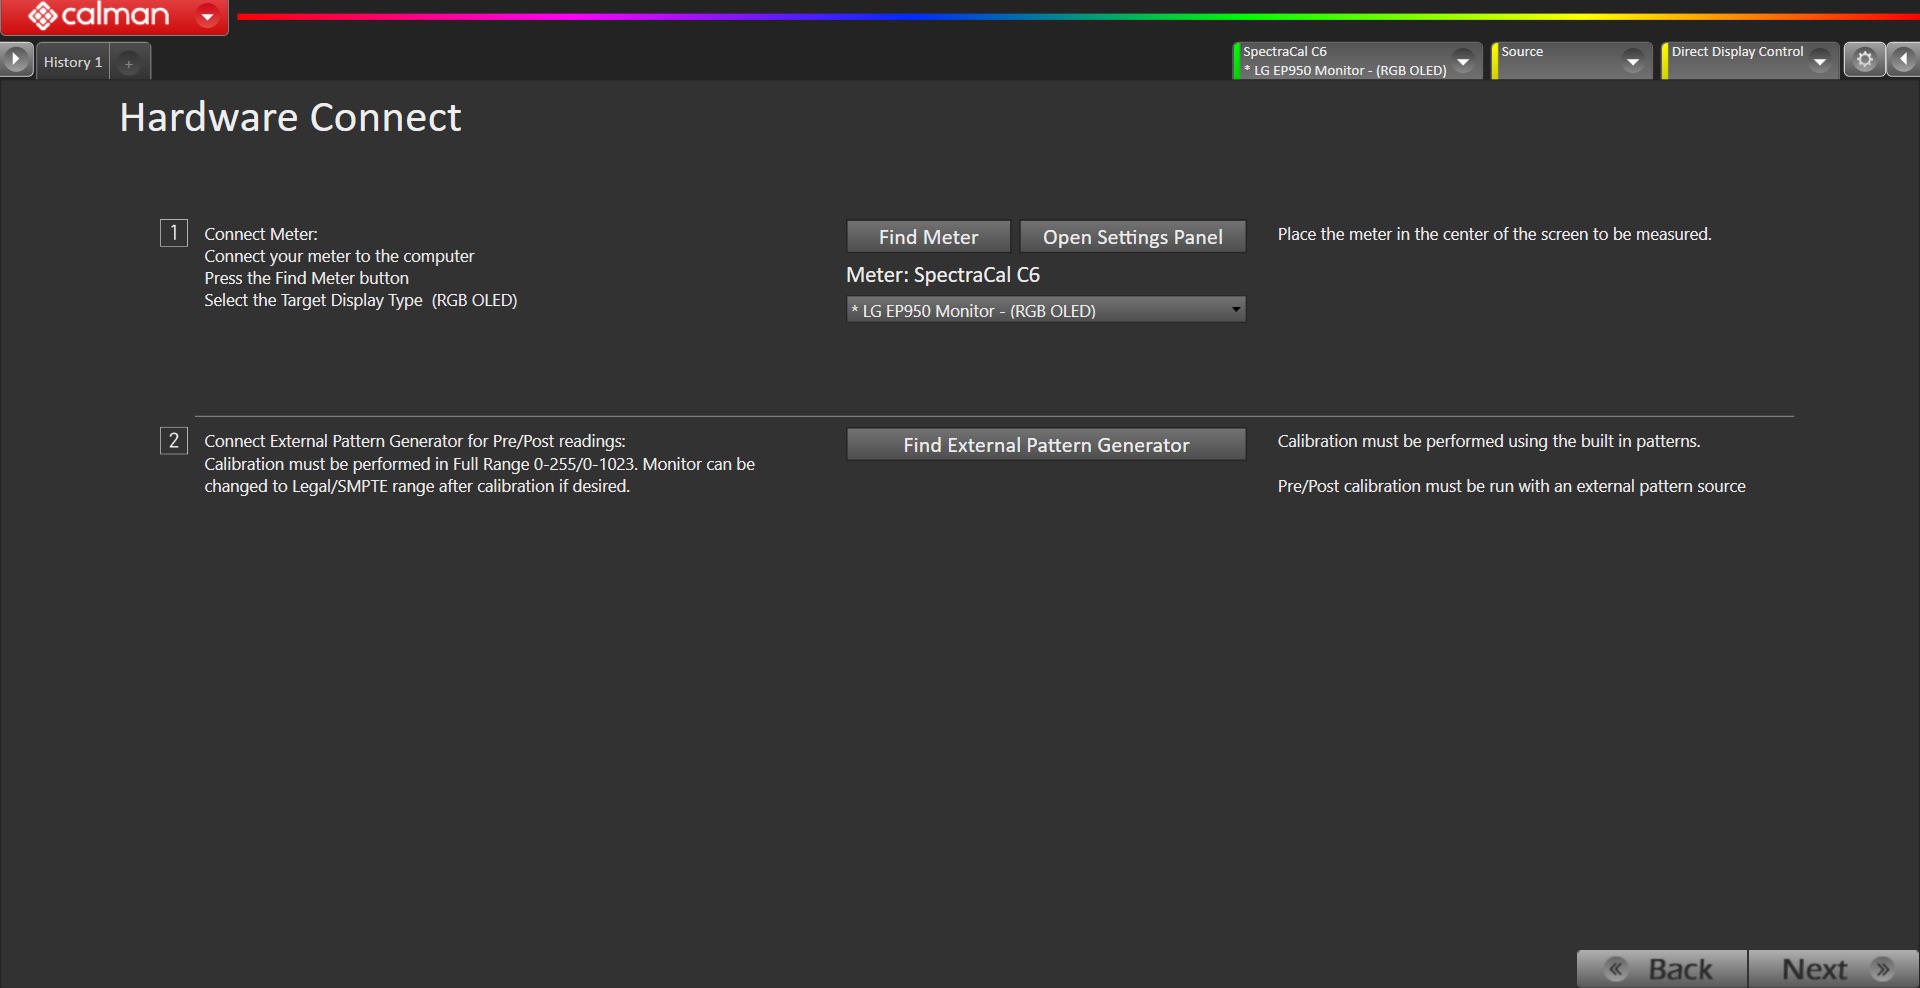
- Connect Meter:
- Connect your meter to the computer
- Press the Find Meter button
- Select the Target Display Type (RGB OLED)
- Connect External Pattern Generator for Pre/Post readings:
- Connect your Find External Pattern Generator to the computer
- Press the Find External Pattern Generator button
- Notes
- Calibration must be performed using the built-in patterns. Pre and Post calibration must be run with an external pattern source
- Calibration must be performed in Full Range 0-255/0-1023. The monitor can be changed to Legal/SMPTE range after calibration if desired.
- For HDR calibration, no HDR metadata is needed. Just set the display to the desired HDR picture mode through the OSD.
Step 4
In this step, you’ll take readings of your display before the calibration. These will be used to compare your calibration results
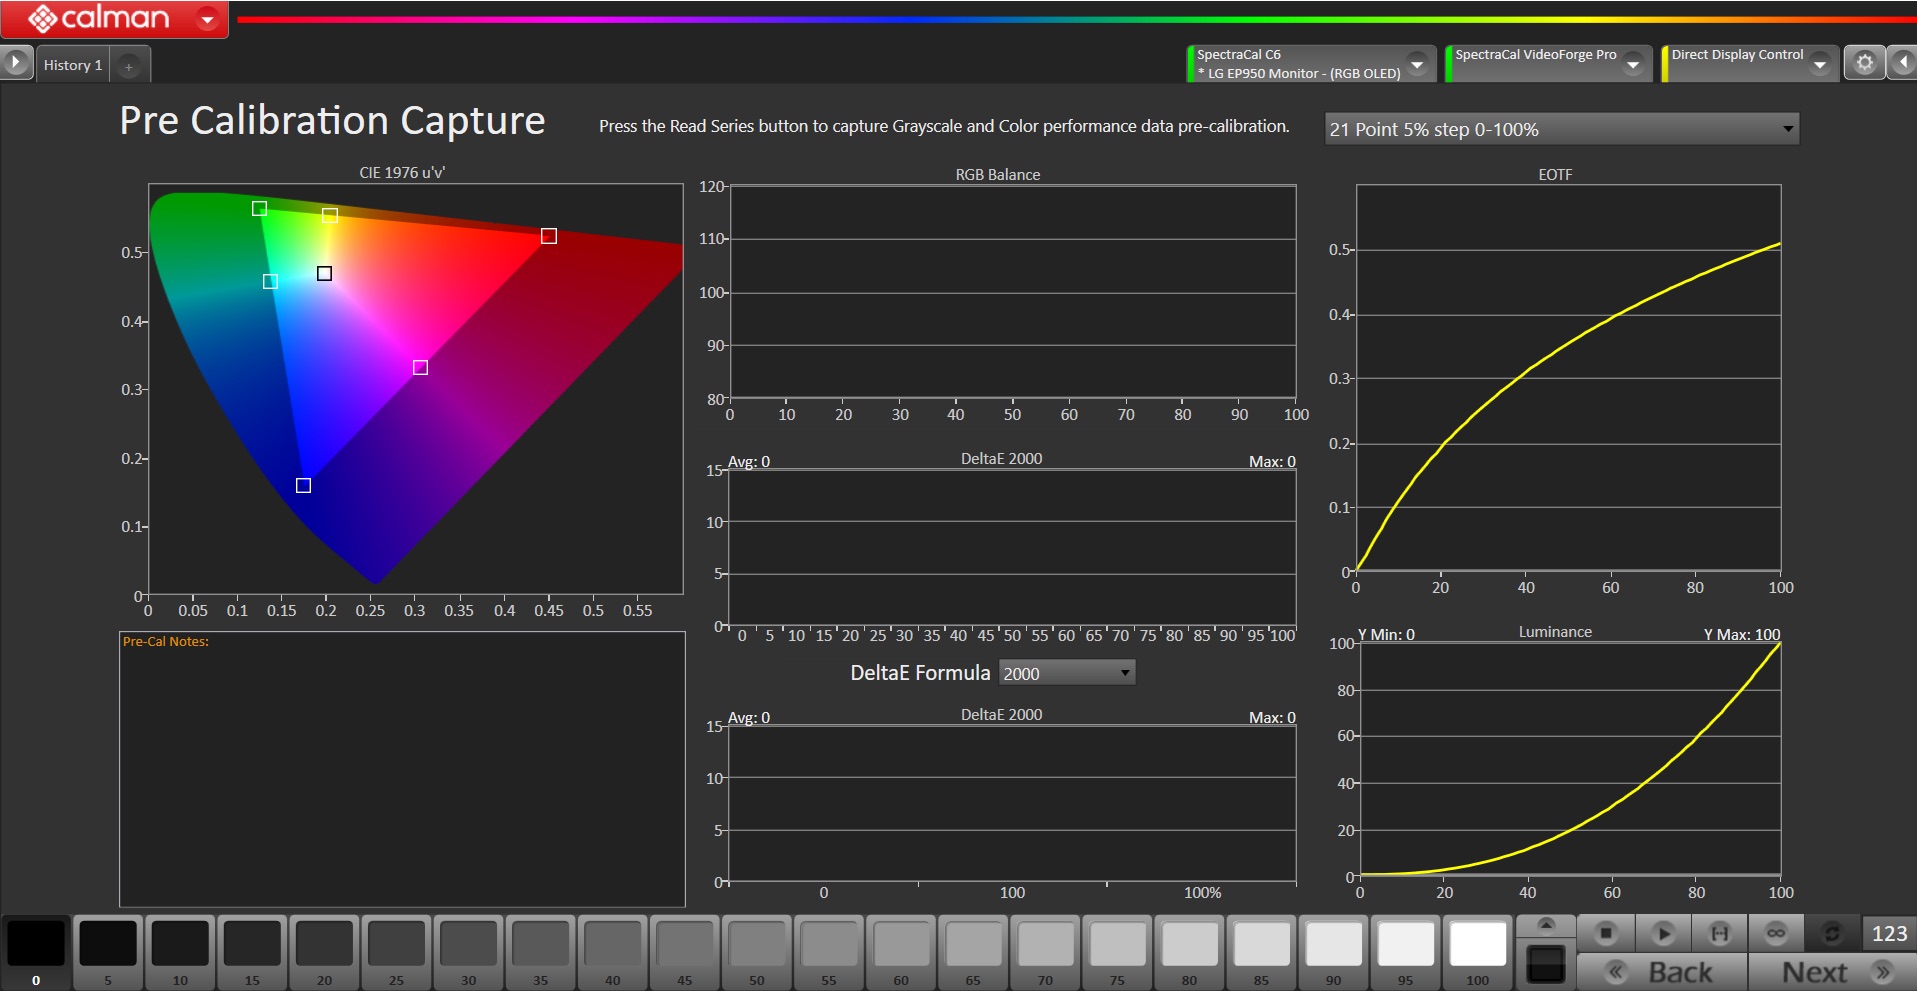
- To take Pre-Calibration Measurements click the Read Series […] button to measure the display’s grayscale and ColorChecker response
Step 5
In this step, you will connect to and prepare your monitor for calibration
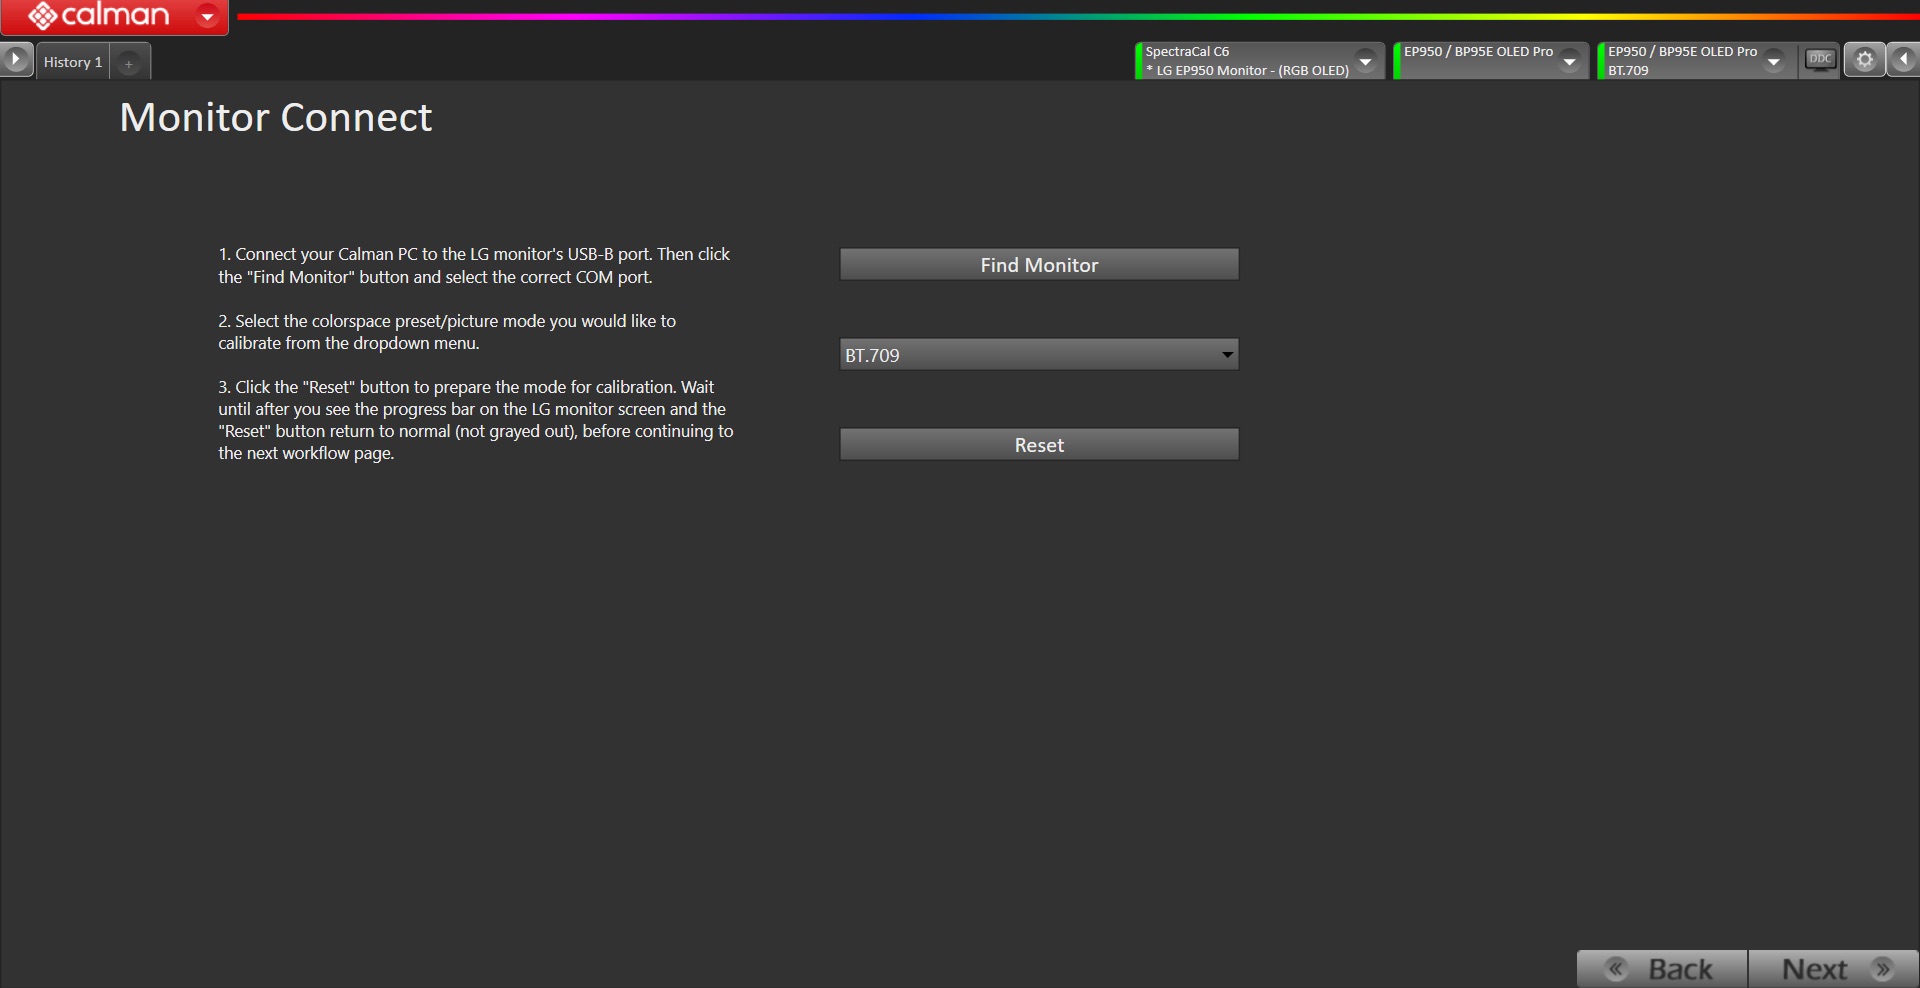
- Connect your Calman PC to the LG monitor’s USB-B port. Then click the “Find Monitor” button and select the correct COM port.
- Select the colorspace preset/picture mode you would like to calibrate from the dropdown menu.
- Click the “Reset” button to prepare the mode for calibration. Wait until after you see the progress bar on the LG monitor screen and the “Reset” button return to normal (not grayed out), before continuing to the next workflow page.
Step 6
In this step, you will be able to adjust the Luminance of your display to match your desired target. Luminance is a subjective target. SDR reference luminance is 100cd/m2, but you may need to target higher to account for the ambient light in your environment. This step is not present in HDR calibration.
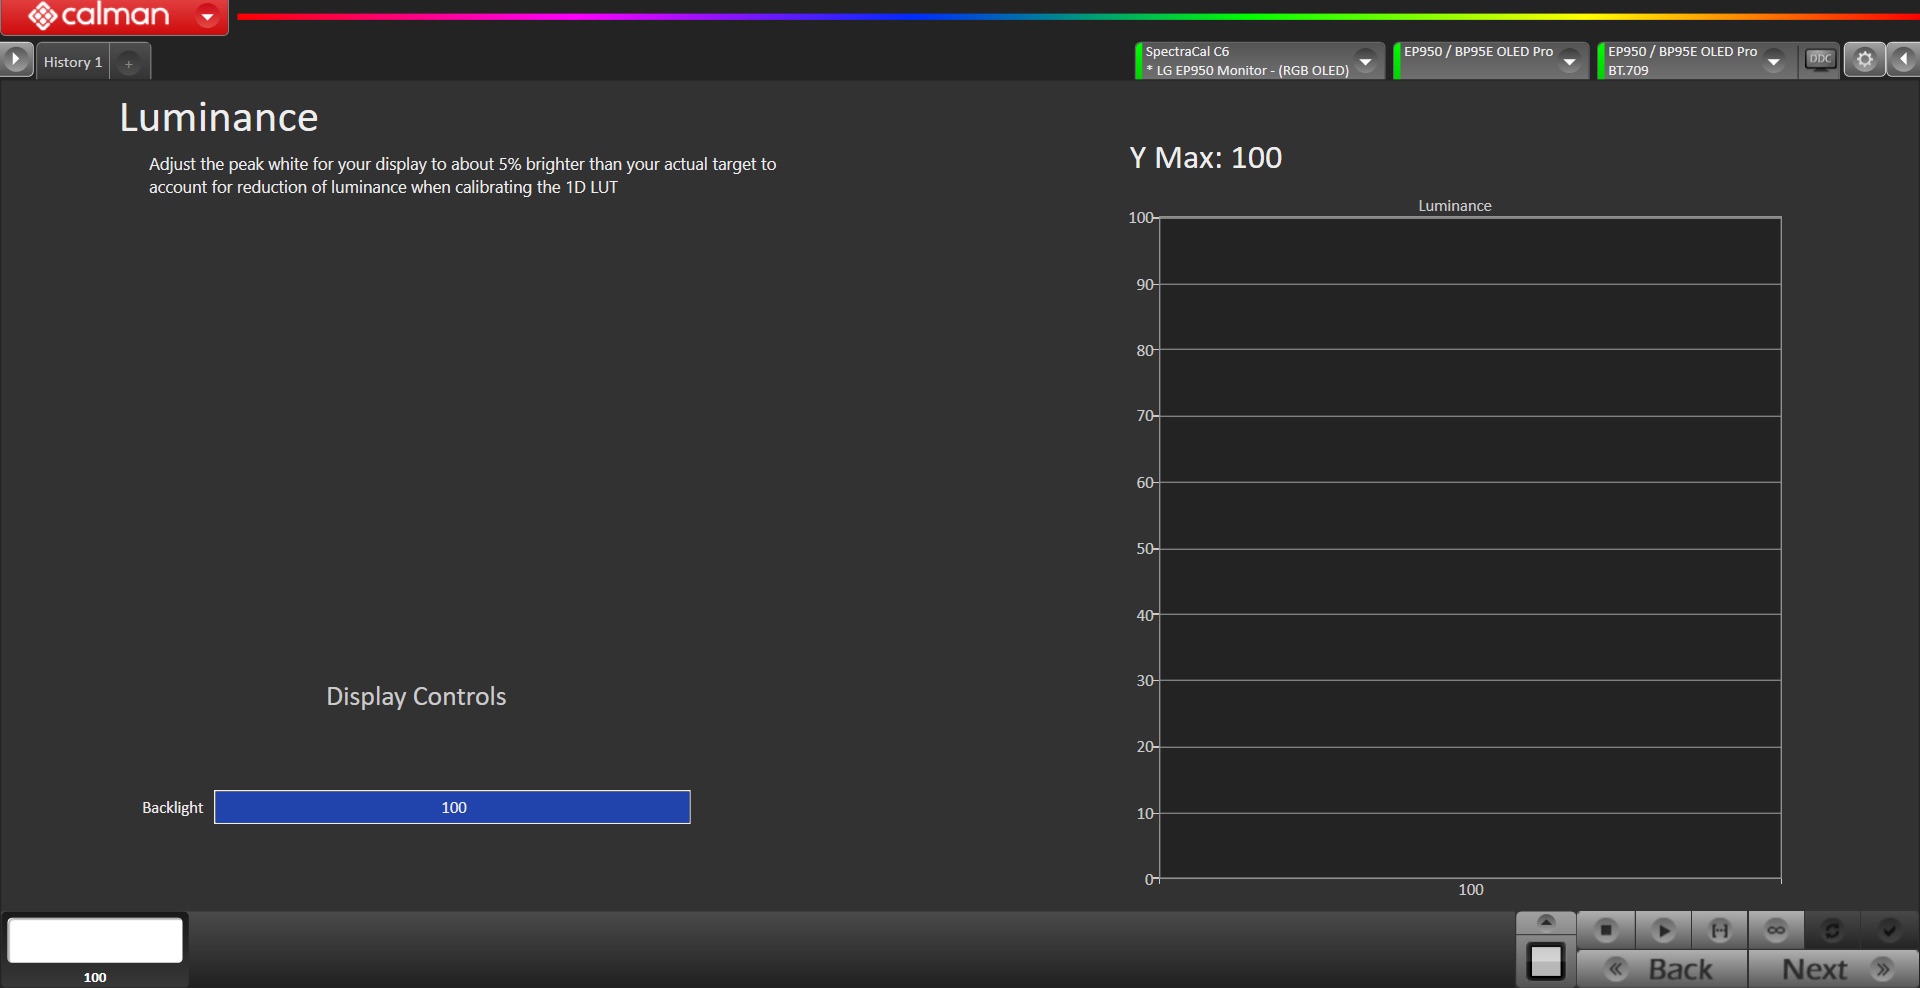
- Luminance Target
- Using the Backlight control for the monitor, displayed on the screen, adjust to your luminance target.
- Click the Read Continuous button to measure your display’s light output at 100% white and adjust the display’s peak white to the desired luminance.
- Luminance is a subjective target, you may need to target higher to account for the ambient light in your environment.
- Below are some general luminance levels for different viewing environments
- Dim Room: 80-120 cd/m^2
- Overhead lights: 120-160 cd/m^2
- Bright Room: 200+ cd/m^2
- Below are some general luminance levels for different viewing environments
- Using the Backlight control for the monitor, displayed on the screen, adjust to your luminance target.
Step 7
In this step, Calman AutoCal will automatically calibrate the 1D and 3D LUTs to the targets specified in the session setup step
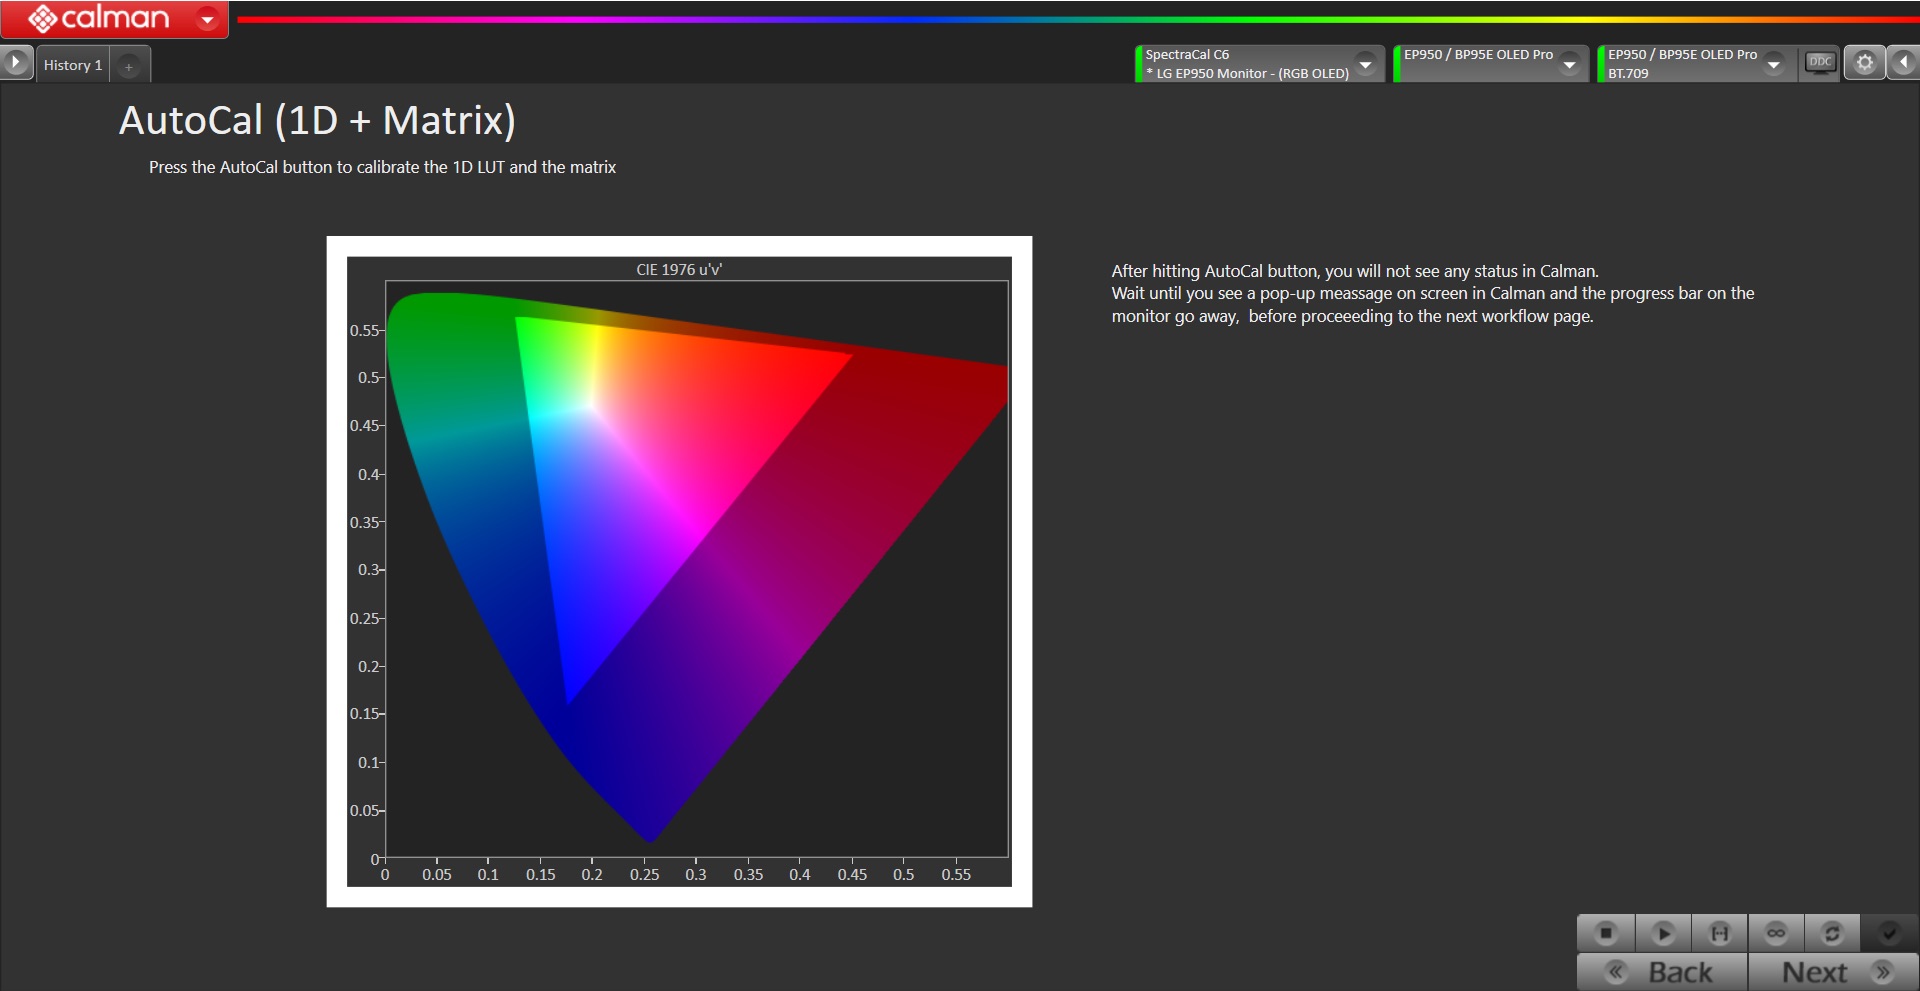
- Press the AutoCal button to begin the Greyscale and Color Gamut AutoCal process.
- After clicking the AutoCal button, you will not see any status in Calman. Wait until you see a pop-up message on screen in Calman and the progress bar on the monitor go away, before proceeding to the next workflow page.
Step 8
It’s common to lose some overall luminance after the 1D LUT calibration. Use step this to adjust back to your luminance target if it has changed. This step is not present in HDR calibration.
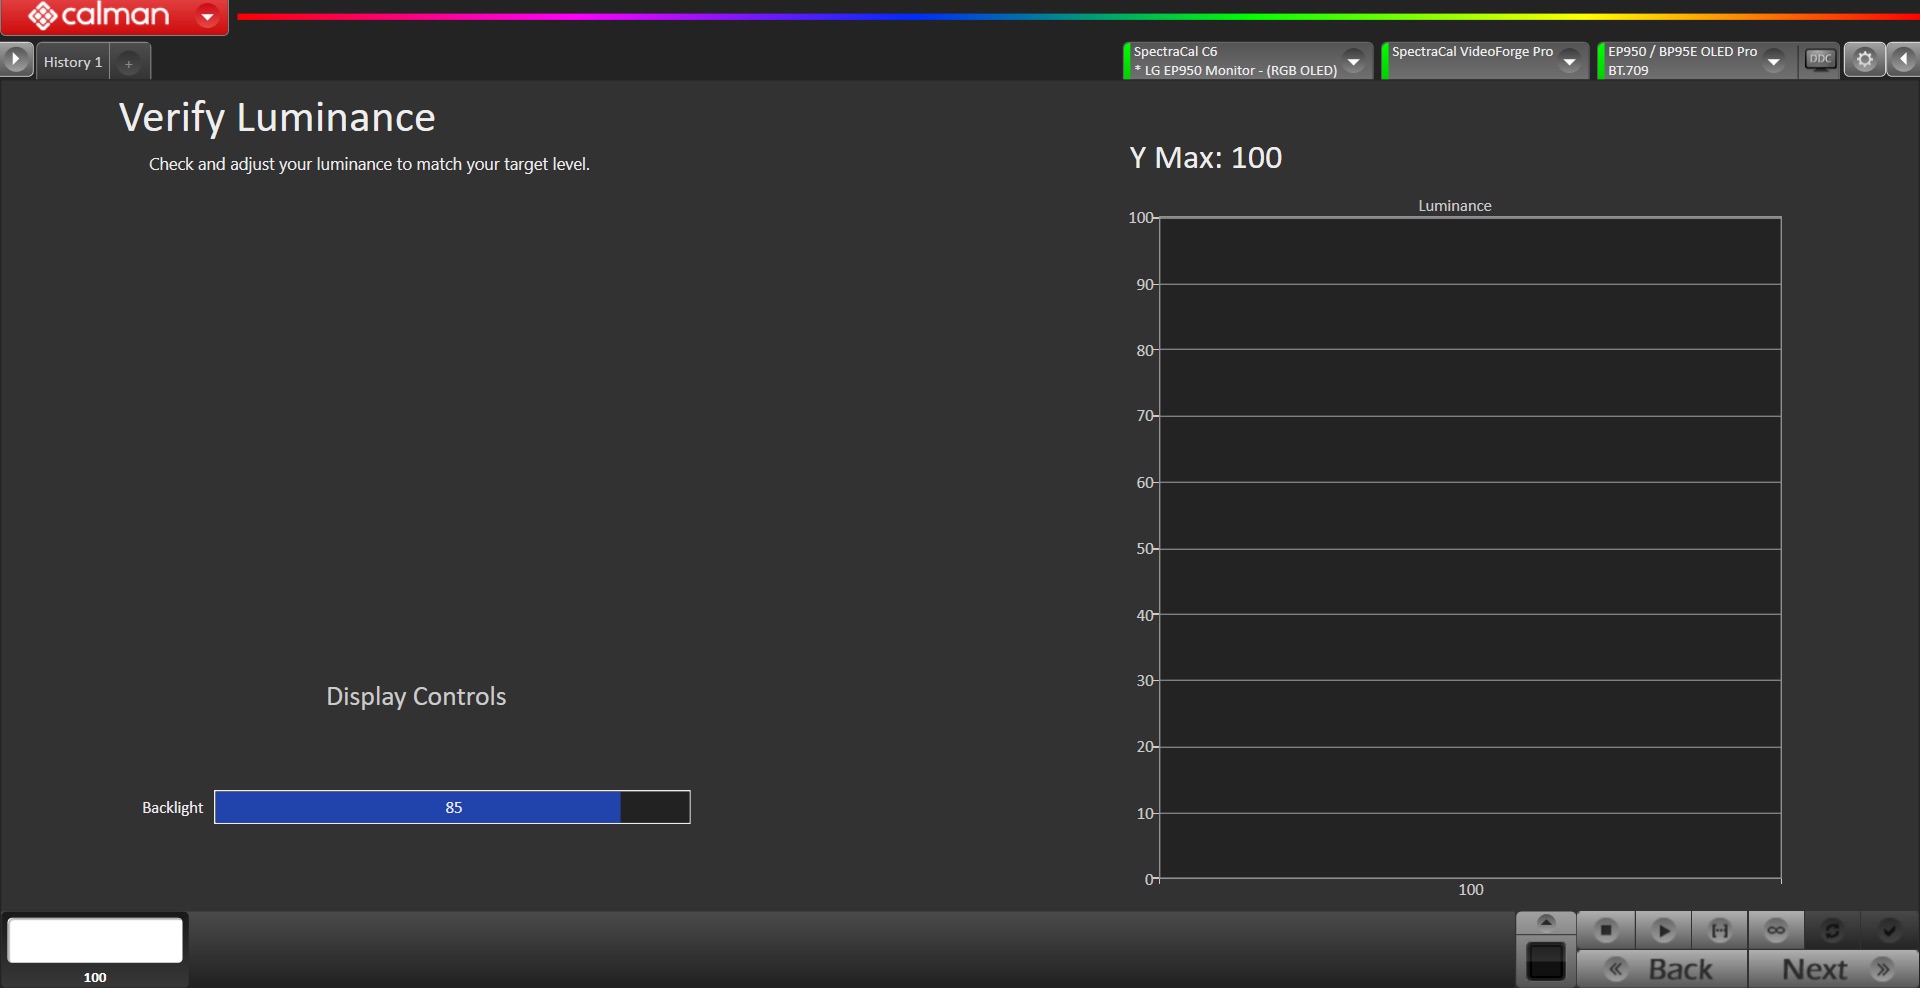
- Using the Backlight control for the monitor, displayed on the screen, re-adjust to your luminance target.
Step 9
Here Post-calibration readings are taken to document the post-calibration condition of the display.
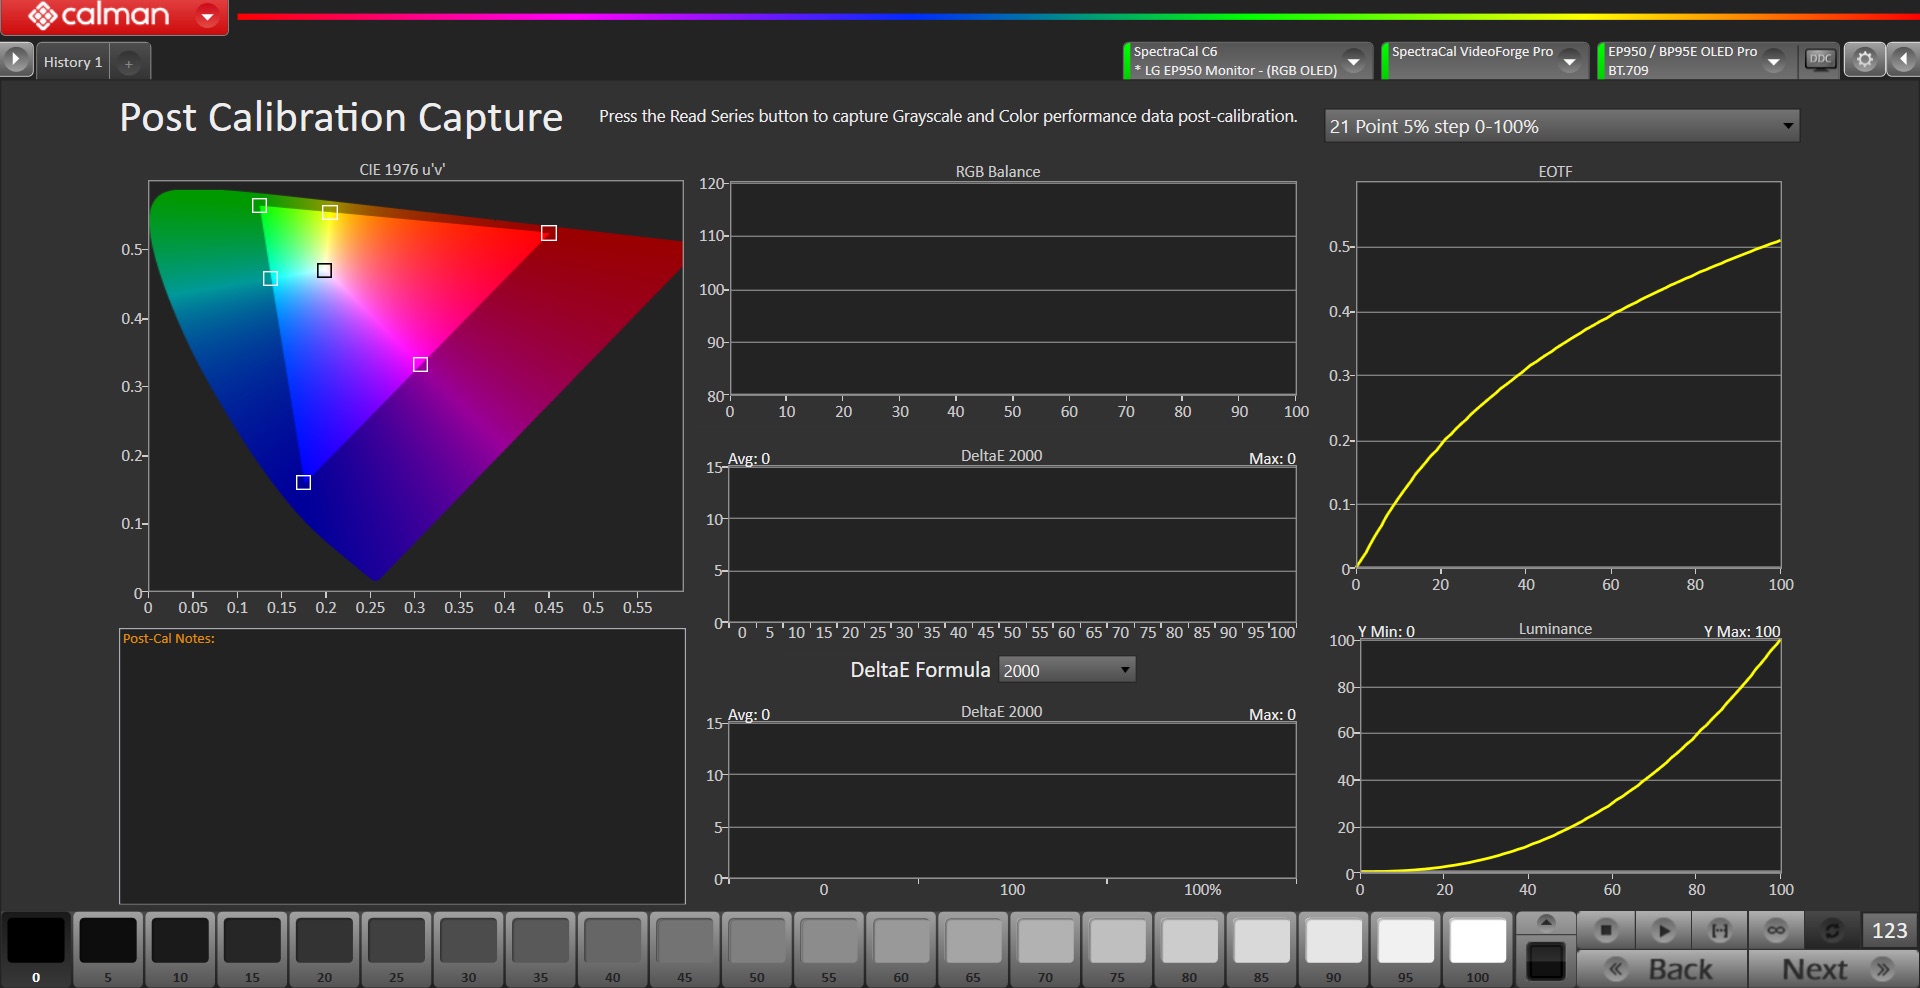
- To take Post-Calibration Measurements click the Read Series […] button to measure the display’s grayscale and ColorChecker response
Step 10
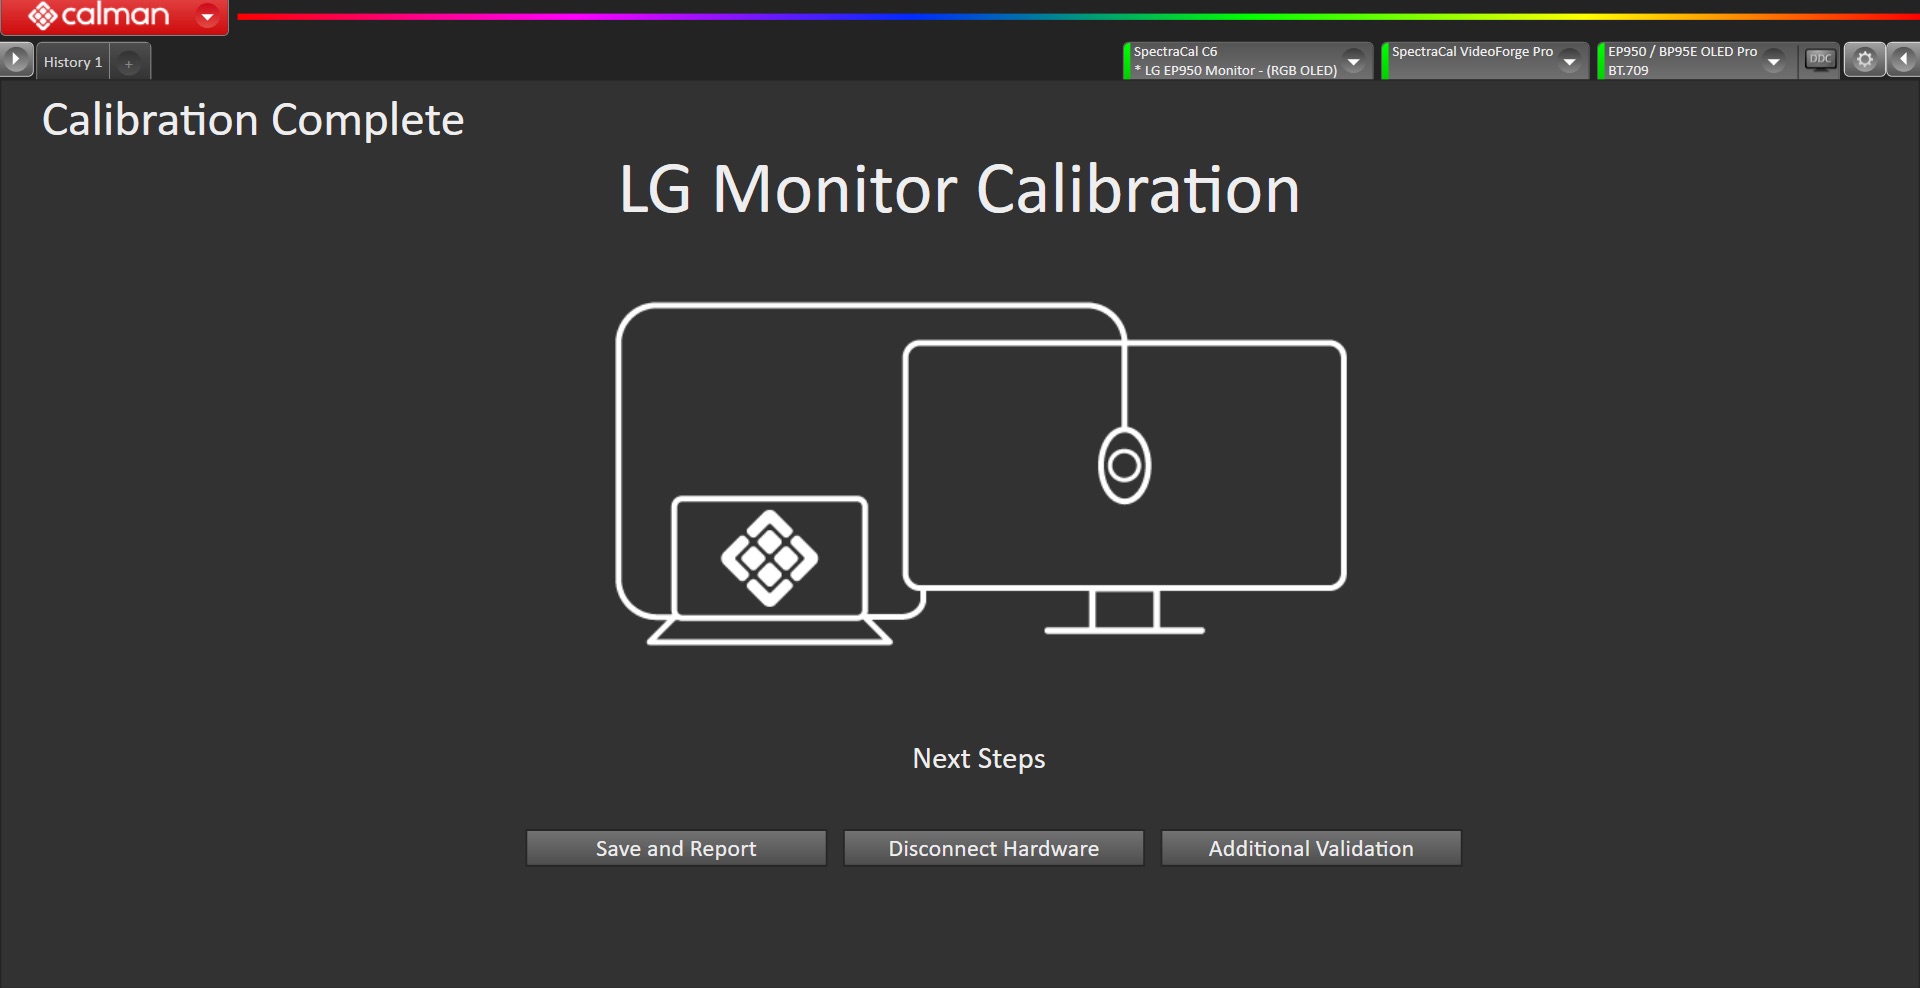
- Calibration is now complete.
- Press Save and Report to save your Calman session file and open a report
- Press the Disconnect Hardware button to disconnect the display from Calman.
- Or, Press Additional Validation to perform additional post-calibration tests with Saturation Sweeps and Pantone ColorChecker patches.