The SmallHD Monitor Calibration workflow in Calman will guide you through calibrating compatible SmallHD monitors.

Calman Supported Models
- SmallHD PageOS 5 models
- PageOS 5.4 or later
- Note: The connection between the SmallHD monitor and Calman must be established via an ethernet connection. However, some compatible PageOS 5 monitors do not have ethernet ports. Please contact SmallHD Support for information on what USB to Ethernet adapters will work best.
Calman Required Version
- Calman (Ultimate or Studio) Version 5.14.0 or later
Calman Required Workflows
- SmallHD AutoCal Workflow
Required Hardware
- Calman-compatible External Pattern Generator
- Used for Post-Calibration verification
- Calman compatible Meter
Step 1
From the Calman Menu, choose Open Workflow Template > Display Specific > SmallHD AutoCal
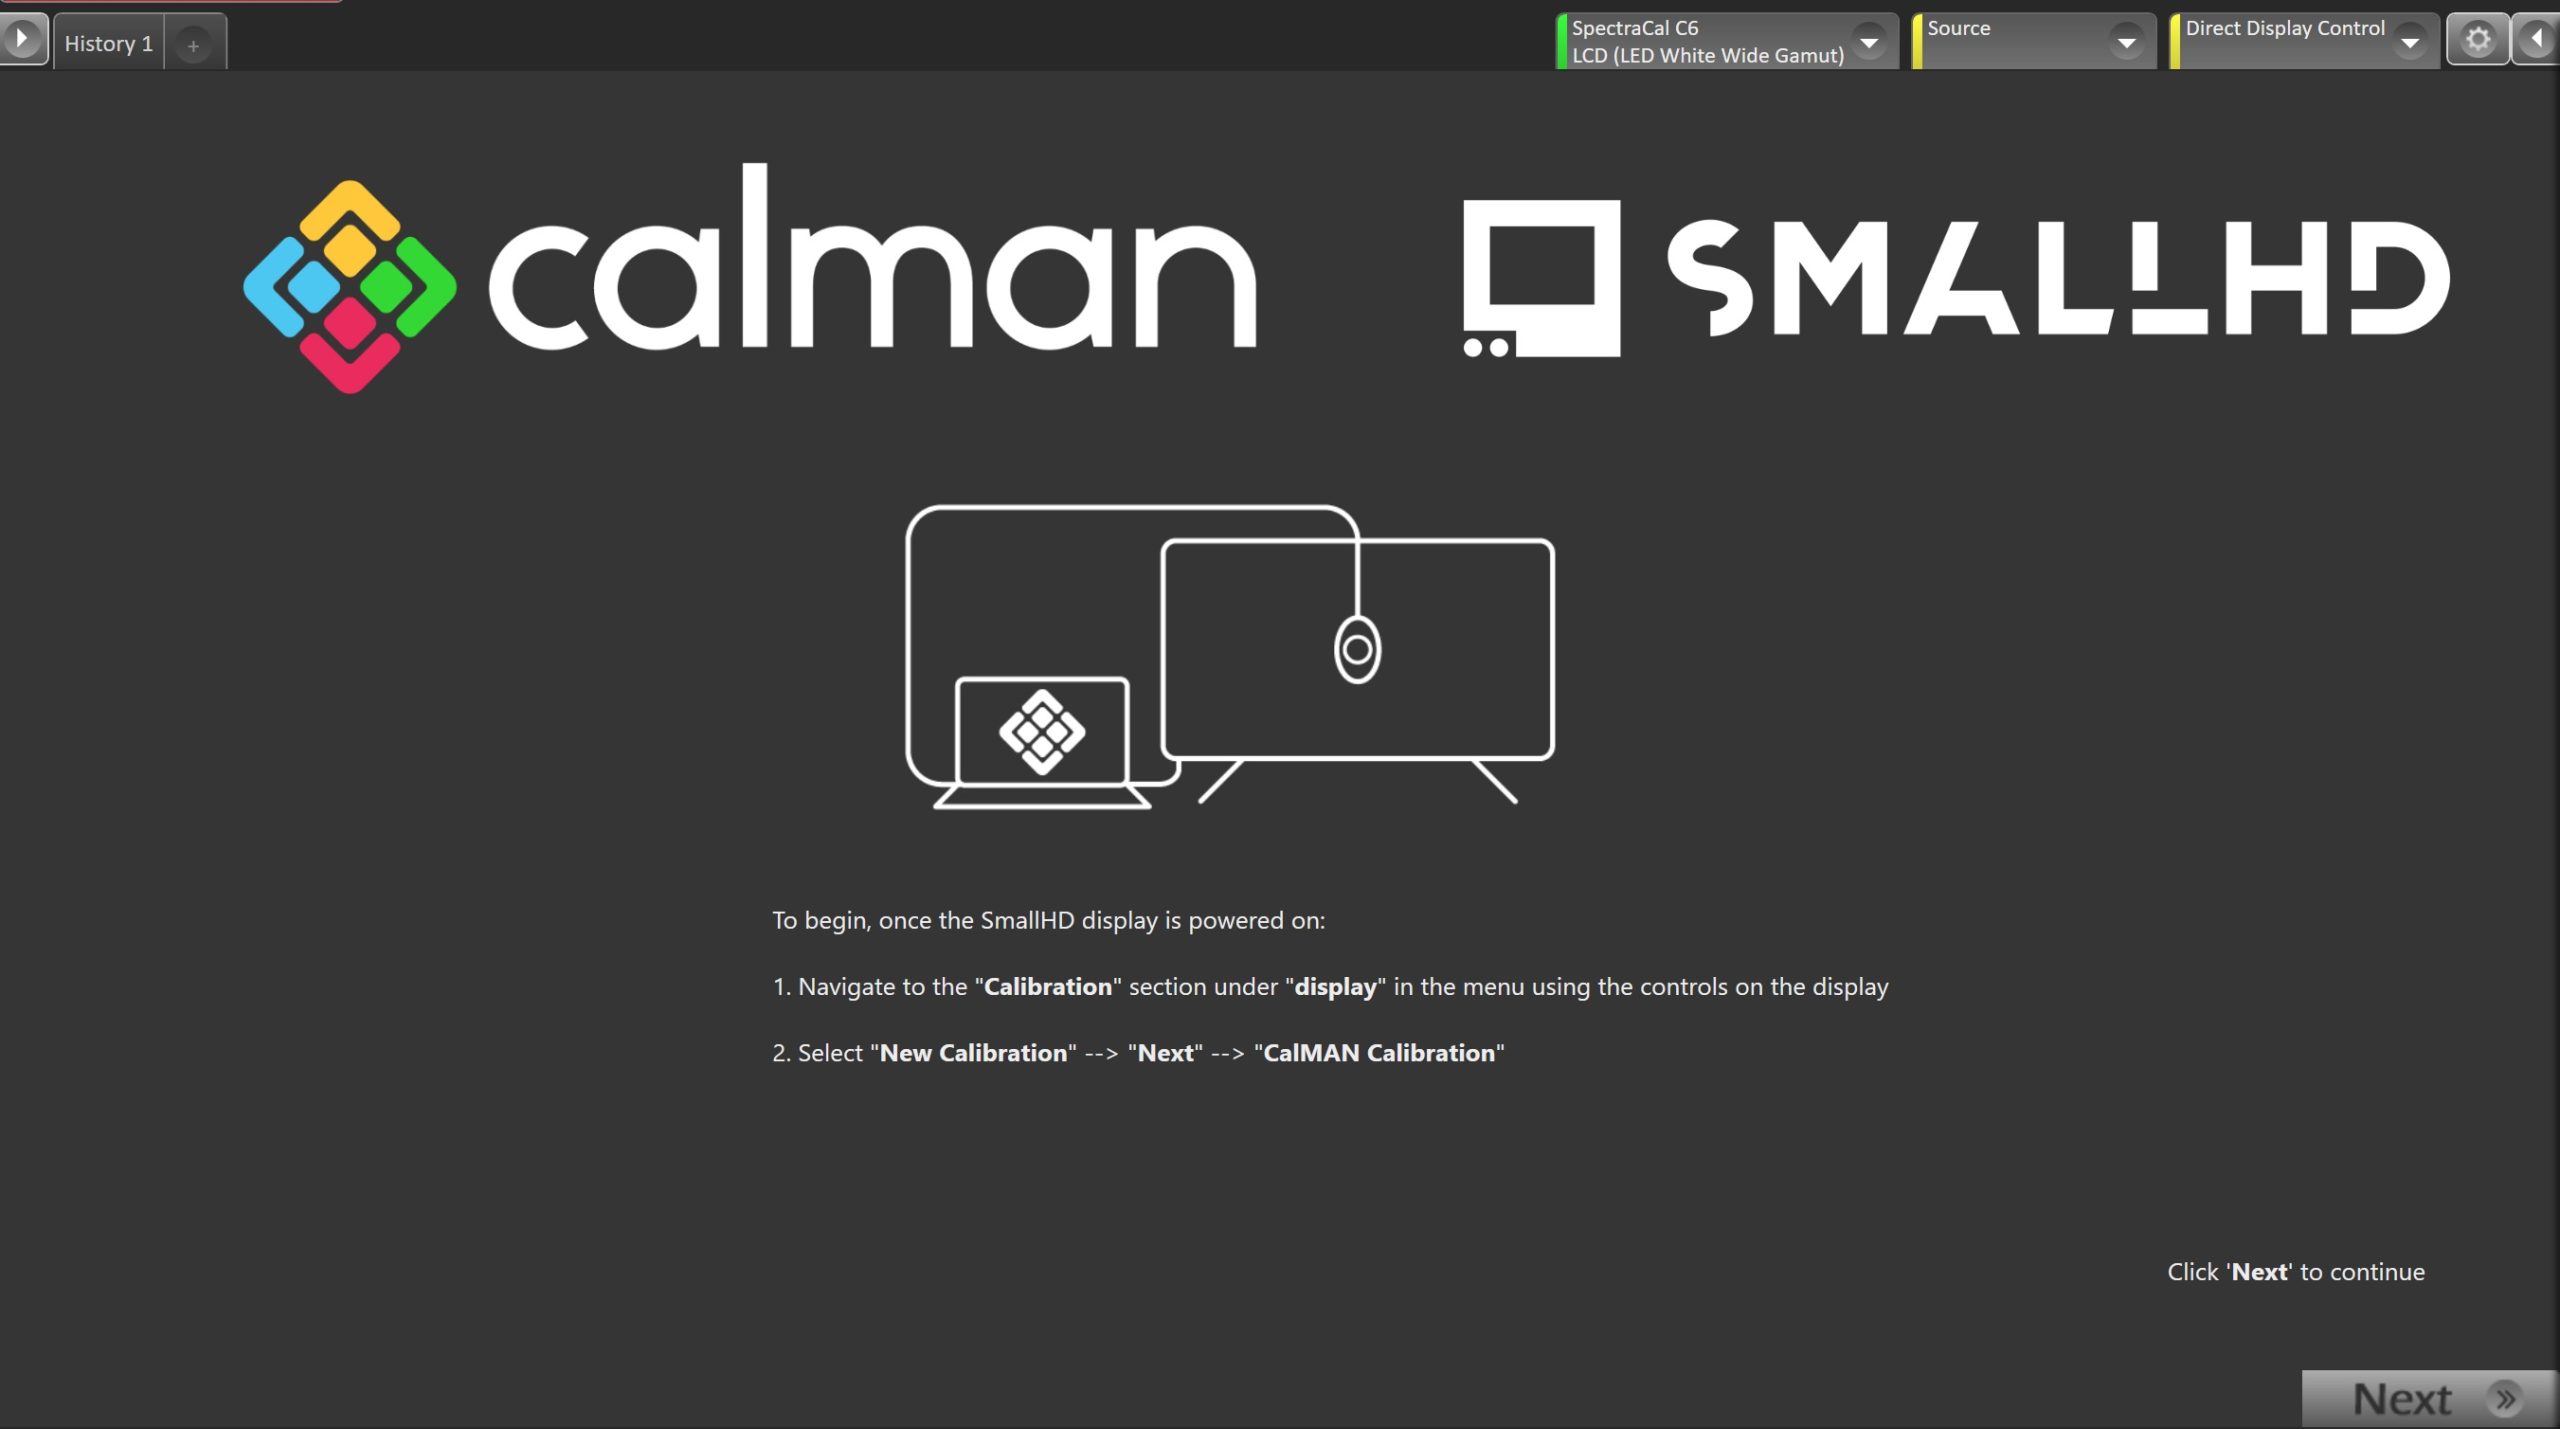
Welcome to the SmallHD AutoCal workflow. To begin calibration prepare the monitor for connection…
- Navigate to the “Calibration” section under “display” in the menu using the controls on the display
- Select “New Calibration” –> “Next” –> “Calman Calibration”
- Once the display is ready for calibration, click Next in Calman to proceed to the next workflow step
Step 2
Here you will connect to your calibration hardware
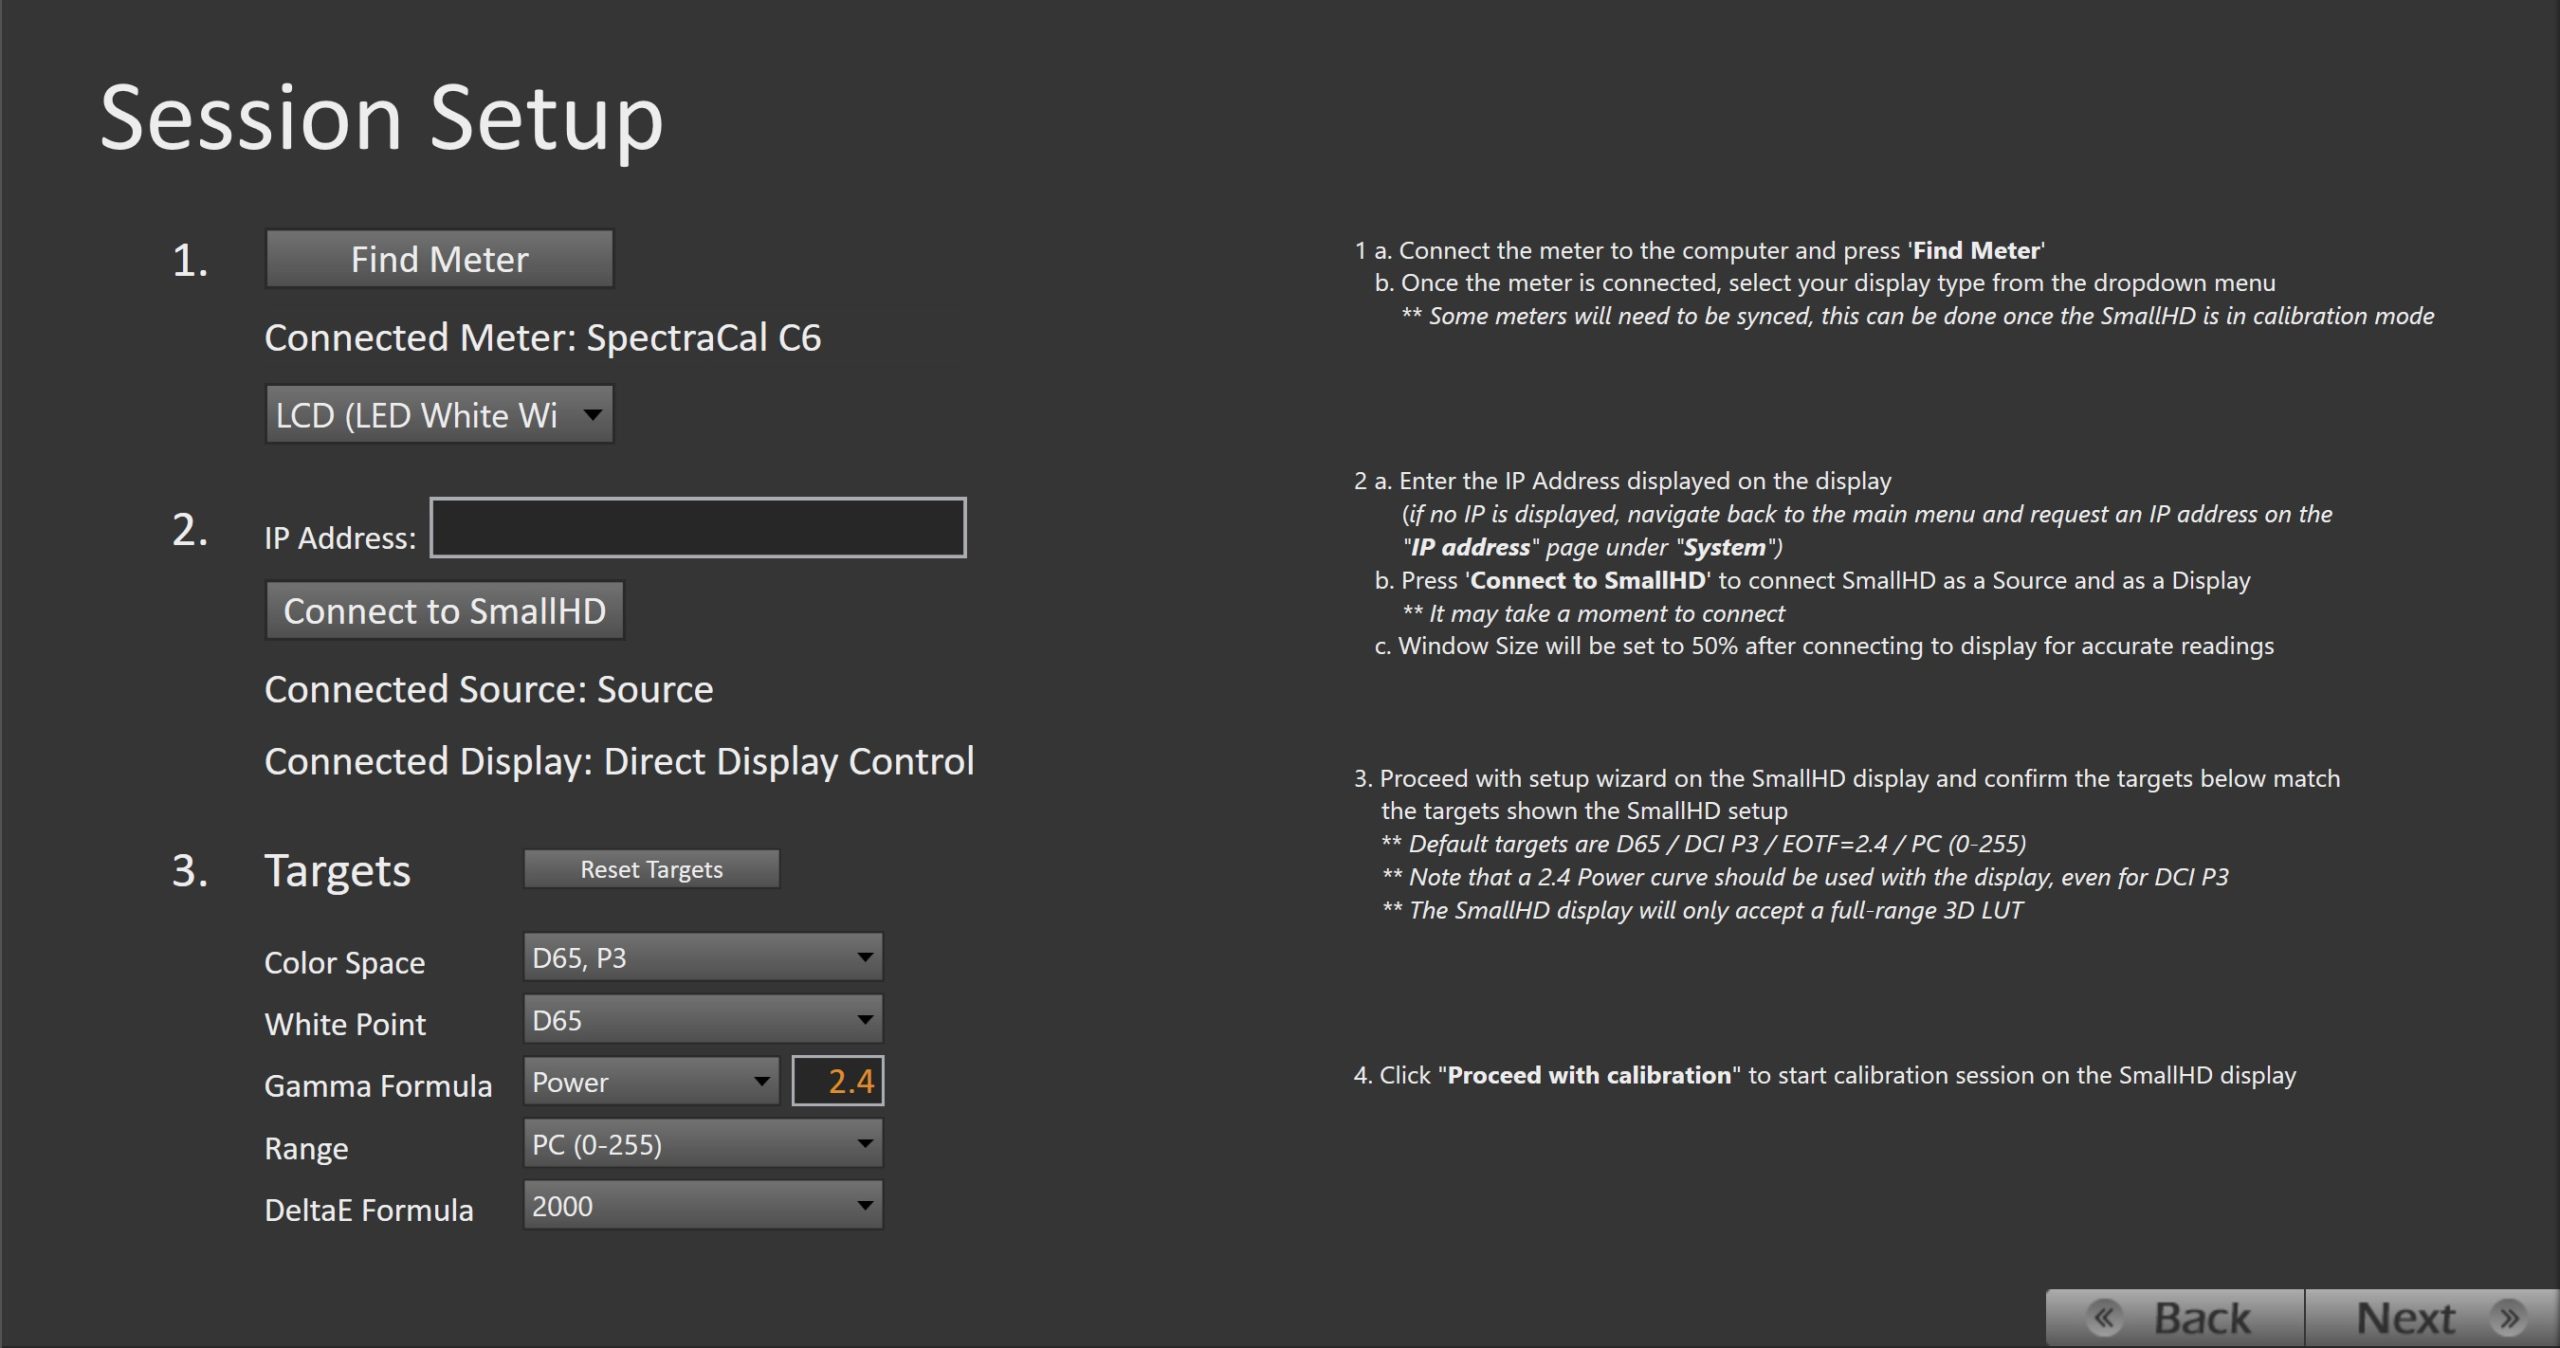
- Connect the meter to the computer and press ‘Find Meter’
- Once the meter is connected, select your display type from the dropdown menu
- Some meters will need to be synced, this can be done once the SmallHD is in calibration mode
- Once the meter is connected, select your display type from the dropdown menu
- Enter the IP Address displayed on the display
-
- (if no IP is displayed, navigate back to the main menu and request an IP address on the
“IP address” page under “System”) - Note: Ensure the display is running PageOS 5.4 or later
- (if no IP is displayed, navigate back to the main menu and request an IP address on the
-
- Press ‘Connect to SmallHD’ to connect SmallHD as a Source and as a Display
-
- It may take a moment to connect
- Pattern Window Size will be set to 50% after connecting to the display for accurate readings
-
- Proceed with the setup wizard on the SmallHD display and confirm the targets below match the targets shown in the SmallHD setup
- Default targets are D65 / DCI P3 / EOTF=2.4 / PC (0-255)
- Note that a 2.4 Power curve should be used with the display, even for DCI P3
- The SmallHD display will only accept a full-range 3D LUT
- Default targets are D65 / DCI P3 / EOTF=2.4 / PC (0-255)
- Click “Proceed with calibration” to start the calibration session on the SmallHD display
- Click Next in Calman to proceed to the next workflow step
Step 3
SmallHD recommends a 1-hour warm-up time prior to calibration. To warm up the display…
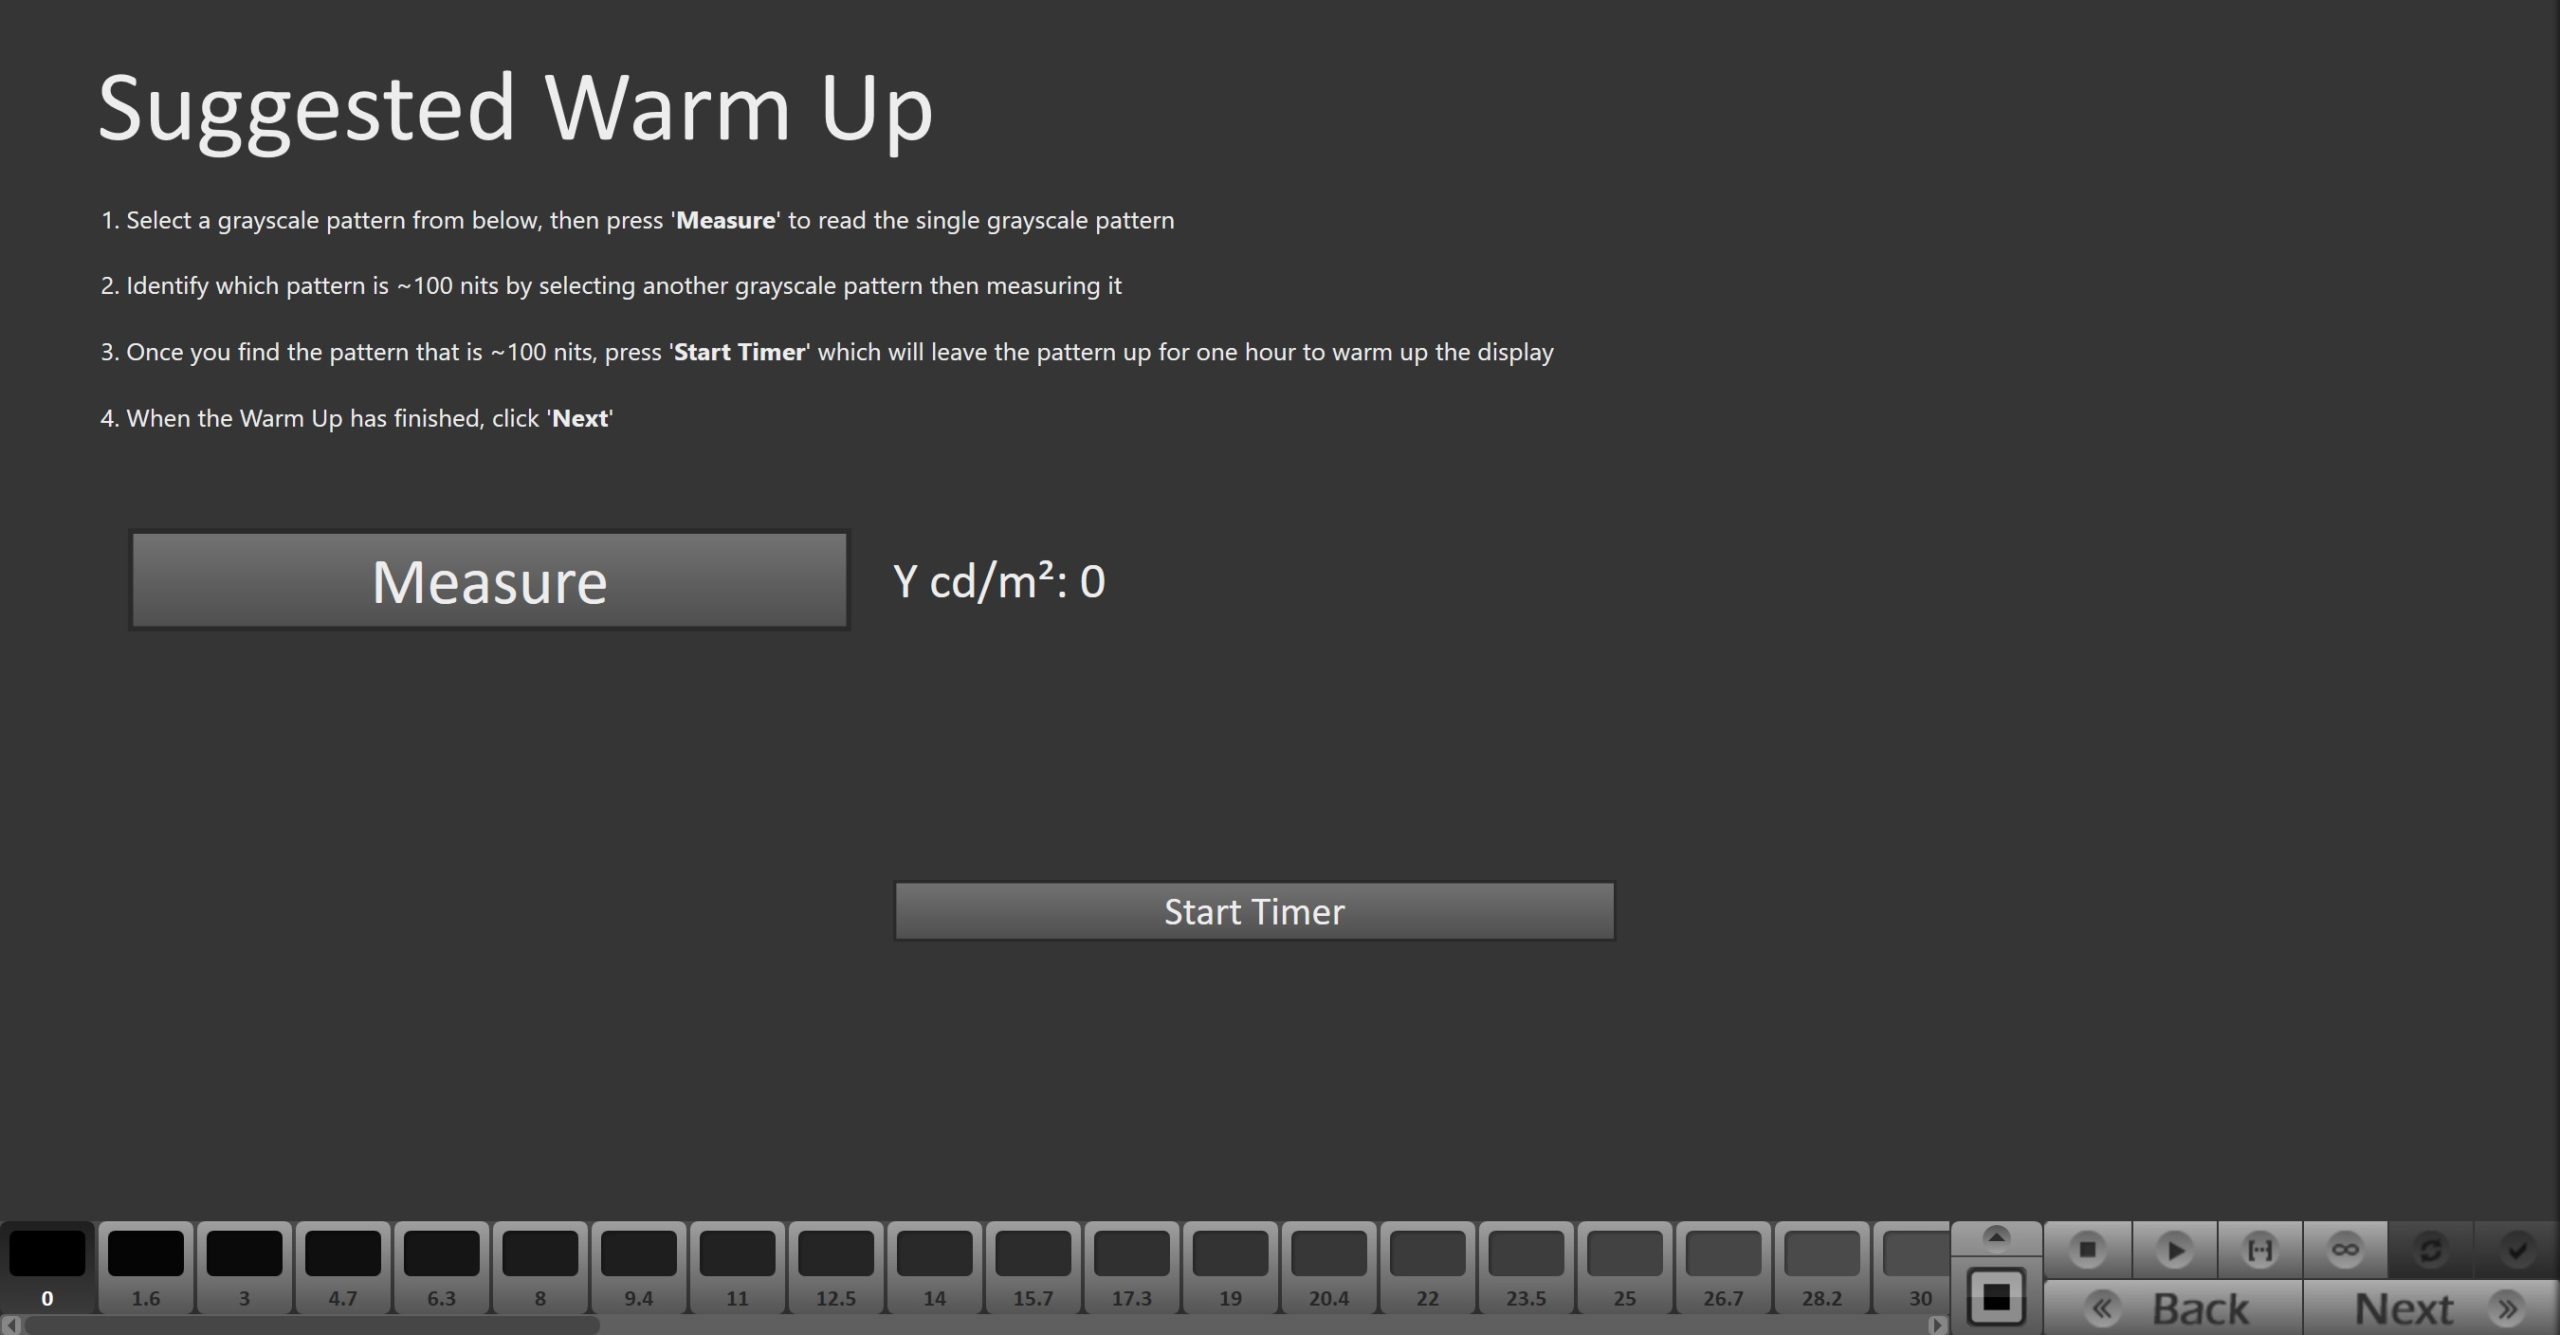
- Select a grayscale pattern from the slider at the bottom of Calman, then press ‘Measure’ to read the single grayscale pattern
- Identify which pattern is ~100 nits by selecting another grayscale pattern and then measuring it
- Once you find the pattern that is ~100 nits, press ‘Start Timer’ which will leave the pattern up for one hour to warm up the display
- When the Warm Up has finished, click Next
Step 4
In this step, you’ll take readings of your display before the calibration. These will be used to compare your calibration results
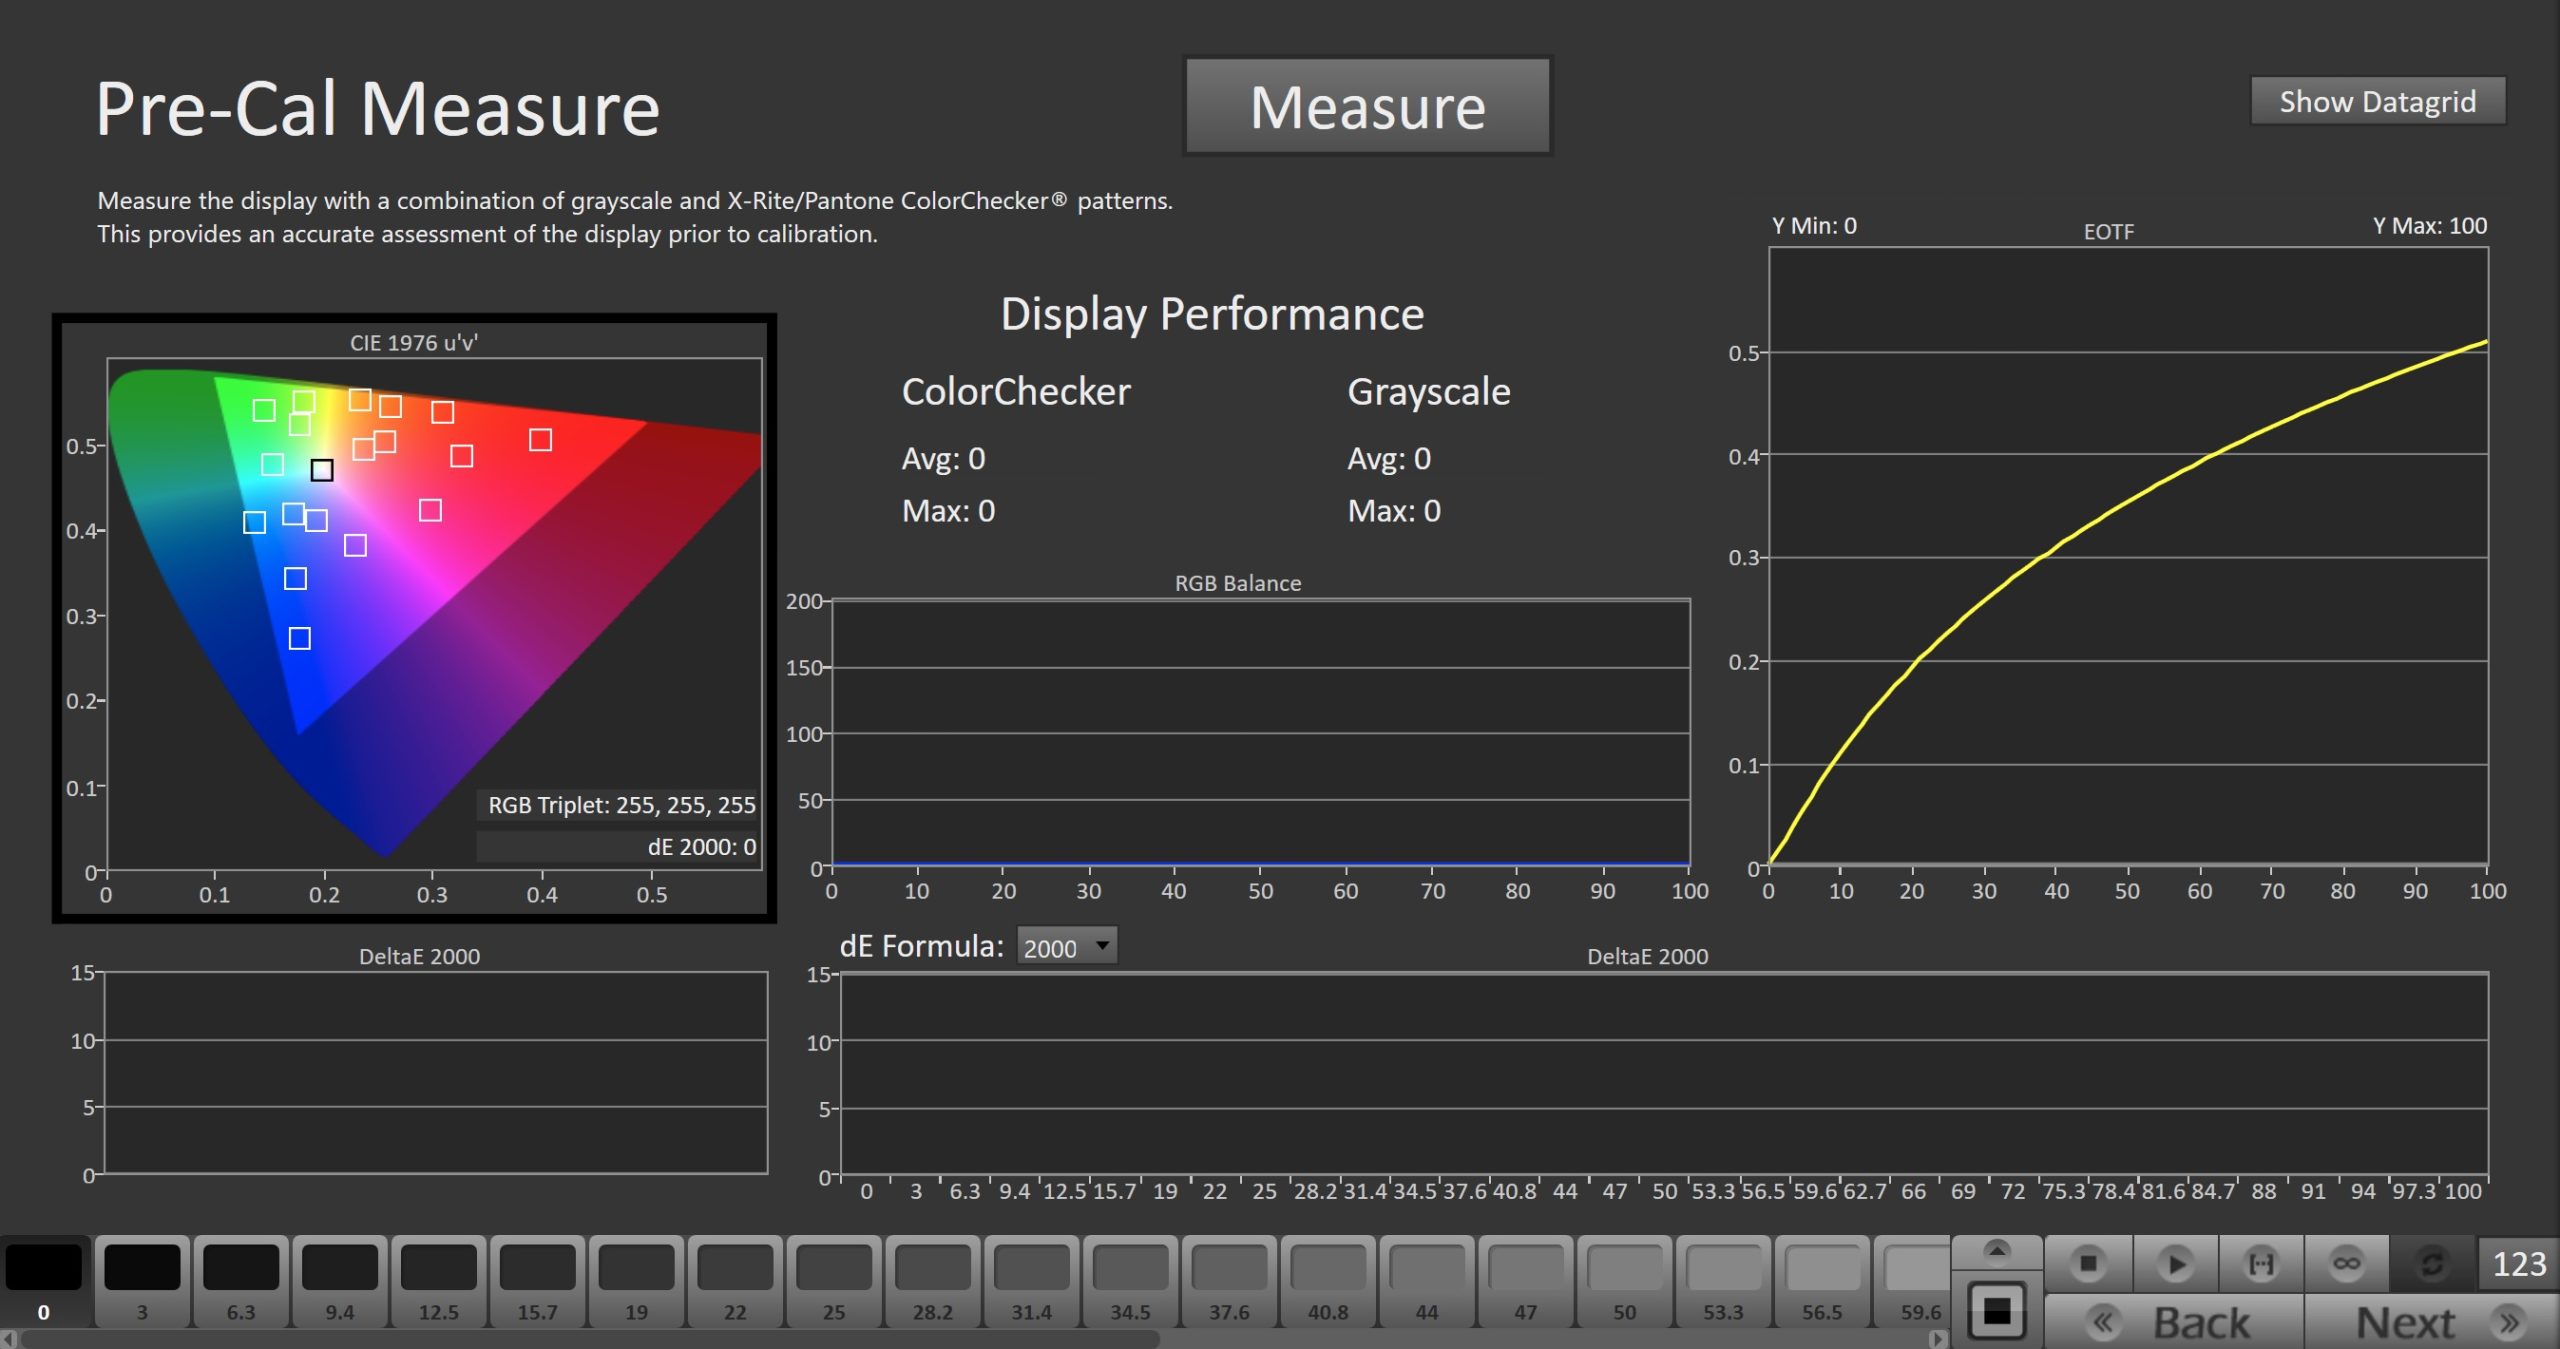
- To take Pre-Calibration Measurements click the Measure button to measure the display’s grayscale and ColorChecker response
Step 5
In this step, Calman AutoCal will automatically calibrate the 1D and 3D LUTs to the targets specified in the session setup step
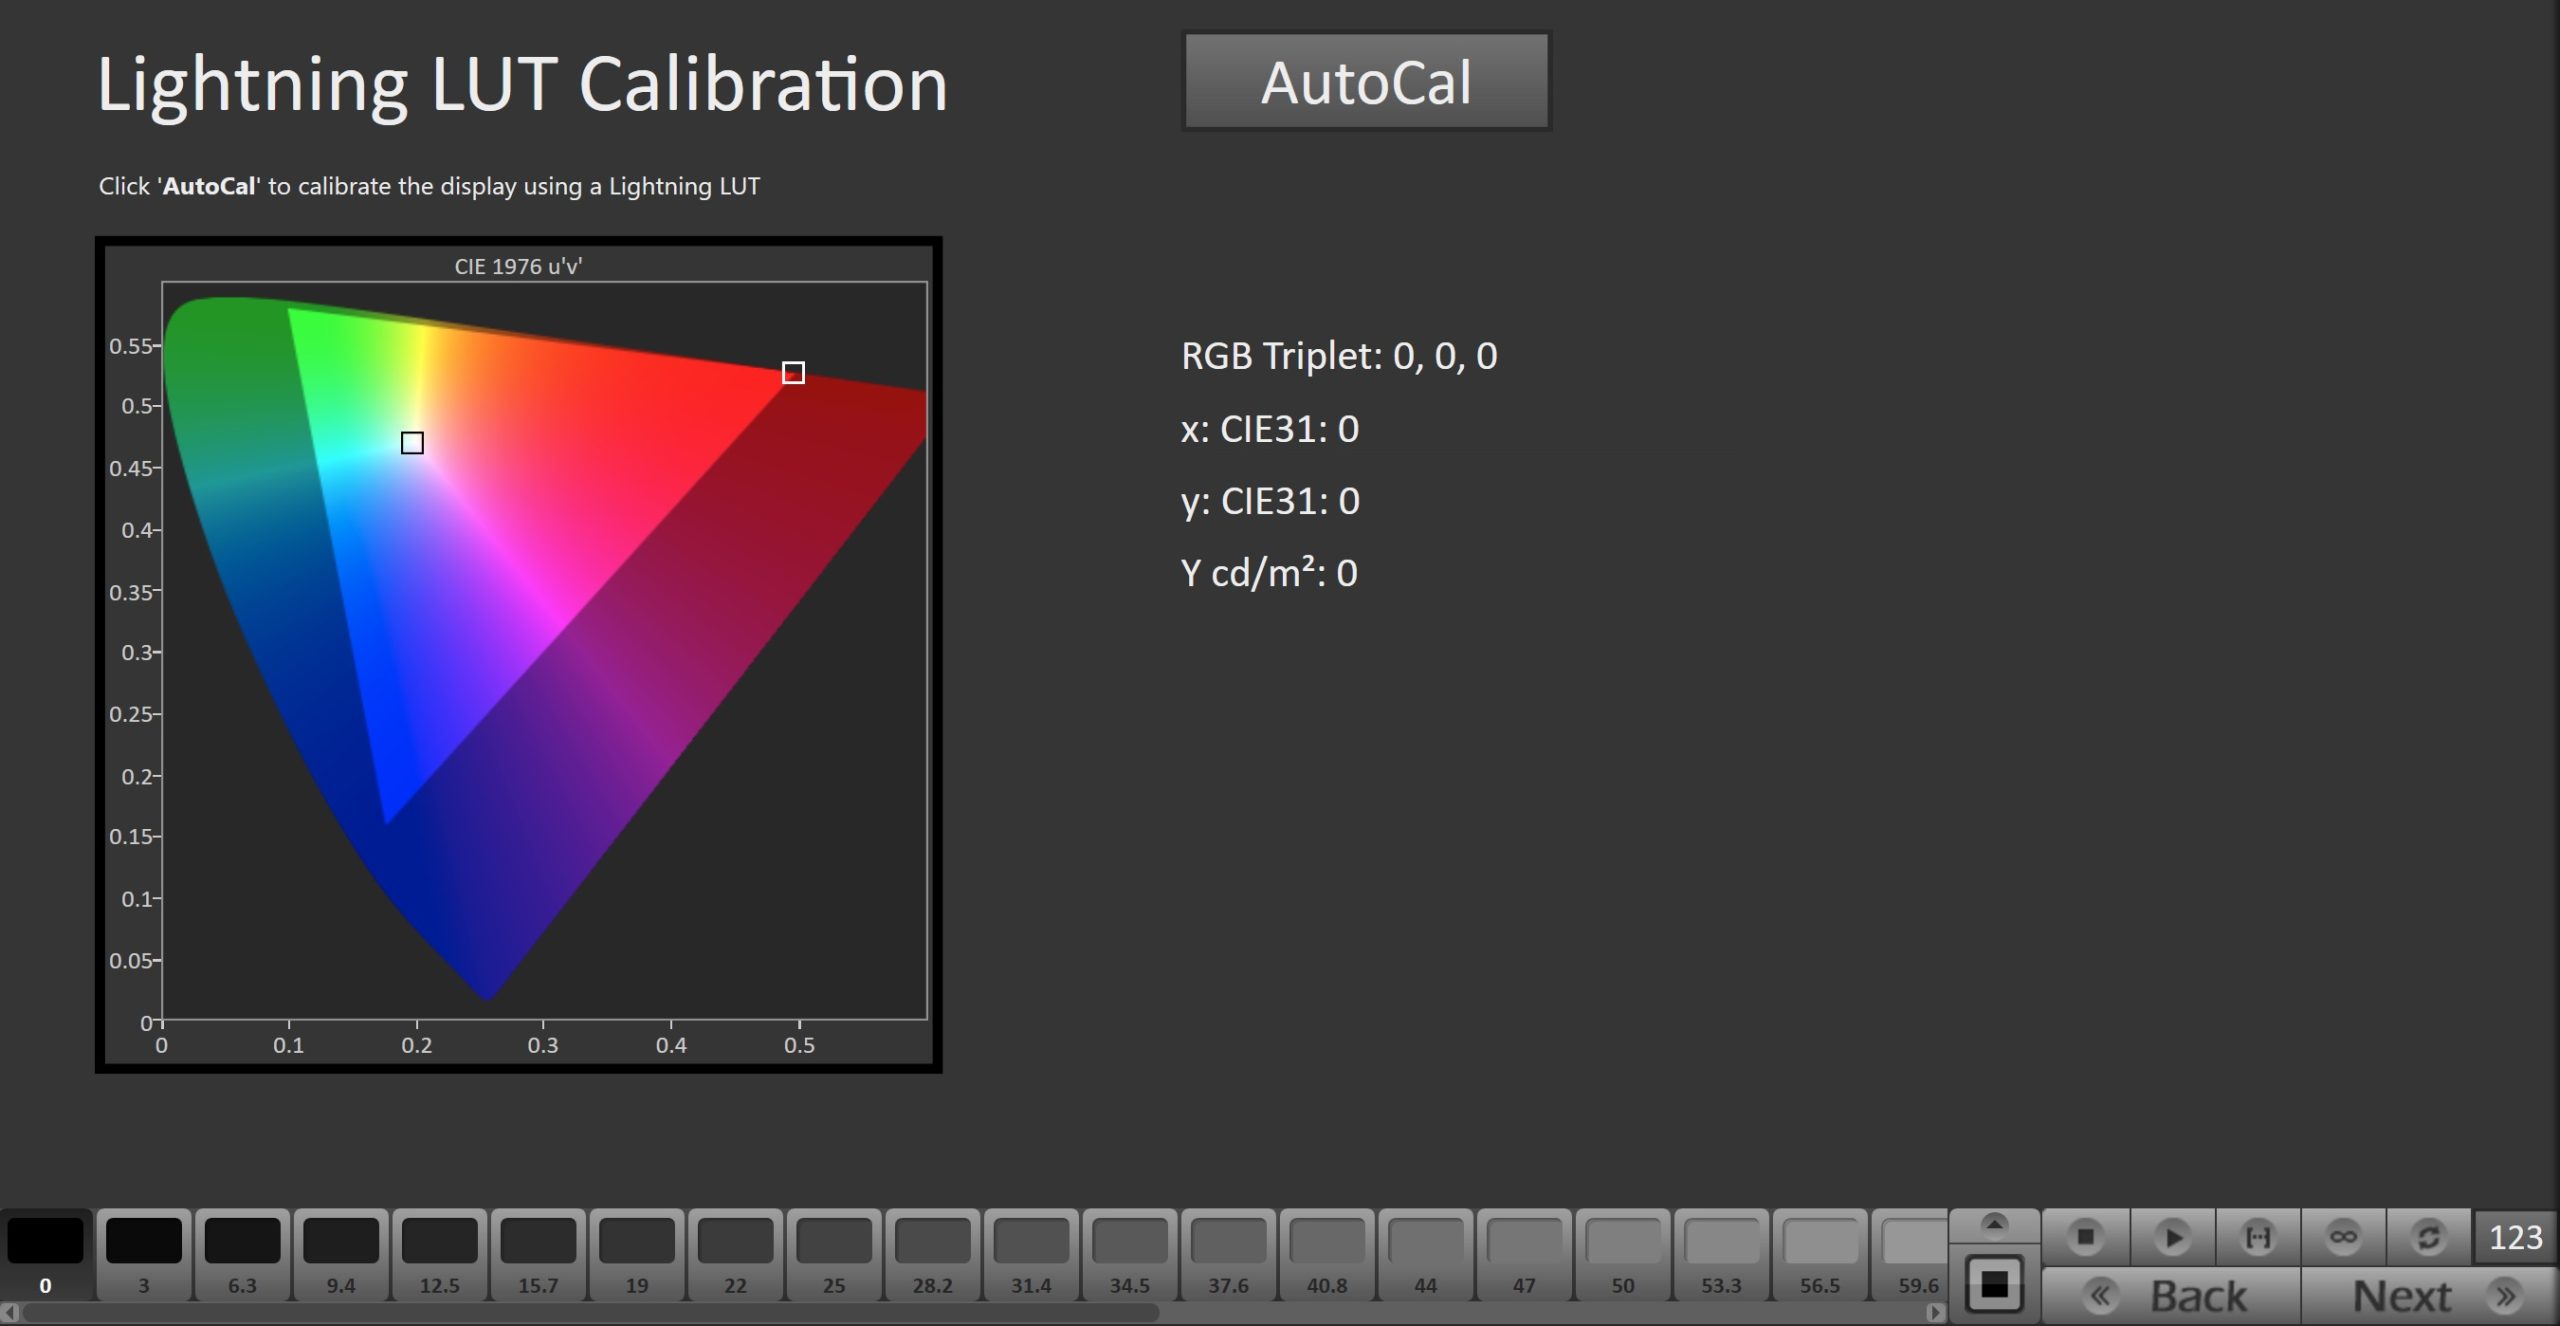
- Press the AutoCal button to begin the Greyscale and Color Gamut AutoCal process.
- When AutoCal is complete click Next
Note: The next steps will require interaction with both Calman and the SmallHD monitor. If the steps are not completed on the SmallHD monitor, the calibration will not be saved
Step 6
Here, Calman will verify the calibration using the internal pattern generator
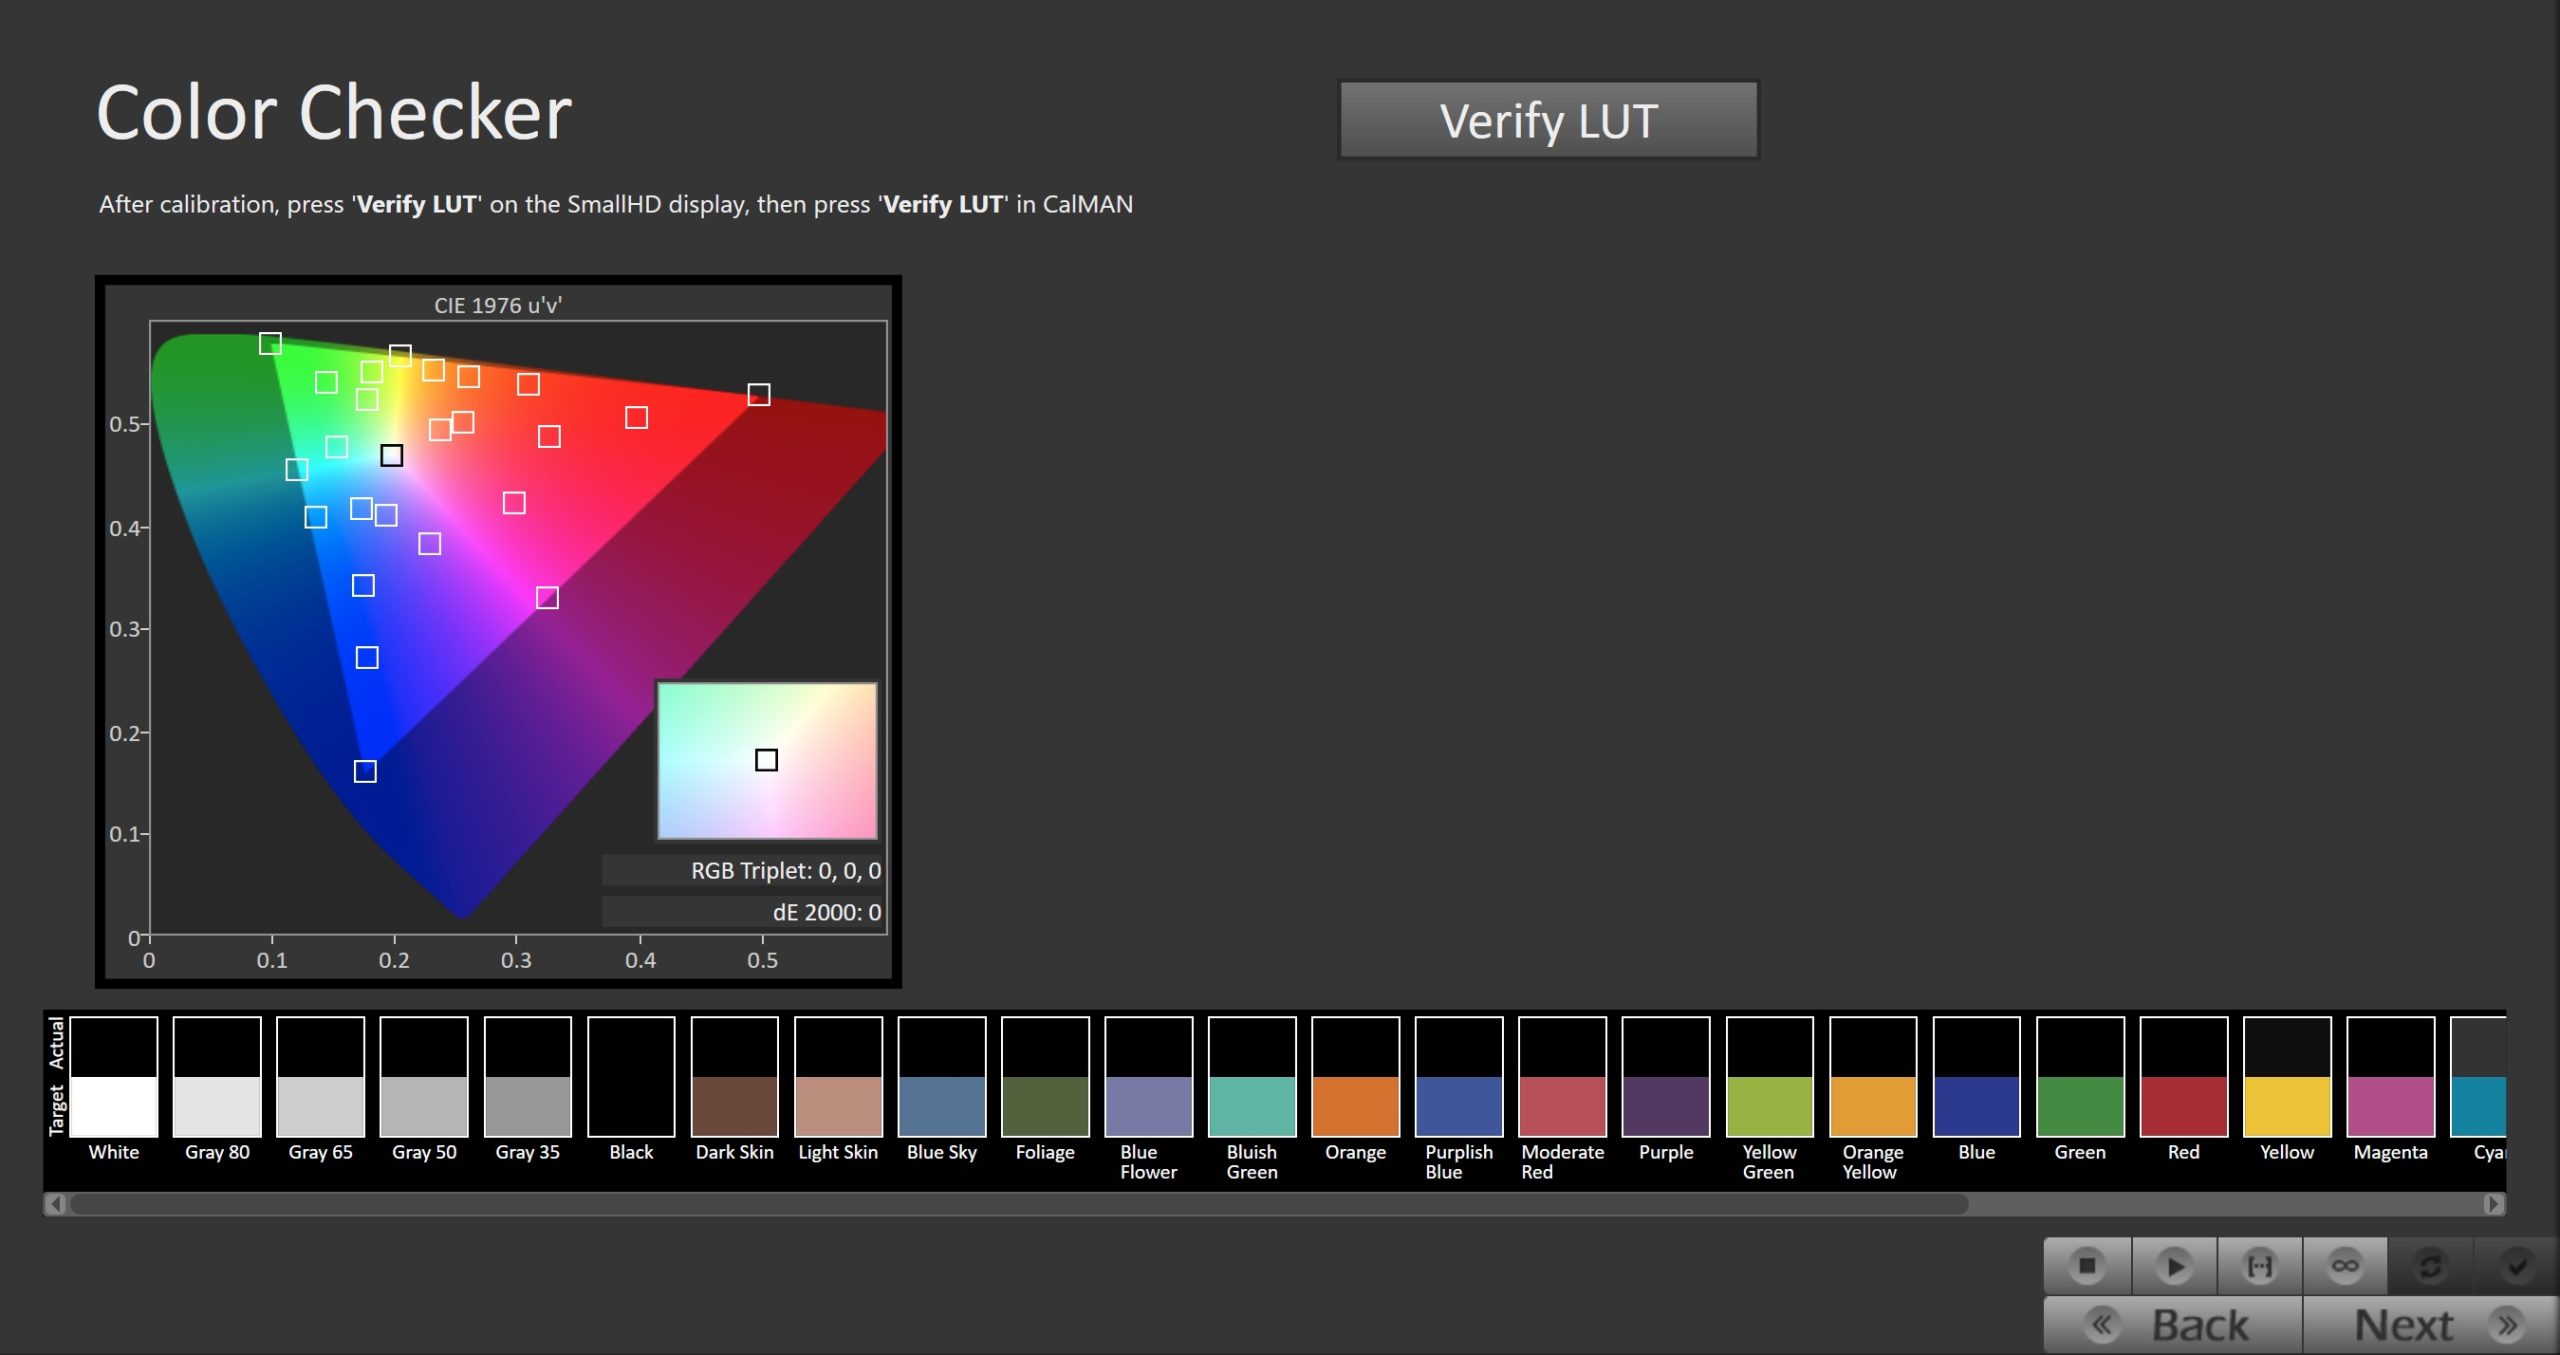
- To take Verification Measurements click the Verify LUT button to measure the display’s grayscale and ColorChecker response
Step 7
On the SmallHD monitor, you will now set the minimum and maximum luminance, used for HDR signals
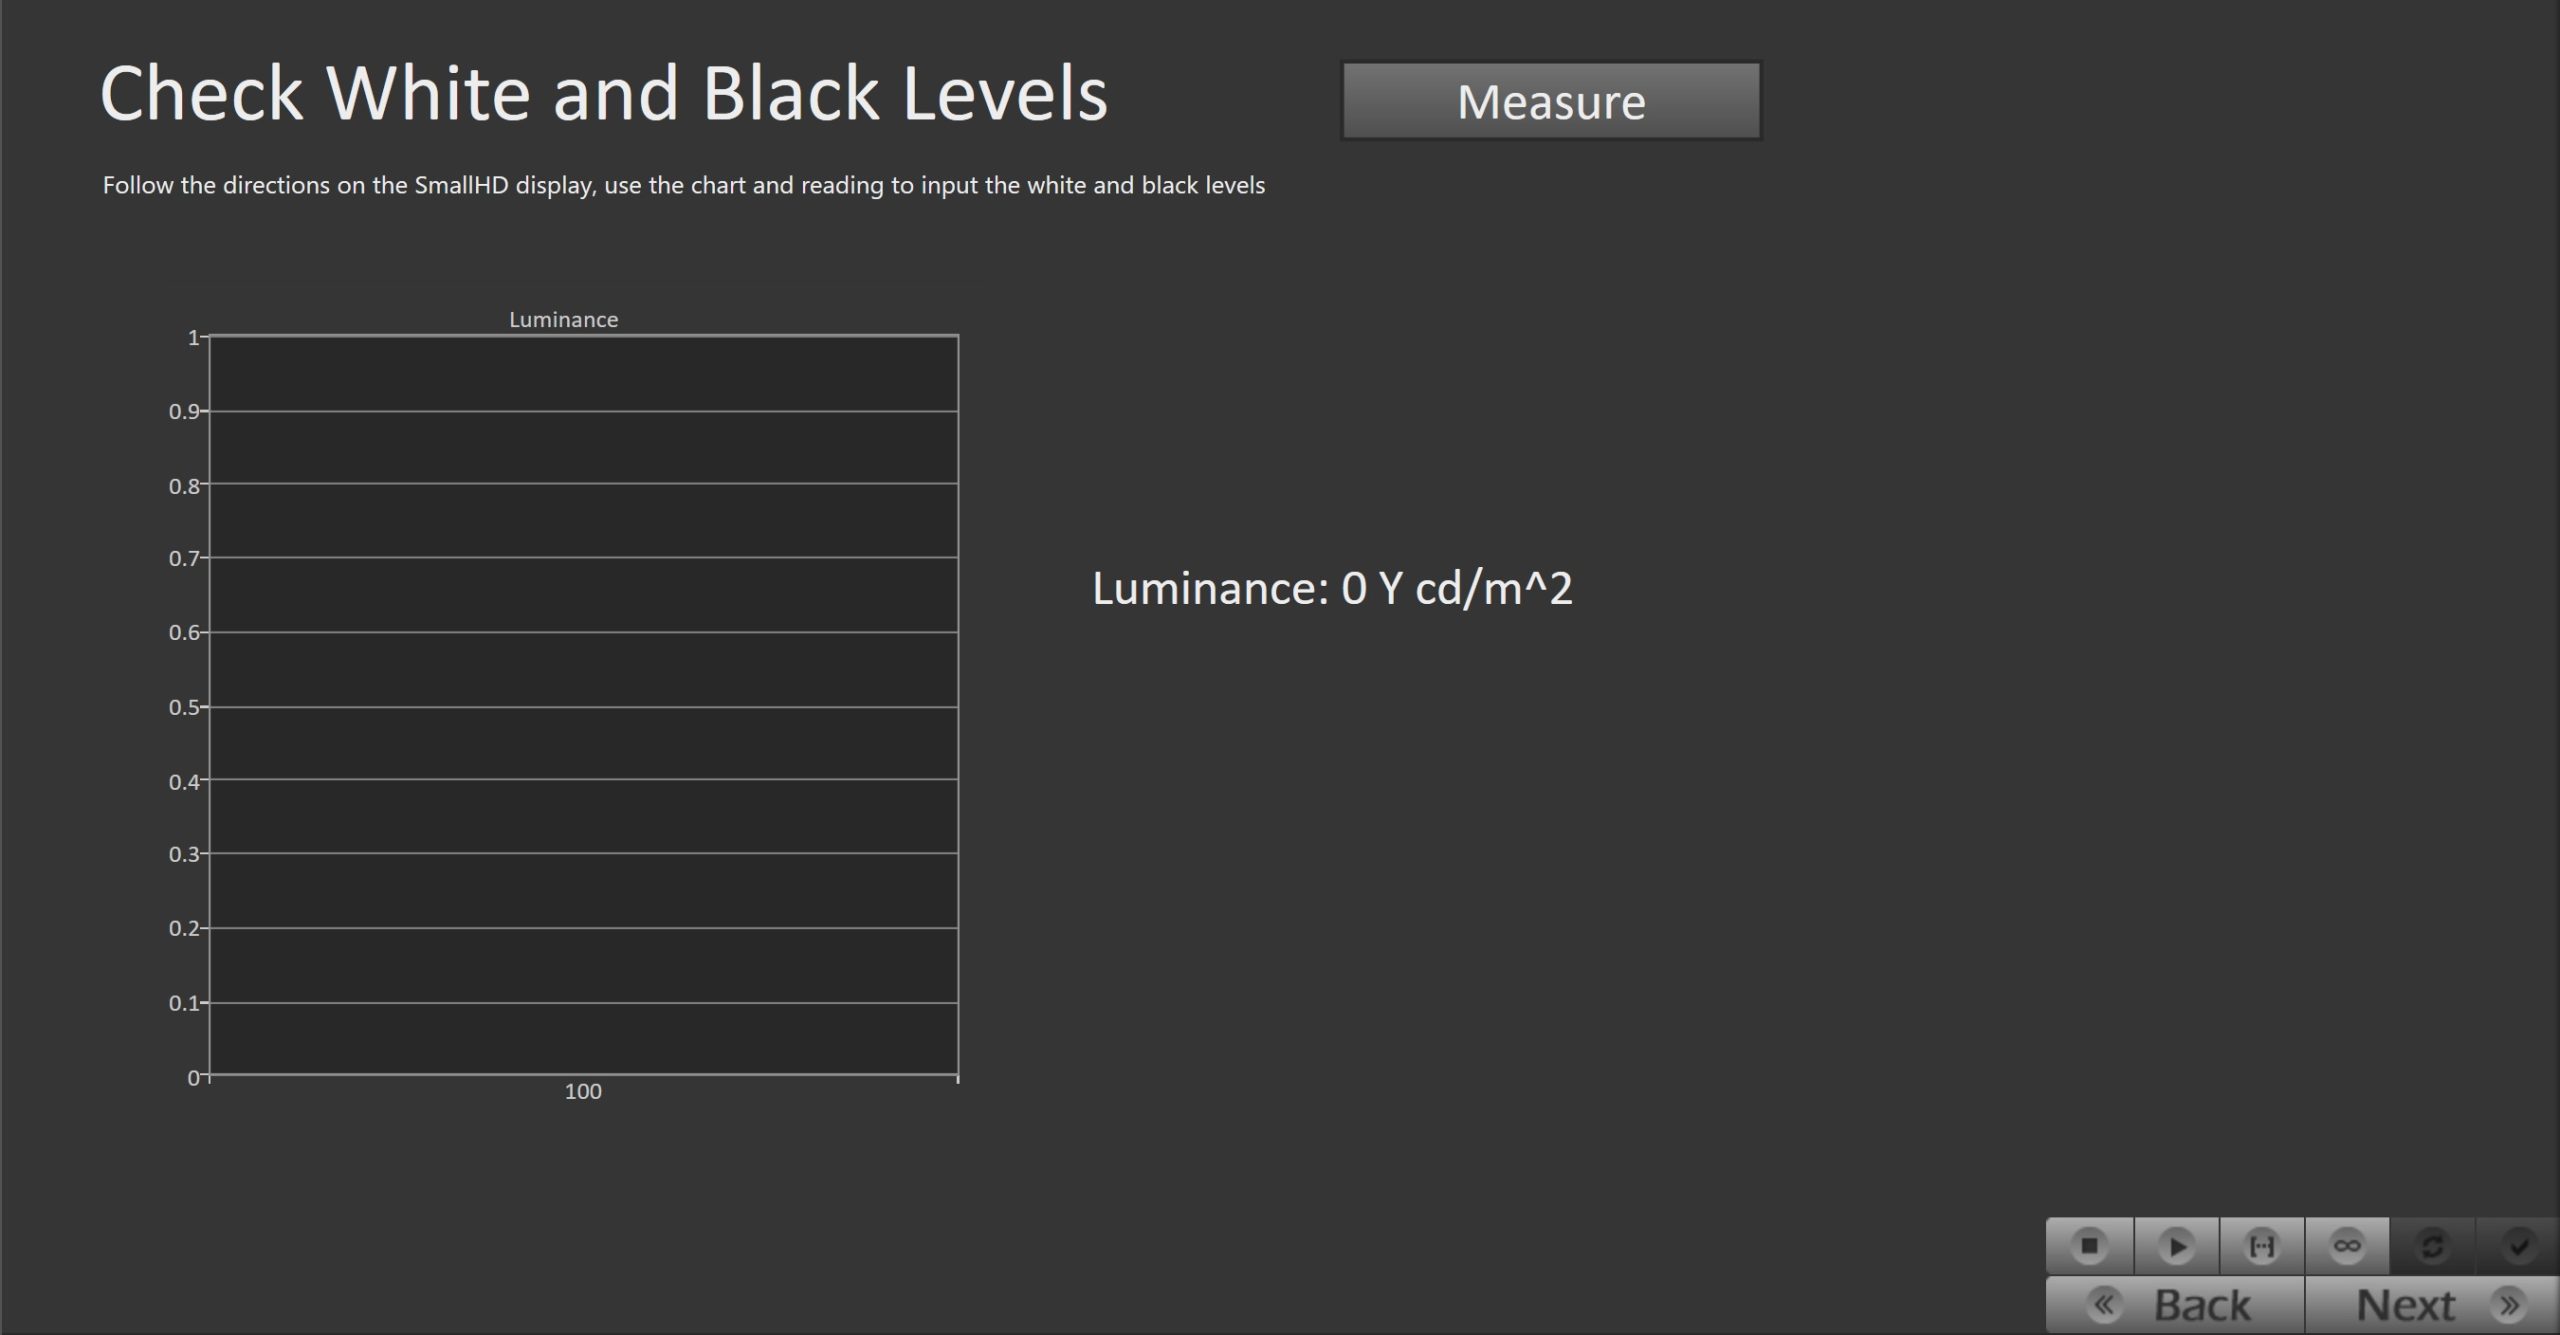
- Follow the directions on the SmallHD display, and use the chart and measurements in Calman to input the white and black levels
- Once white and black levels have been set, proceed through the remaining steps on the SmallHD monitor to save the calibration
- After saving the calibration LUT on the SmallHD display, return to their OSD Settings and choose the Color Pipe section. Ensure that the color pipe is properly set to the Cal Target that you configured at the beginning of the calibration
- If the color pipe is set to one of the defaults or if there is not a Cal Target listed, the calibration will not be applied
Step 8
Here Post-calibration readings are taken to document the post-calibration condition of the display using an external pattern generator.
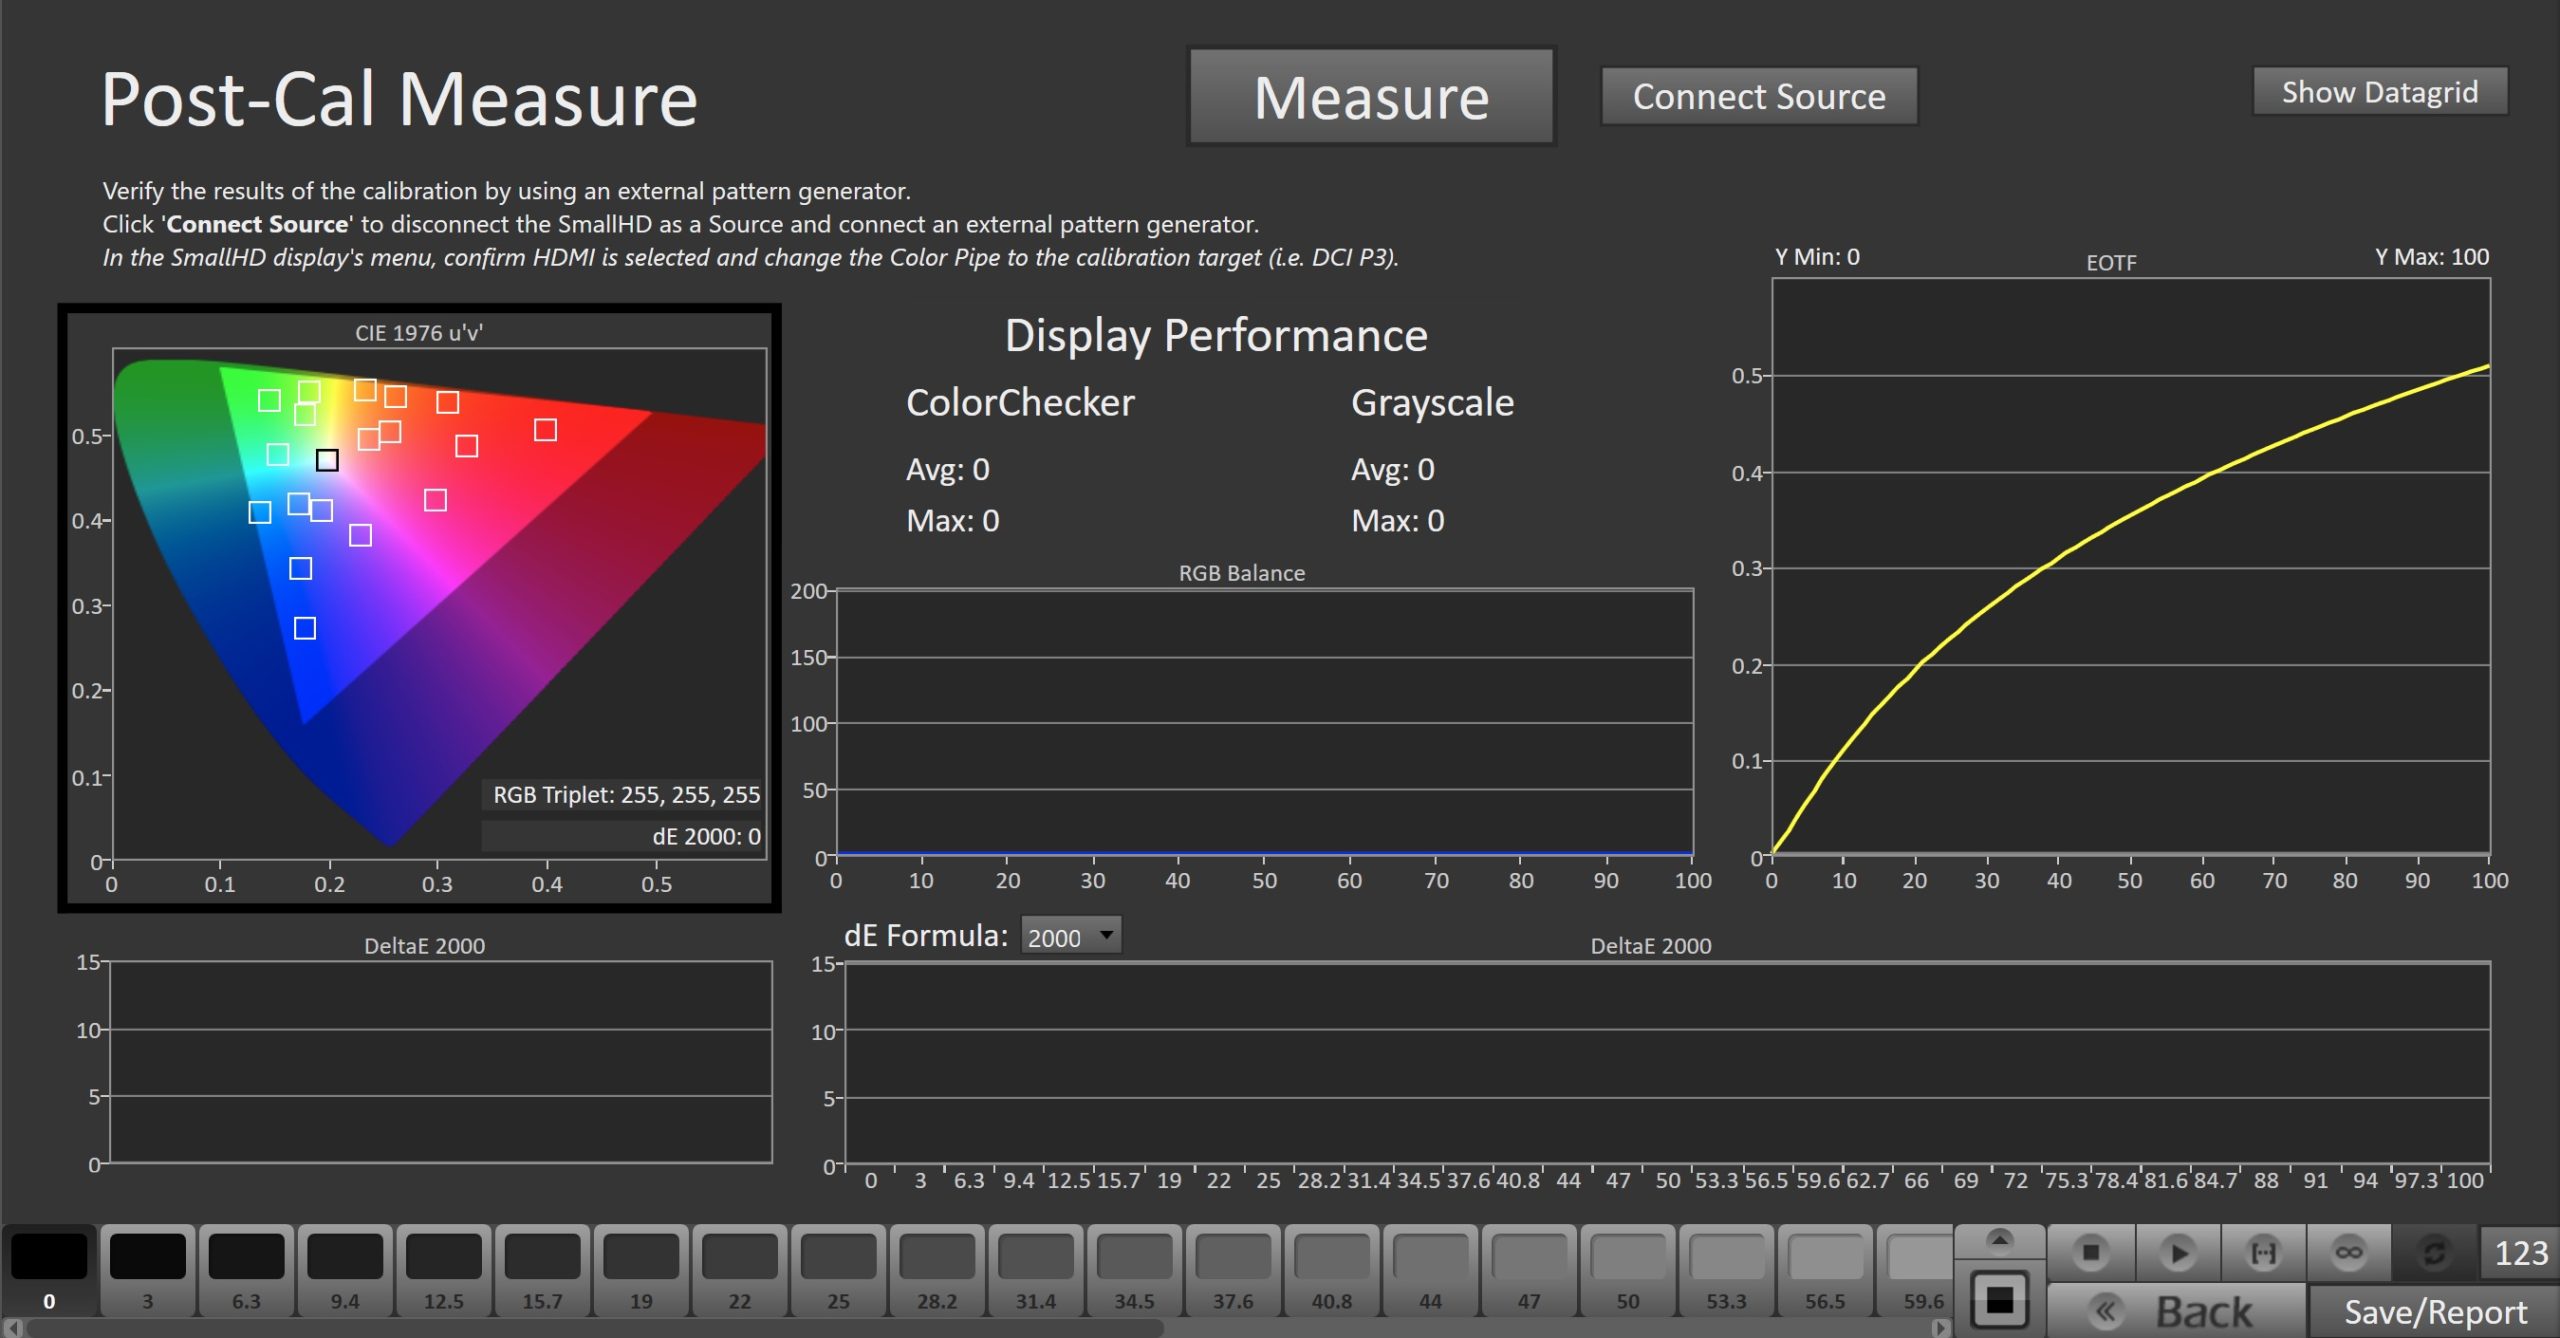
- Click ‘Connect Source’ to disconnect the SmallHD as a Source and connect an external pattern generator
- To take Post-Calibration Measurements click the Read Series […] button to measure the display’s grayscale and ColorChecker response