Calman can guide the calibration of compatible Philips Calman Ready monitors, delivering accurate color and luminance performance using a 1D and 3D LUT. Supported models feature wide color gamut LCD panels designed for color-critical workflows, with calibration options varying by model.


Hardware Requirements
- Calman Ready Philips Monitor
- Calman Compatible Meter
- Calman Compatible Pattern Generator
Step 1
- From the Calman Menu in the top-left, choose Open Workflow Template -> Calman Ready and then Philips Monitor.
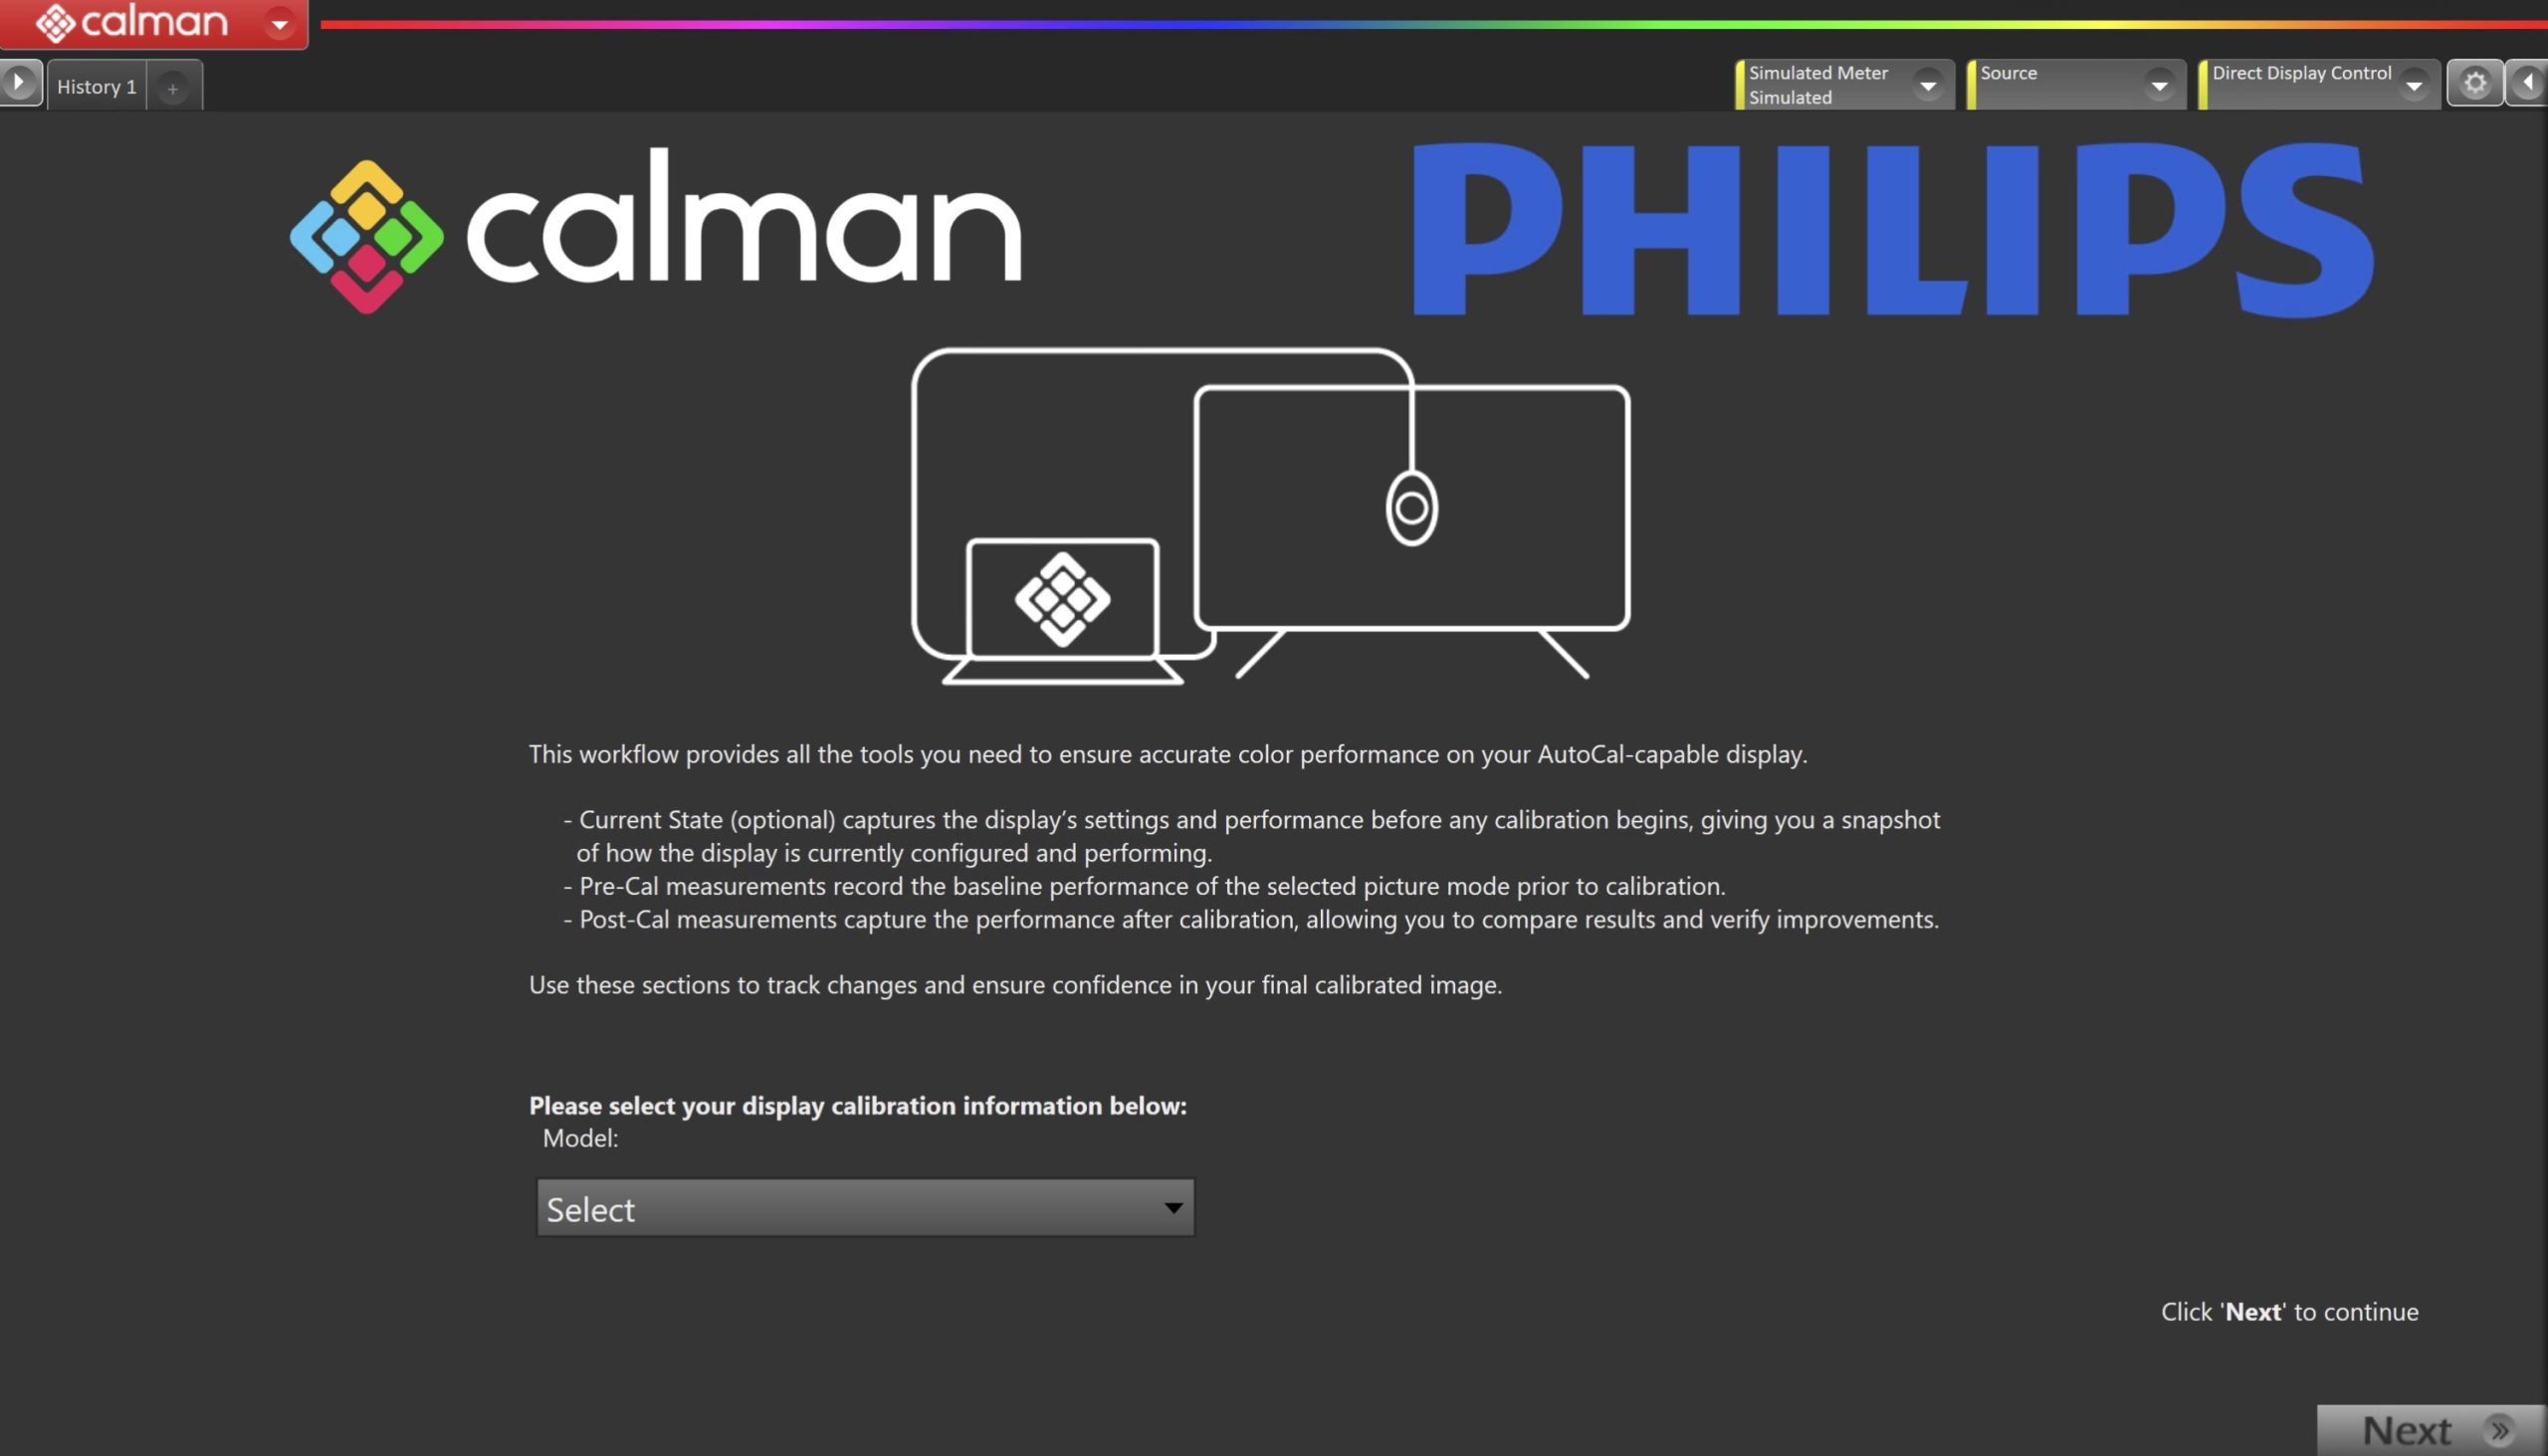
- On the introduction screen, select your monitor model number from the dropdown.
- Click Next to proceed to Hardware Setup.
Step 2
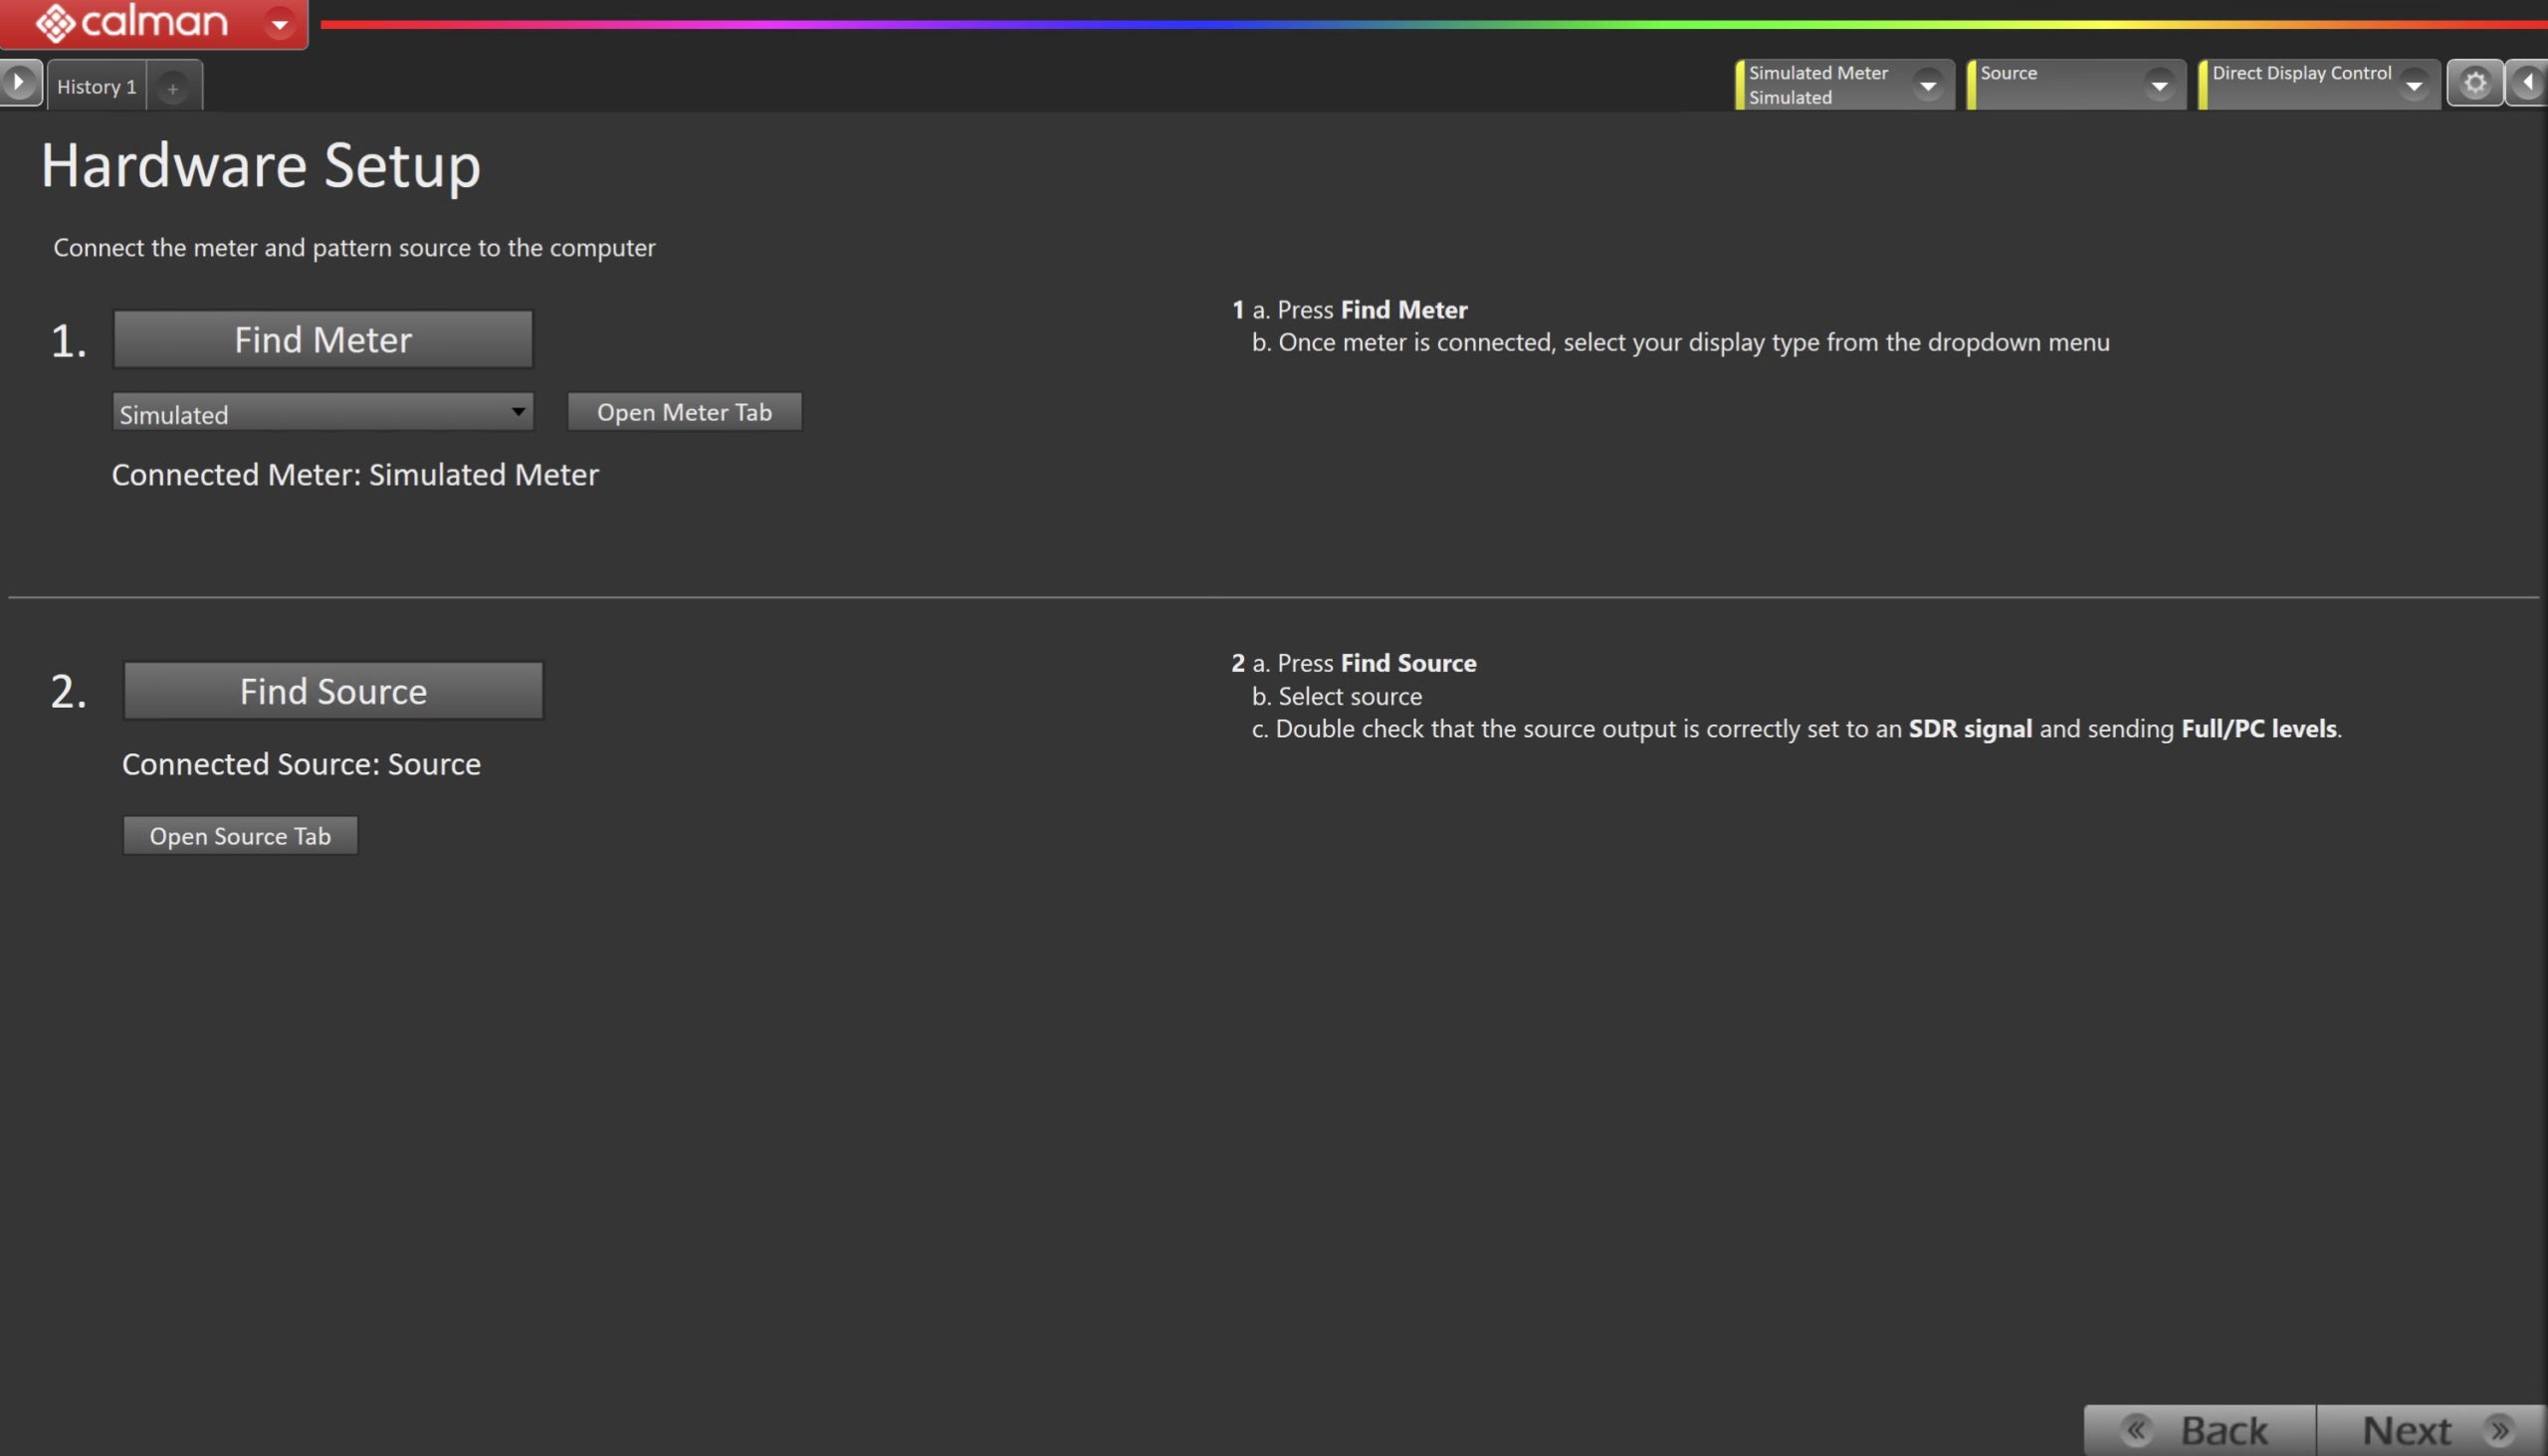
- Plug your meter into a USB port on the computer and press the Find Meter button on the left.
- When your meter is connected, select your display type from the dropdown
- Connect Pattern Source to your computer.
- Click the Find Source button, then select your source
- Ensure that the source output is correctly set to an SDR signal and sending Full/PC levels
- Click Next to proceed
Step 3
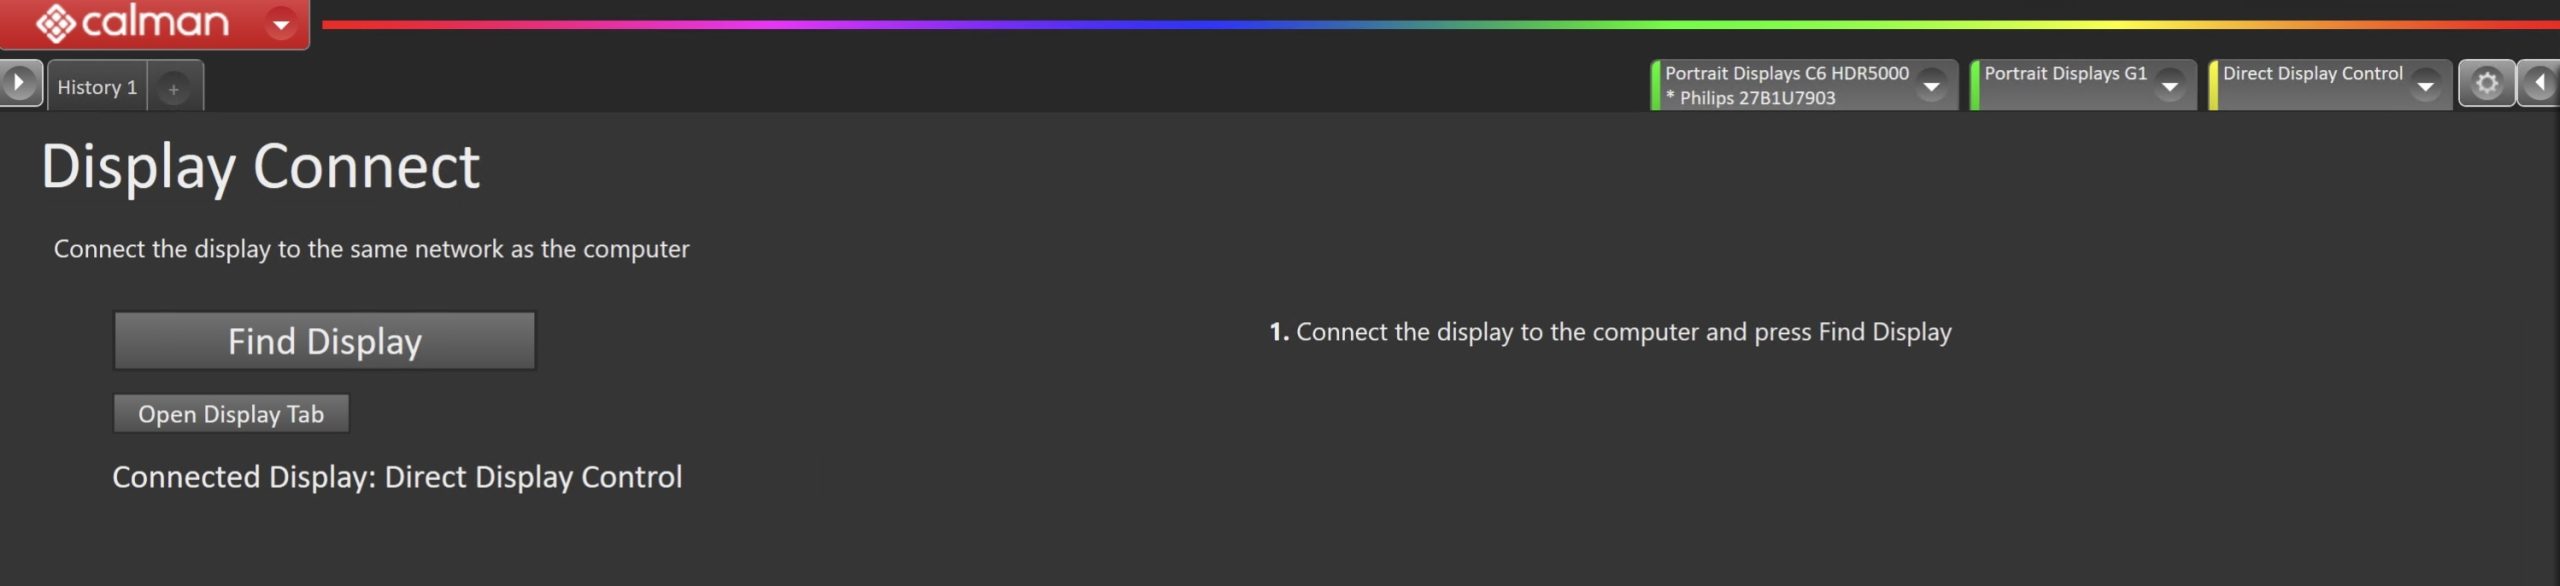
- Connect your Philips Monitor
- Click the Find Display Button
- Select Philips Monitor and your monitor model number from the dropdown
- Click Connect
Step 4
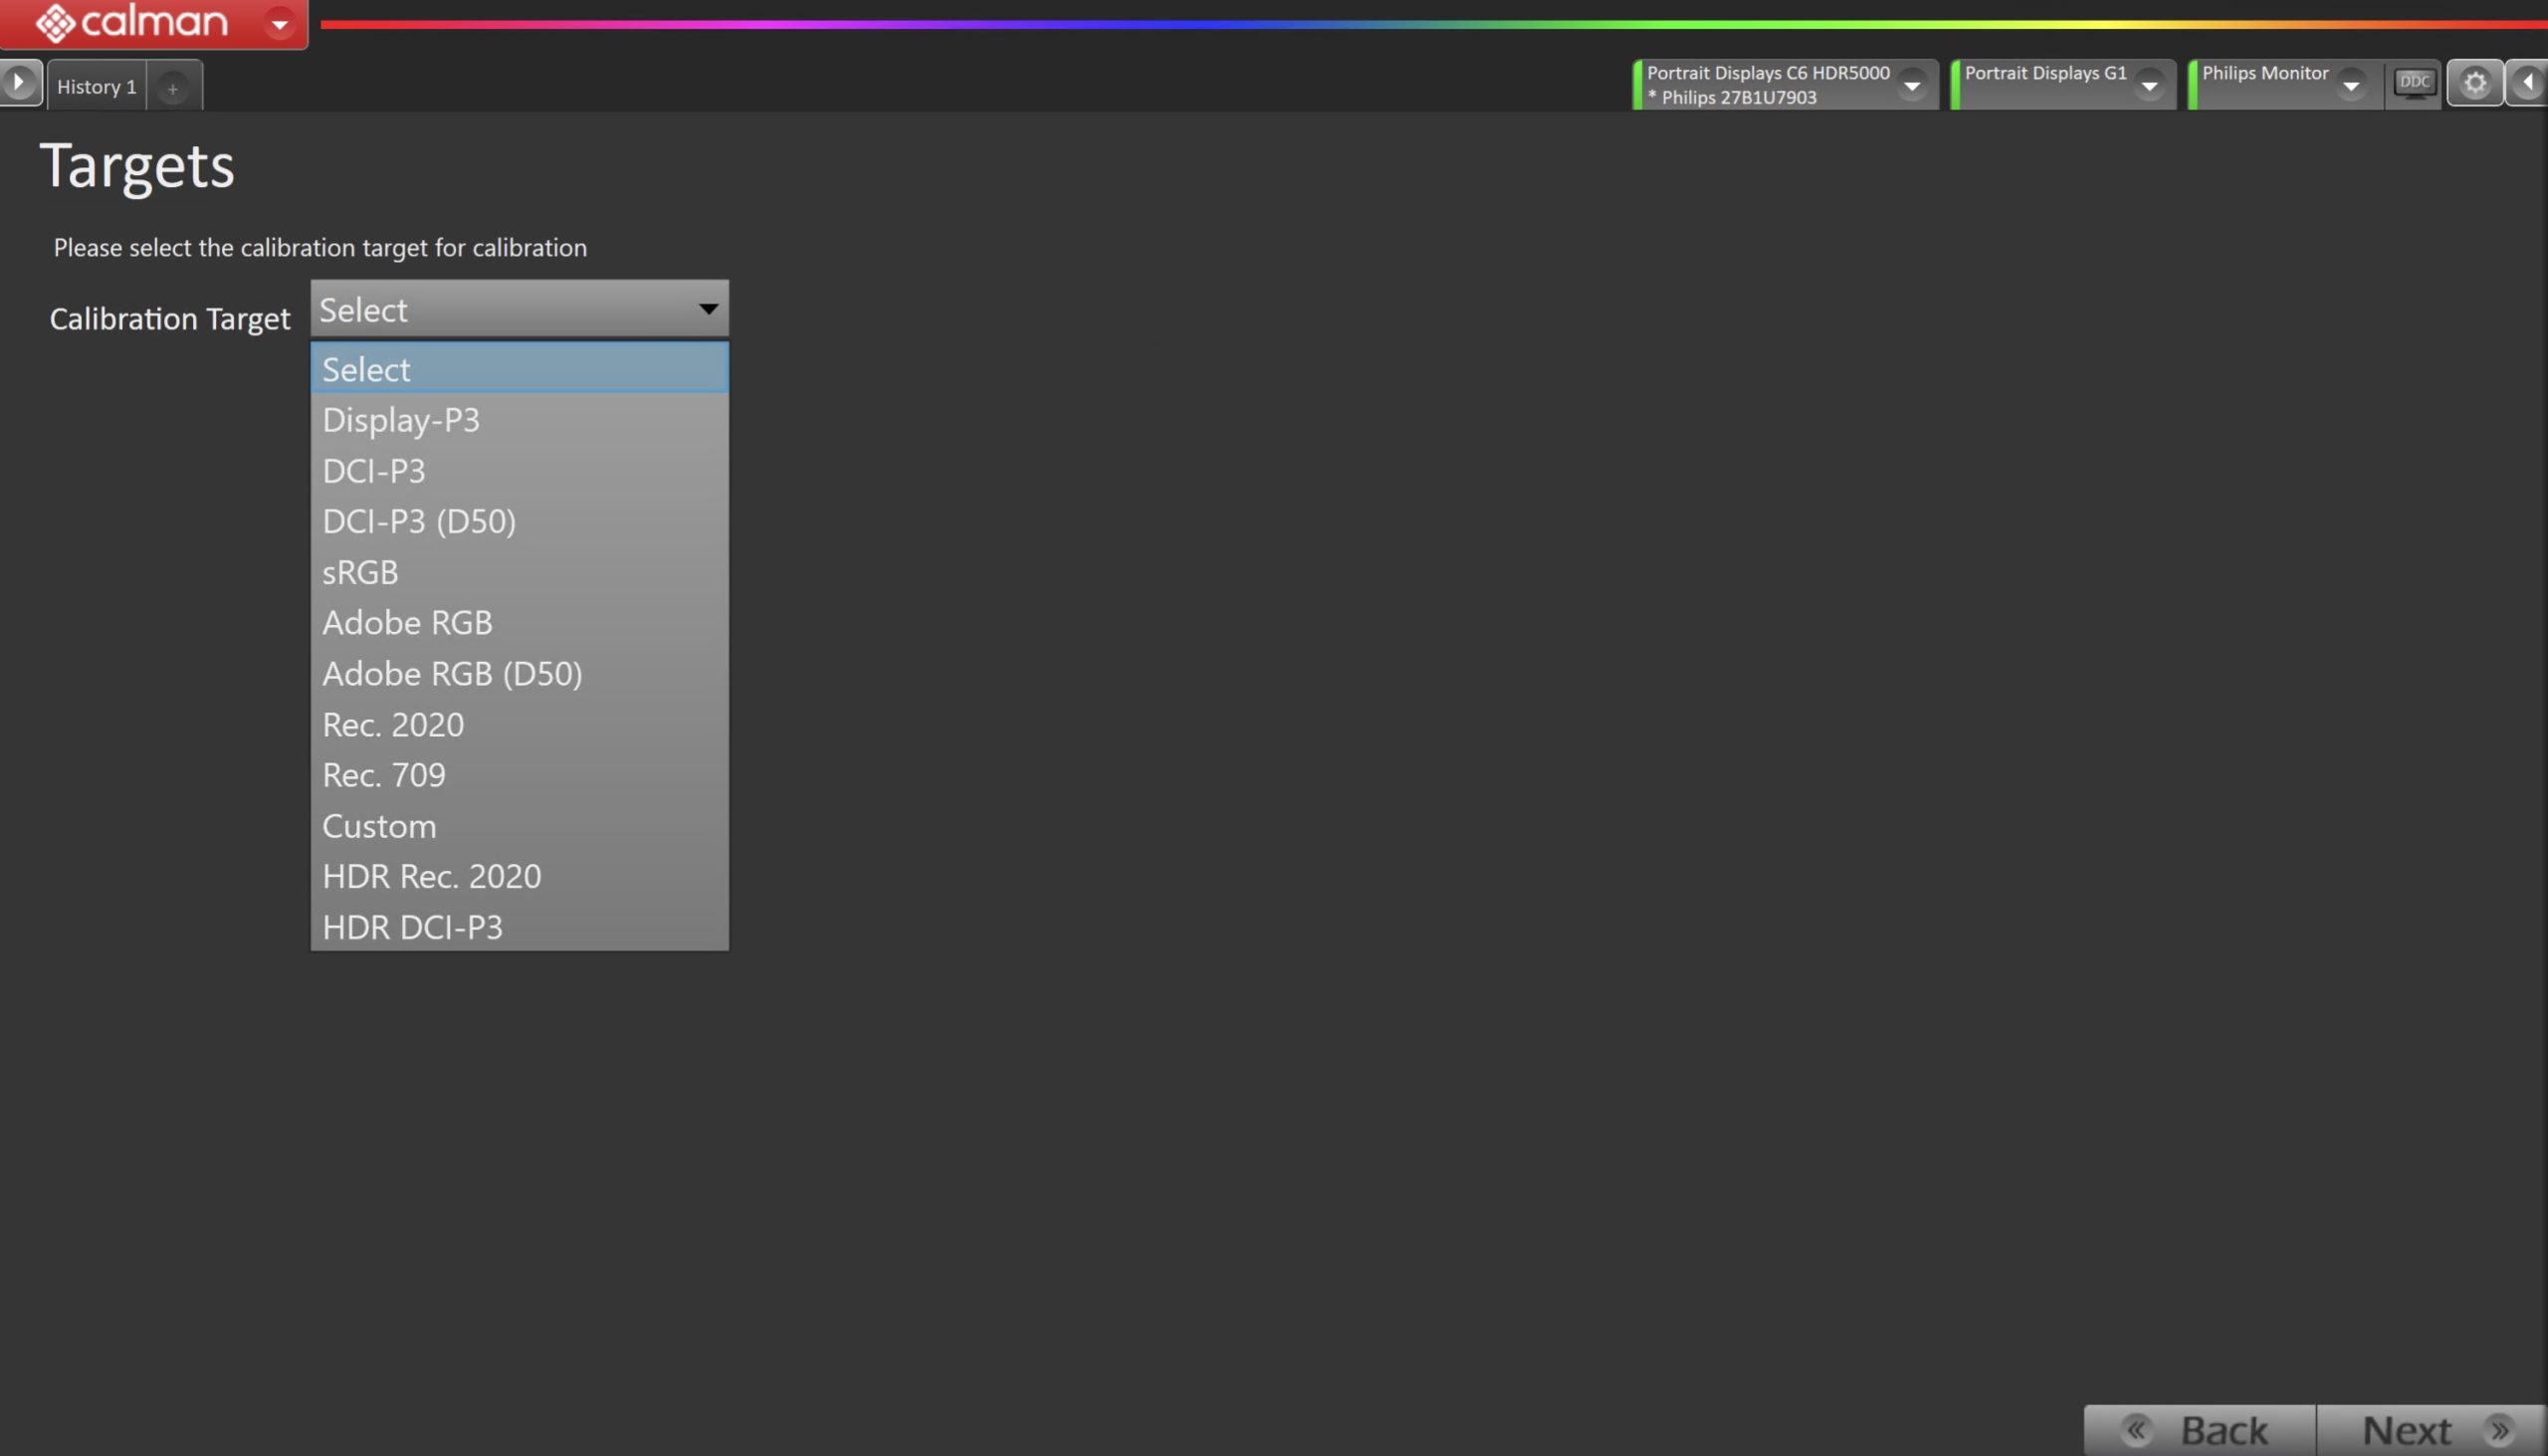
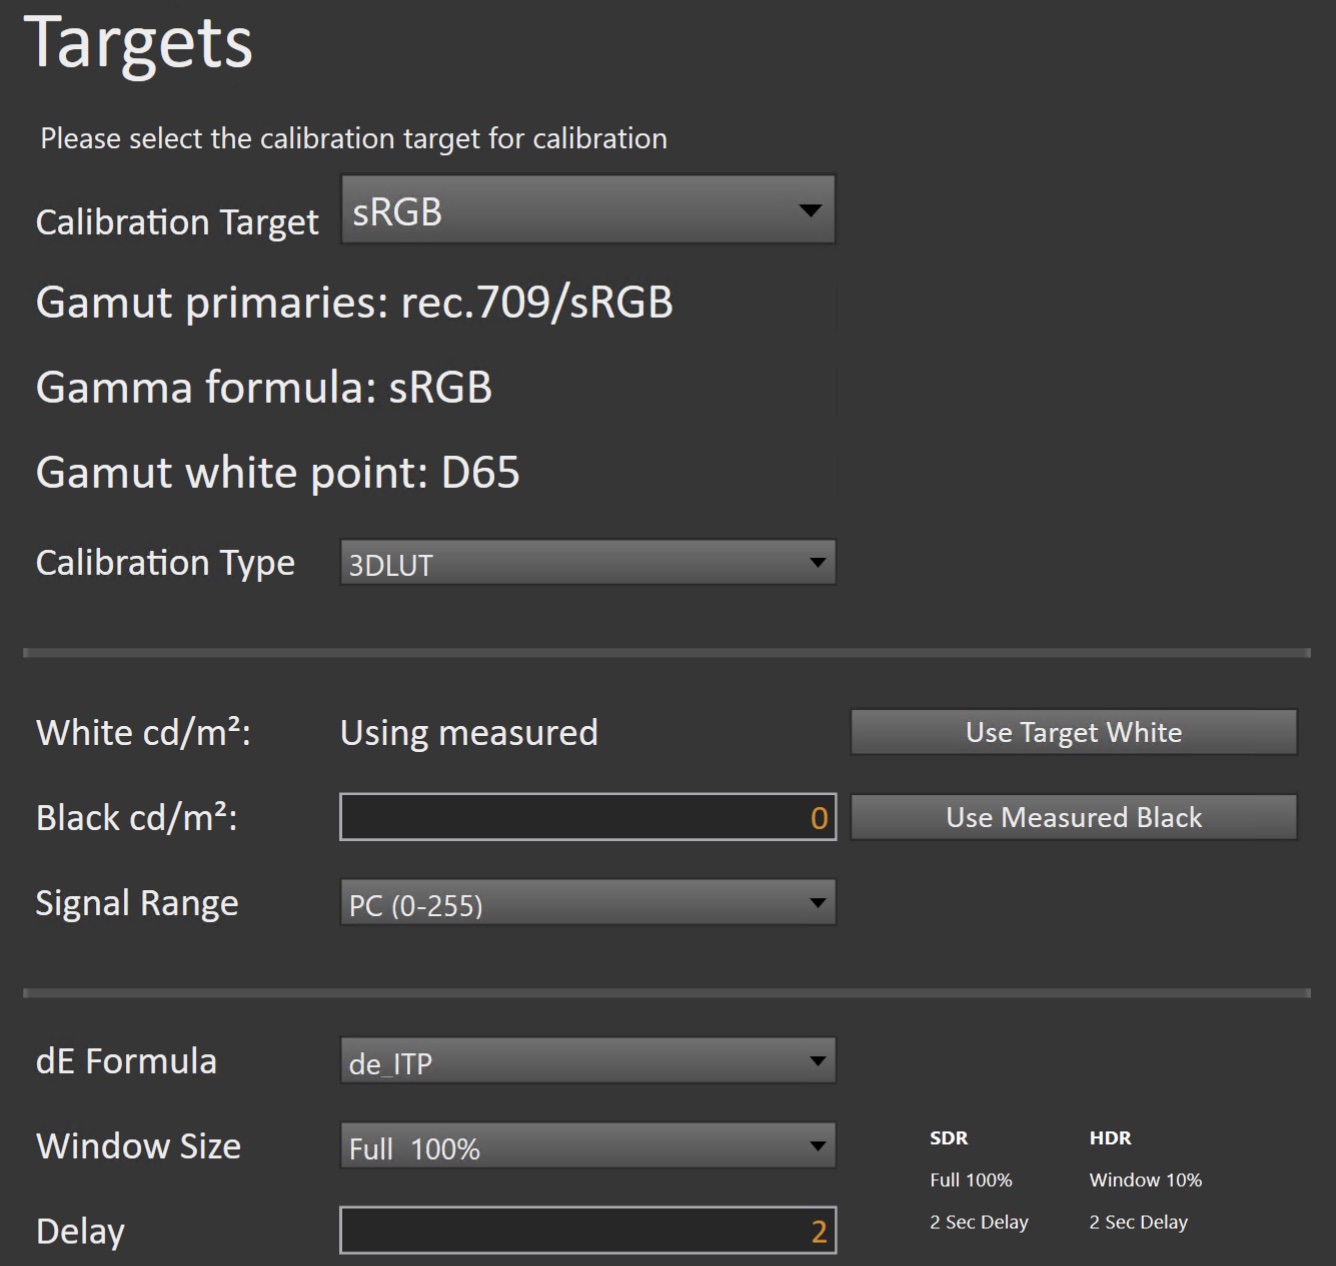
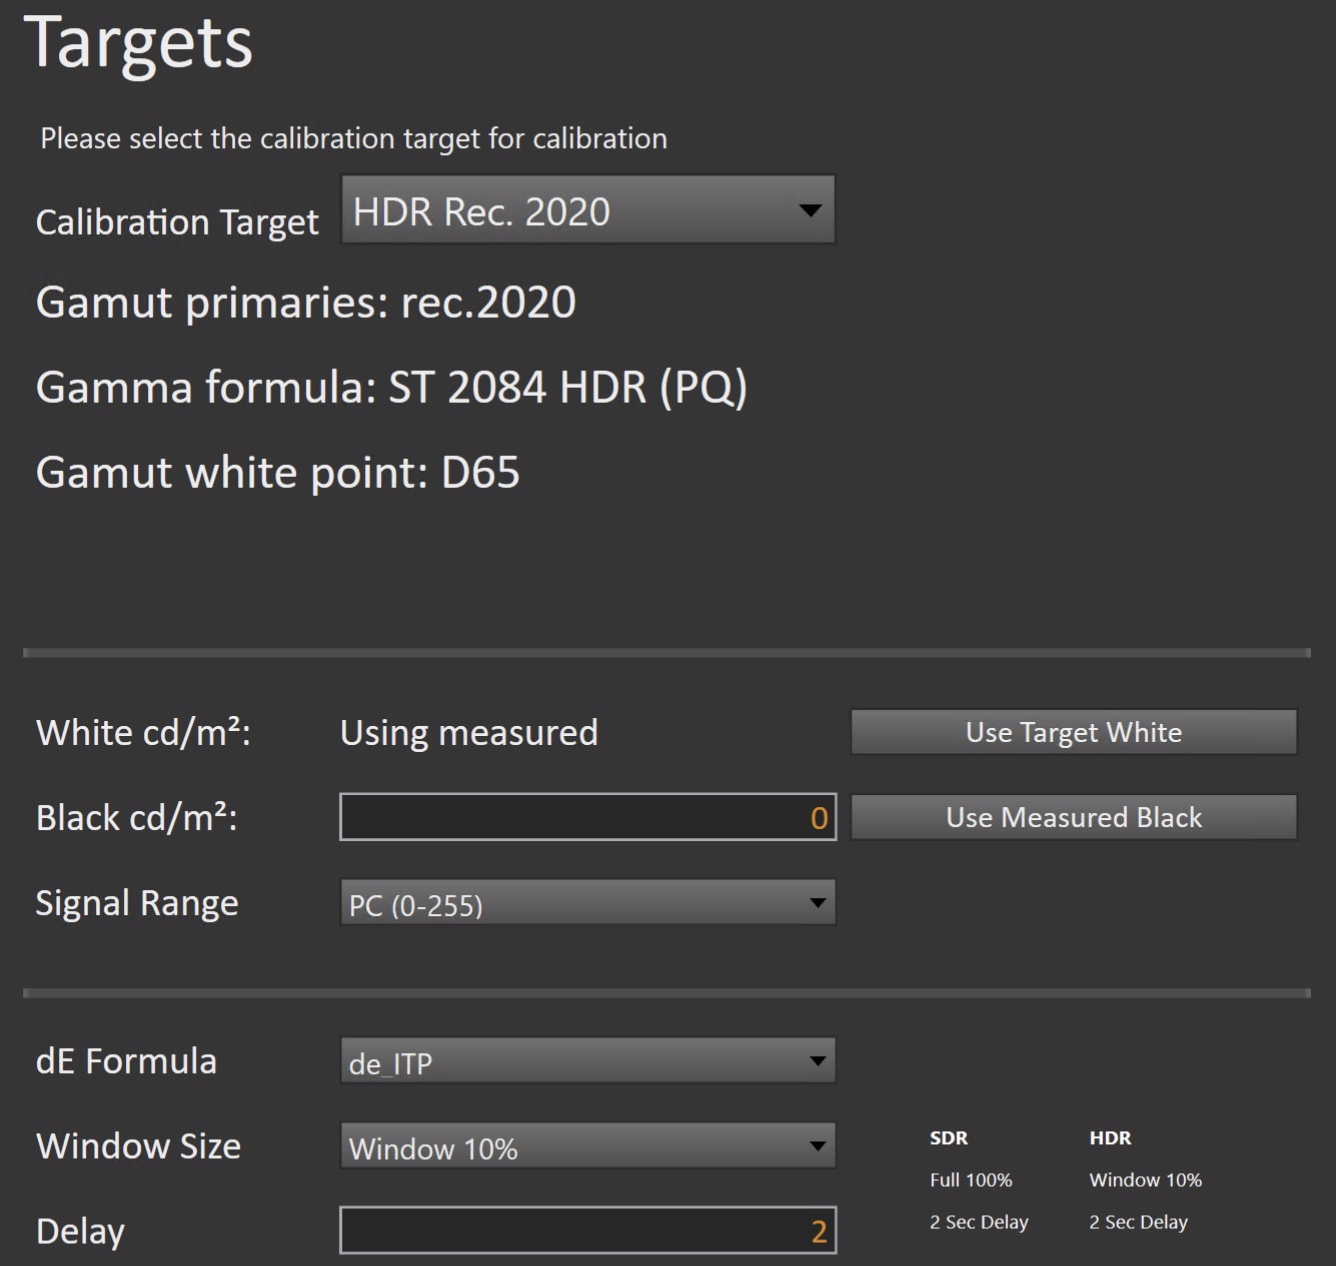
- Select the calibration targets
- This will configure both the Calman session targets, and the monitor picture mode to align with you selected target. All options have been optimized to provide optimal results.
- Configuration Examples:
| sRGB | HDR Rec. 2020 |
 |
 |
- For SDR calibrations, you can choose between a 3D LUT or Matrix calibration with the Calibration Type dropdown
- 3D LUT is more detailed, but will extend the calibration time needed
- Matrix mode will calibrate faster, but may not be as accurate overall
- Confirm your targets, and click Next to proceed
Step 5
- This workflow page is intended to document the target picture mode prior to calibration.
| Note: During HDR calibrations, the workflow will disconnect and reconnect the display when entering and exiting the Pre-Calibration and Post-Calibration measurement layouts. You will be prompted to adjust your pattern generator signal and levels at each transition. This is expected behavior and does not indicate an issue with the calibration process. |
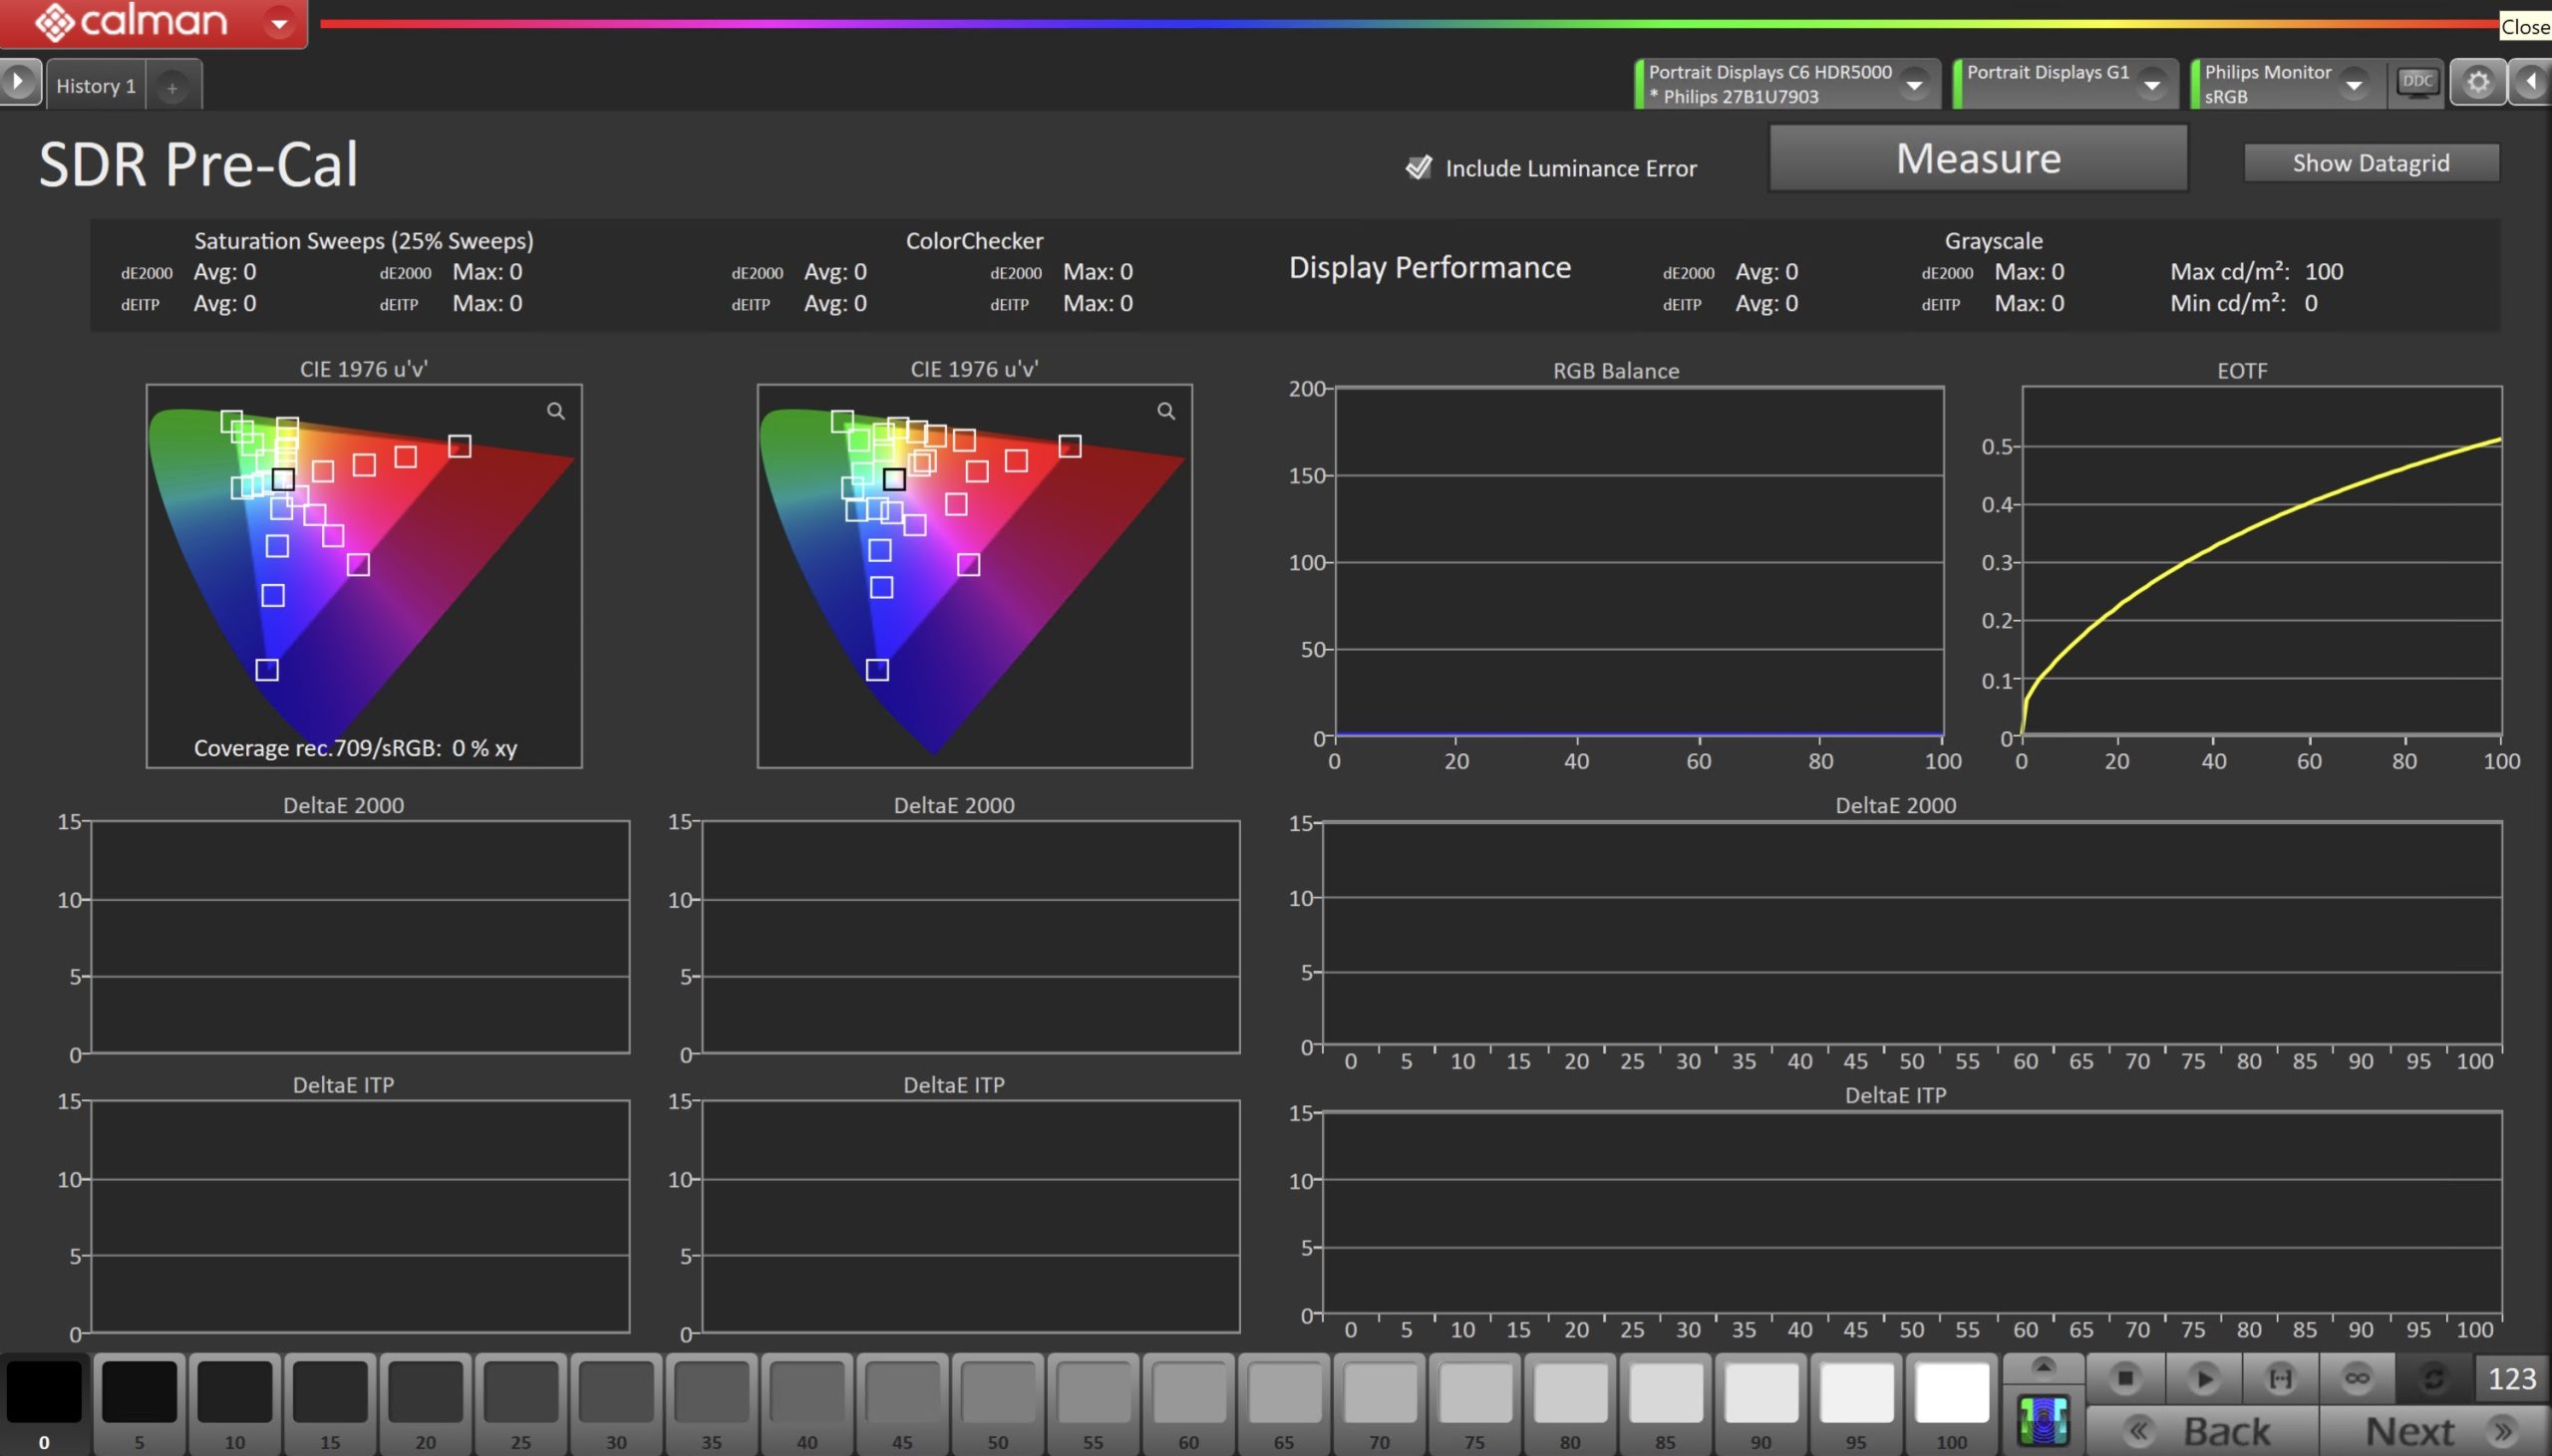
- Click the Measure button to capture the display’s grayscale and color response
- This will provide a point of reference to compare the calibration results
- Click Next to proceed
Step 6
- Here, the Calman picture mode will be reset to prepare for calibration.

- Click the Reset button. This resets and prepares the picture mode for calibration.
- Click Next to proceed
SDR Only – Measure and set Luminance
- Here, you can adjust the displays Backlight setting to one that meets or exceeds your target luminance
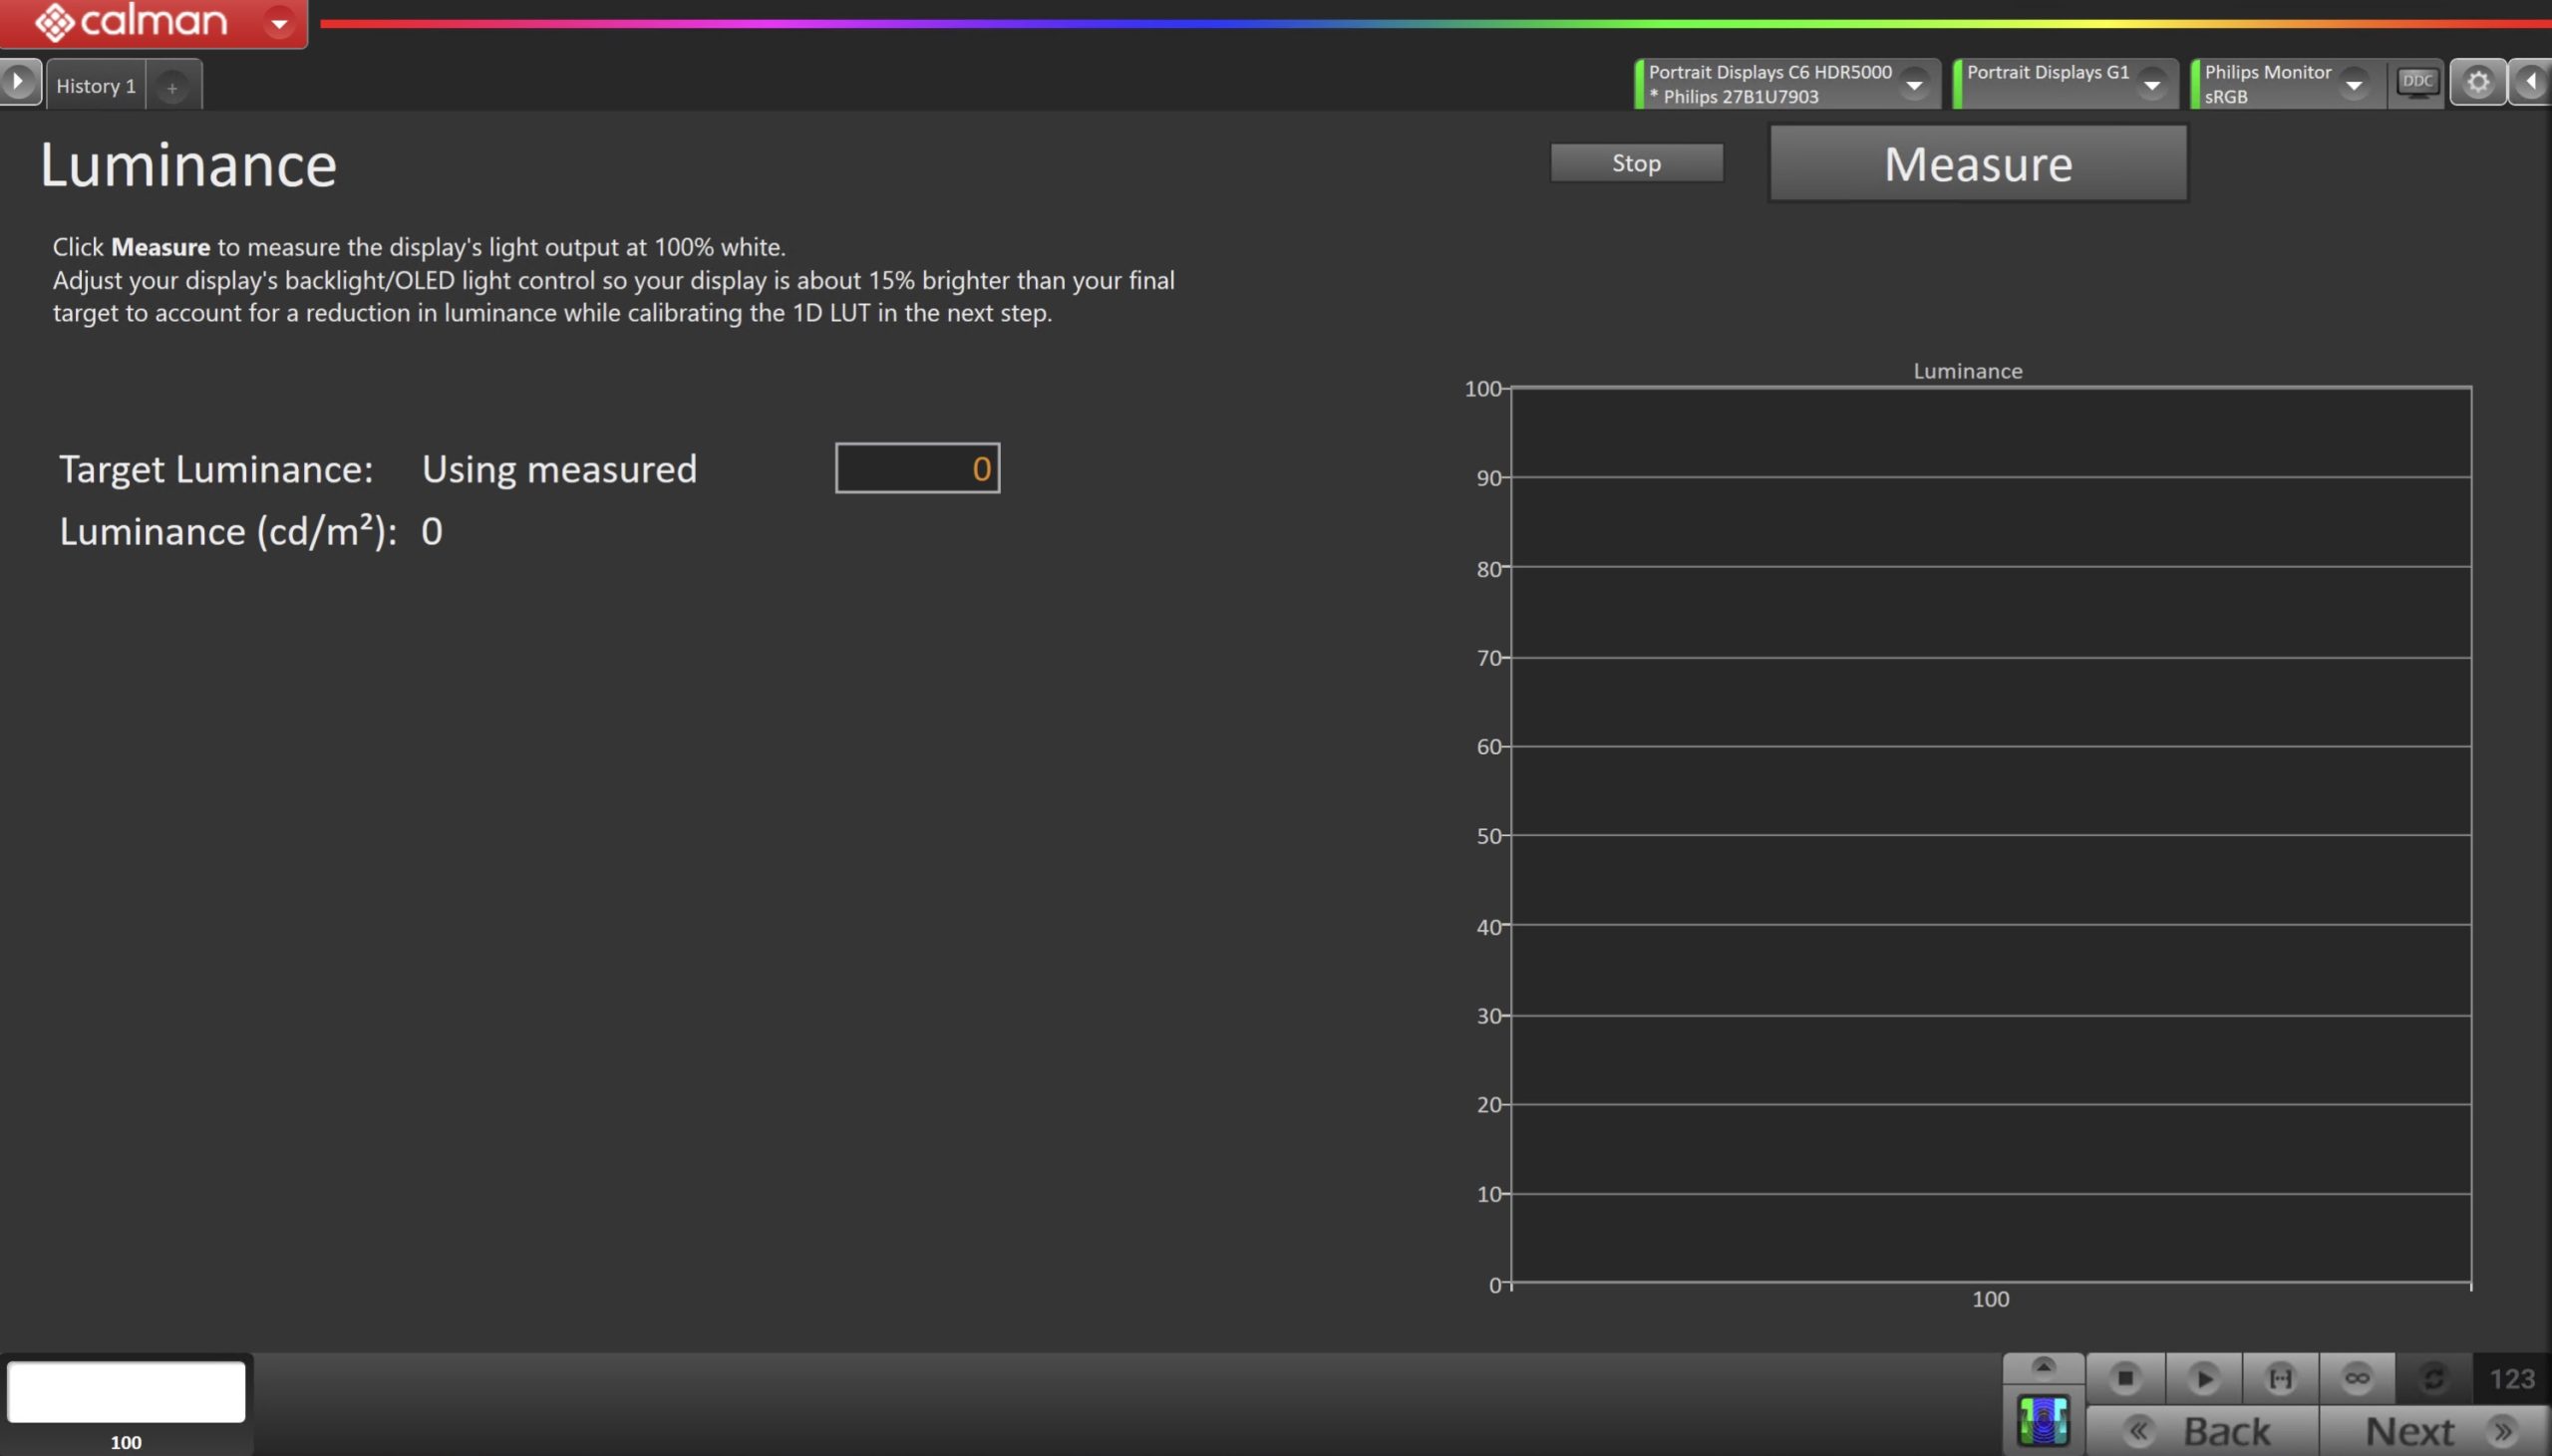
- Click Measure and adjust the Backlight or Brightness control as needed.
- Click Next to proceed
Step 7
- Here, Calman will adjust the Multipoint Greyscale.
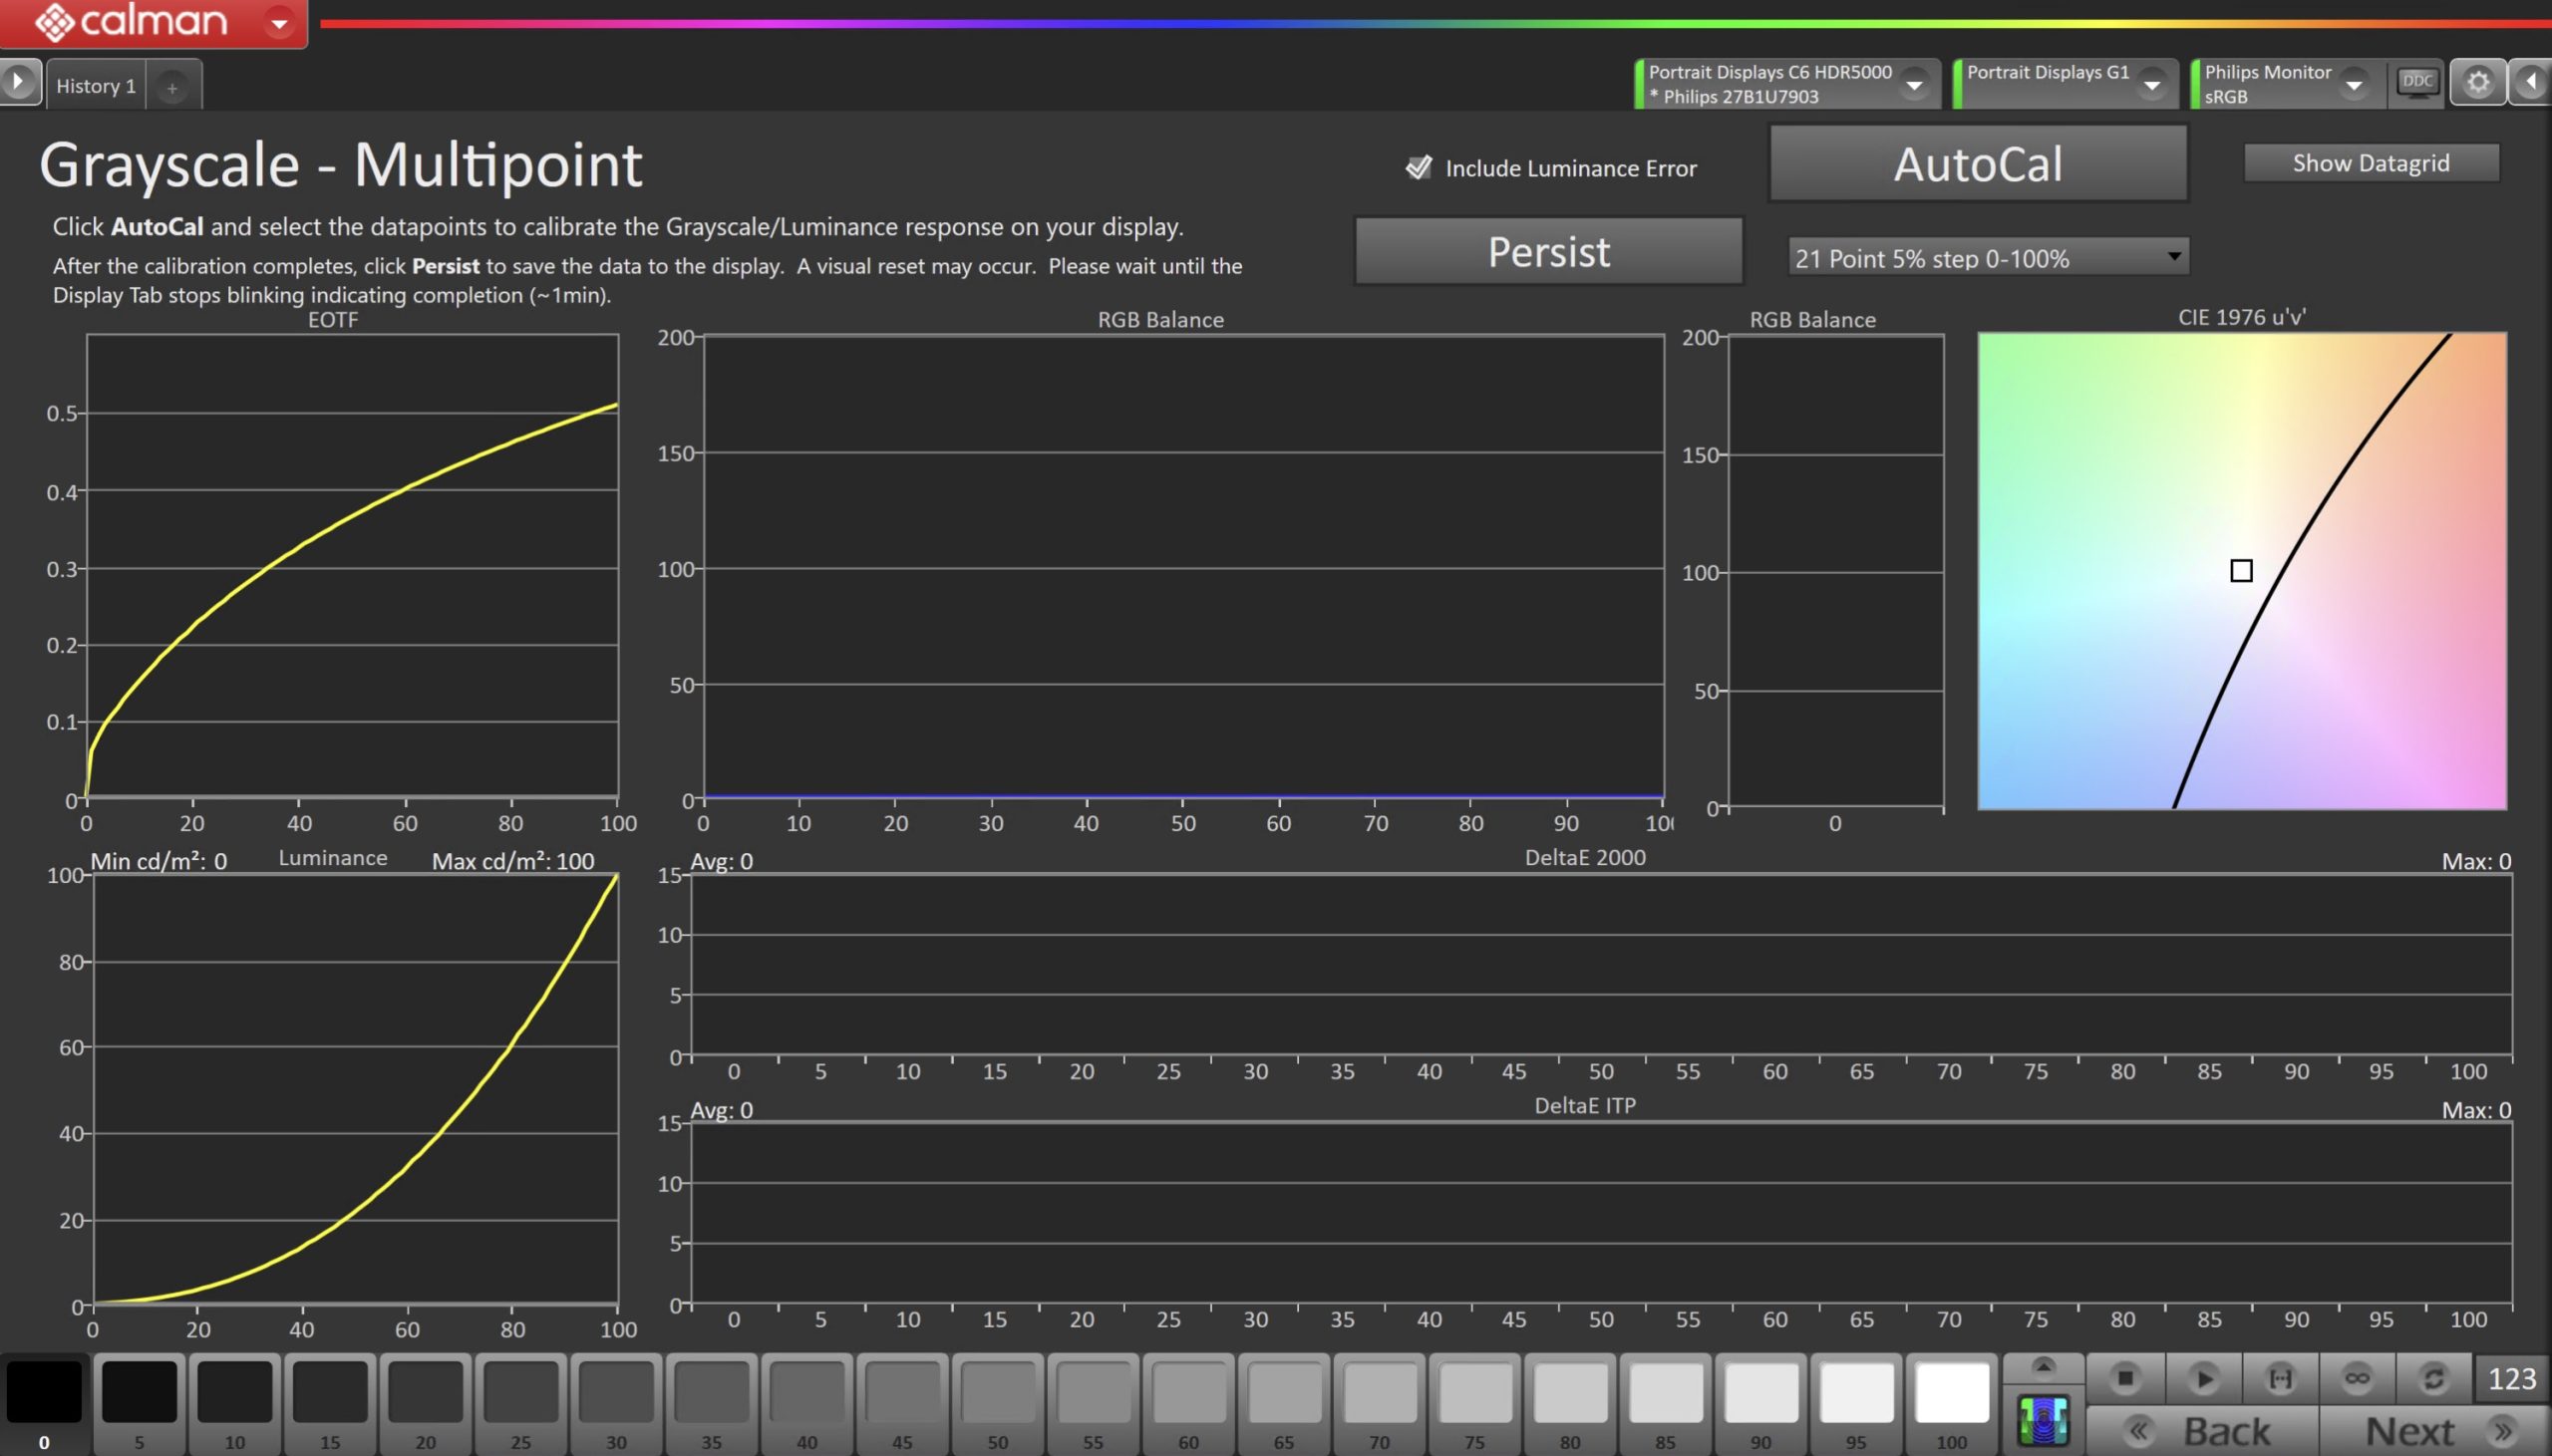
- Click the AutoCal button and select the correct data points in the AutoCal Dialog to auto-calibrate the Grayscale/Luminance response on the display.
- This should match the video range you chose in Step 4.
- Click OK to begin greyscale AutoCal.
- When AutoCal is complete, click the Persist button to send the calibration data to the monitor.
- The monitor will visually reset during this process
- Click the Next button to proceed.
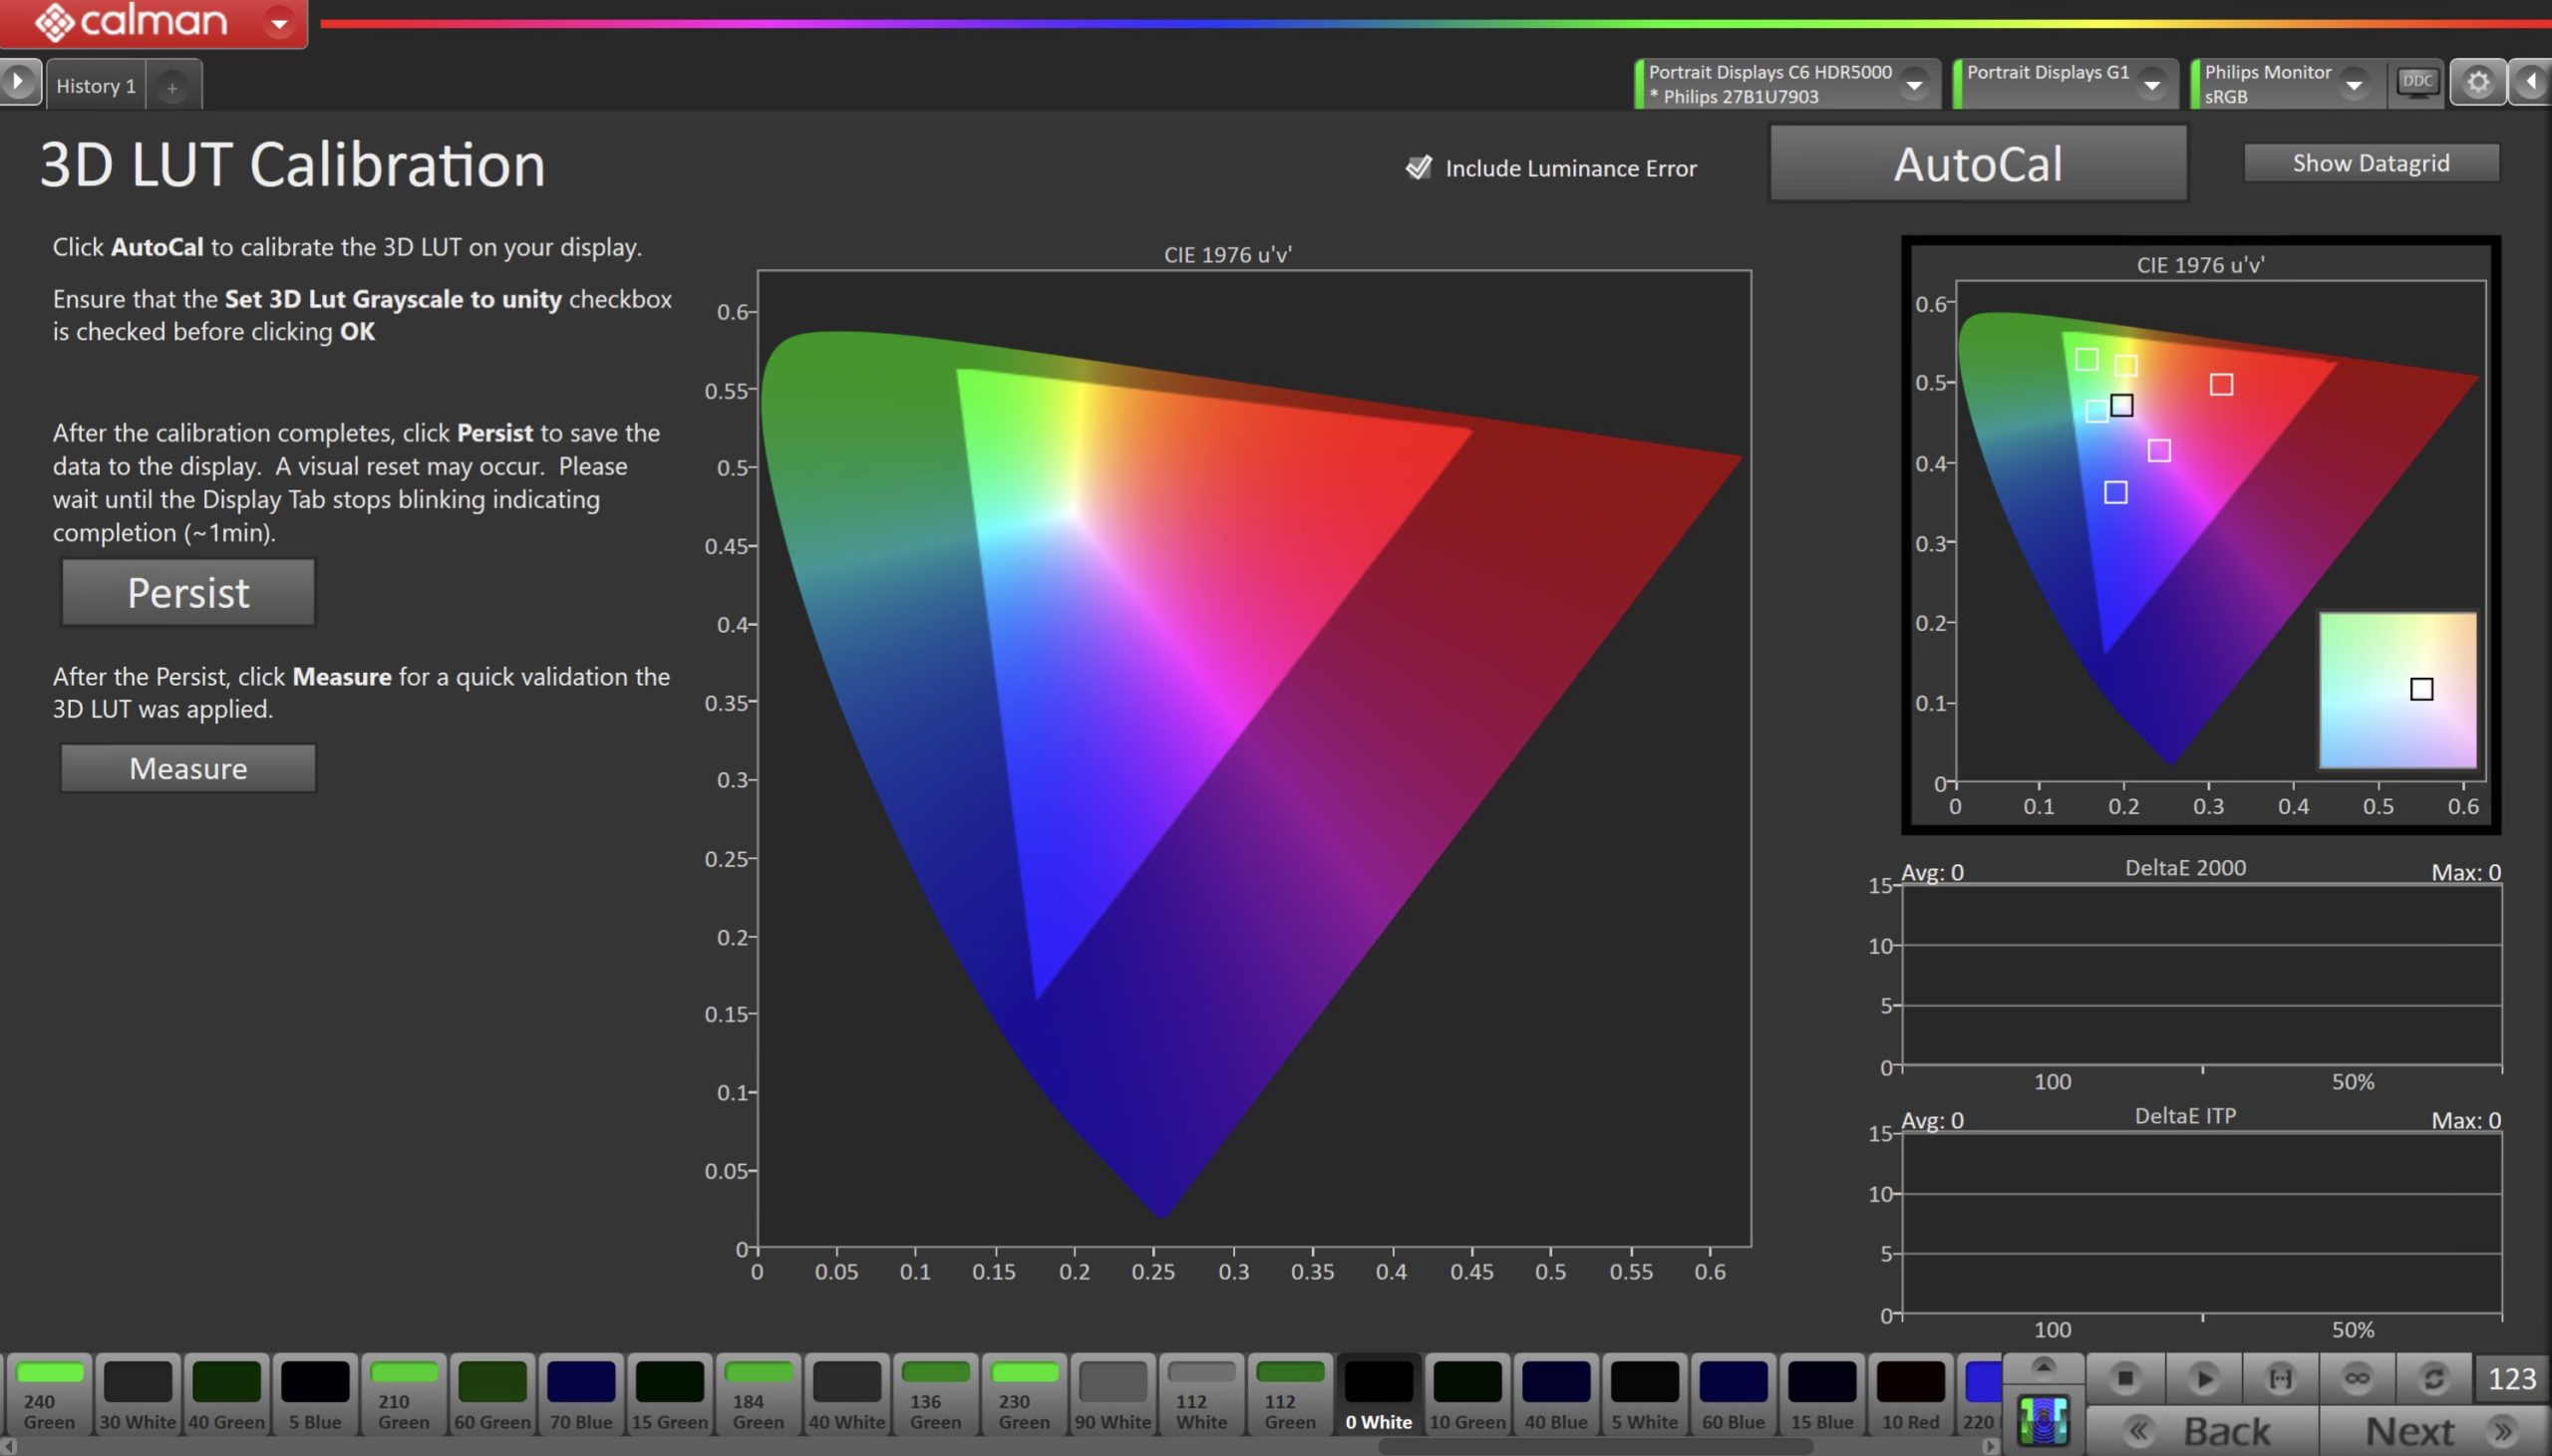
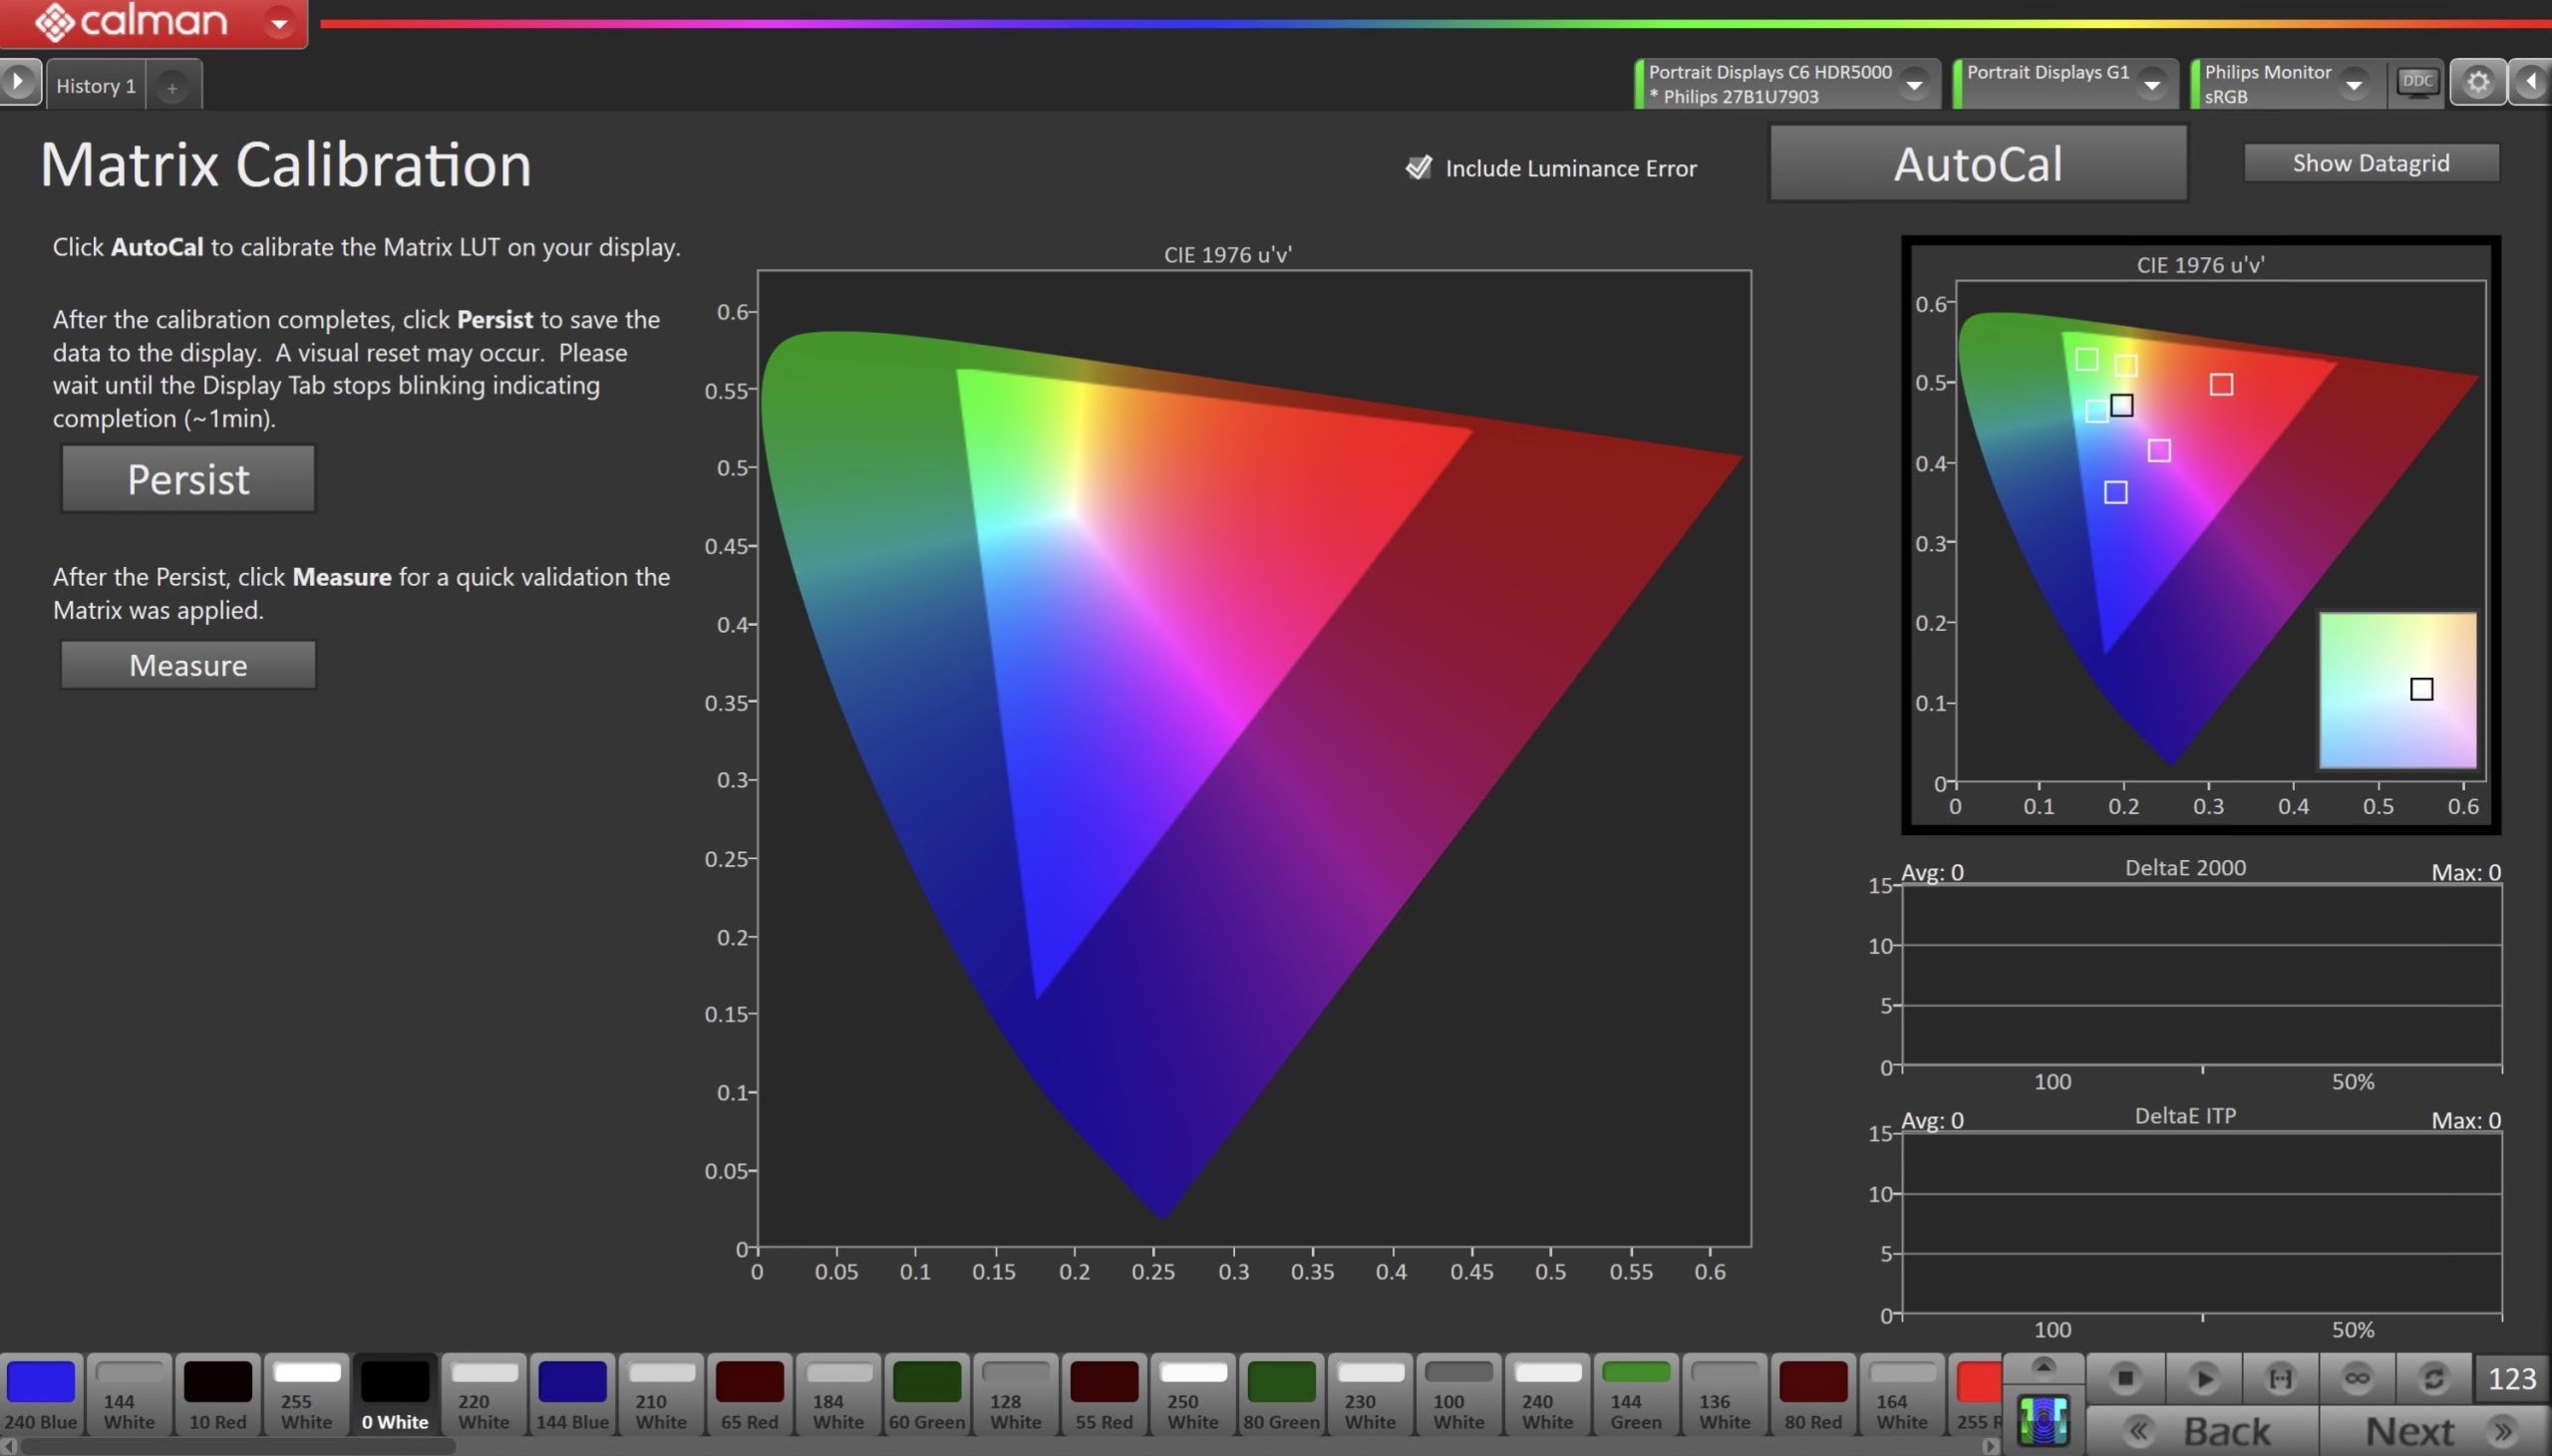
Step 8
- On this page, Calman will calibrate the Color Gamut using a 3D LUT or Matrix, depending on the selection in Step 4.
| 3D LUT (SDR Only) | Matrix (SDR or HDR) |
 |
 |
|
|
Step 9 – HDR Only
- This step will only be present for HDR targeted calibrations. Here Calman will measure and configure the monitors HDR Transform.
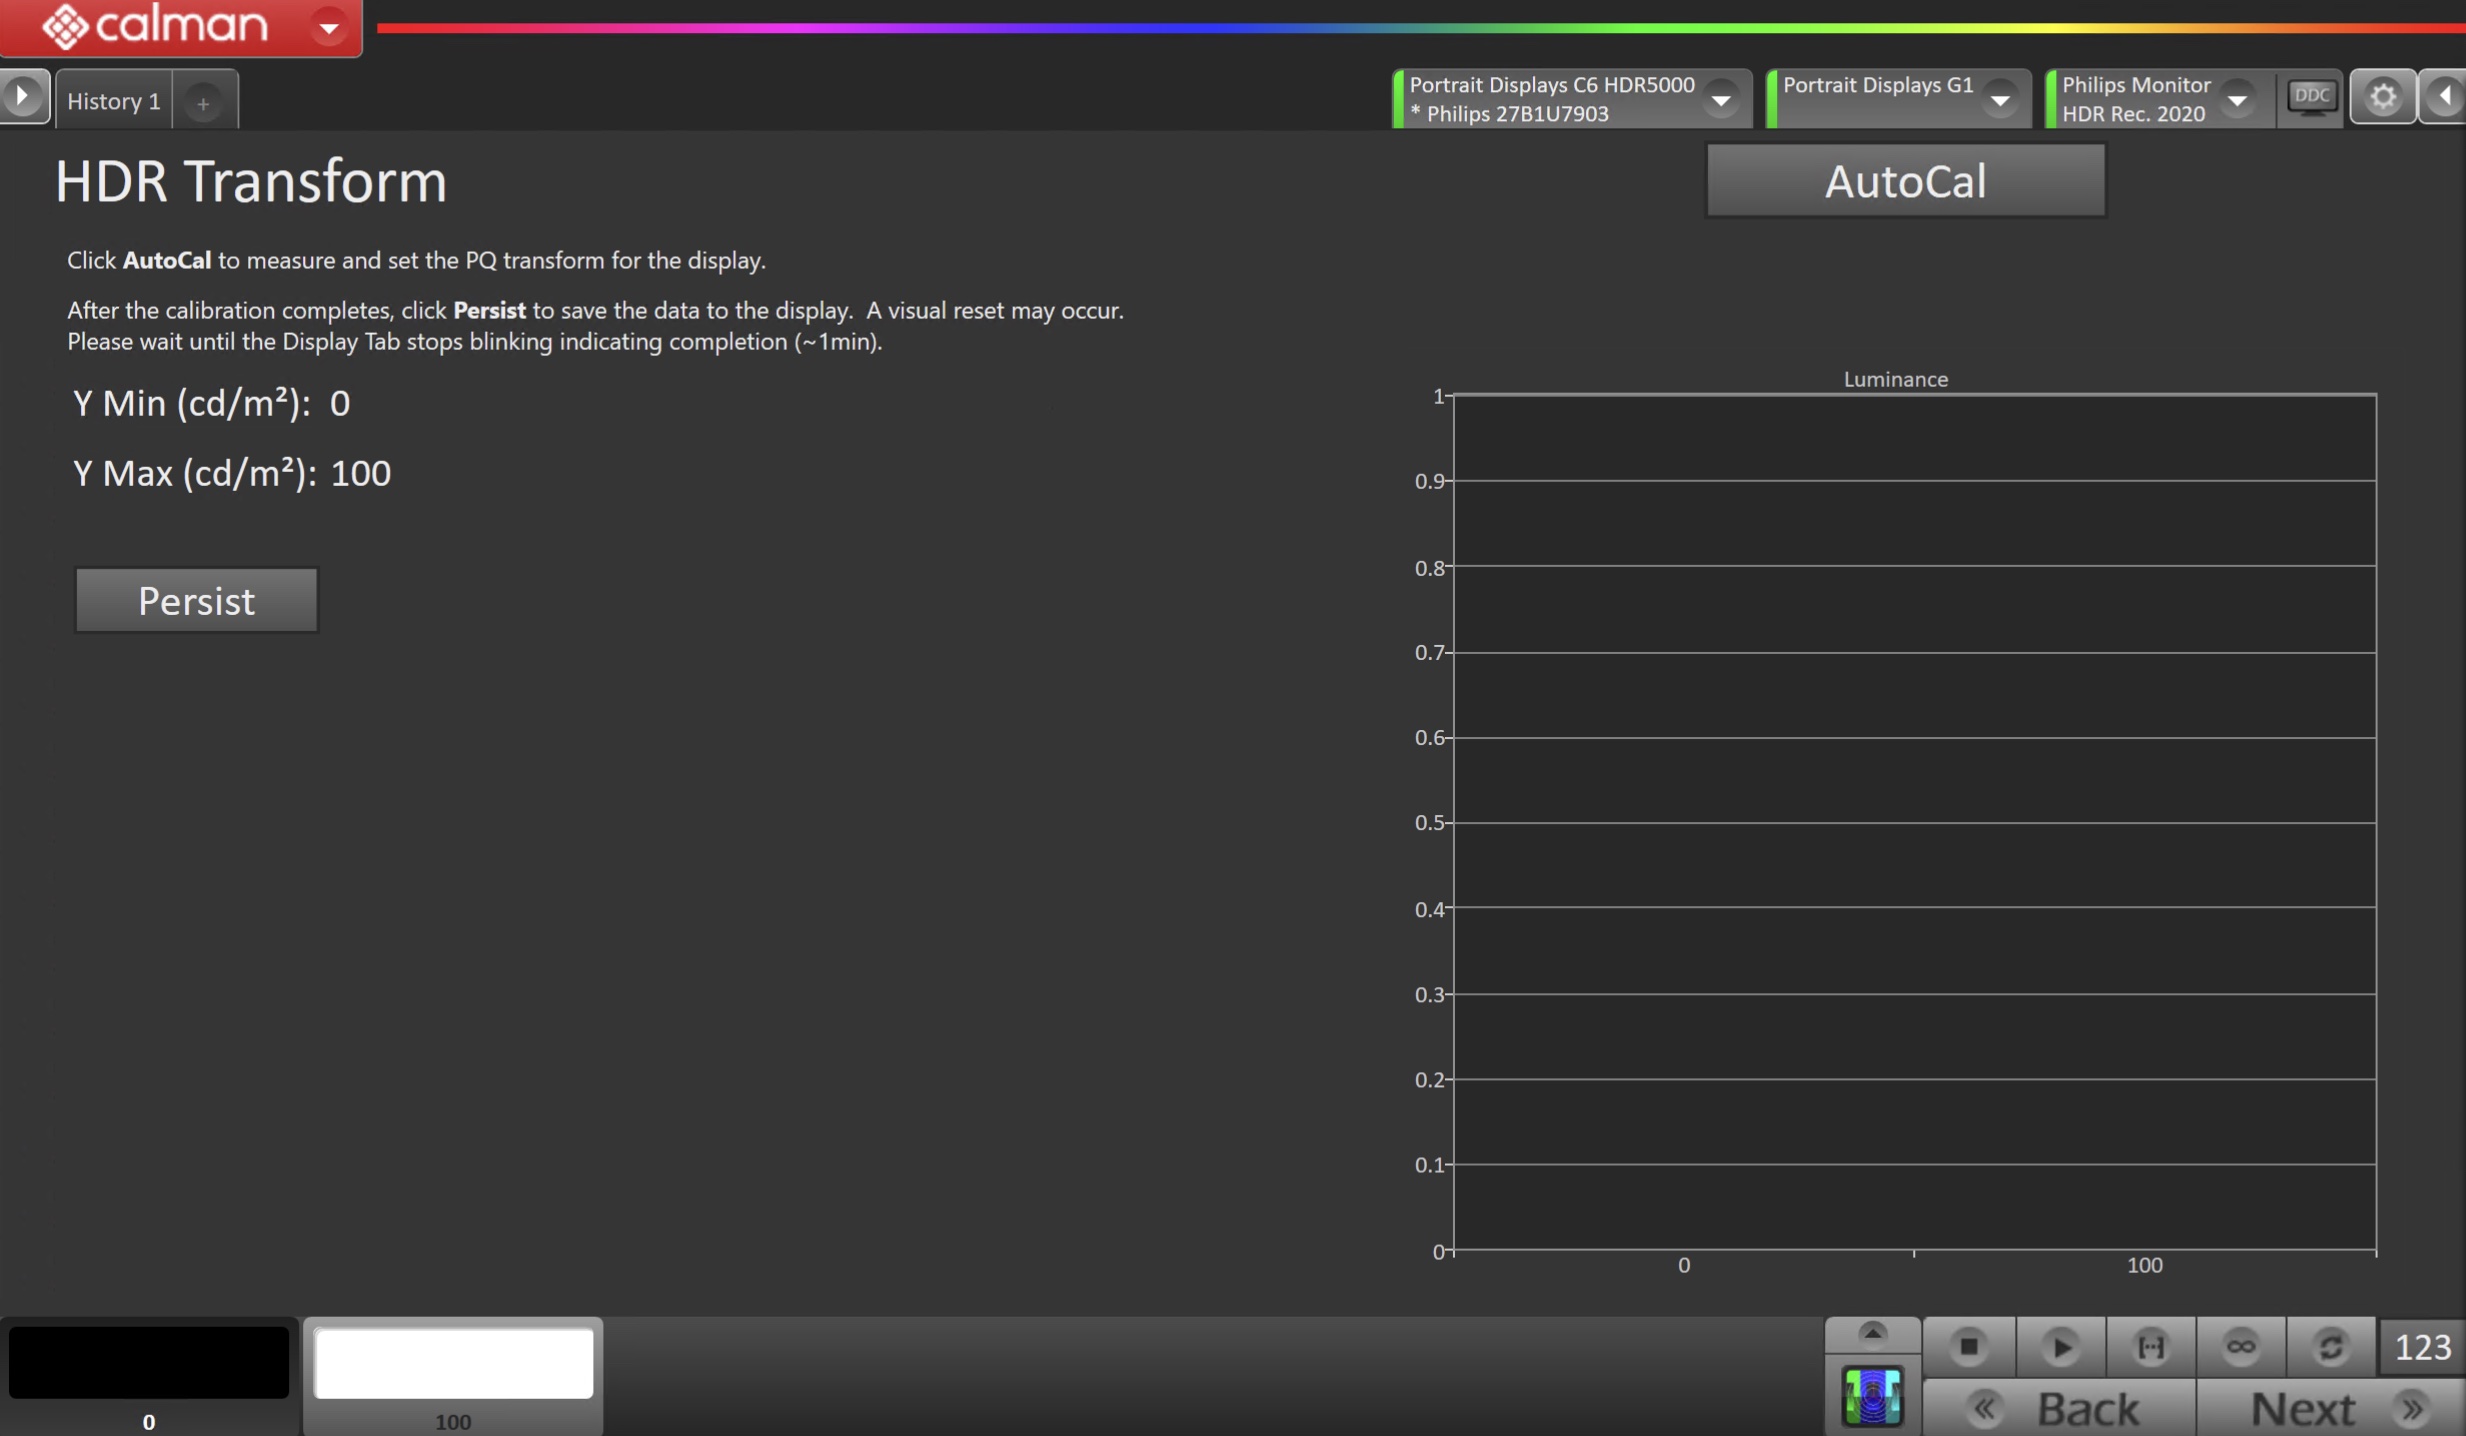
- Click AutoCal to measure and set the PQ transform for the display.
- When AutoCal is complete, click the Persist button to send the calibration data to the monitor.
- The monitor will visually reset during this process
Step 10
- In this step, you’ll take measurements of the calibration results.
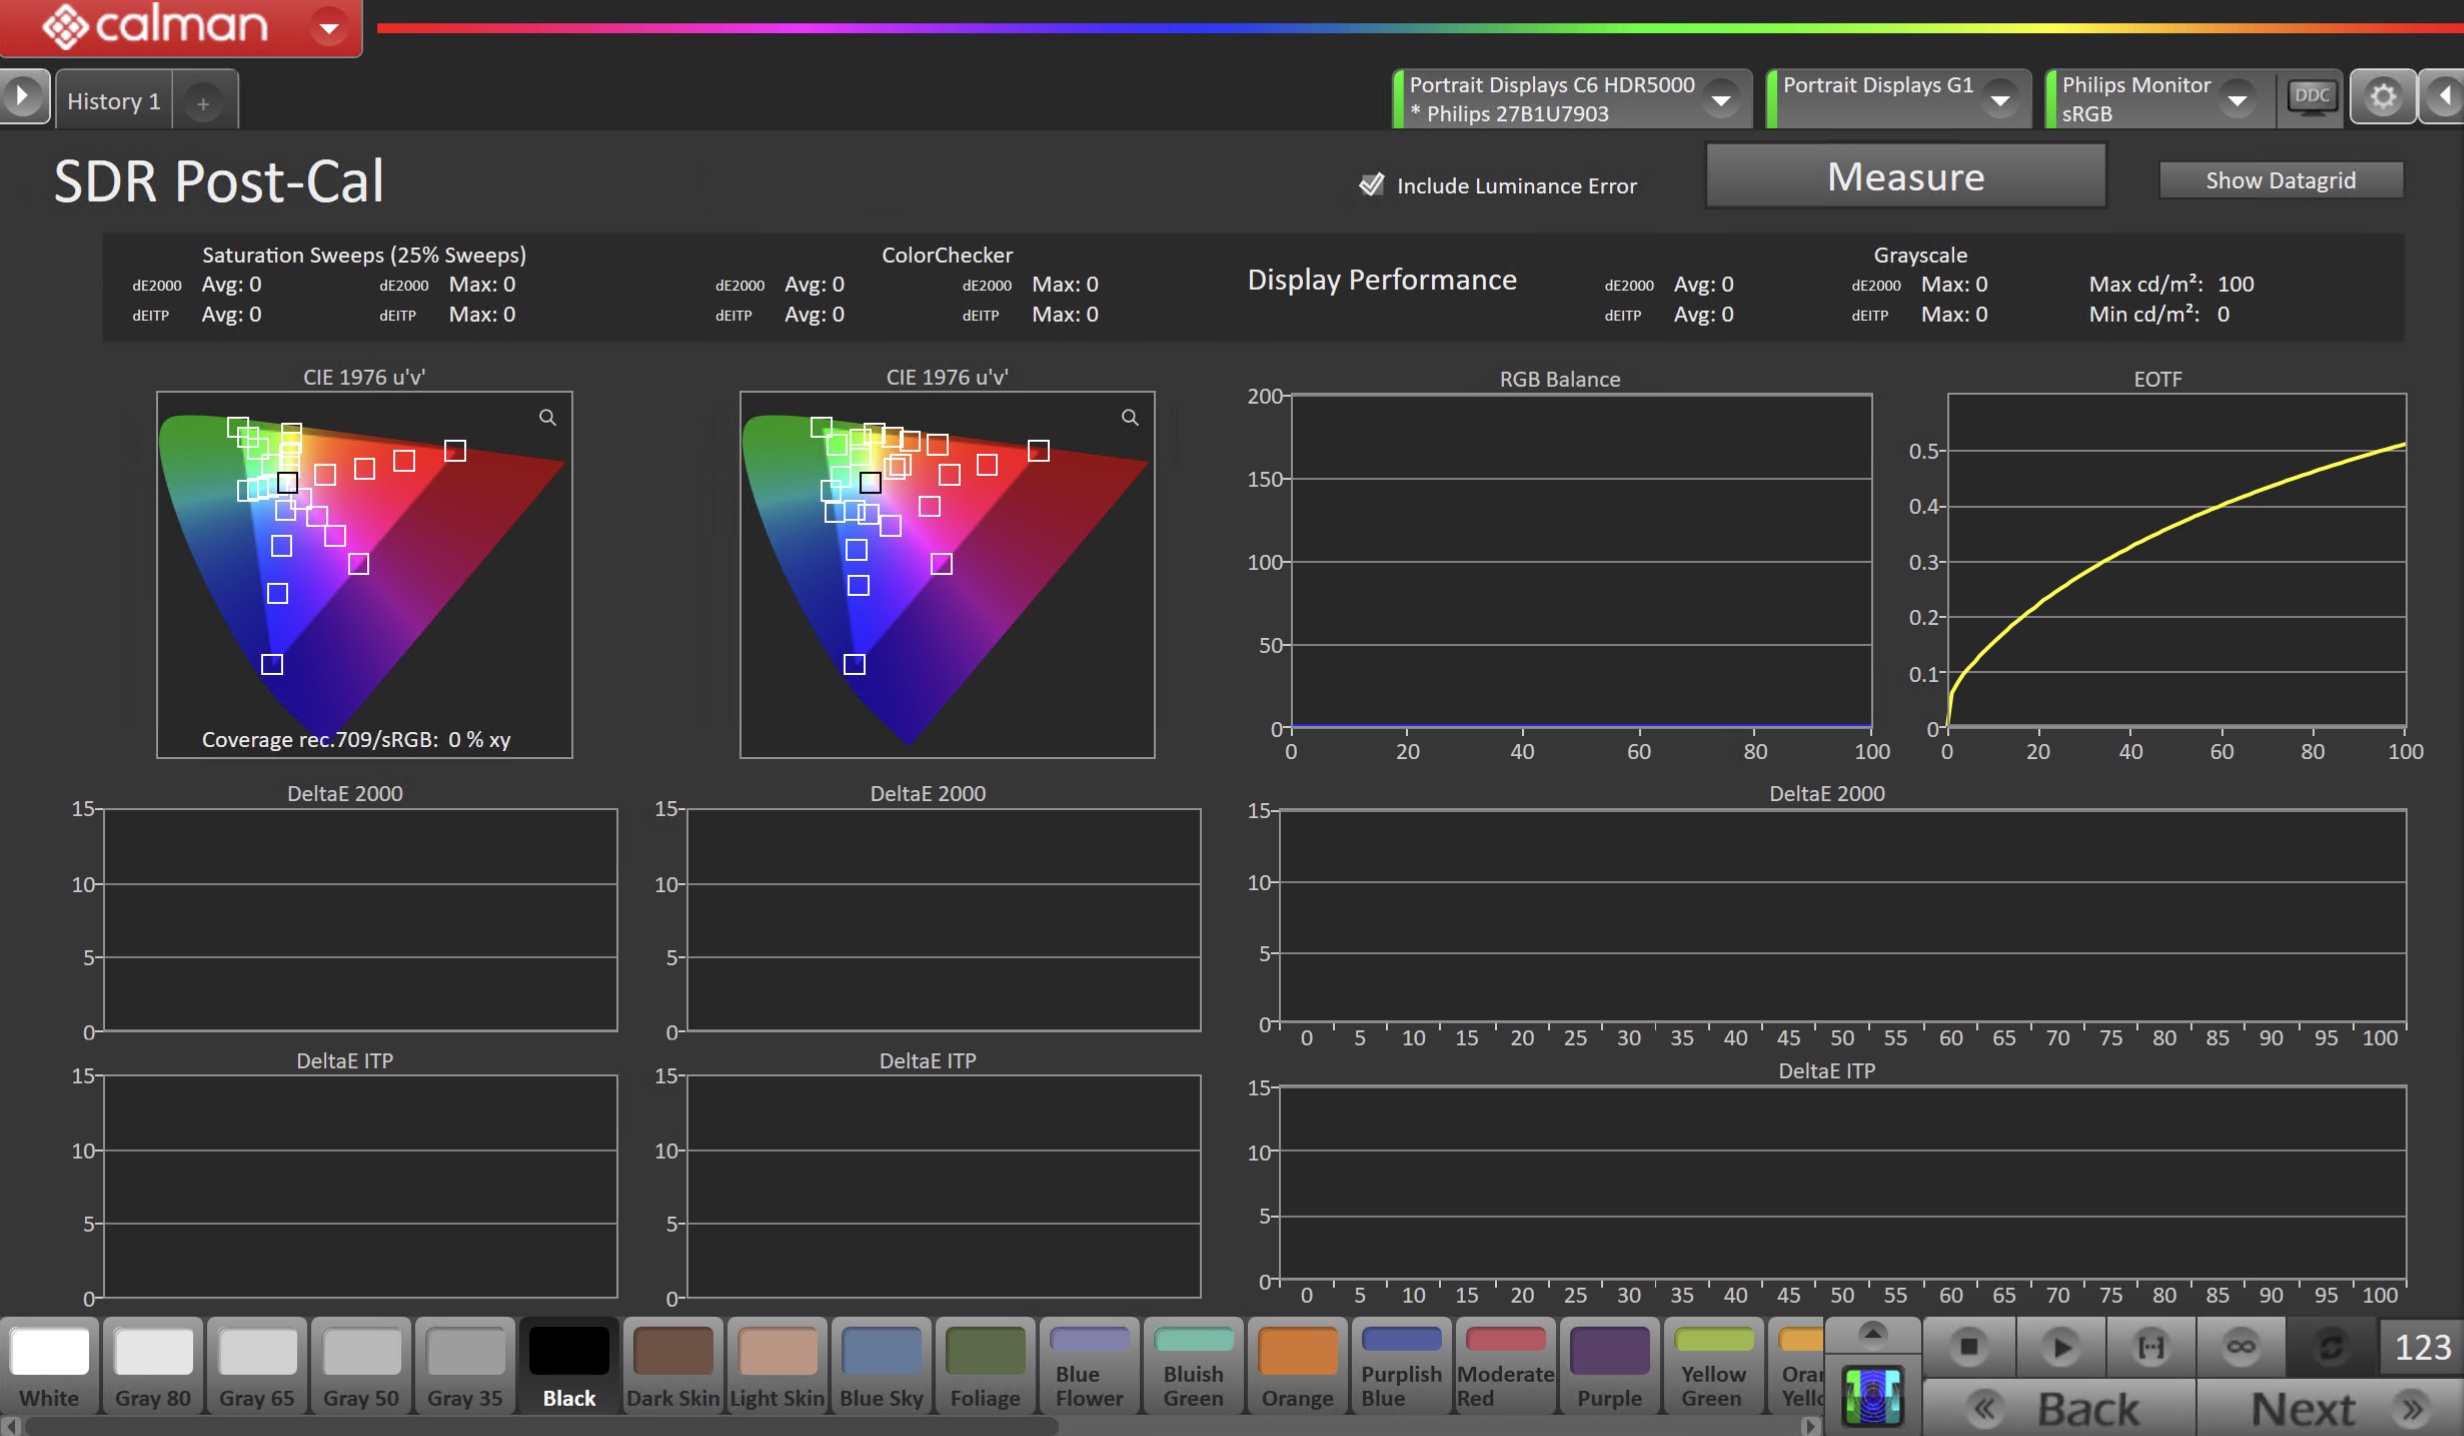
- To take Post-Calibration Measurements, click the Measure button to measure the display’s grayscale and color response.
- Click Next to proceed
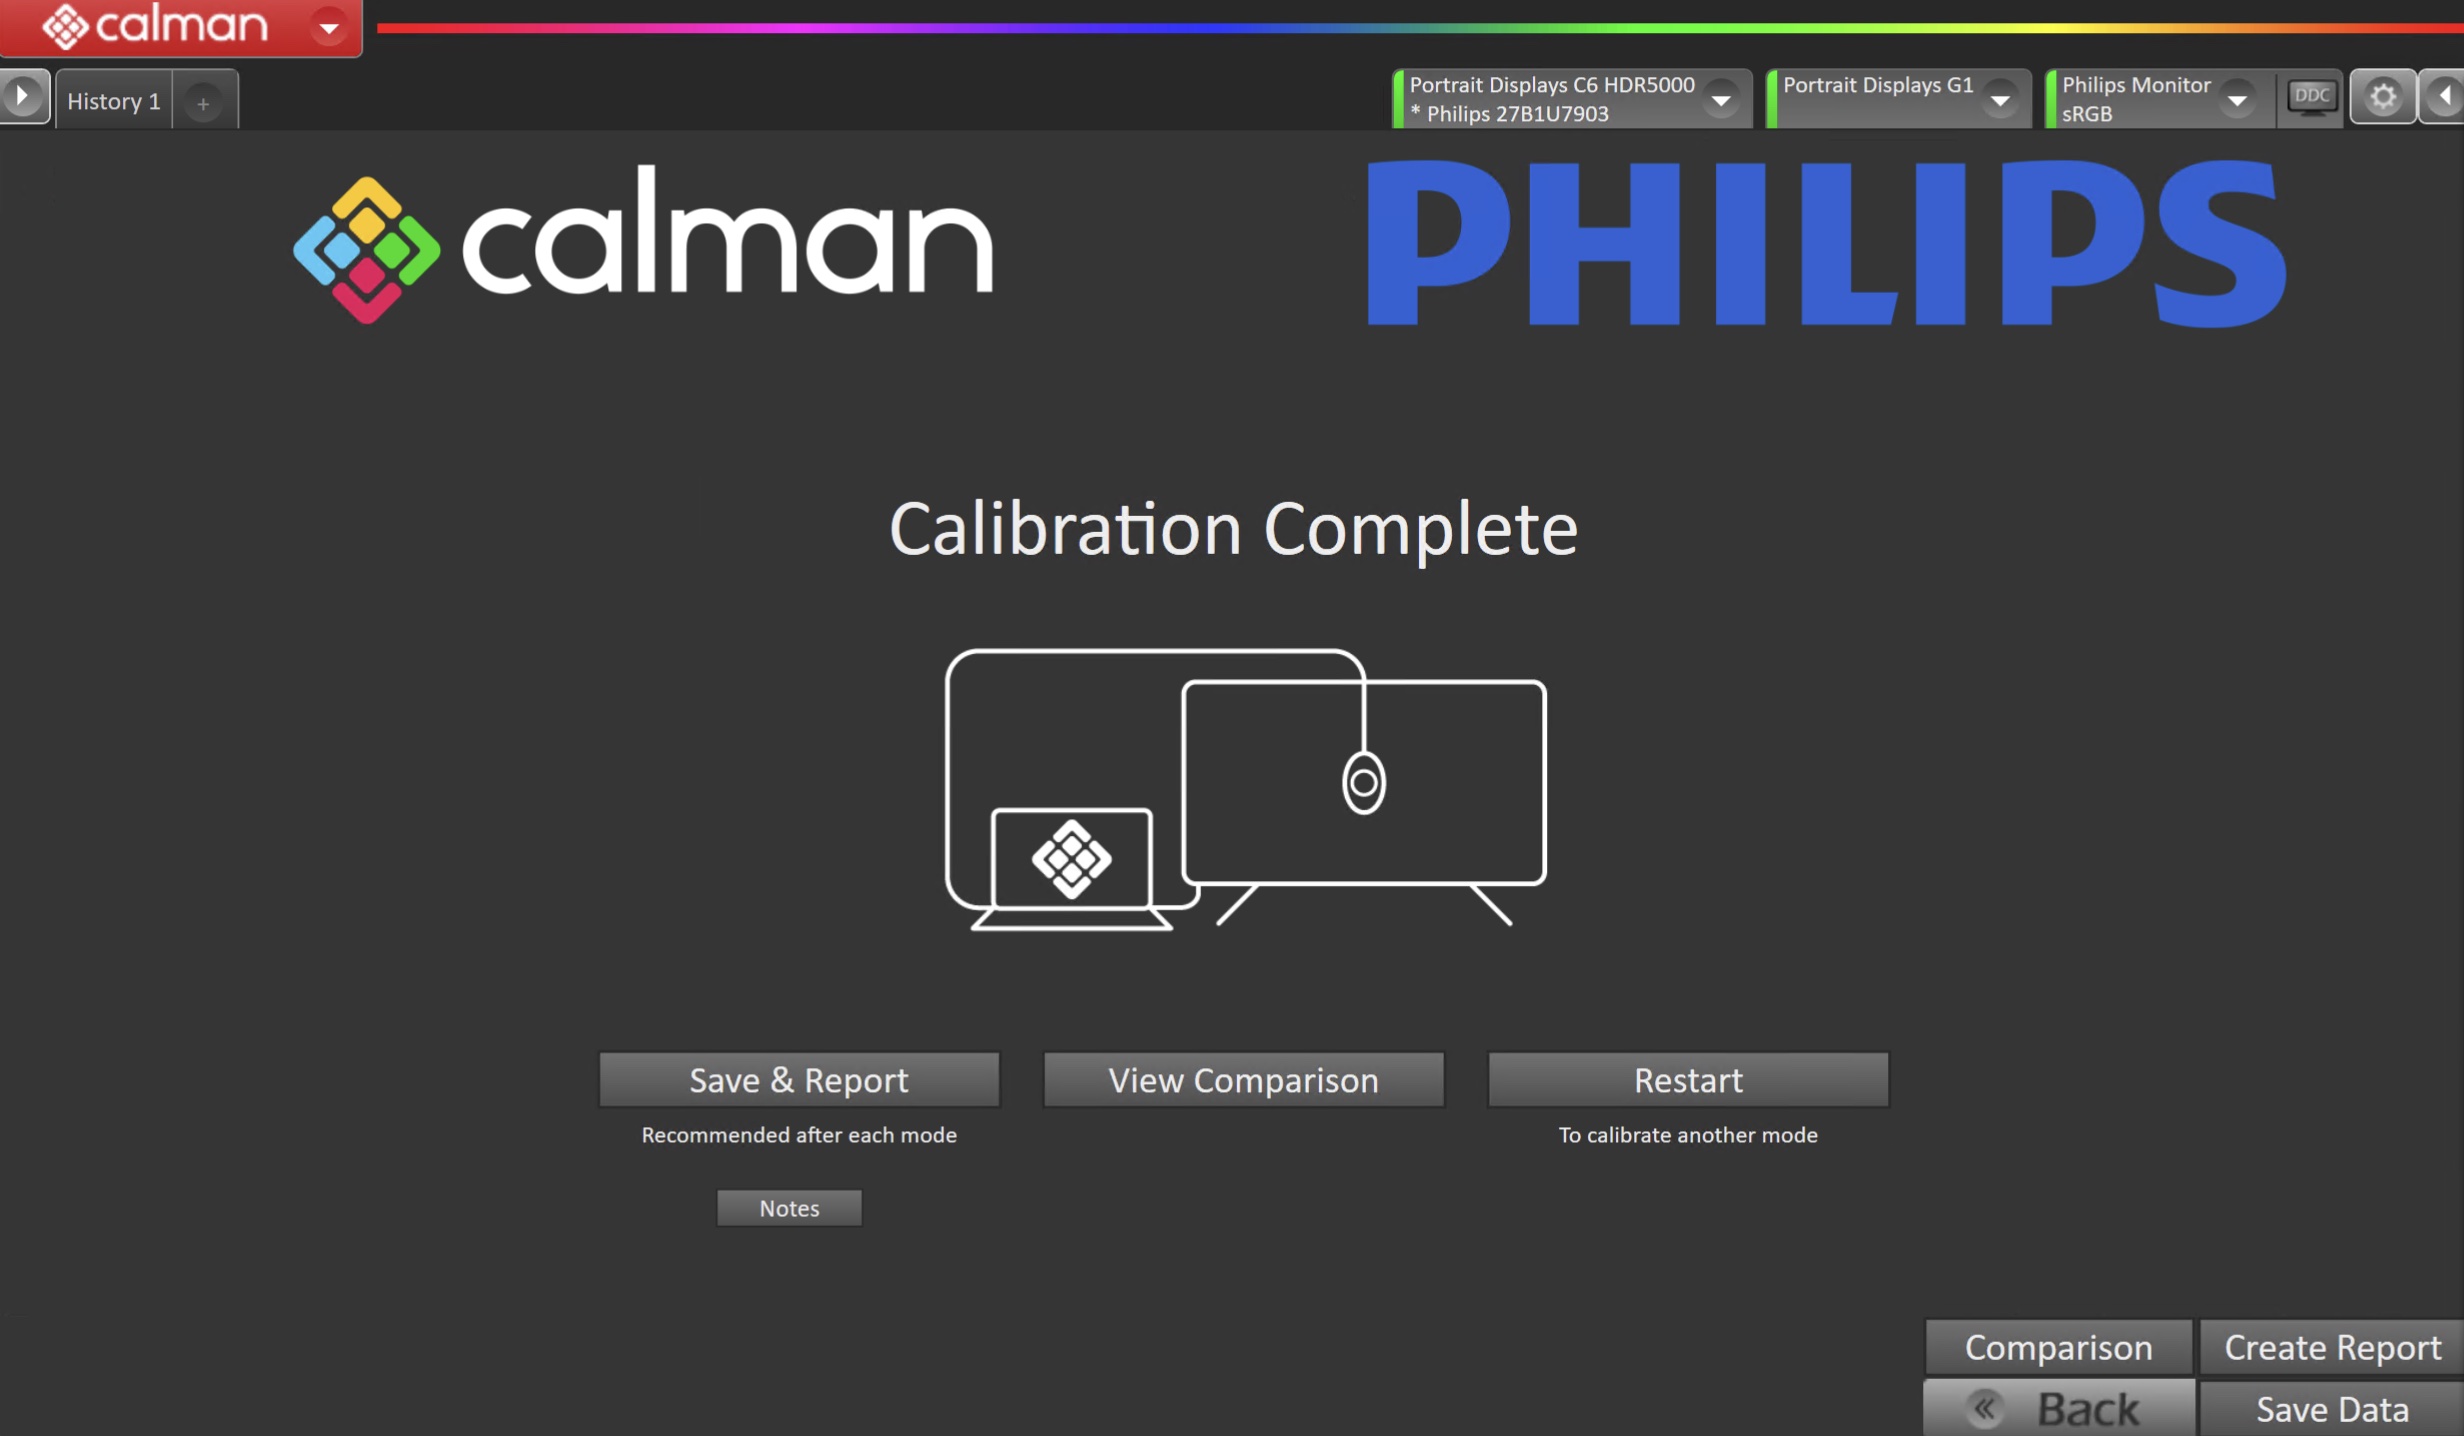
- On the Calibration Complete page, you can choose to…
- Save and Report
- Select Save and Report to generate the calibration report
- View Comparison
- Displays Pre and Post Calibration measurements of the calibrated mode side-by-side
- Restart
- Returns to the beginning of the workflow where a new mode or colorspace can be selected
- Note: Does not save workflow data
- Save and Report