Calman Studio and Ultimate support direct calibration of Calman-Ready Samsung televisions. Using Samsung’s integrated calibration interface, Calman connects to the TV over a local network to automate grayscale, color, and gamma adjustments. This process ensures accurate, consistent image performance for both home entertainment and professional workflows.


Calman Required Version
- Calman Studio or Ultimate v5.16.5 or higher
Hardware Requirements
- Calman Ready Samsung TV
- Models by Year:
2026
| Series | Model |
|---|---|
| Neo QLED | QN990H |
| Neo QLED | QN84H |
| Neo QLED | QN83H |
| Neo QLED | QN82H |
| Neo QLED | QN80H |
| Neo QLED | QN74H |
| Neo QLED | QN73H |
| Neo QLED | QN72H |
| Neo QLED | QN71H |
| Neo QLED | QN70H |
| Neo QLED | QN1EH |
| OLED | S99H |
| OLED | S95H |
| OLED | S94H |
| OLED | S93H |
| OLED | S92H |
| OLED | S90H |
| OLED | S88H |
| OLED | S85H |
| OLED | S83H |
| OLED | S82H |
| QLED | Q5FA |
| Micro RGB | R95H |
| Micro RGB | R87H |
| Micro RGB | R86H |
| Micro RGB | R85H |
2025
| Series | Model |
|---|---|
| Neo QLED | QN990F |
| Neo QLED | QN950F |
| Neo QLED | QN900F |
| Neo QLED | QN95F |
| Neo QLED | QN90F |
| Neo QLED | QN85F |
| Neo QLED | QN80F |
| Neo QLED | QN70F |
| OLED | S95F |
| OLED | S90F |
| OLED | S90FD |
| OLED | S85F |
| QLED | Q8F |
| QLED | Q7F |
| QLED | Q70F |
| QLED | Q6F |
| Crystal UHD | U8000F |
| Crystal UHD | F6000D |
| Lifestyle | LS03F |
2024
| Series | Model |
|---|---|
| Neo QLED | QN900D |
| Neo QLED | QN850D |
| Neo QLED | QN800D |
| Neo QLED | QN95D |
| Neo QLED | QN90D |
| Neo QLED | QN85D |
| Neo QLED | QN80D |
| OLED | S95D |
| OLED | S90D |
| OLED | S85D |
| QLED | Q80D |
| QLED | Q70D |
| QLED | Q60D |
| QLED | 32Q60D |
| Crystal UHD | 98″ DU9000 |
| Crystal UHD | 85DU8000 |
| Crystal UHD | DU8000 |
| Crystal UHD | DU7000 |
| Lifestyle | The Serif (LS01D) |
| Lifestyle | The Frame (LS03D) |
2023
| Series | Model |
|---|---|
| Neo QLED | QN900C |
| Neo QLED | QN800C |
| Neo QLED | QN700C |
| Neo QLED | QN95C |
| Neo QLED | QN90C |
| Neo QLED | QN85C |
| OLED | S95C |
| OLED | S90C |
| QLED | Q80C |
| QLED | Q70C |
| QLED | Q60C |
| QLED | 32Q60C |
| Crystal UHD | CU8000 |
| Crystal UHD | CU7000 |
| Lifestyle | The Frame32 |
2022
| Series | Model |
|---|---|
| Neo QLED | QN900B |
| Neo QLED | QN800B |
| Neo QLED | QN700B |
| Neo QLED | QN100B |
| Neo QLED | QN95B |
| Neo QLED | QN90B |
| Neo QLED | QN85B |
| OLED | S95B |
| QLED | Q80B |
| QLED | Q70B |
| QLED | Q60B |
| Crystal UHD | BU8000 (Except North America) |
| Crystal UHD | BU7000 |
| Lifestyle | The Serif (LS01B) |
| Lifestyle | The Frame (LS03B) |
| Lifestyle | The Sero (LS05B) |
| Lifestyle | Frame32 (LS03BB) |
2021
| Series | Model |
|---|---|
| Neo QLED | QN900A |
| Neo QLED | QN800A |
| Neo QLED | QN700A |
| Neo QLED | QN95A |
| Neo QLED | QN90A |
| Neo QLED | QN85A/Q80A |
| QLED | Q70A |
| QLED | Q60A |
| QLED | Q60A 32″ (US/EU) |
| QLED | Q50A 32″ (US/EU) |
| MicroLED | WS1A |
| Crystal UHD | AU9000 |
| Crystal UHD | AU8000 |
| Crystal UHD | AU7700 |
| Crystal UHD | AU7000 |
| Lifestyle | The Frame (LS03A) |
| Lifestyle | The Sero |
| Lifestyle | The Terrace |
2020
| Series | Model |
|---|---|
| QLED | SQ950T |
| QLED | SQ900T |
| QLED | Q800T |
| QLED | Q700T |
| QLED | Q95T |
| QLED | Q90T |
| QLED | Q80T |
| QLED | Q70T |
| QLED | Q60T |
| Crystal UHD | TU8500 |
| Crystal UHD | TU8000 |
| Crystal UHD | TU7000 |
| Crystal UHD | T5300/4300 |
| Crystal UHD | T5300/4300 (Europe) |
| Crystal UHD | T5500/4500 (SEA, SWA Voice) |
| Crystal UHD | T5310/4310 (India) |
| Lifestyle | The Frame |
| Lifestyle | The Frame 32″ |
| Lifestyle | The Serif |
| Lifestyle | The Sero |
| Lifestyle | The Terrace (LST7T) |
Step 1
- From the Calman Menu in the top-left, choose Open Workflow Template -> Calman Ready and then Samsung.
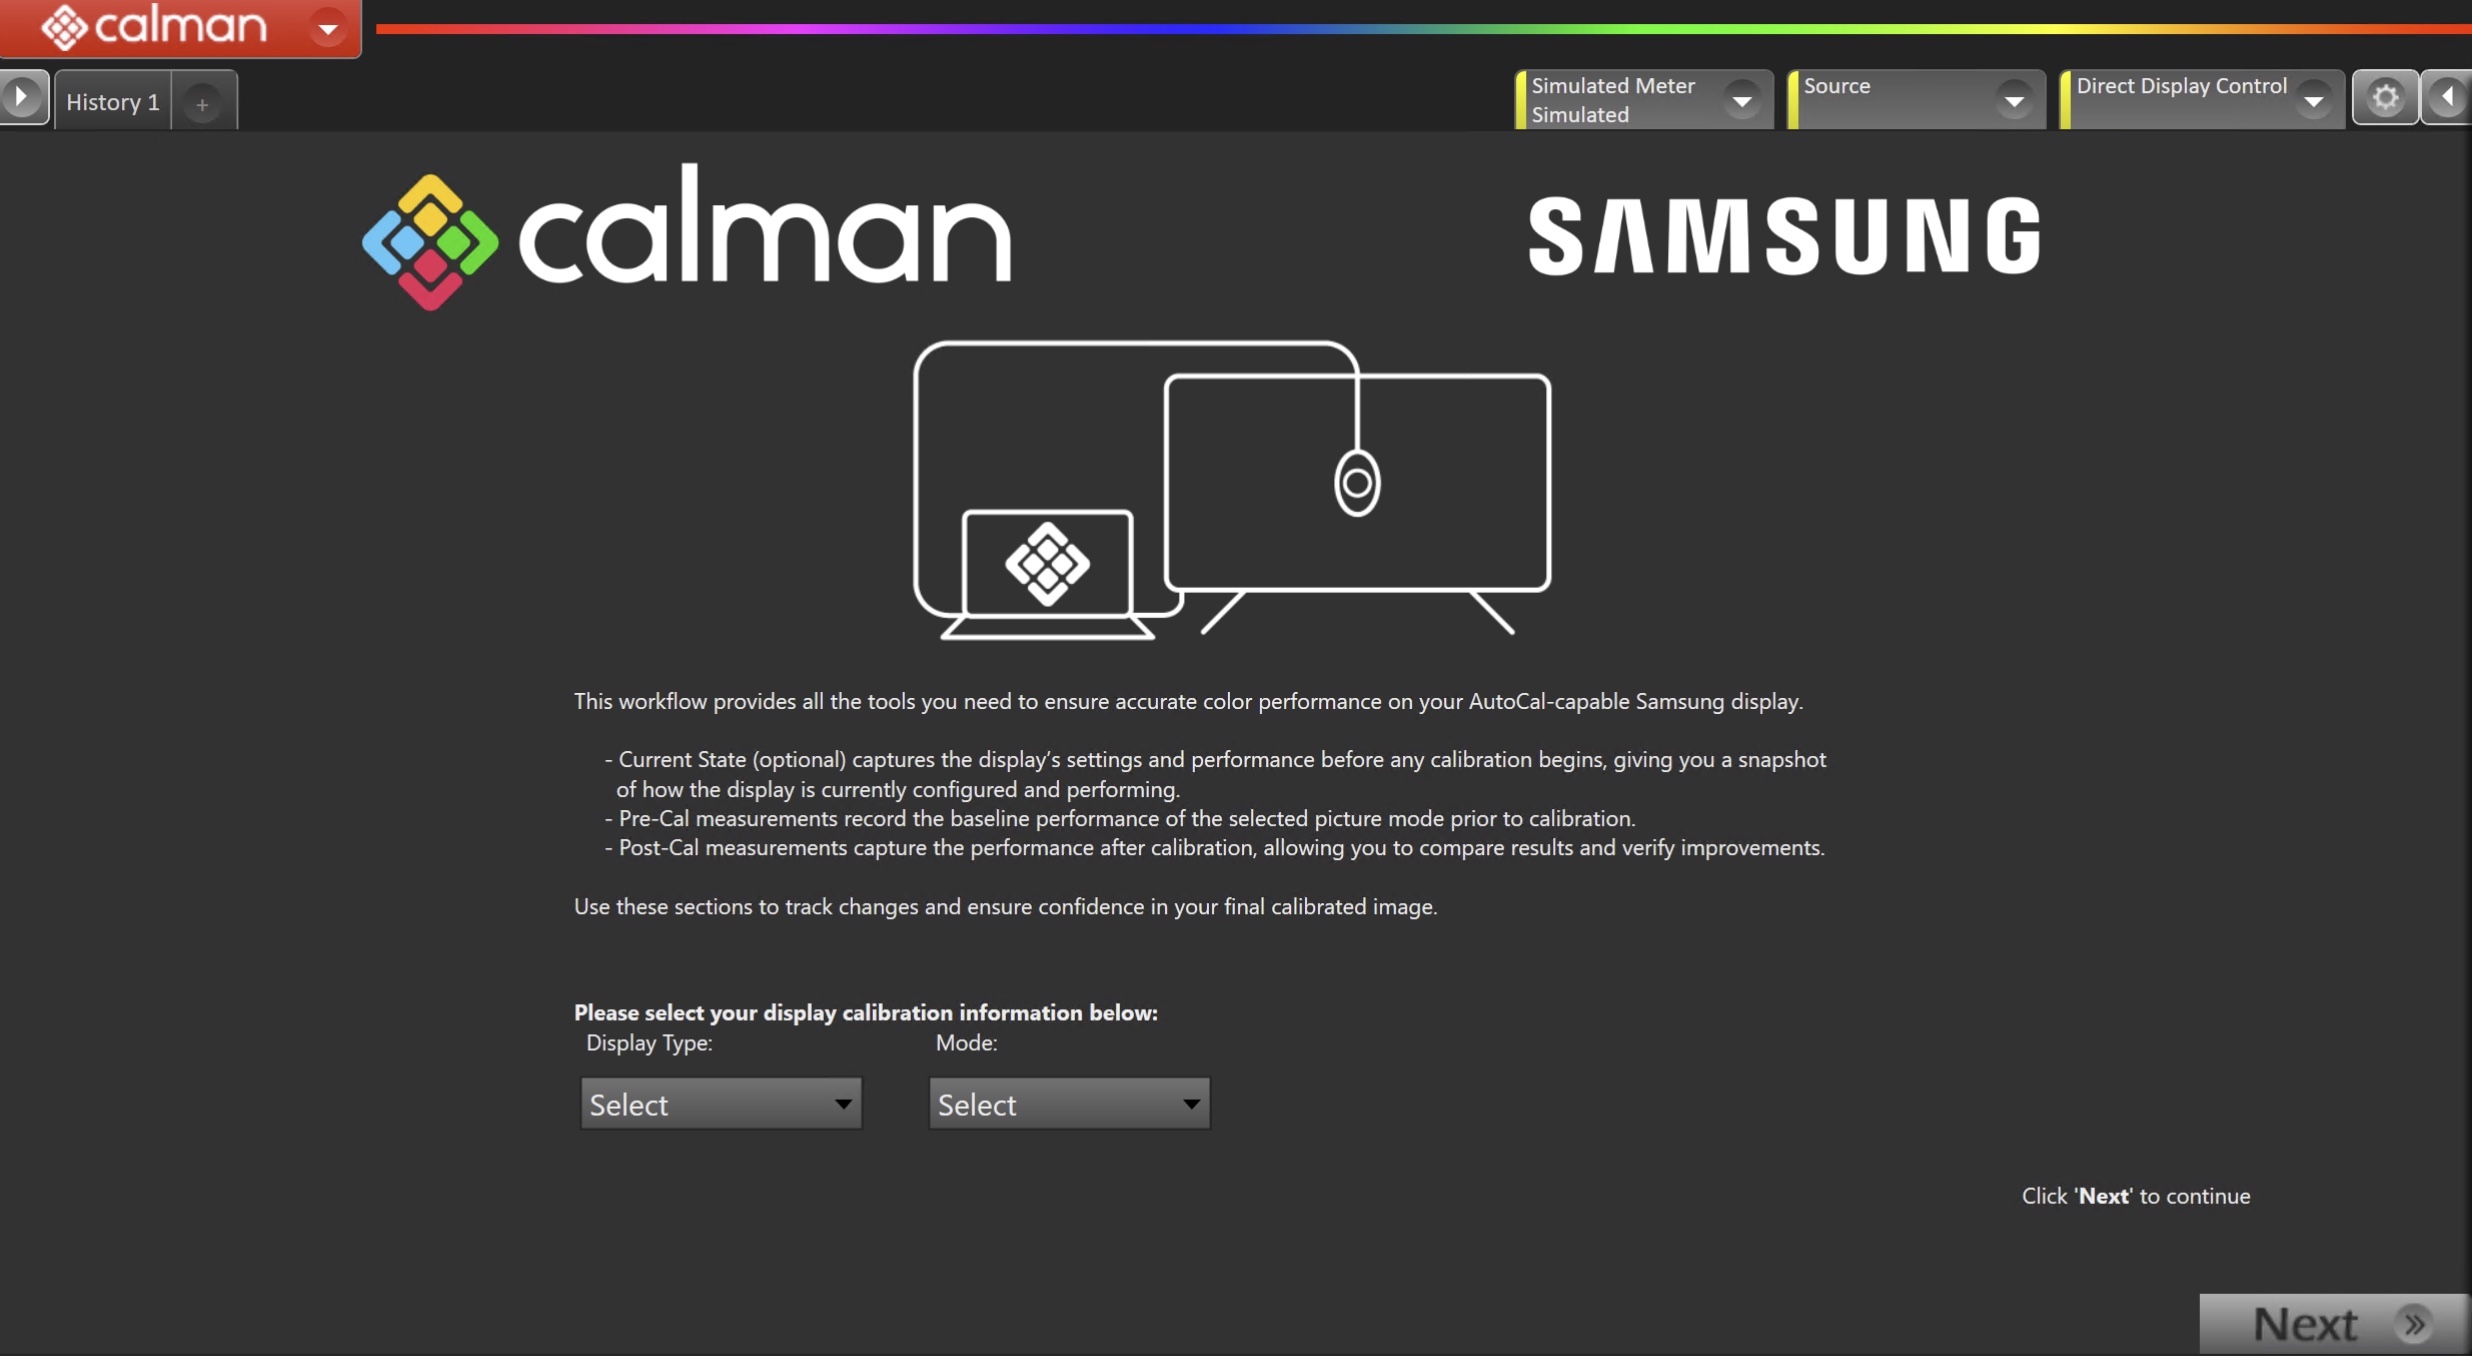
- On the introduction screen, select your display type (LCD/OLED) and calibration mode (SDR/HDR) from the dropdown and click Next to proceed to Hardware Setup
Step 2
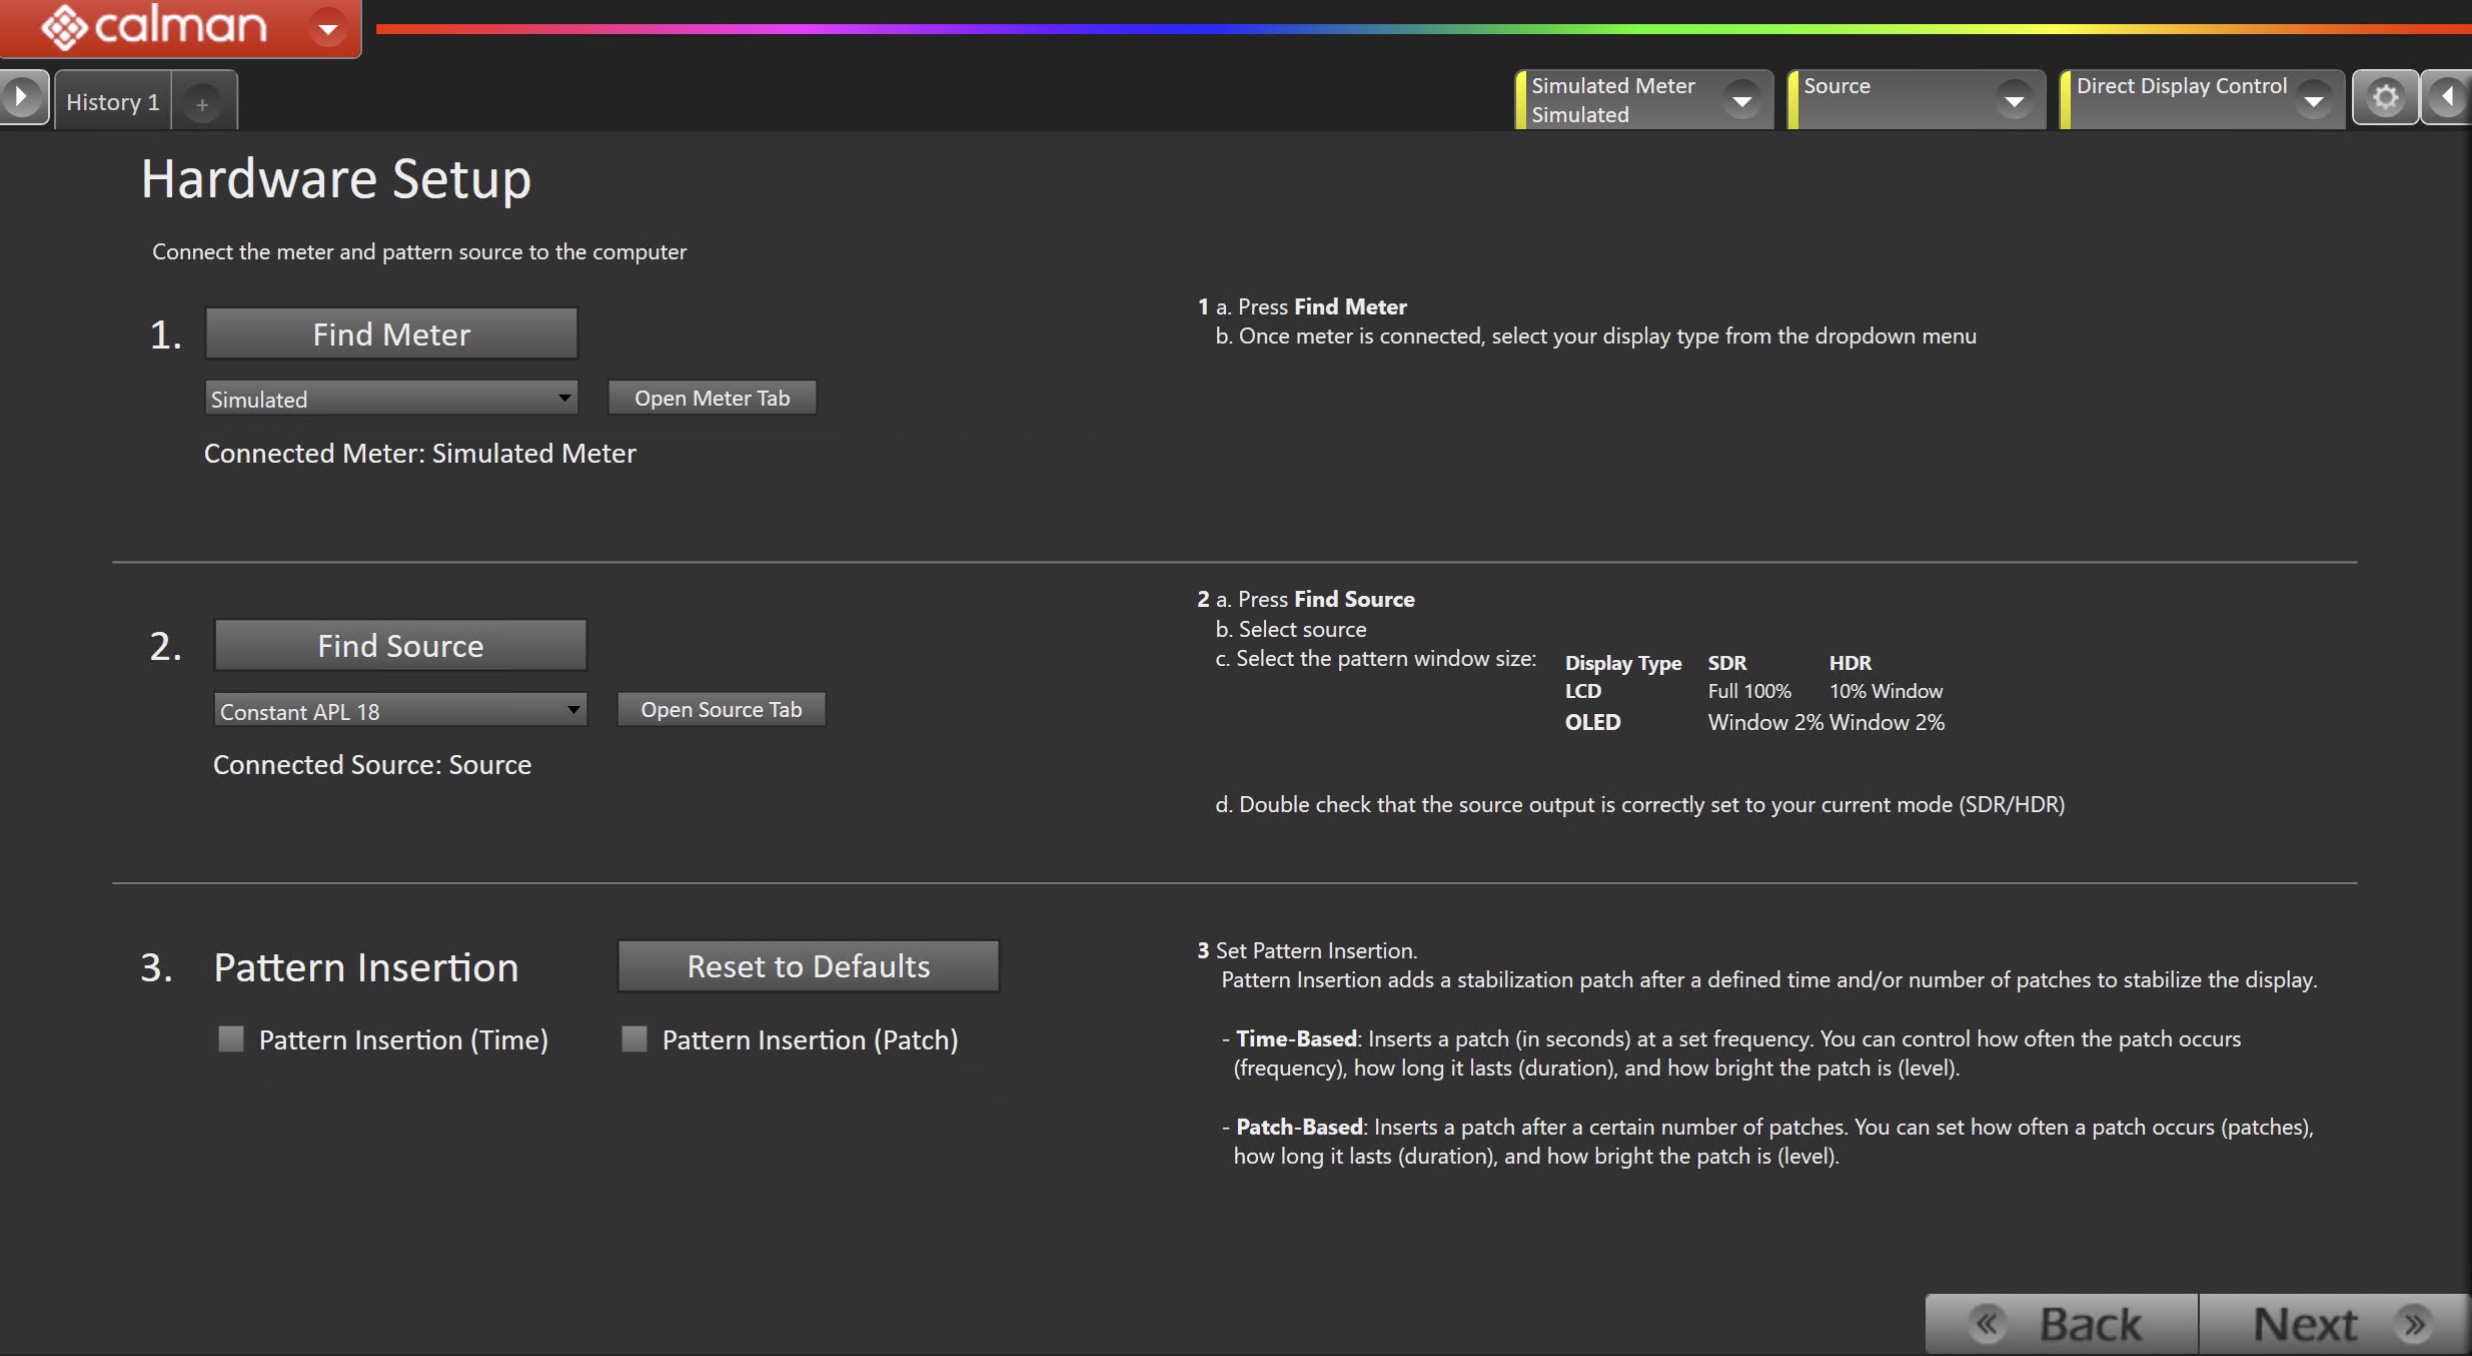
- Plug your meter into a USB port on the computer and press the Find Meter button on the left.
- When your meter is connected, select your display type from the dropdown
- Connect Pattern Source to your computer.
- Click the Find Source button, then select your source
- Select the pattern window size and delay
- QD-OLED
- SDR/HDR: Window 2%
- 2-second delay
- LCD/QLED
- SDR/HDR: Window 10%
- 2-second delay
- QD-OLED
- Ensure your source is set to SDR or HDR corresponding to your choice in Step 1
- Set Pattern insertion
- Click the Reset to Defaults button to set the appropriate pattern insertion for the display and calibration type in Step 1
- LCD models do not require Pattern Insertion to be enabled.
- Click the Reset to Defaults button to set the appropriate pattern insertion for the display and calibration type in Step 1
- Click Next to proceed
Step 3
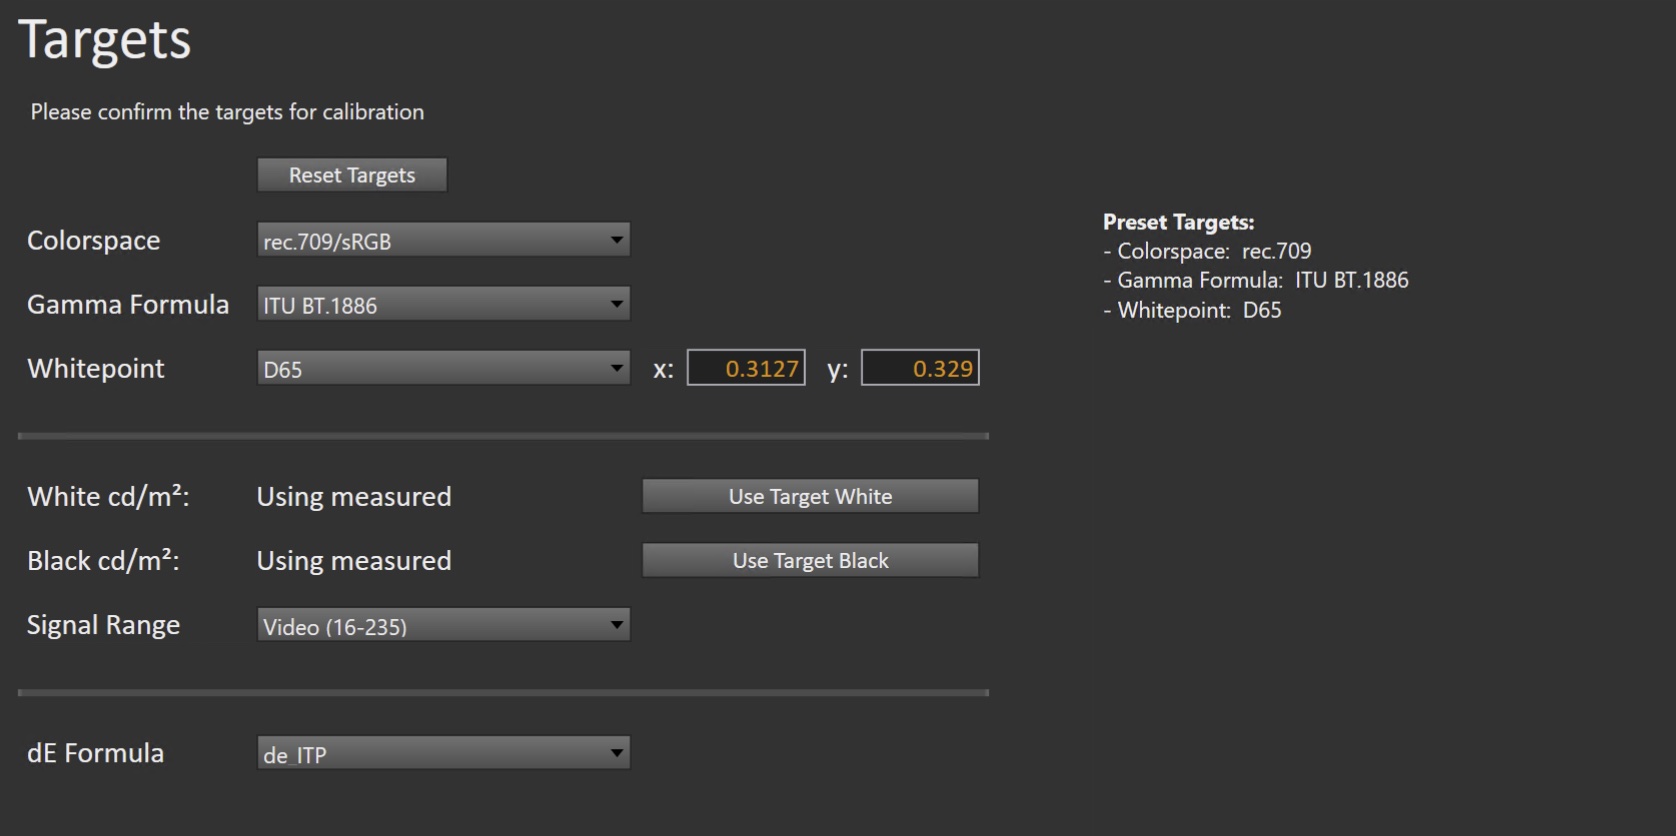
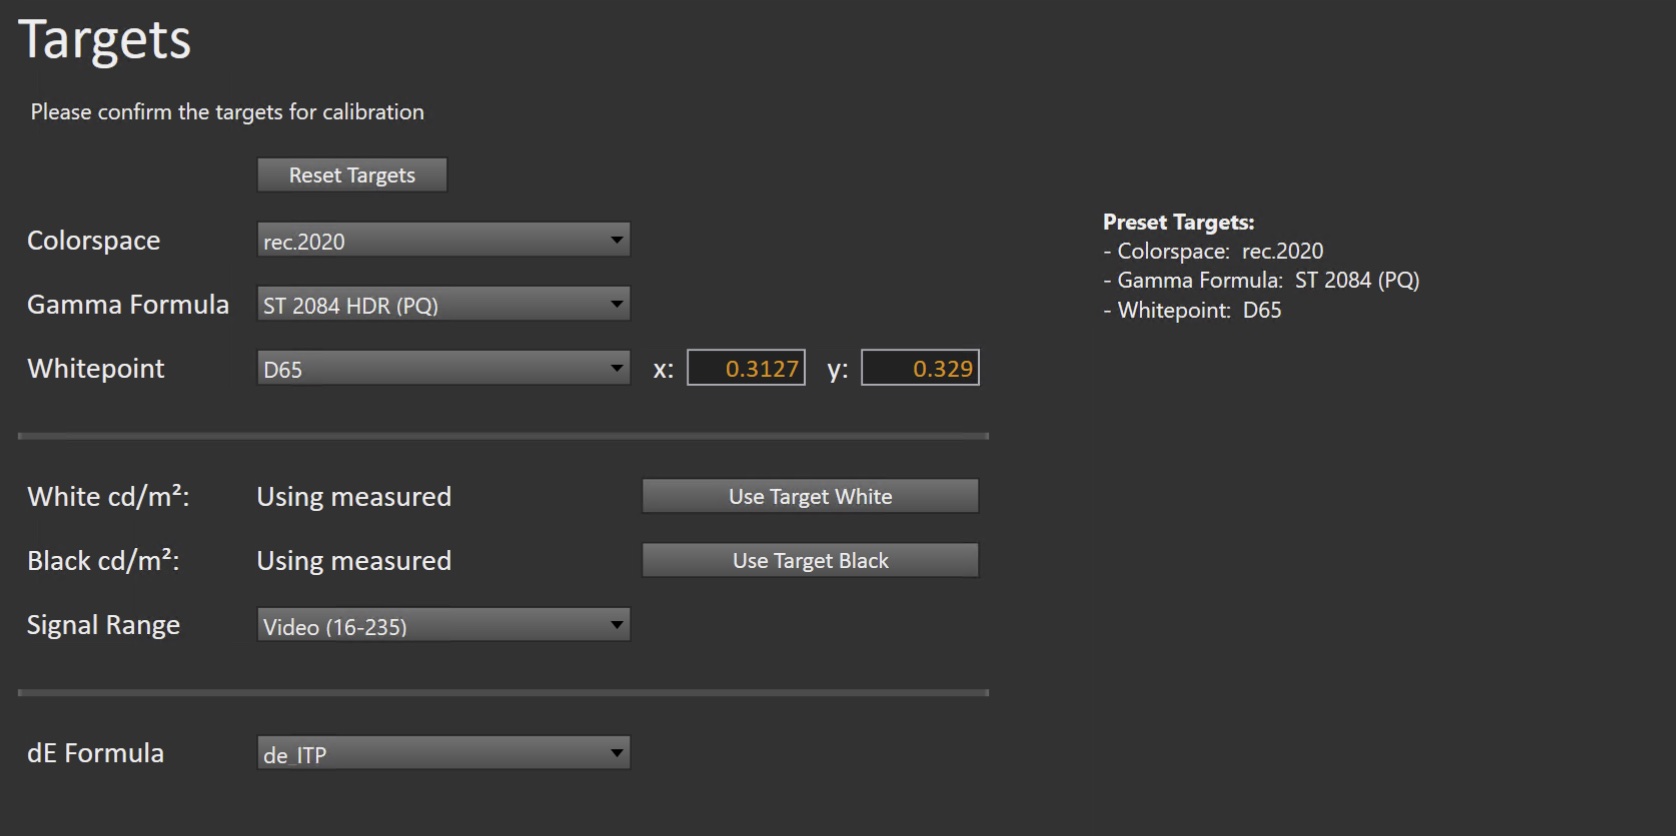
- Select the calibration targets
- Confirm/configure your calibration targets. These will be automatically set to common defaults by the options from Step 1
- Configuration Examples:
| SDR | HDR |
 |
 |
(Optional) Current State Measurements
- This workflow page is intended to document the monitor’s current operational state before establishing any DDC connection or selecting a calibration mode.
- This step can be skipped if documenting the current state is not needed. Another set of Pre-Calibration measurements will be taken in later steps.
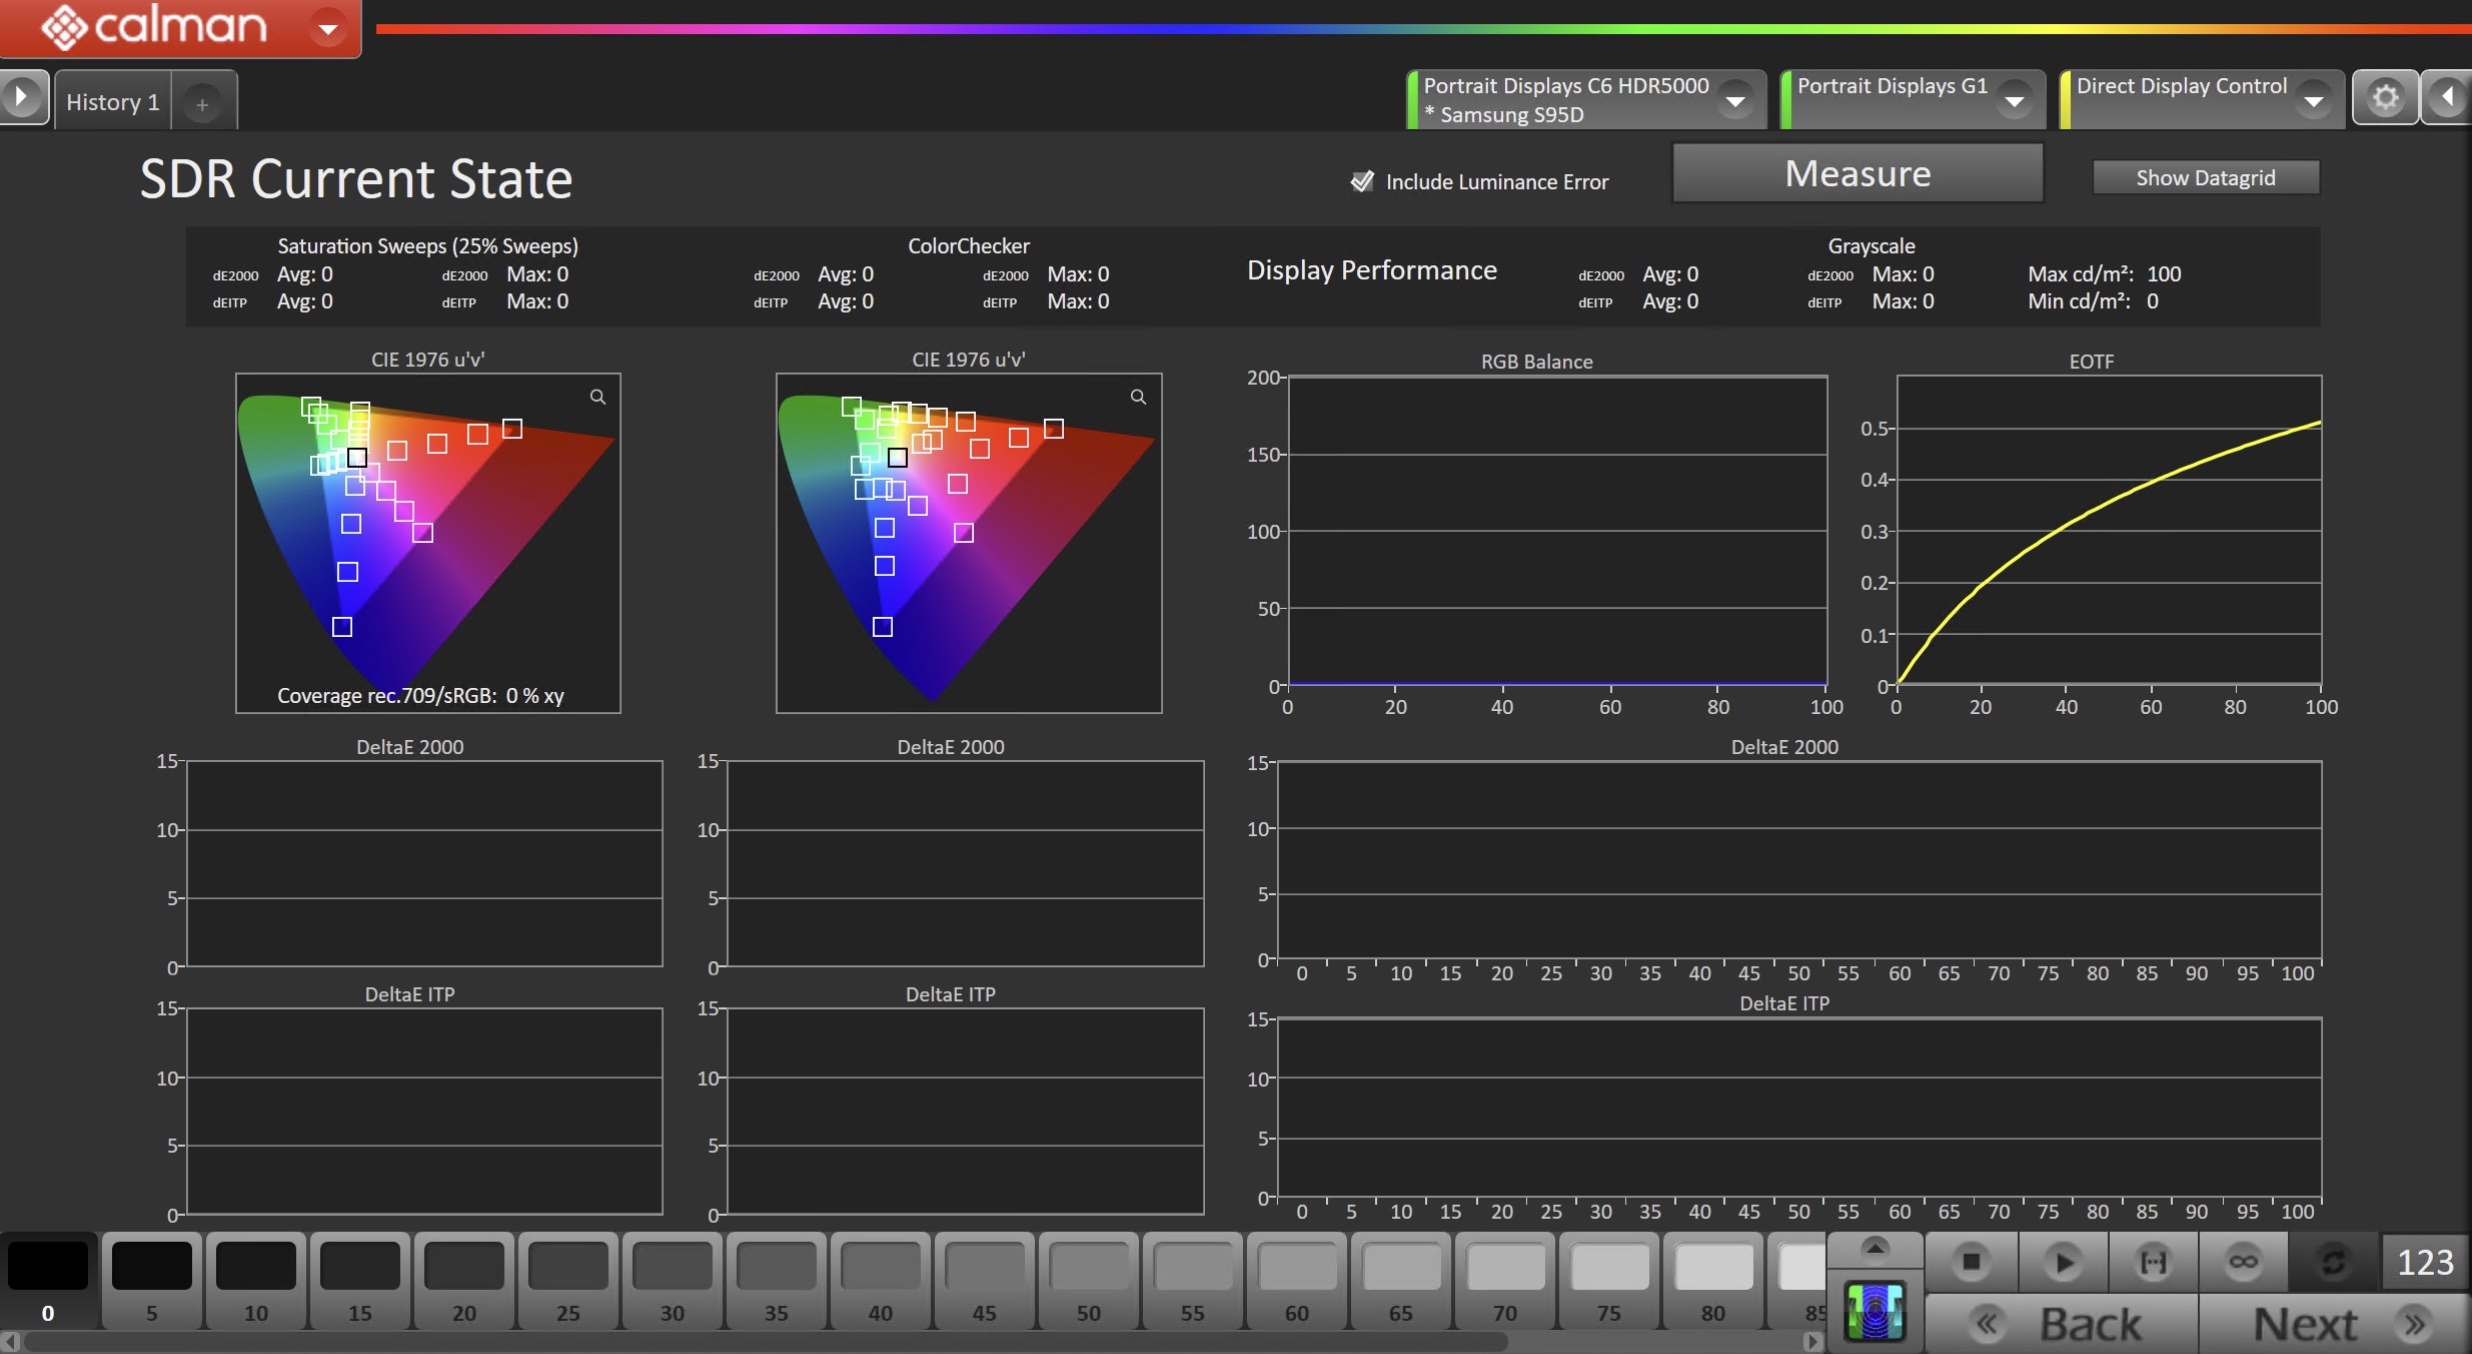
- To take Current State Measurements, click the Measure button to measure the display’s grayscale and color response.
- Click Next to proceed
Step 4
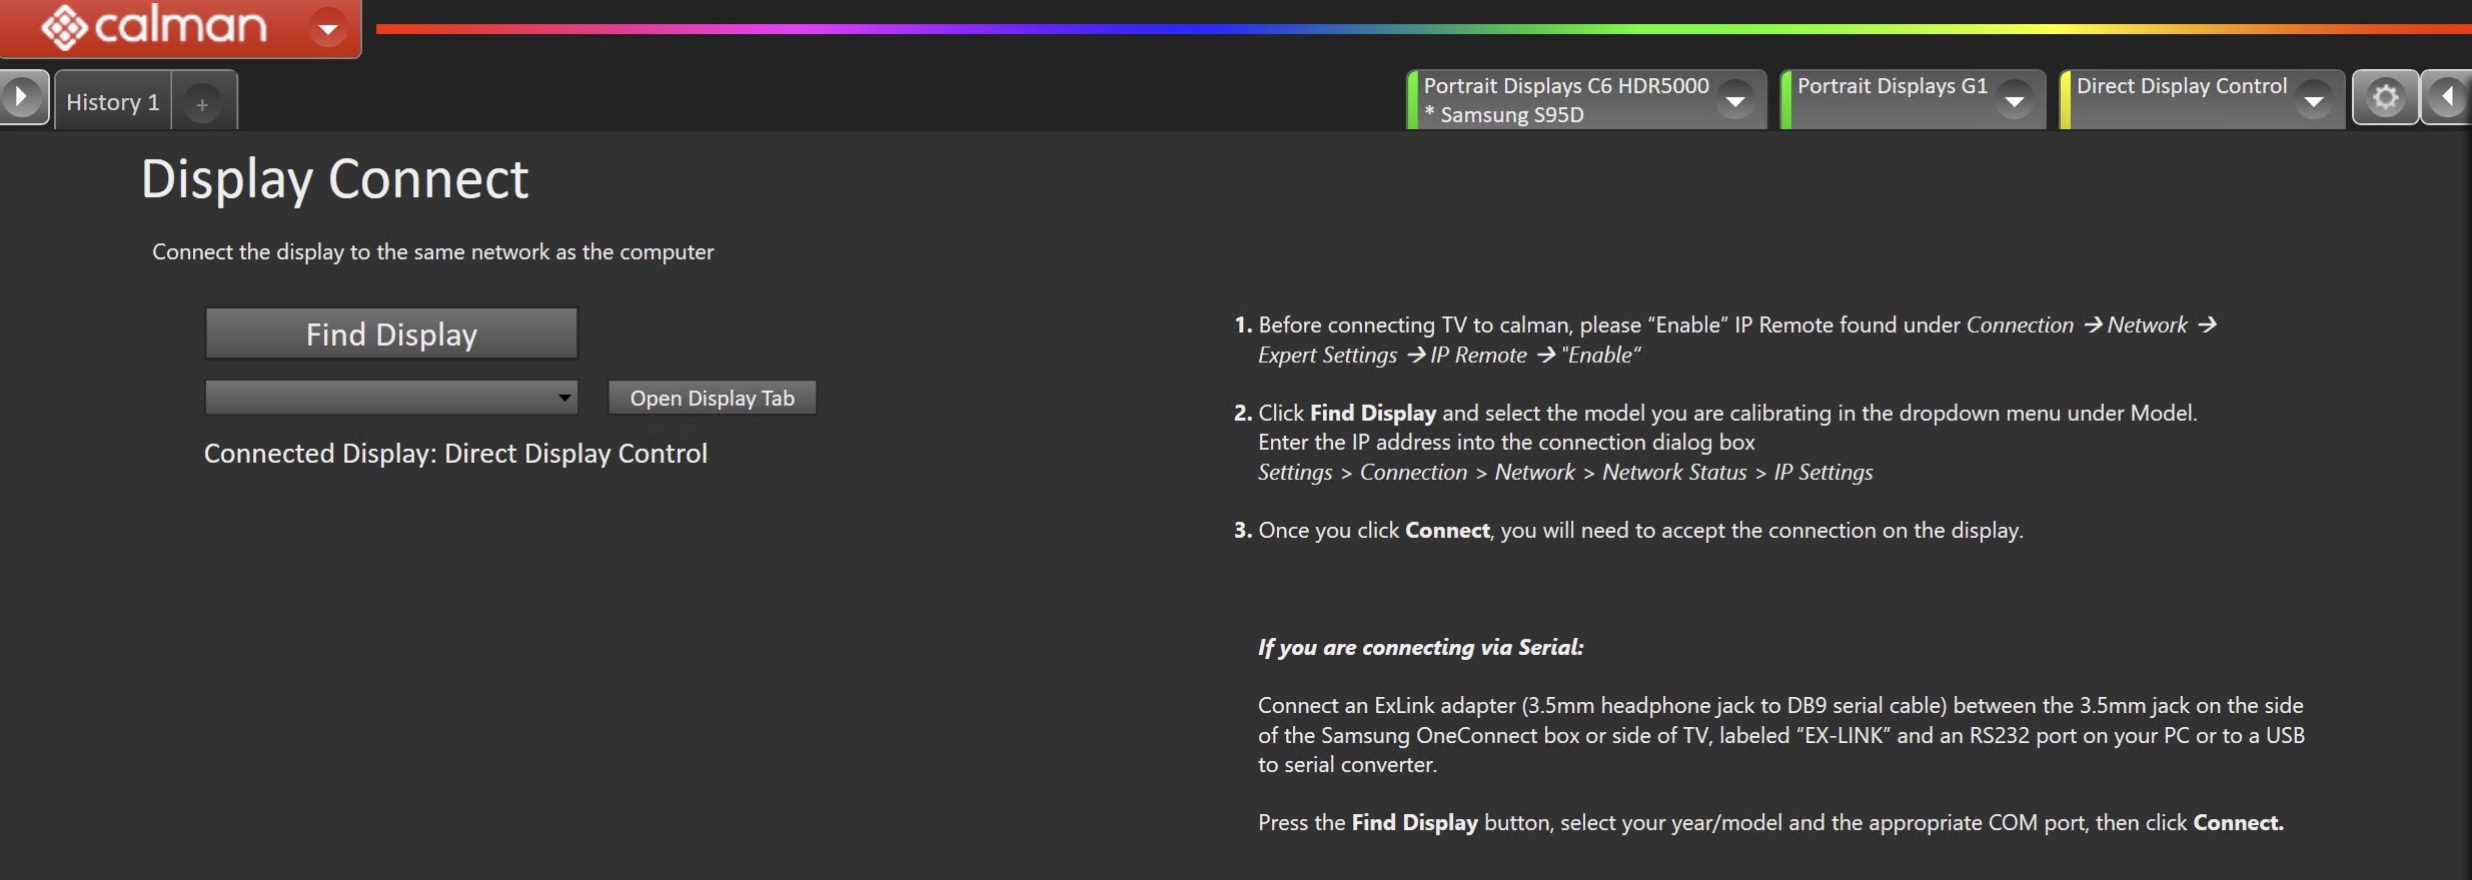
- Connect your TV
- On your TV:
- Enable IP Remote found under Connection > Network > Expert Settings > IP Remote > Enable
- Click the Find Display Button
- Select Samsung and your TVs year/model from the dropdown
- Enter the IP address assigned to the TV
- Settings > Connection > Network > Network Status > IP Settings
- Click Connect
- Accept the connection via the popup on the TV
- Enter the IP address assigned to the TV
- On your TV:
Pre-Calibration Measurements
- This workflow page is intended to document the target picture mode prior to calibration.
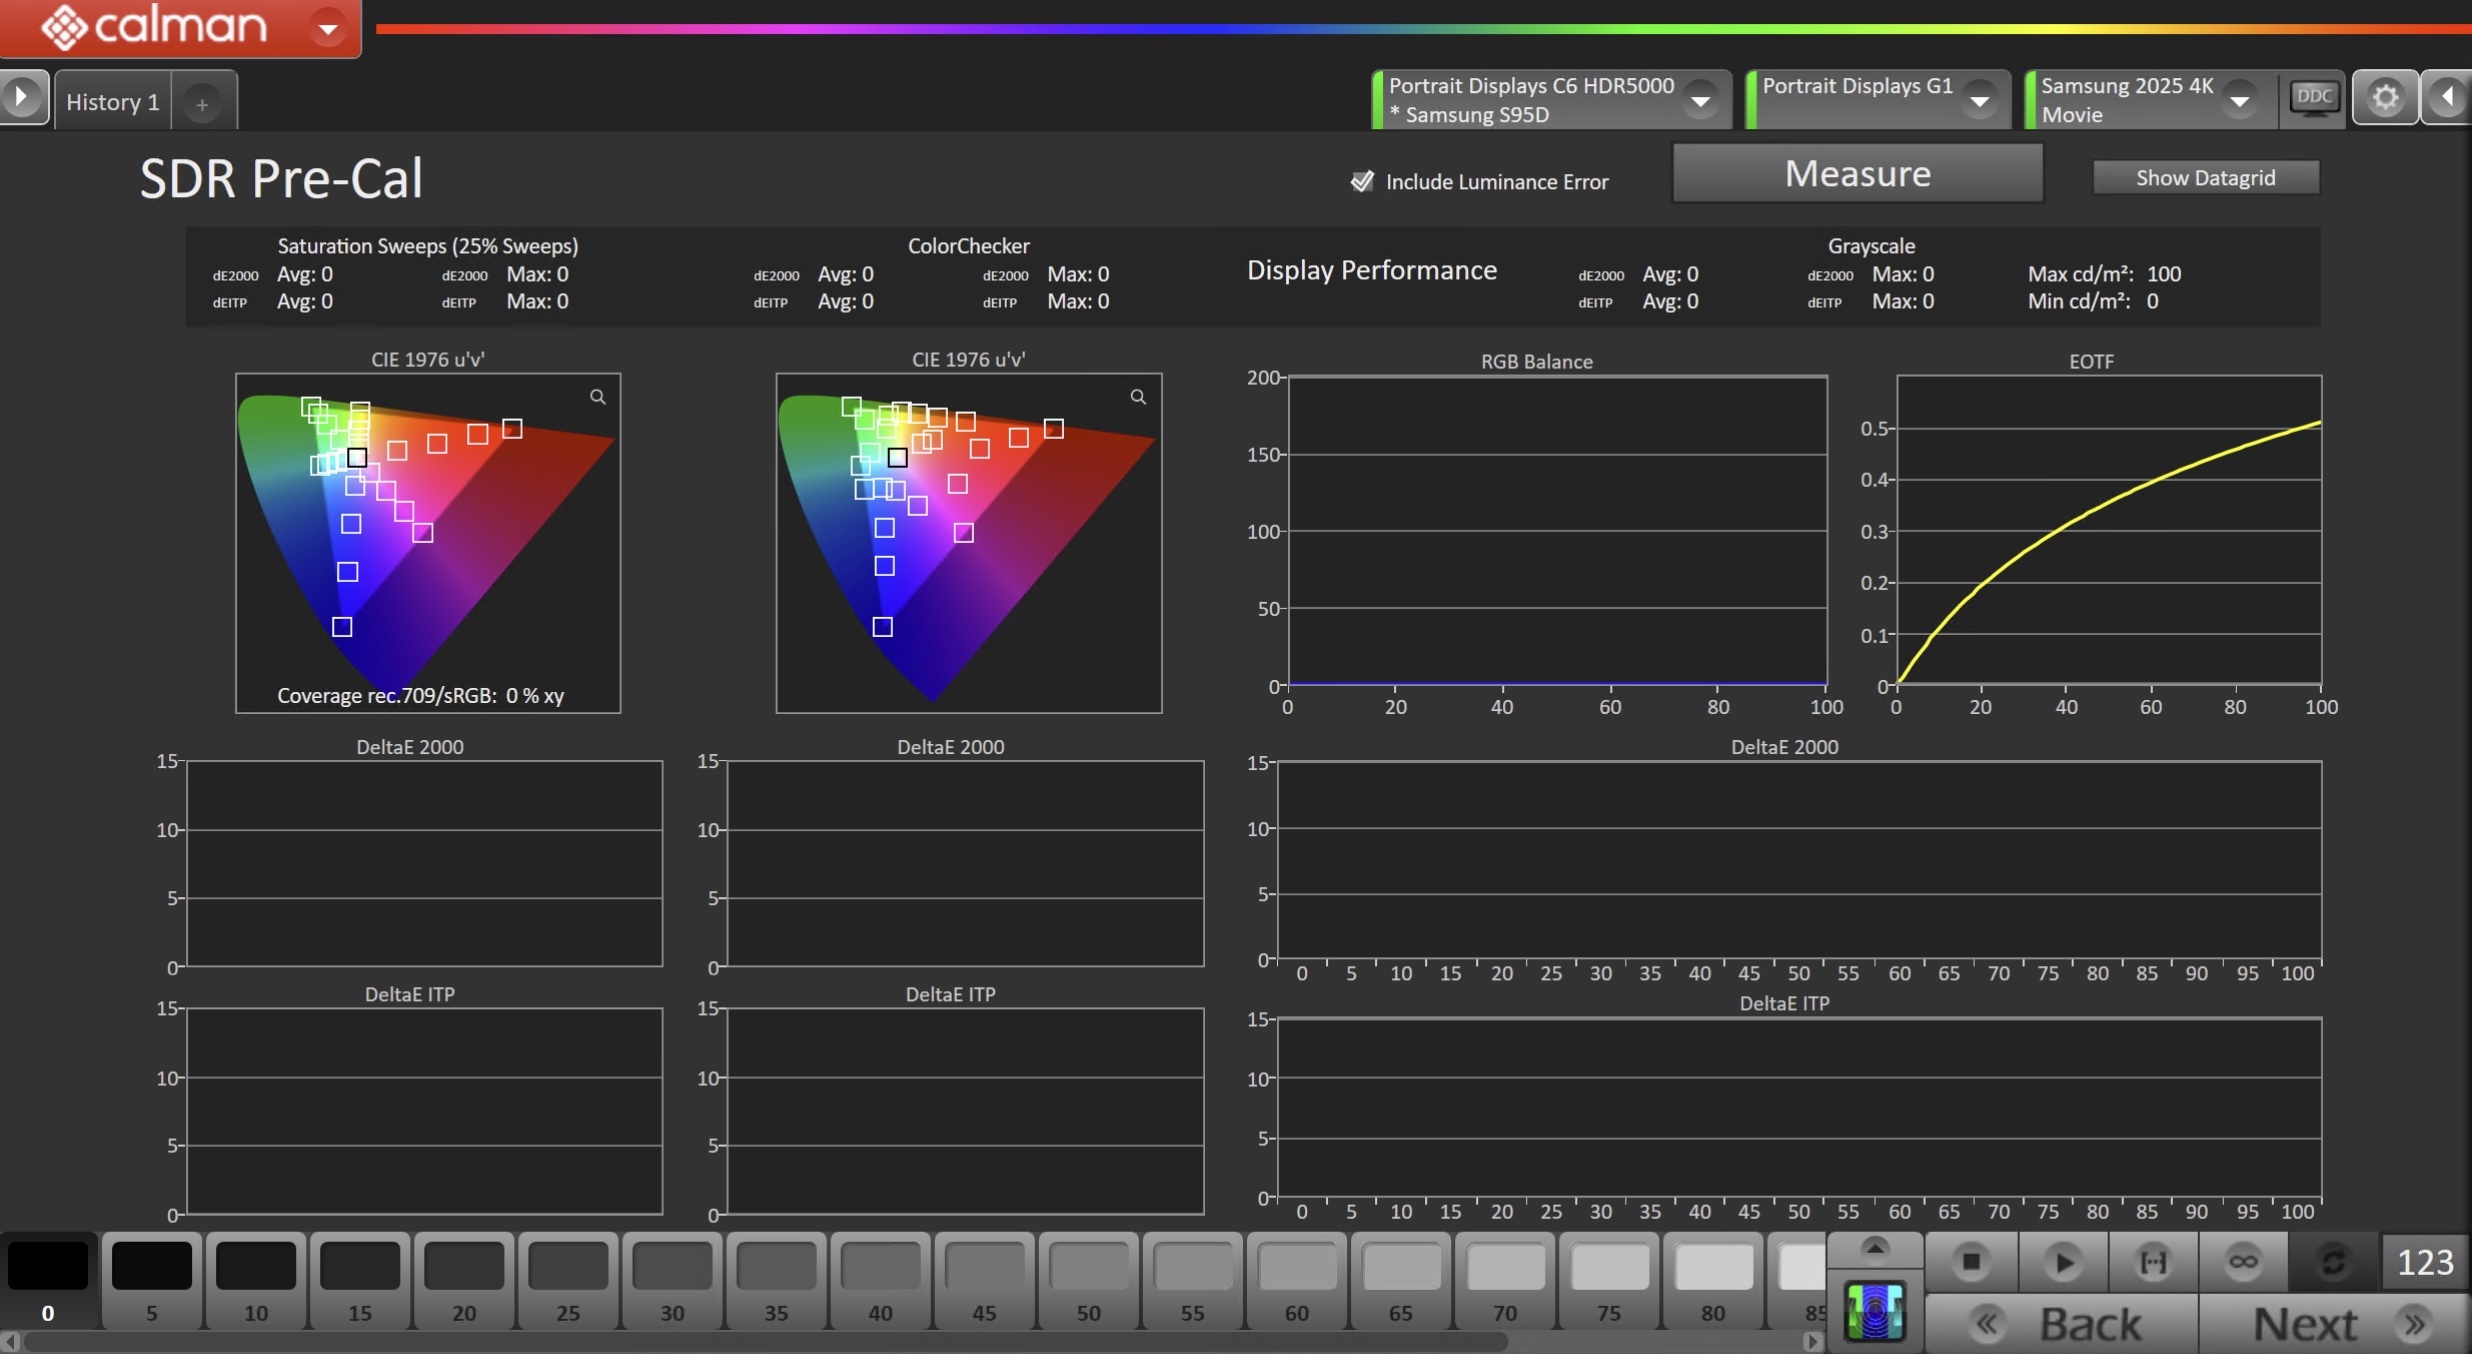
- To take Pre-Calibration Measurements, click the Measure button to measure the display’s rayscale and color response.
- This will provide a point of reference to compare the calibration results
- Click Next to proceed
Step 5
- Here, the Calman picture mode will be reset to prepare for calibration.
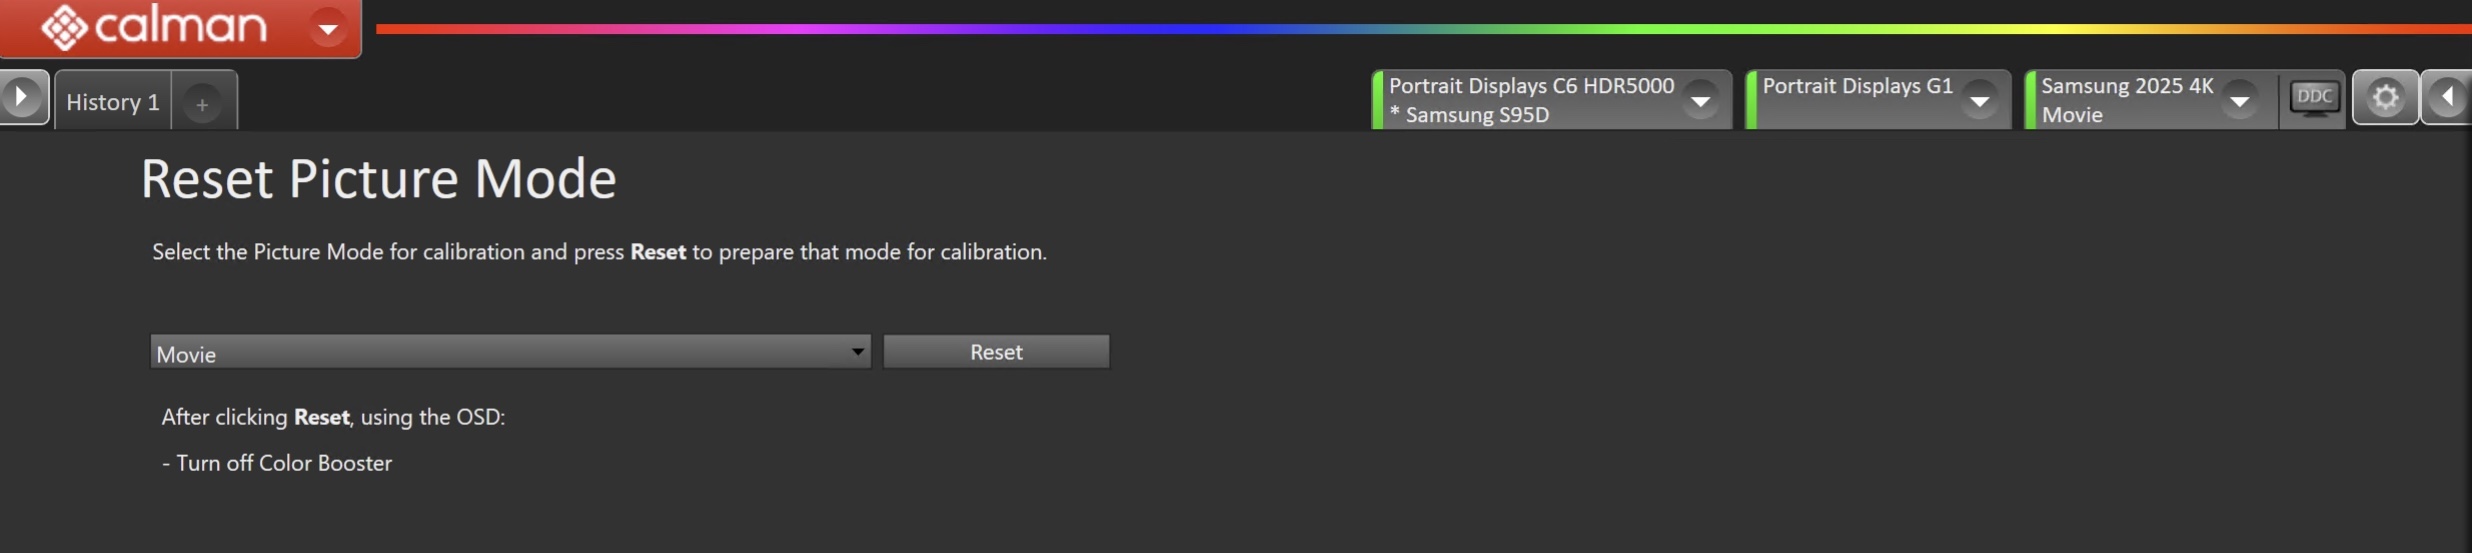
- Click the Reset button. This resets and prepares the picture mode for calibration.
- In the Samsung OSD, disable Color Booster
- Click Next to proceed
SDR Only – Measure and set Luminance
- Here, you can adjust the monitor’s Backlight setting to one that meets or exceeds your target luminance
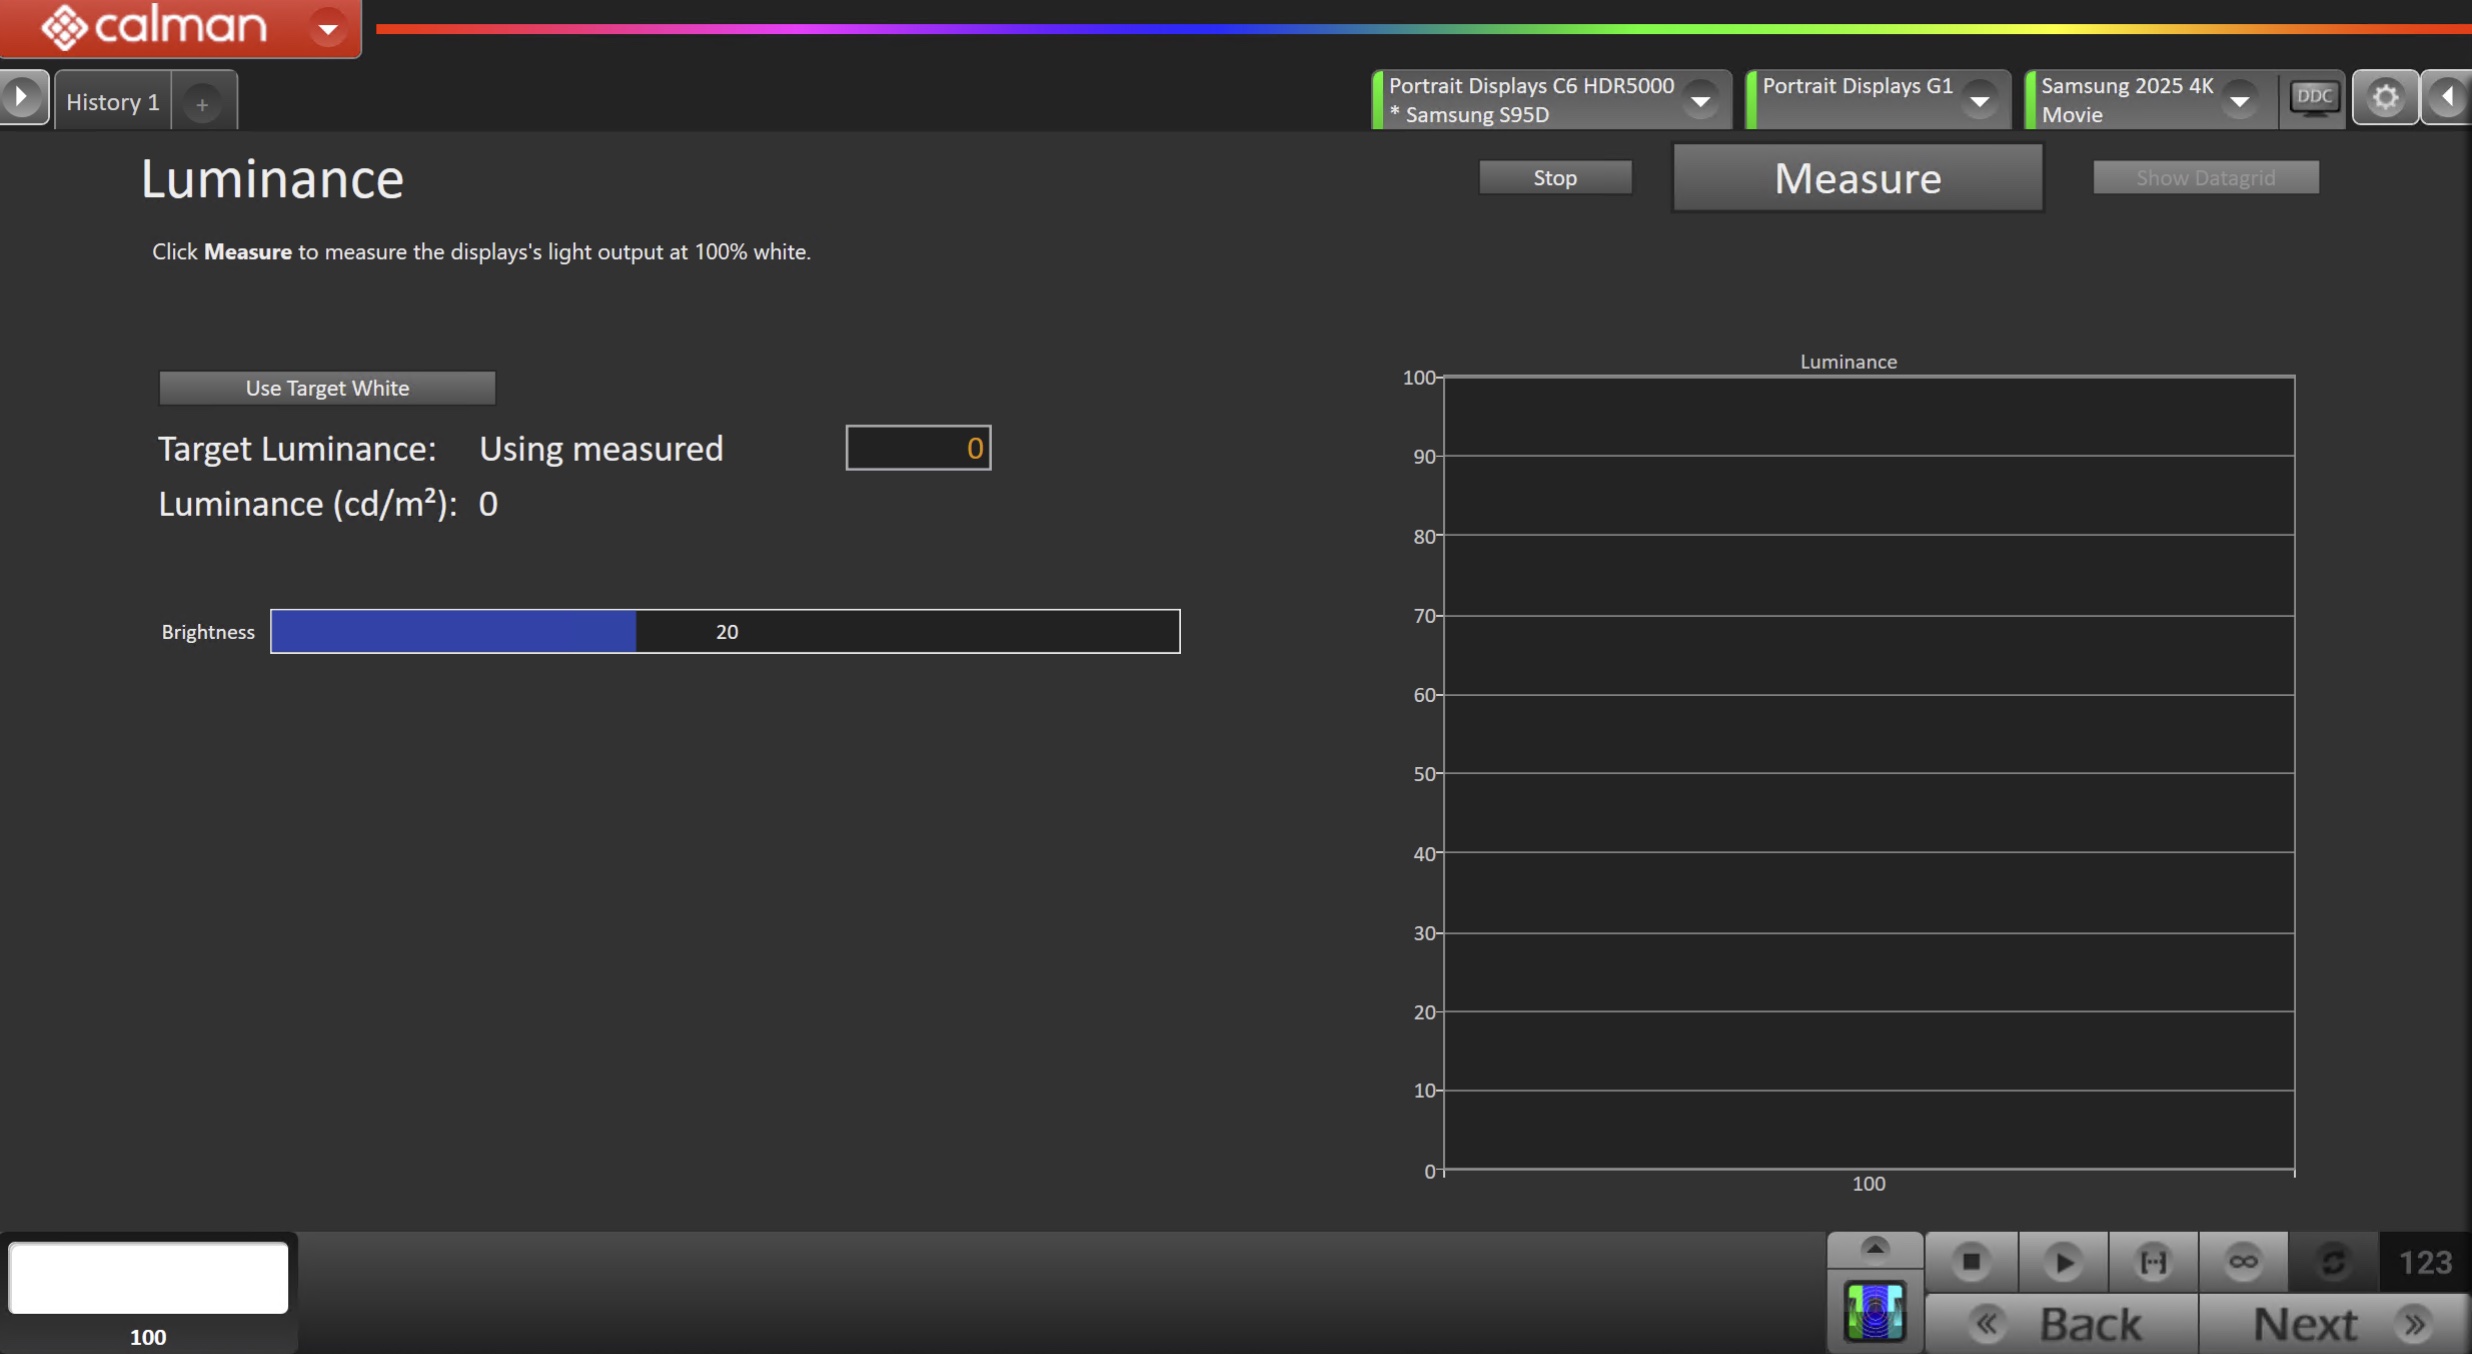
- Click Measure and adjust the Backlight slider as needed.
- Click Next to proceed
Step 6
- On this page, Calman will adjust your display’s White Balance
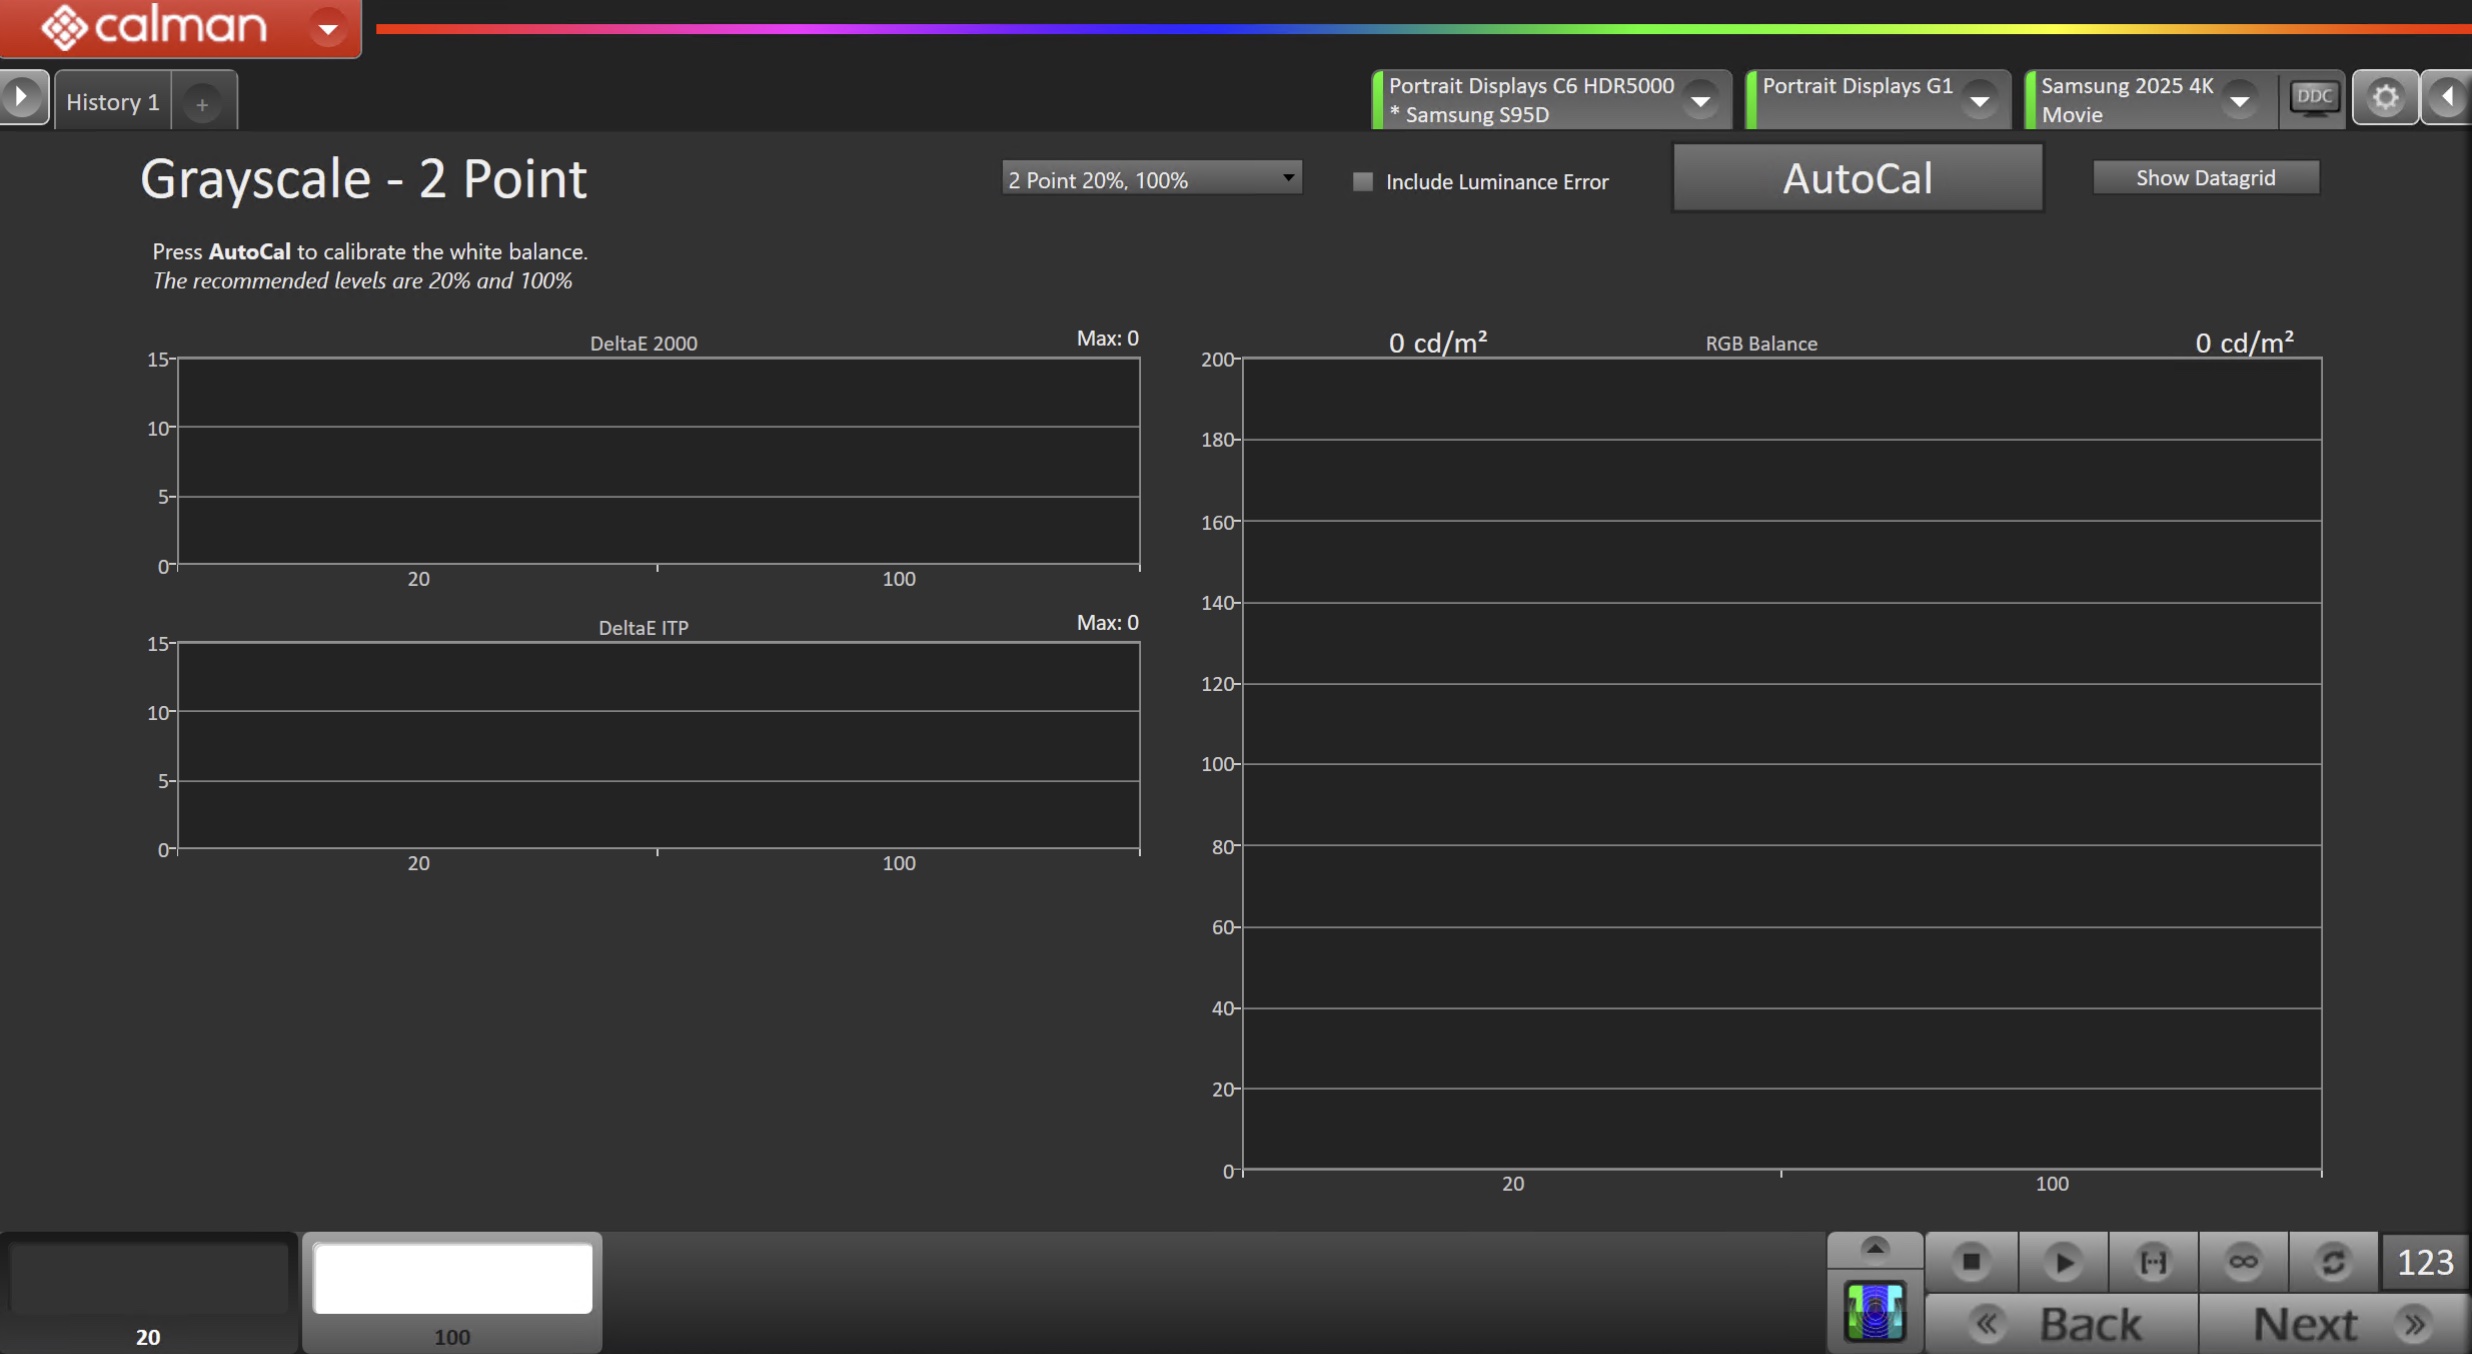
- Click the AutoCal button to perform the 2pt greyscale AutoCal
- Click Next after AutoCal has completed to adjust the Multipoint Greyscale.
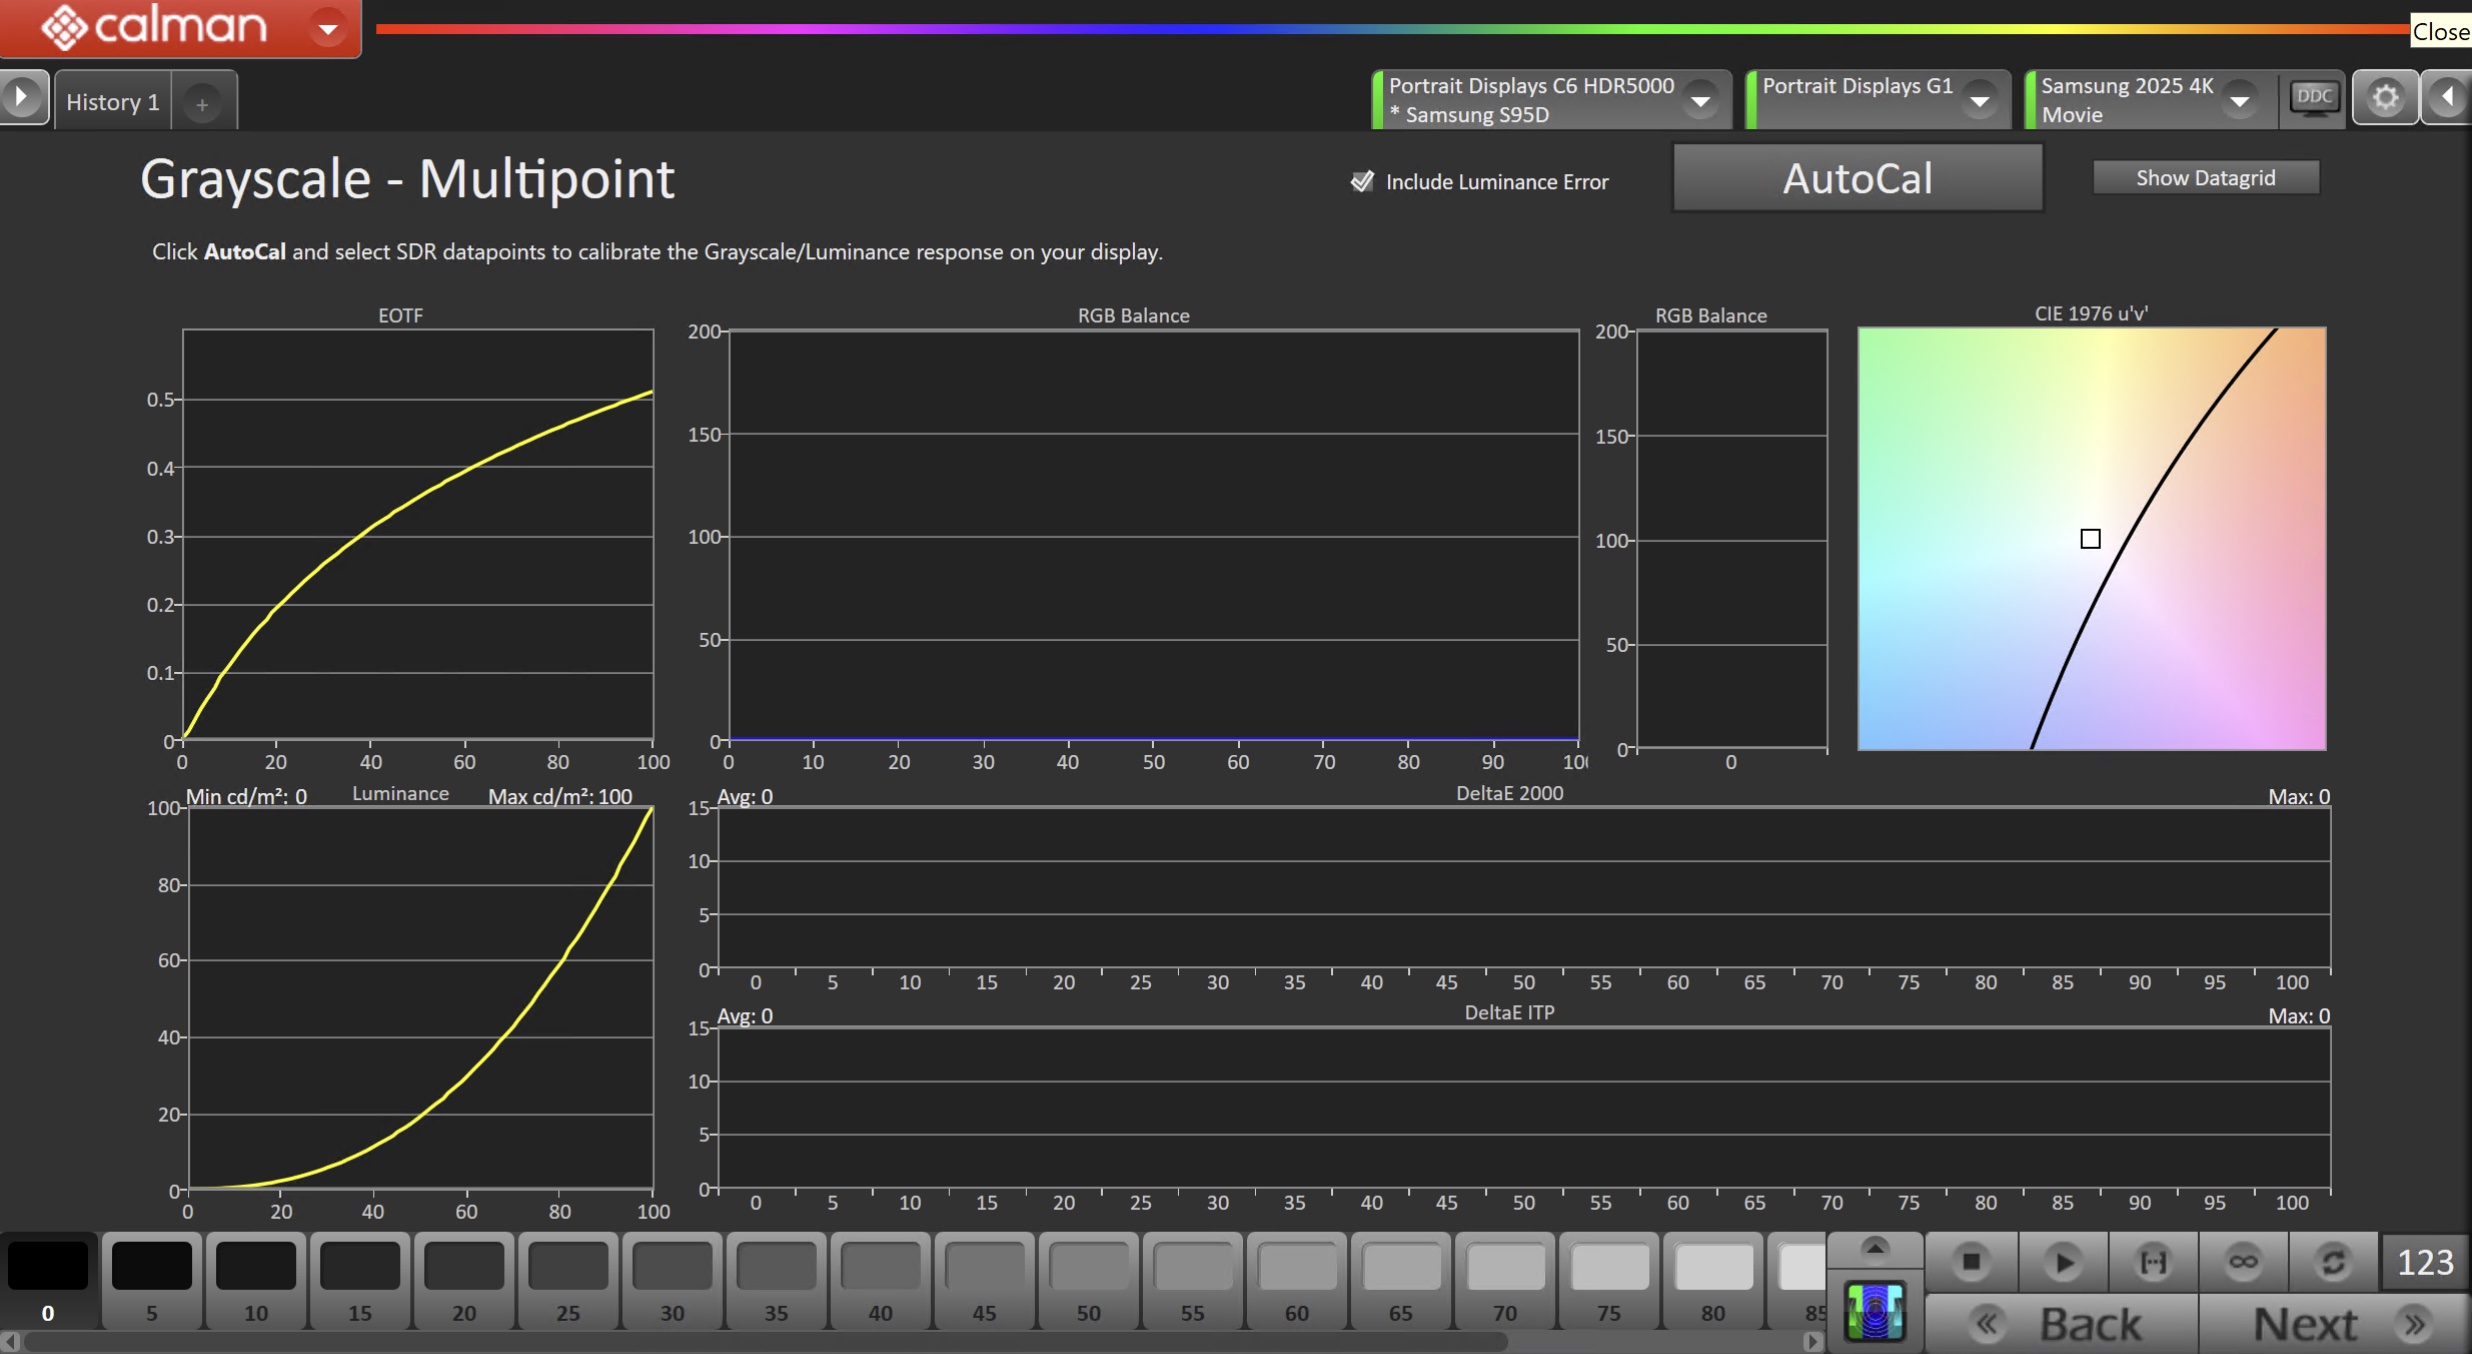
- Click the AutoCal button and select the correct data points in the AutoCal Dialog to auto-calibrate the Grayscale/Luminance response on the display.
- This should match the video range you chose in Step 1.
- Click OK to begin greyscale AutoCal.
- When AutoCal is complete, click the Next button to proceed.
Step 7
- On this page, Calman will calibrate the Color Management System.
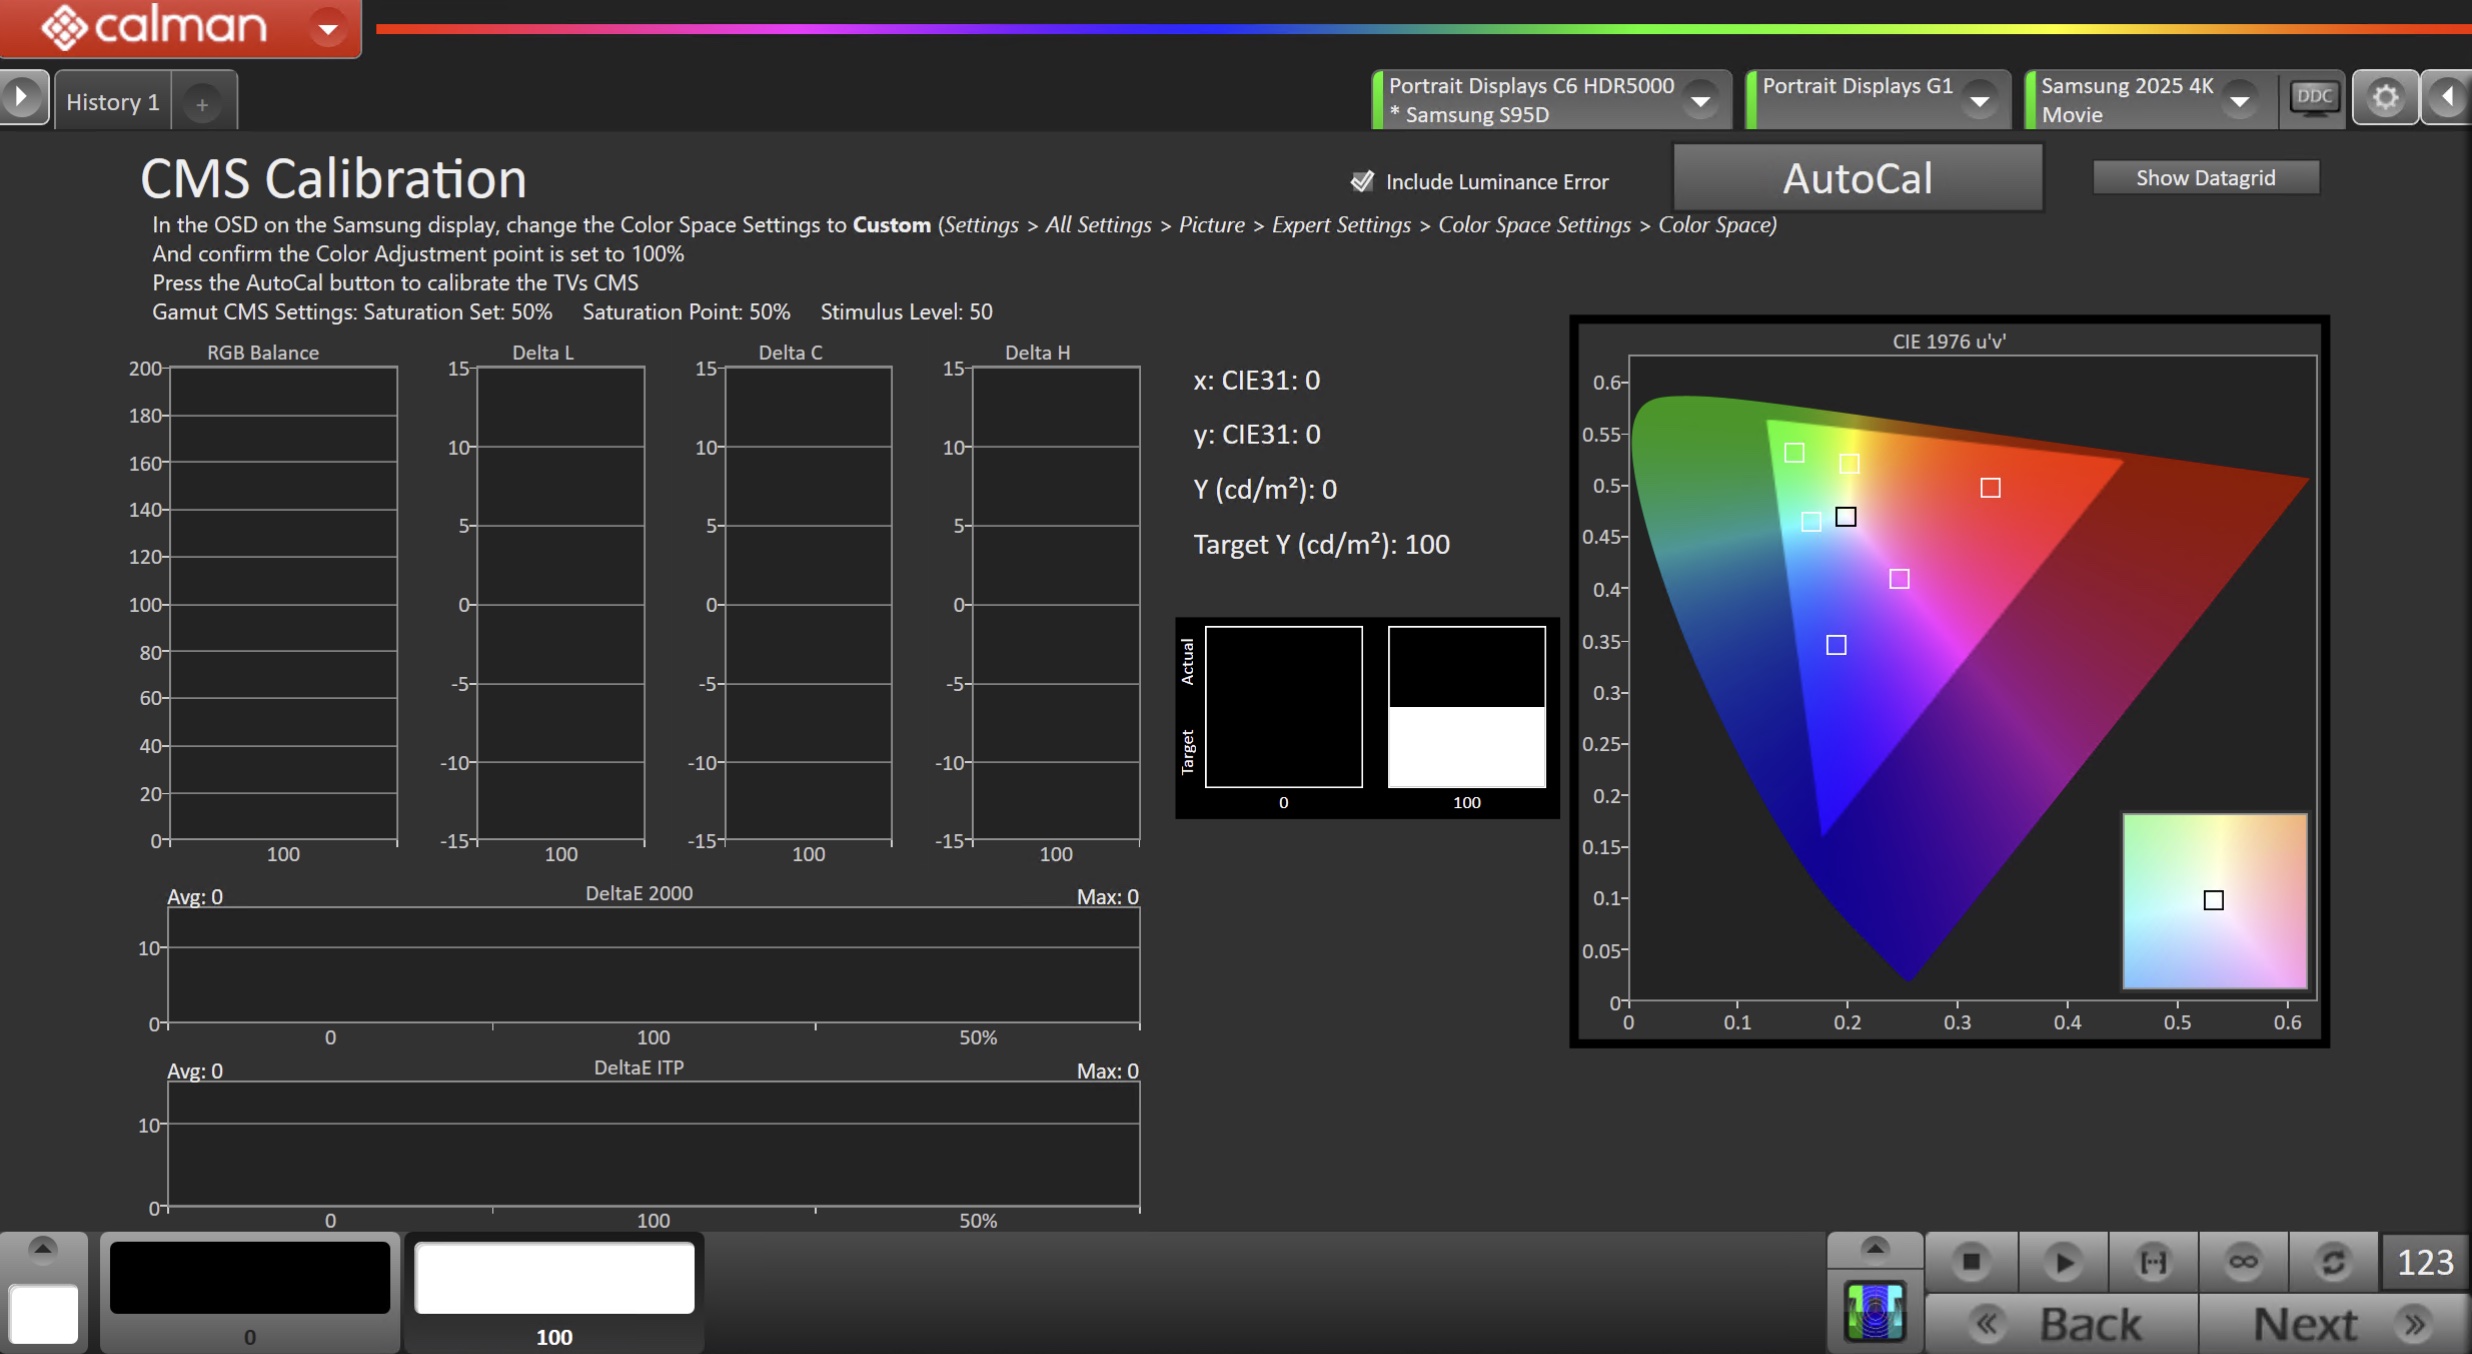
- In the OSD on the Samsung TV, change the Color Space Settings to Custom
- Settings > All Settings > Picture > Expert Settings > Color Space Settings > Color Space
- Confirm the Color Adjustment point is set to 100%
- Press the AutoCal button to calibrate the TV’s CMS
- Settings: Saturation Set: 50% Saturation Point: 50% Stimulus Level: 50
- Multipoint CMS: In Cal-Day or Cal-Night modes, you may use Samsung’s Multipoint CMS feature.
- When Multi-CMS is selected, a Multi-CMS saturation set should also be selected
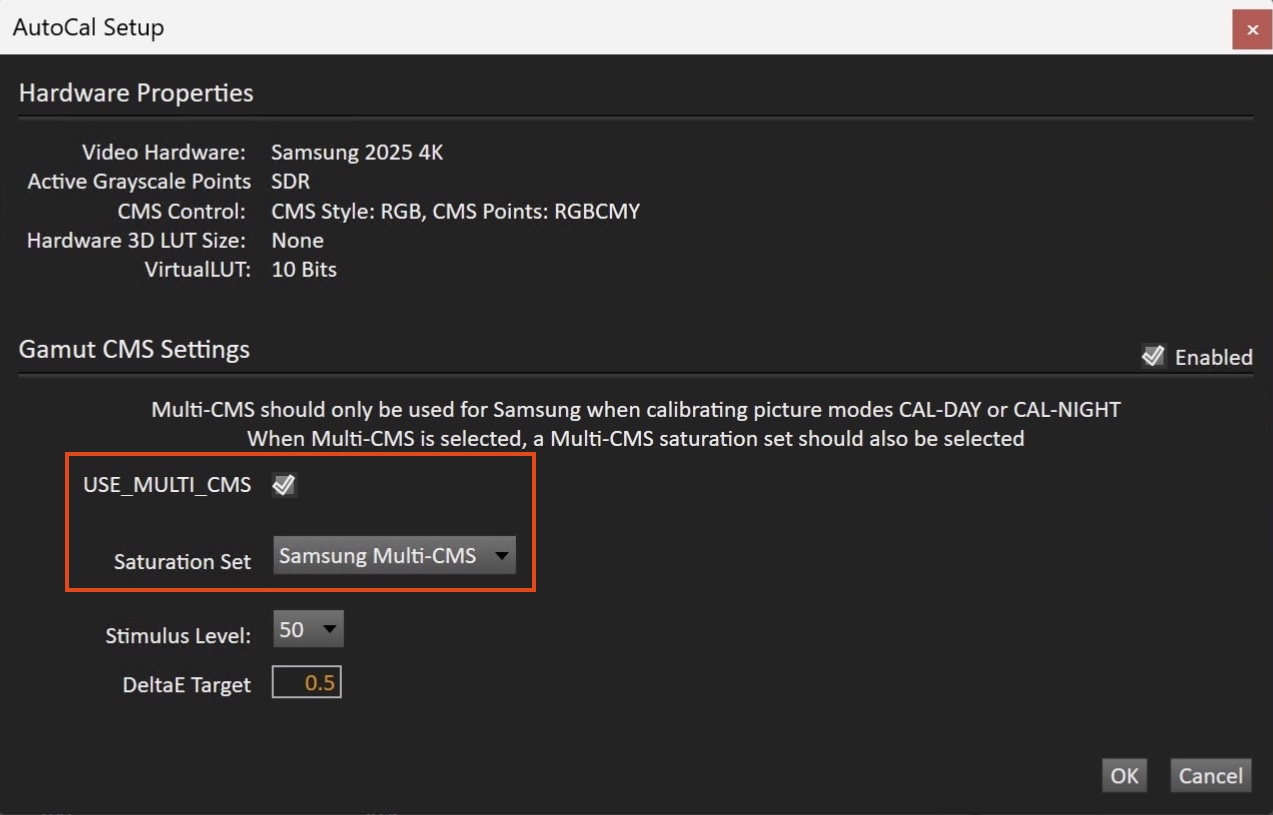
- Click OK to begin the colorspace AutoCal process
- When AutoCal is complete, press the Next button to proceed
Step 8
- In this step, you’ll take measurements of the calibration results.
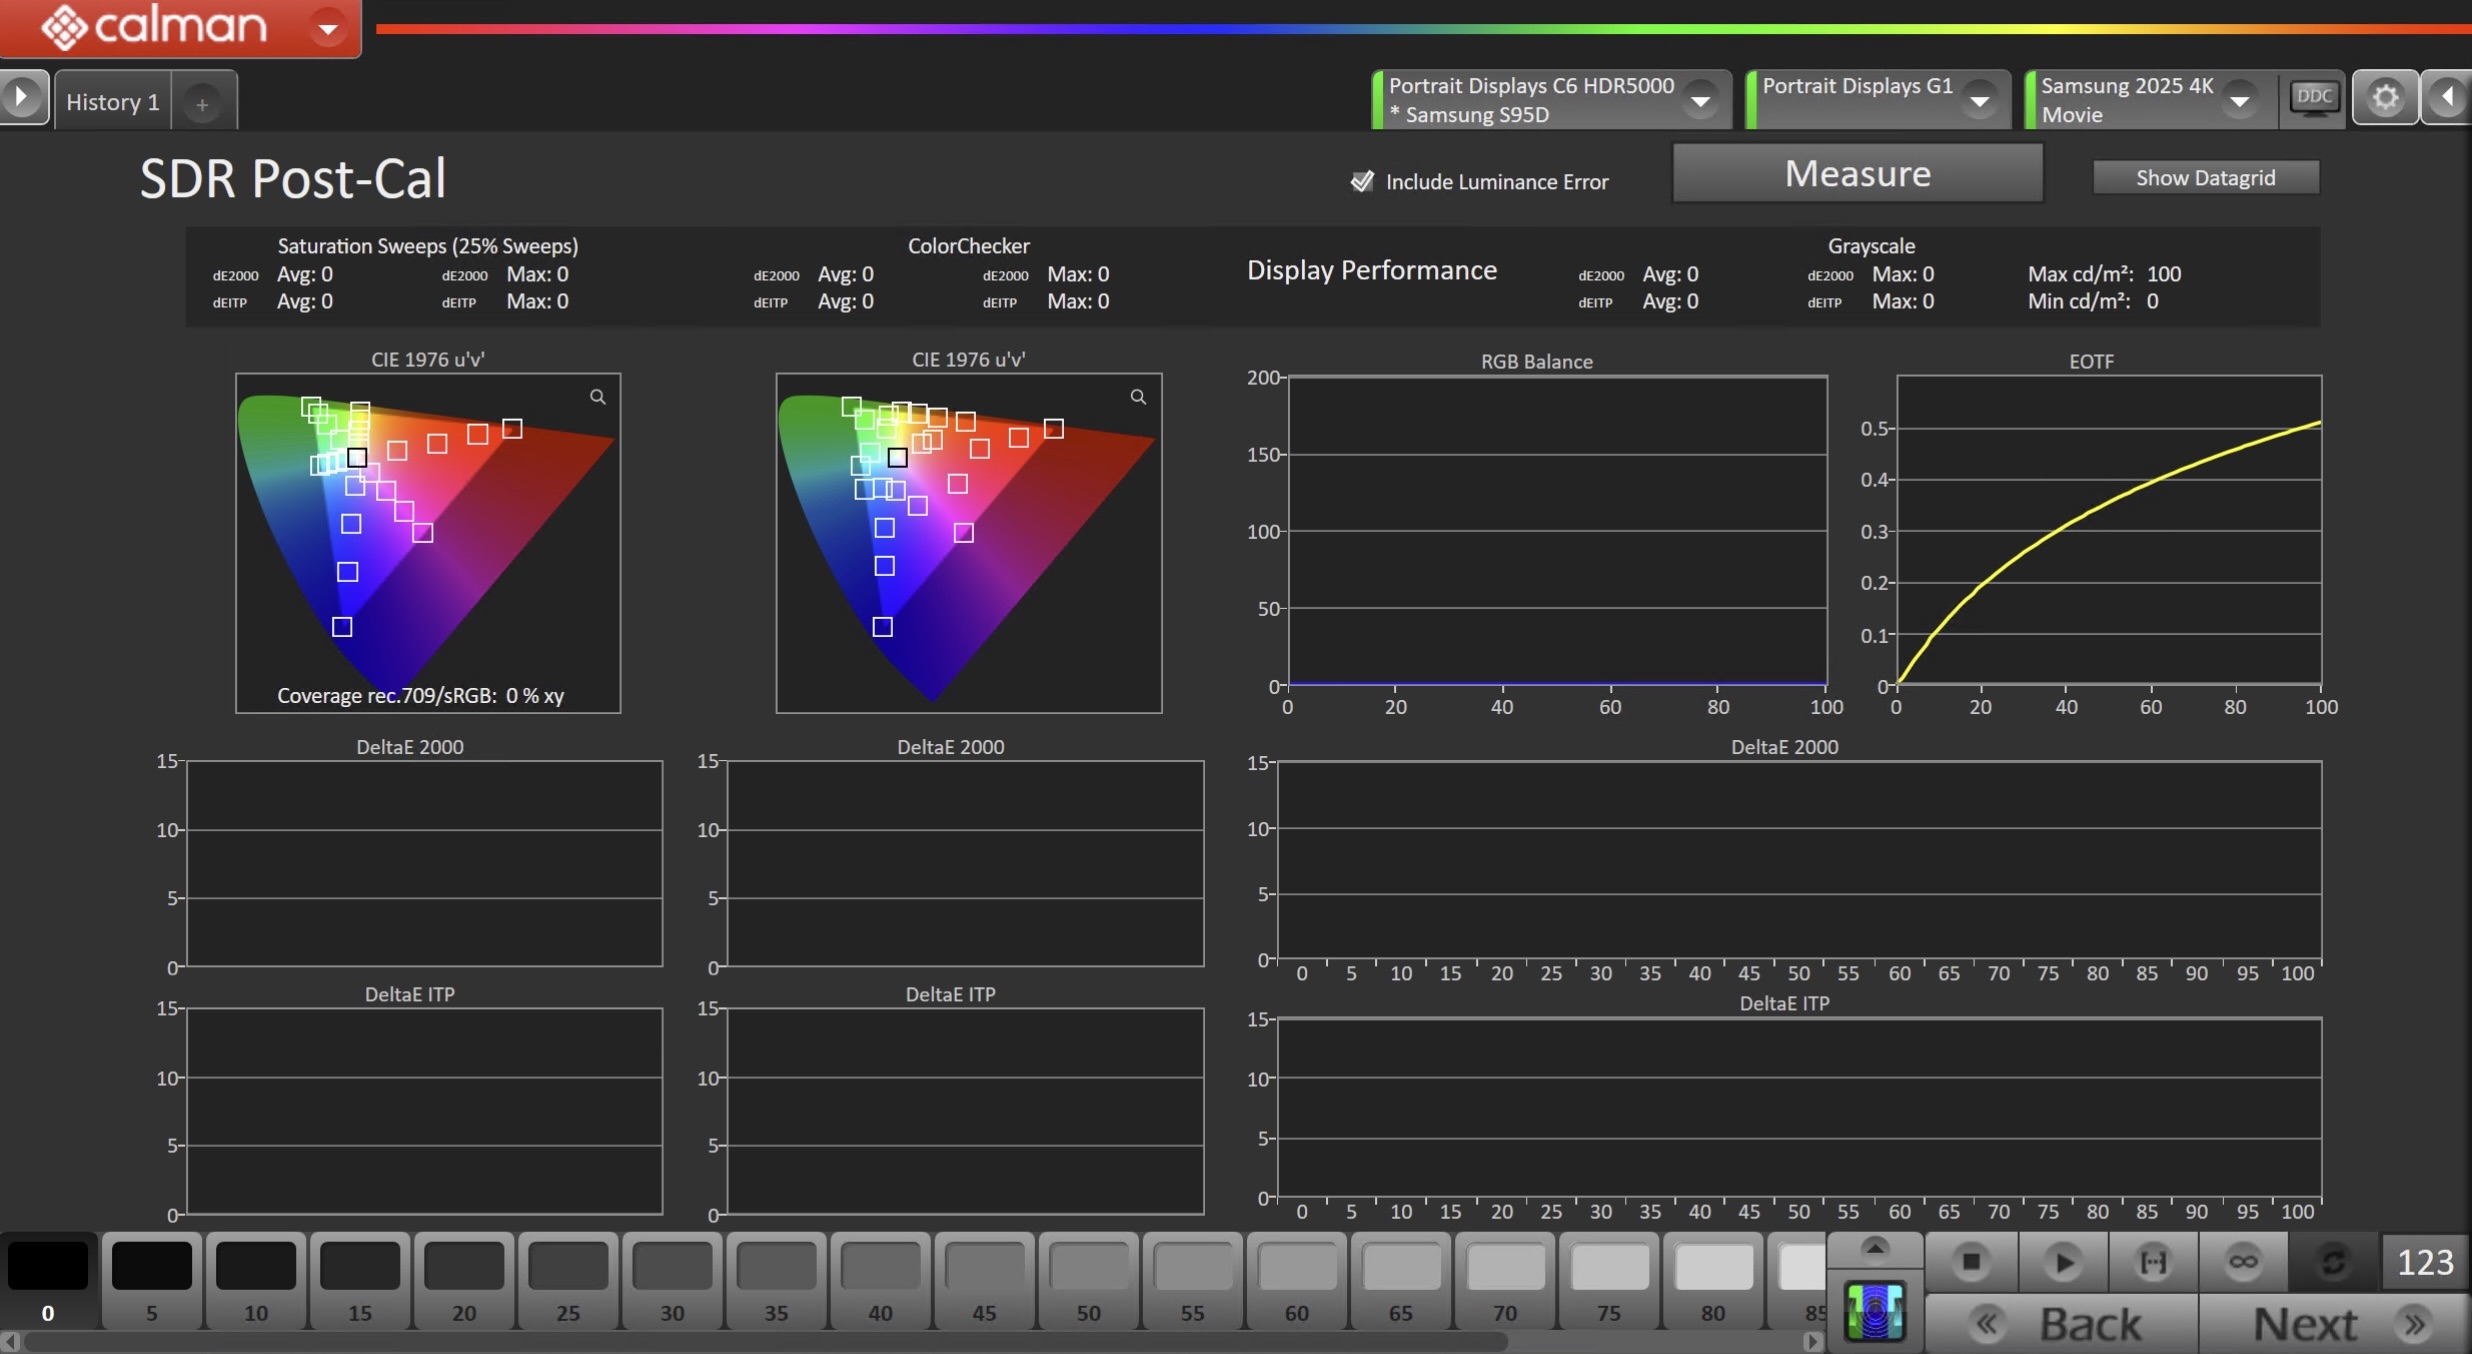
- To take Post-Calibration Measurements, click the Measure button to measure the display’s grayscale and color response.
- Click Next to proceed
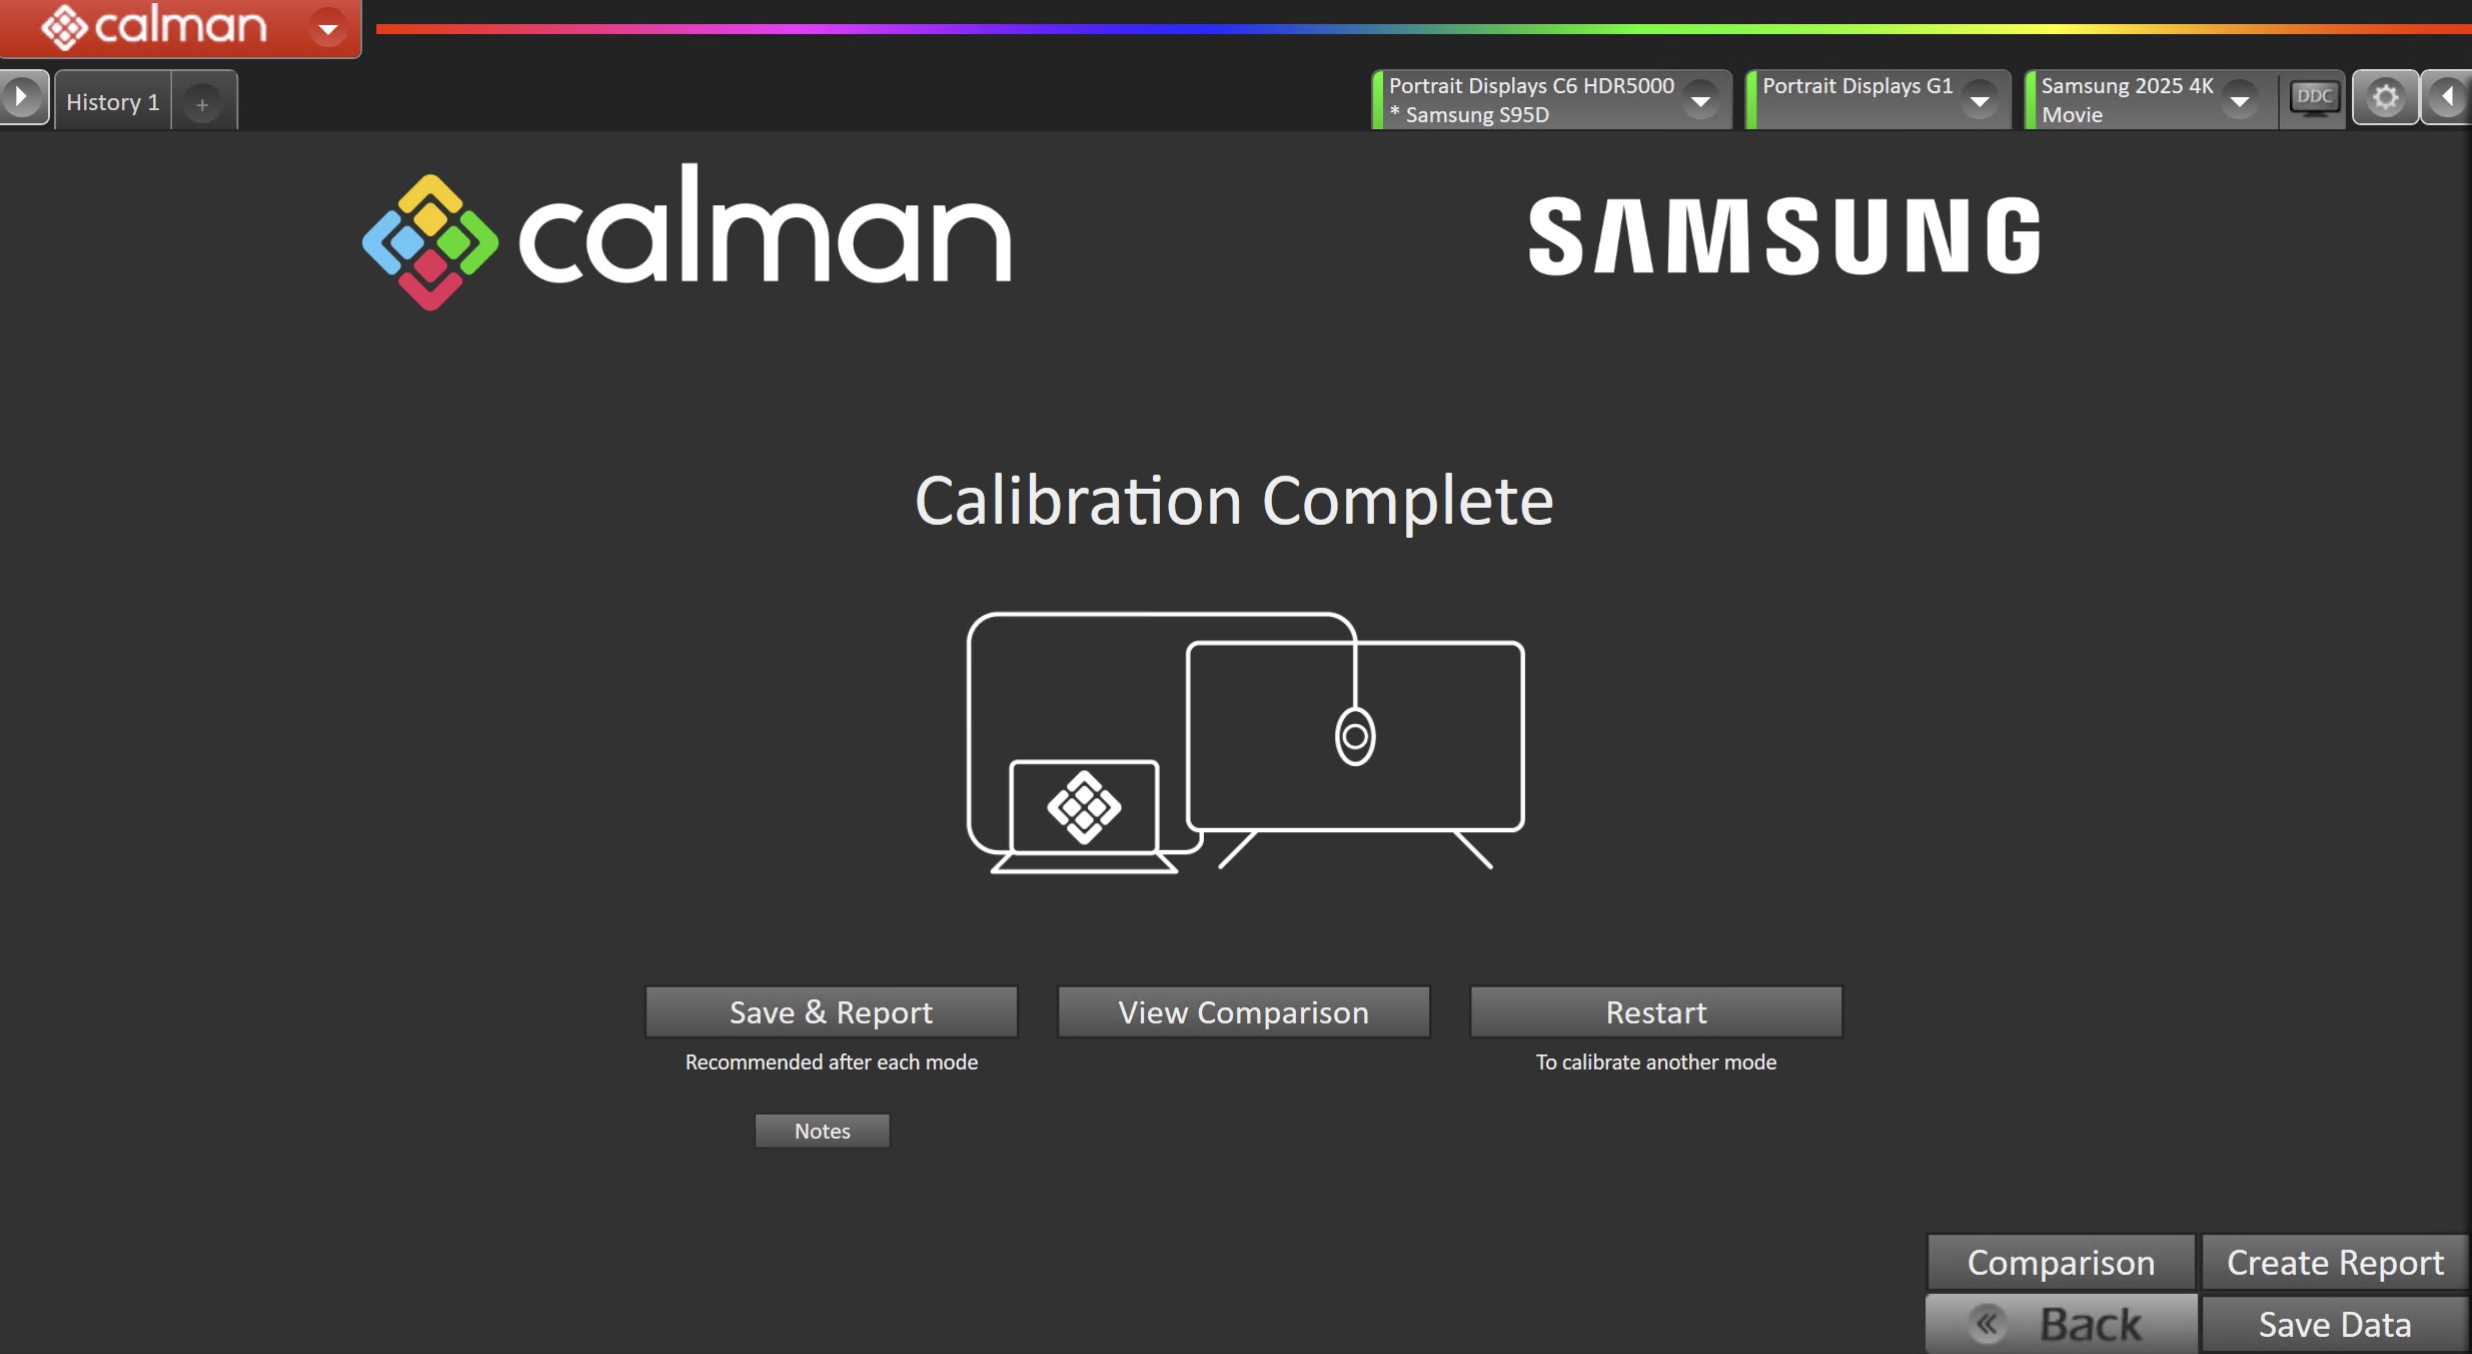
- On the Calibration Complete page, you can choose to…
- Save and Report
- Select Save and Report to generate the calibration report
- View Comparison
- Displays Pre and Post Calibration measurements of the calibrated mode side-by-side
- Restart
- Returns to the beginning of the workflow where a new mode or colorspace can be selected
- Note: Does not save workflow data
- Save and Report