Calman offers automatic calibration capabilities for compatible Panasonic LCD and OLED televisions over a local network. This feature allows for precise, professional-grade tuning in both SDR (Standard Dynamic Range) and HDR (High Dynamic Range) modes, ensuring optimal picture quality.

![]()
Each step of this workflow has been optimized to display relevant information and automatically configure common settings. Both Pre-Calibration and Post-Calibration measurement steps are included for comparing pre- and post-performance.
Calman Required Version
- Calman Home, Studio or Ultimate v5.17.1 or higher
Hardware Requirements
- Calman Ready TV
- Calman Compatible Panasonic TV:
- Firmware Version:
- Japan only: RS8141/3011 or later.
- Other regions: RS8141/3009 or later.
- 2024
- W90A Series LCD
- W95A Series LCD
- Z85A Series OLED
- Z90A Series OLED
- Z95A Series OLED
- 2025
- W90B Series LCD
- W95B Series LCD
- Z90B Series OLED
- Z95B Series OLED
- Firmware Version:
- Older Models
- Note: Workflow steps and calibration capabilities will differ on older models
- 2020 HZ Series
- 2021 JX (LCD) Series (JX850, JX900, JX950)
- 2021 JZ (OLED) Series (JZ980, JZ1000, JZ2000)
- 2022 LZ (OLED) Series
- 2022 LX (LCD) Series
- 2023 MZ (OLED) Series
- 2023 MX (LCD) Series
- Note: Workflow steps and calibration capabilities will differ on older models
- Calman Compatible Panasonic TV:
- Calman Compatible Meter
- Calman Compatible Pattern Generator
Step 1
- From the Calman Menu in the top-left, choose Open Workflow Template -> Calman Ready and then Panasonic.
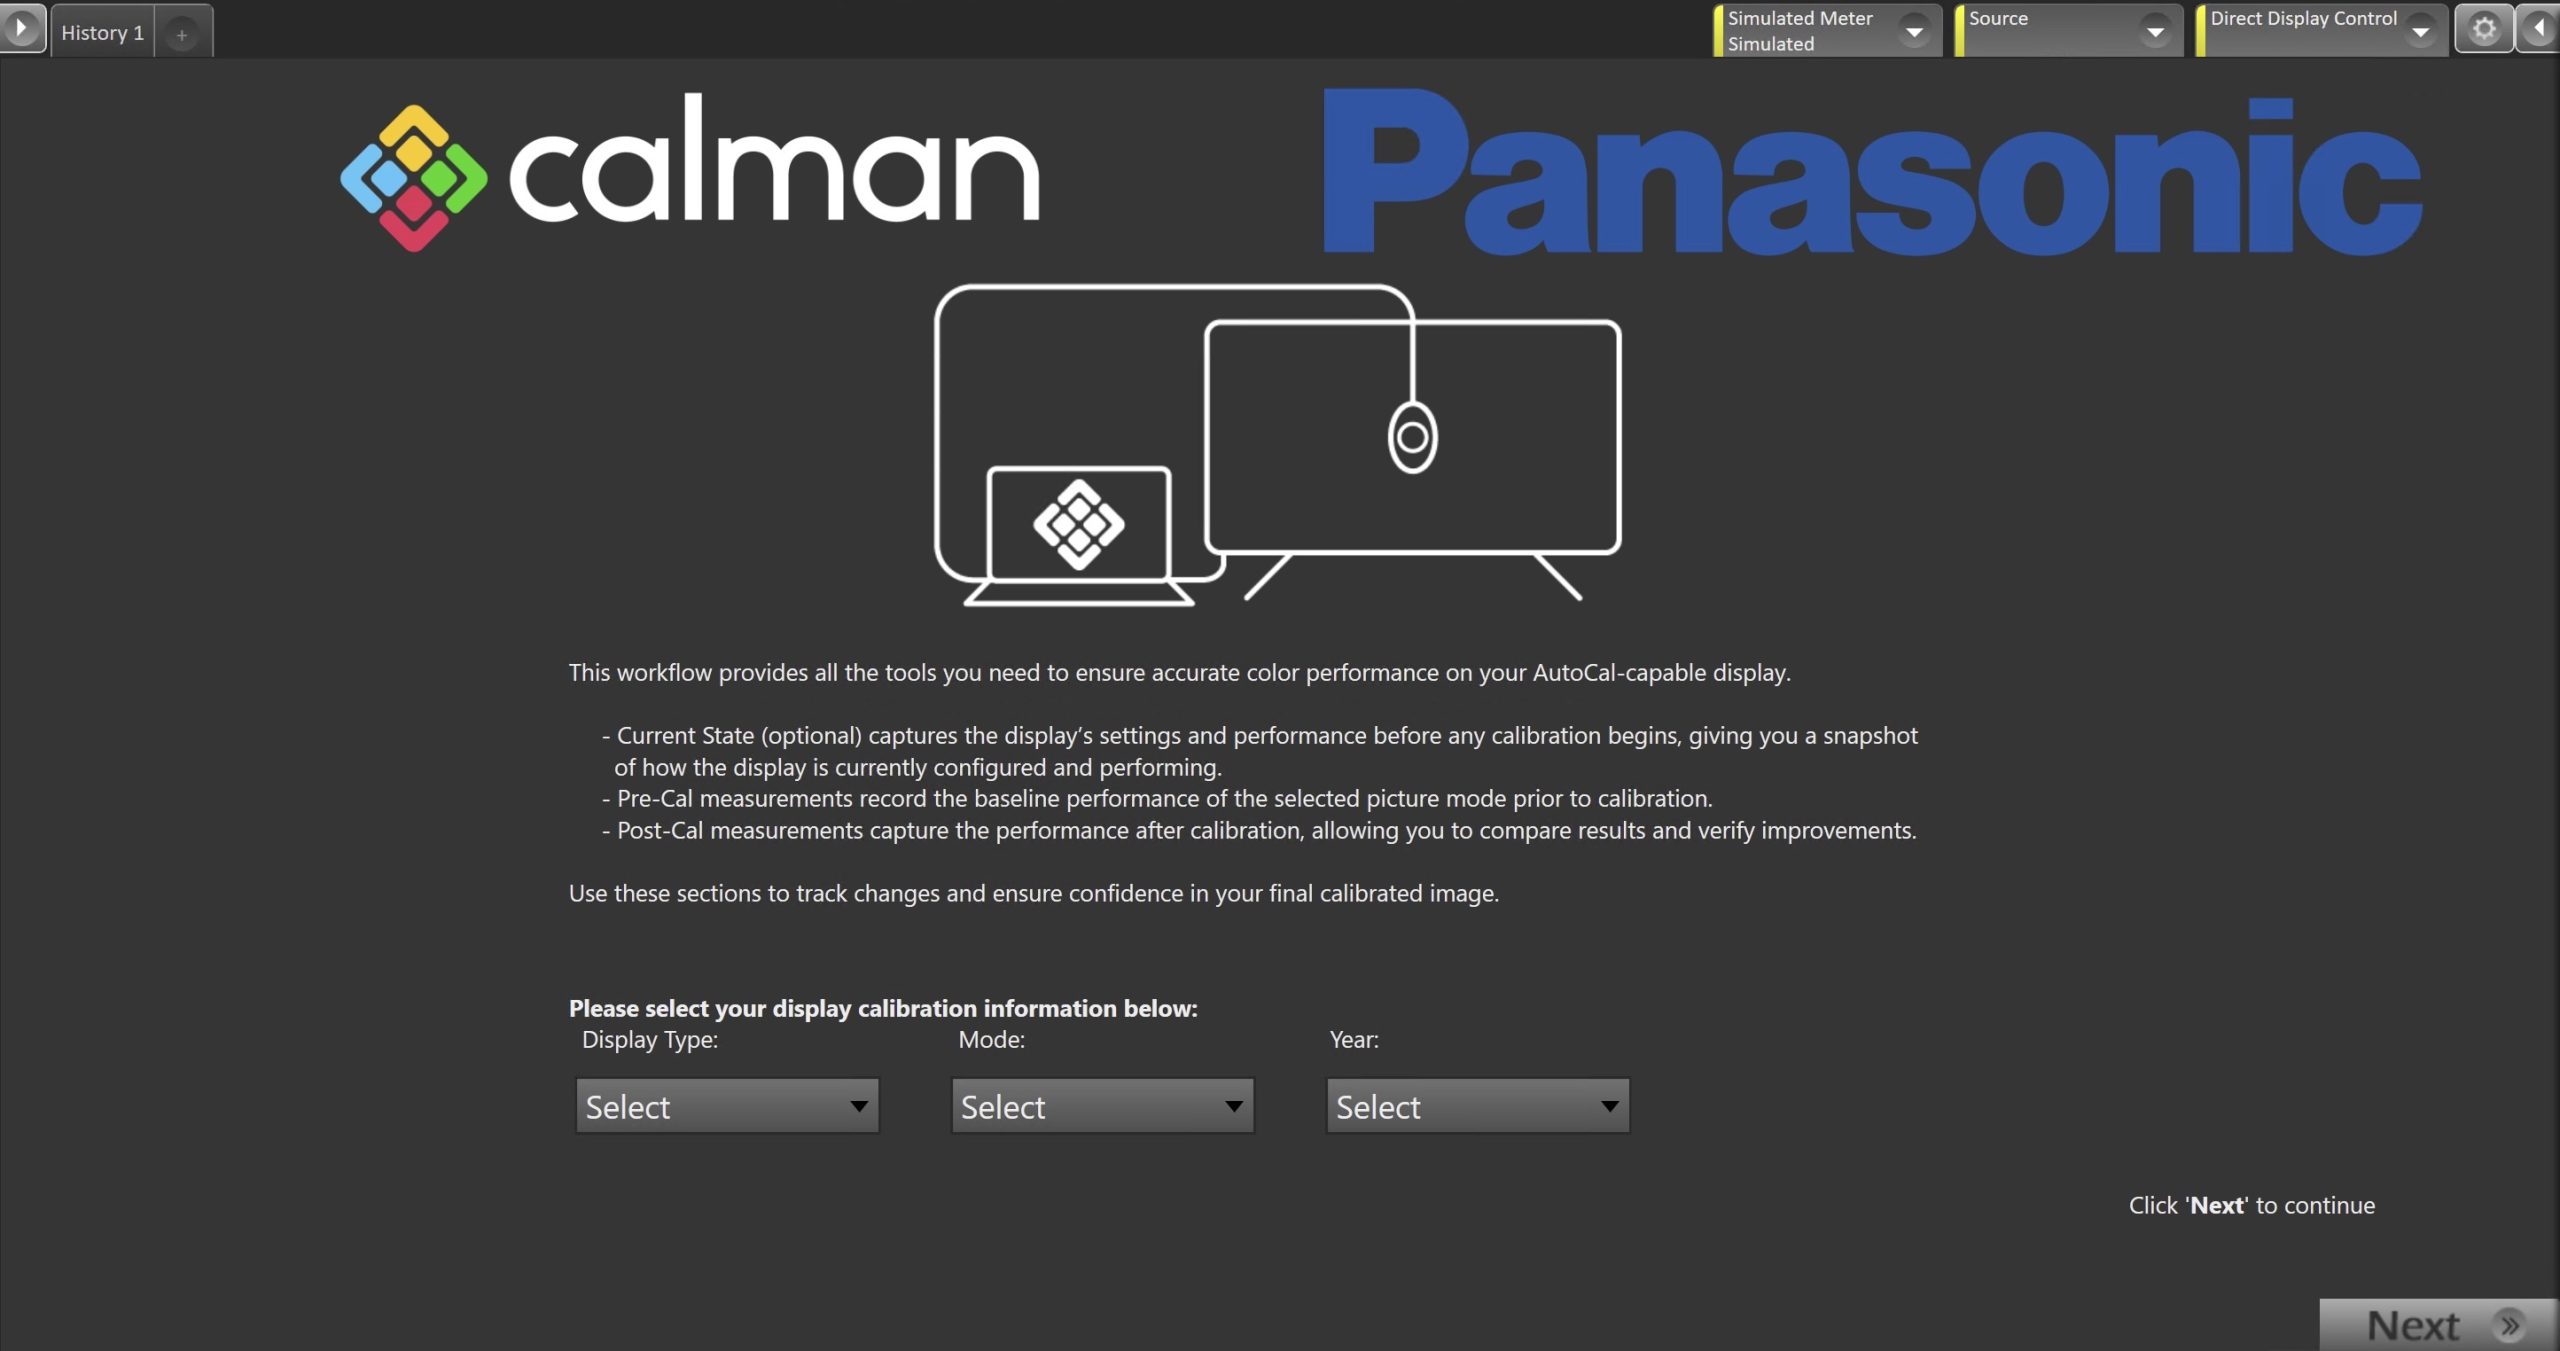
- On the introduction screen, select your display type (LCD/OLED), calibration mode (SDR/HDR/Dolby Vision), and Model year (2024+/2023-2013) from the dropdown and click Next to proceed to Hardware Setup
- Note: Due to the capability differences between years, the workflow steps will vary dending on Model Year selection.
Step 2
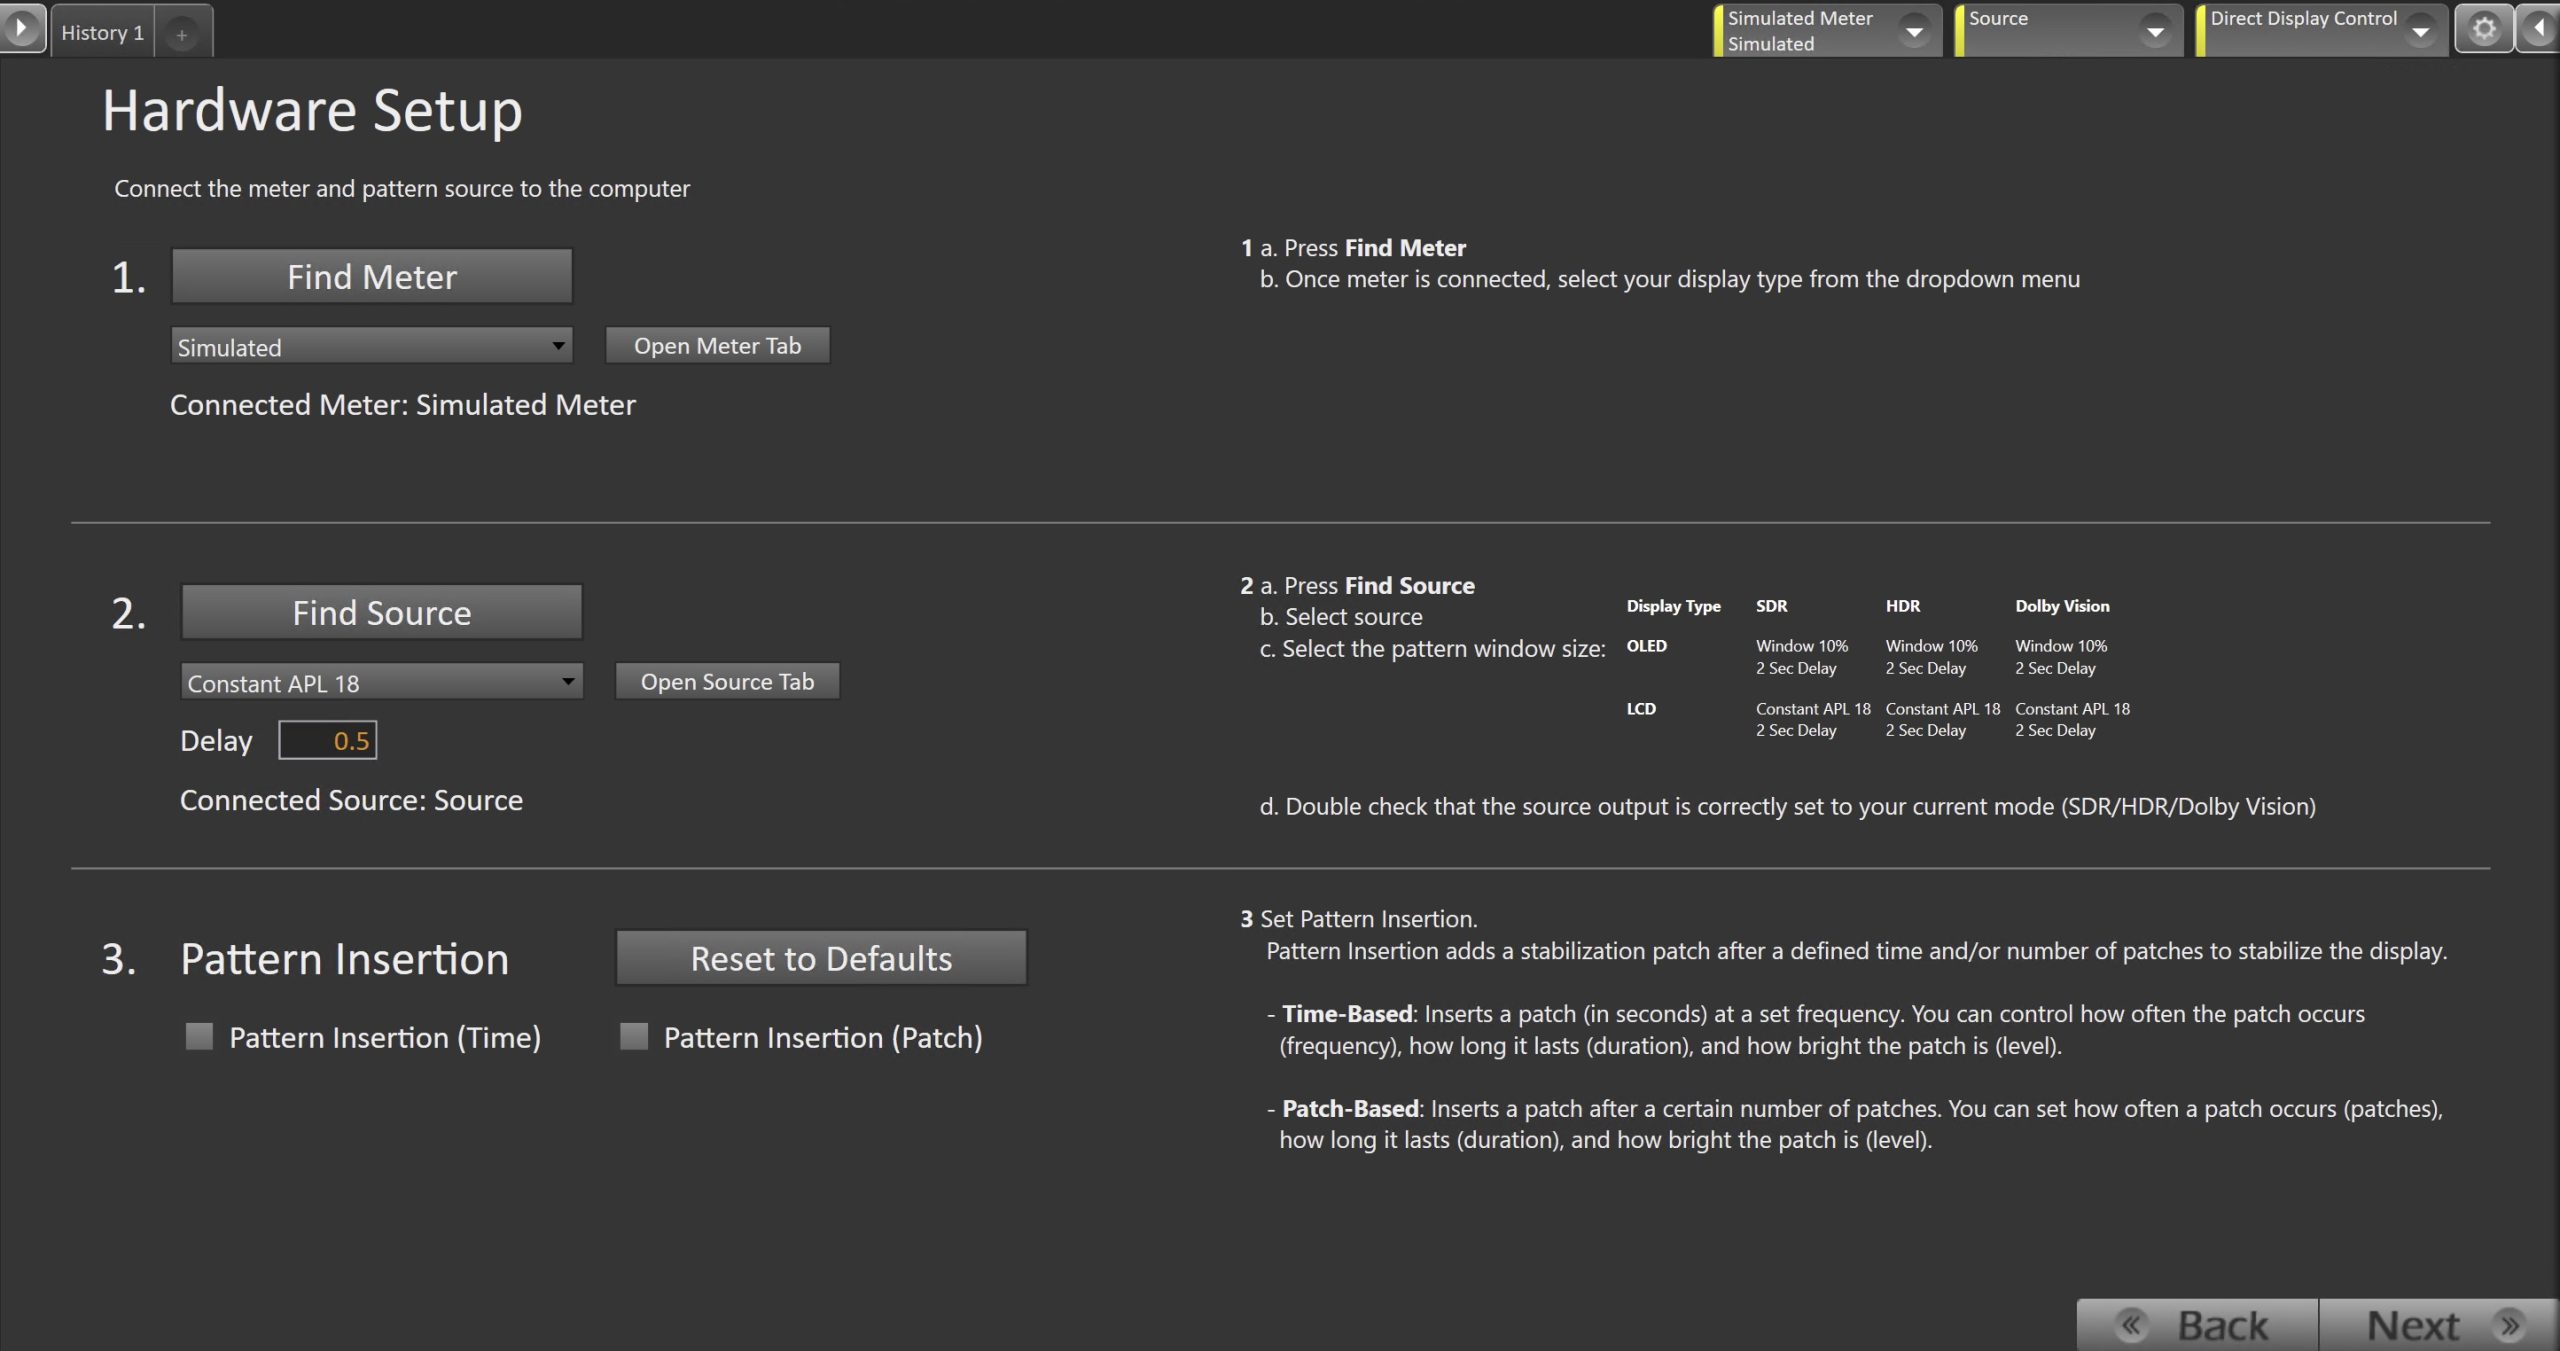
- Plug your meter into a USB port on the computer and press the Find Meter button on the left.
- When your meter is connected, select your display type from the dropdown
- Connect Pattern Source to your computer.
- Click the Find Source button, then select your source
- Select the pattern window size and delay
- OLED
- Window 10%
- LCD
- SDR: Constant APL 18
- OLED
- Ensure your source is set to SDR or HDR corresponding to your choice in Step 1
- Set Pattern insertion
- Click the Reset to Defaults button to set the appropriate pattern insertion for the display and calibration type in Step 1
- LCD models do not require Pattern Insertion to be enabled.
- Click the Reset to Defaults button to set the appropriate pattern insertion for the display and calibration type in Step 1
- Click Next to proceed
Step 3
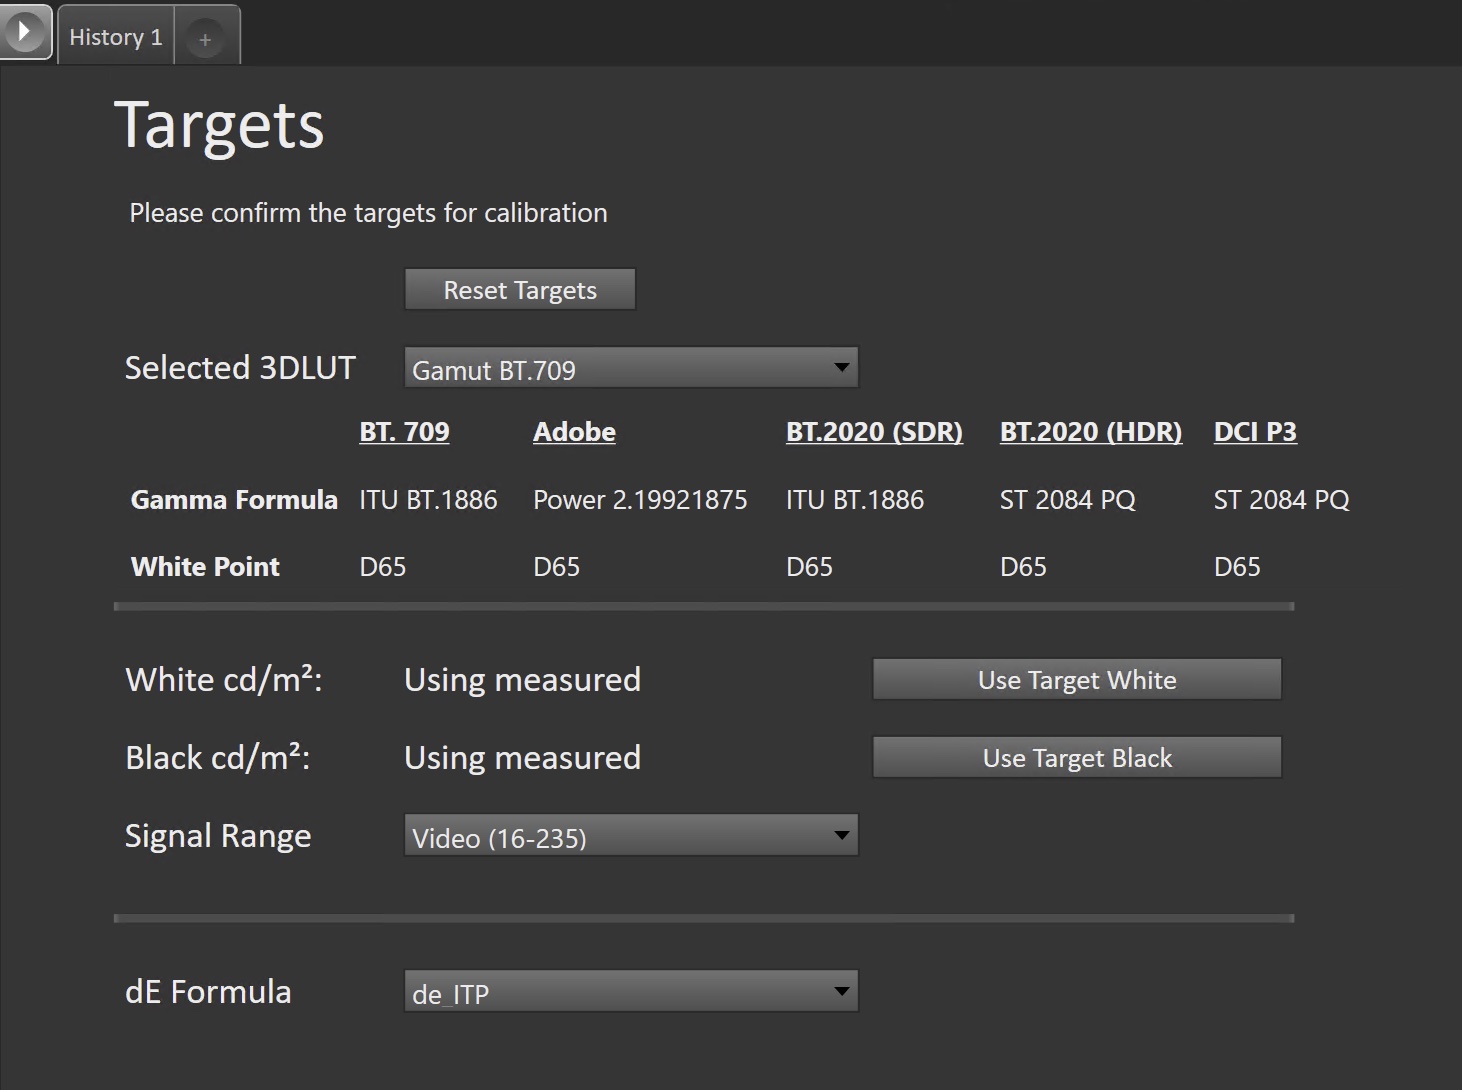
- 2024 and newer Panasonic TVs include support for 3D LUT calibration, which is done by selecting one of the 3D LUT slots presented on the Targets page
- Notes:
- Be aware not to overwrite 3D LUTs from previous calibrations, if applicable.
- It’s best to pair a 3D LUT with a specific Picture Mode (i.e., Professional 1, True Game, etc.) as the greyscale and luminance calibration will take place as part of the Picture Mode calibration
- The choices are:
- Off/Disable
- Note: This will bypass all color gamut calibration
- When disabled, the color gamut will be defined by the TV’s preconfigured Color Gamut control to the right of the LUT selector.
- Gamut BT.709
- Uses the TV’s preconfigured BT.709 gamut settings
- Gamut Adobe
- Uses the TV’s preconfigured Adobe gamut settings
- Gamut BT.2020
- Uses the TV’s preconfigured BT.2020 gamut settings
- Gamut DCI P3
- Uses the TV’s preconfigured DCI P3 gamut settings
- Custom (1-5)
- Uses the TV’s native gamut, allowing you to use the Calman gamut target to define your 3D LUT
- Off/Disable
- Notes:
| Example targets when using a preconfigured LUT slot | Example targets when using a custom LUT slot |
 |
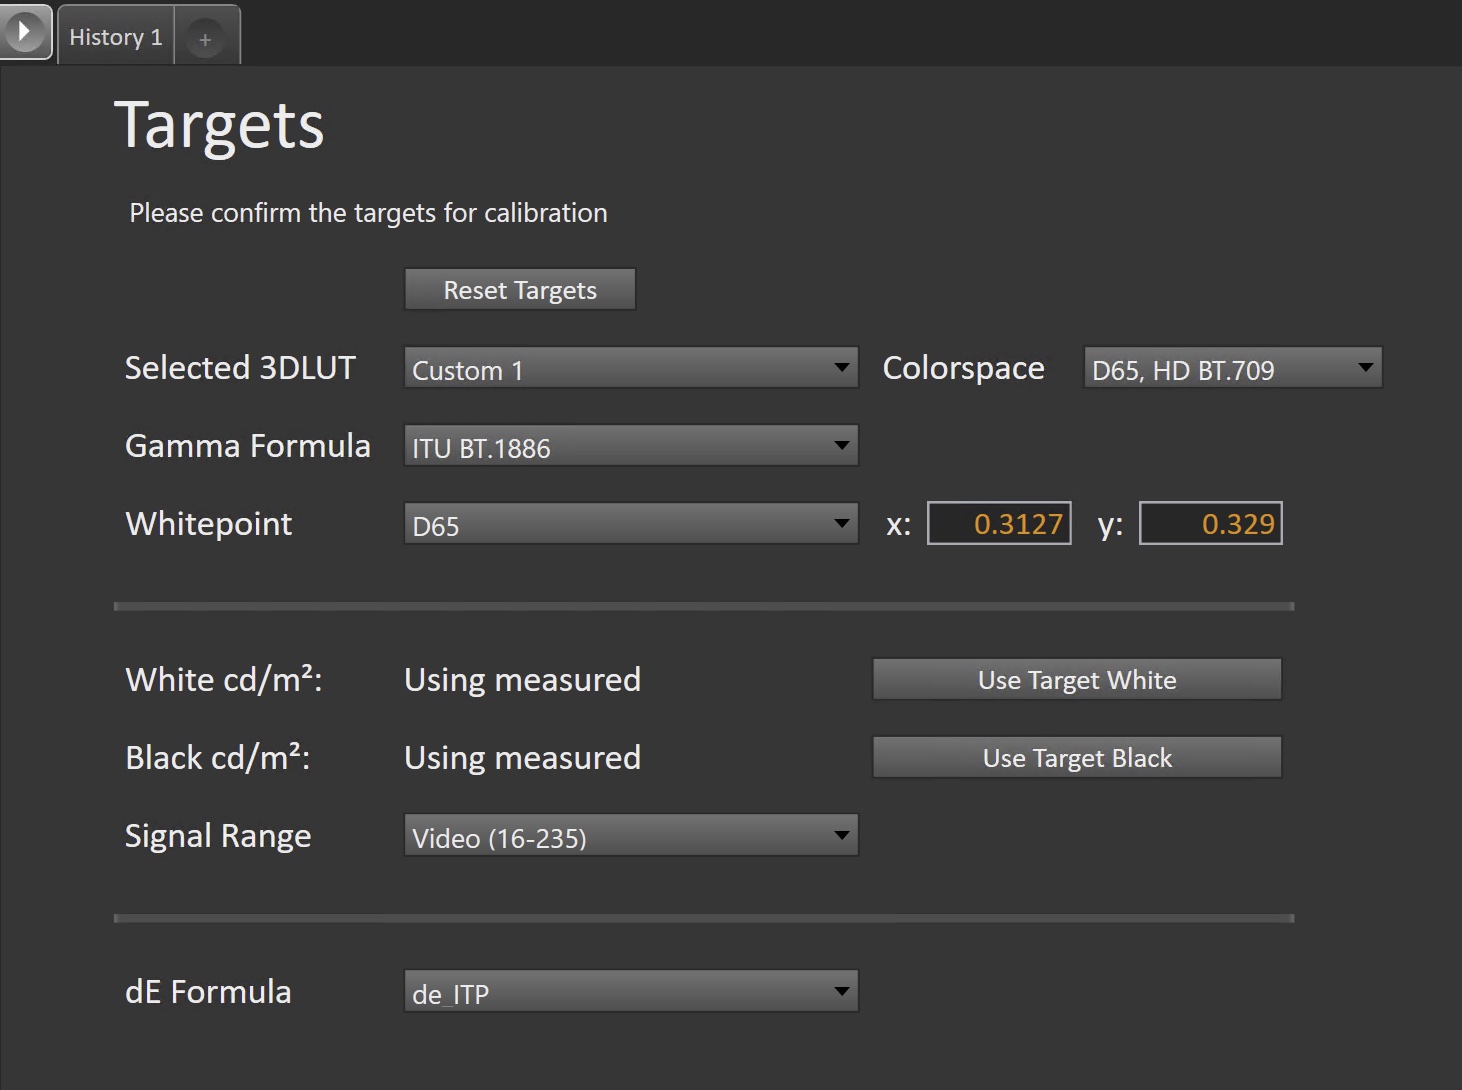 |
- Select the calibration targets
- Confirm your targets, and click Next to proceed
(Optional) Current State Measurements
- This workflow page is intended to document the monitor’s current operational state before establishing any DDC connection or selecting a calibration mode.
- This step can be skipped if documenting the current state is not needed. Another set of Pre-Calibration measurements will be taken in later steps.
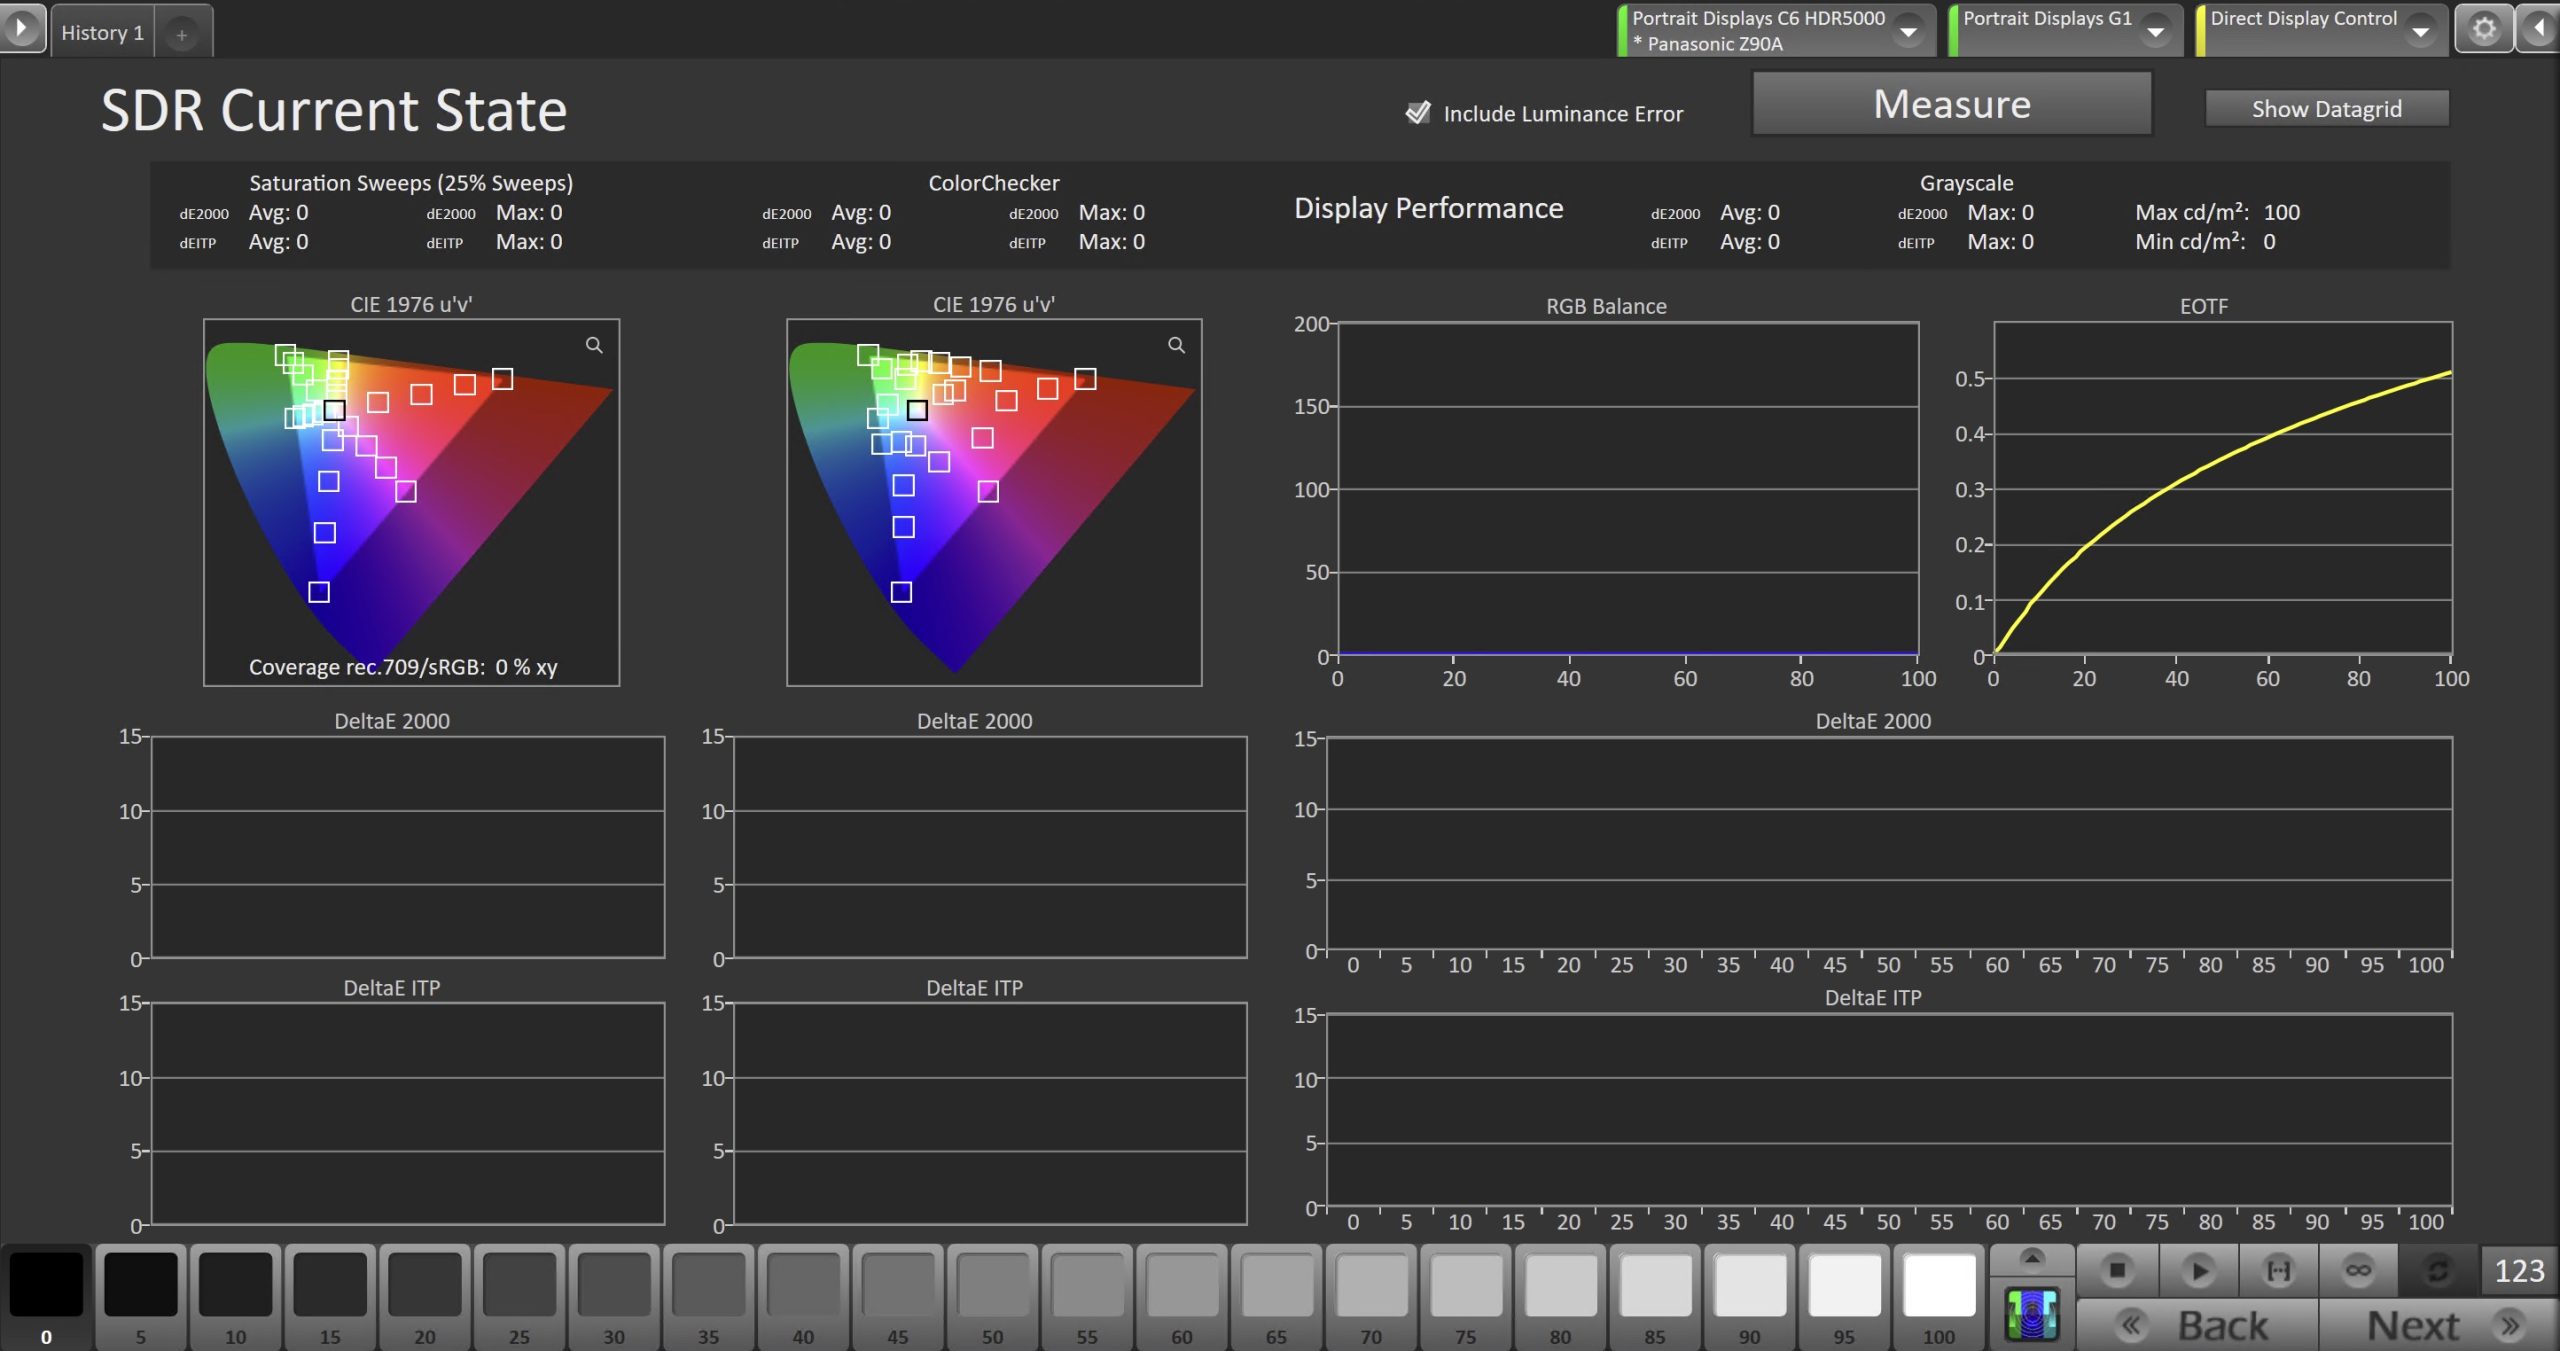
- To take Current State Measurements, click the Measure button to measure the display’s grayscale and color response.
- Click Next to proceed
Step 4

- Connect your TV to Calman
- On your Panasonic TV:
- Select an HDMI input from the inputs menu
- Once video is displayed, press the Settings Gear ⚙ button on your remote and choose Picture – Option Settings – Calman
Ready Connect - On the Calman Ready Connect popup, select Next
- The Calman Ready Connect UI will now display your model number and IP
address - Note: When the Calman Ready Connect UI opens, it will automatically switch to HDMI 1. If your pattern generator is connected to another input, press the ☰ button on your remote and select the correct HDMI input.
- In Calman:
- Click the Find Display Button
- Choose the year and model you are calibrating in the drop-down under Model.
- Enter the IP address shown on the TV, and click Connect.
- On your Panasonic TV:
Connection steps for 2013-2024 models
- Connect the Calman computer to the same network to which the Panasonic TV is connected.
- Under Menu\Network\Network Status\Status Details note the IP address.
- On the Panasonic TV, open the Picture menu
- Under Picture\Viewing Mode, select Professional 1 or Professional 2
- Under Picture\Lock Settings, enter PIN i-0-8-5
- Arrow down to ISFCCC Network and press OK on the remote.
- An HDMI signal must be fed into the TV and selected as the input.
- The ISFCCC Network option does not display when you are using one of the App inputs, like Netflix
- This option will be disabled if the PIN is not set to i-0-8-5
- In some regions, this option may be disabled in firmware. Contact Panasonic support for your region for more information.
- An HDMI signal must be fed into the TV and selected as the input.
- At this point, the TV will read “Waiting for Connection“
- Click on the Find Display button, select your Panasonic model
- Under Socket Connection, enter the TV’s IP Address that you noted above.
- Click Connect on the Find Display dialog.
- Select Picture Mode to Calibrate.
- Using the picture mode dropdown menu to the right, select which picture mode you would like to calibrate.
- Options are Pro 1 – Day or Pro 2 – Night
- Using the picture mode dropdown menu to the right, select which picture mode you would like to calibrate.
- Click Next to proceed
Pre-Calibration Measurements
- This workflow page is intended to document the target picture mode prior to calibration.

- To take Pre-Calibration Measurements, click the Measure button to measure the display’s rayscale and color response.
- This will provide a point of reference to compare the calibration results
- Click Next to proceed
Step 5
- Here, the Calman picture mode will be reset to prepare for calibration.

- Click the Reset button. This resets and prepares the picture mode for calibration.
- Click Next to proceed
SDR Only – Measure and set Luminance
- Here, you can adjust the display’s Backlight setting to one that meets or exceeds your target luminance
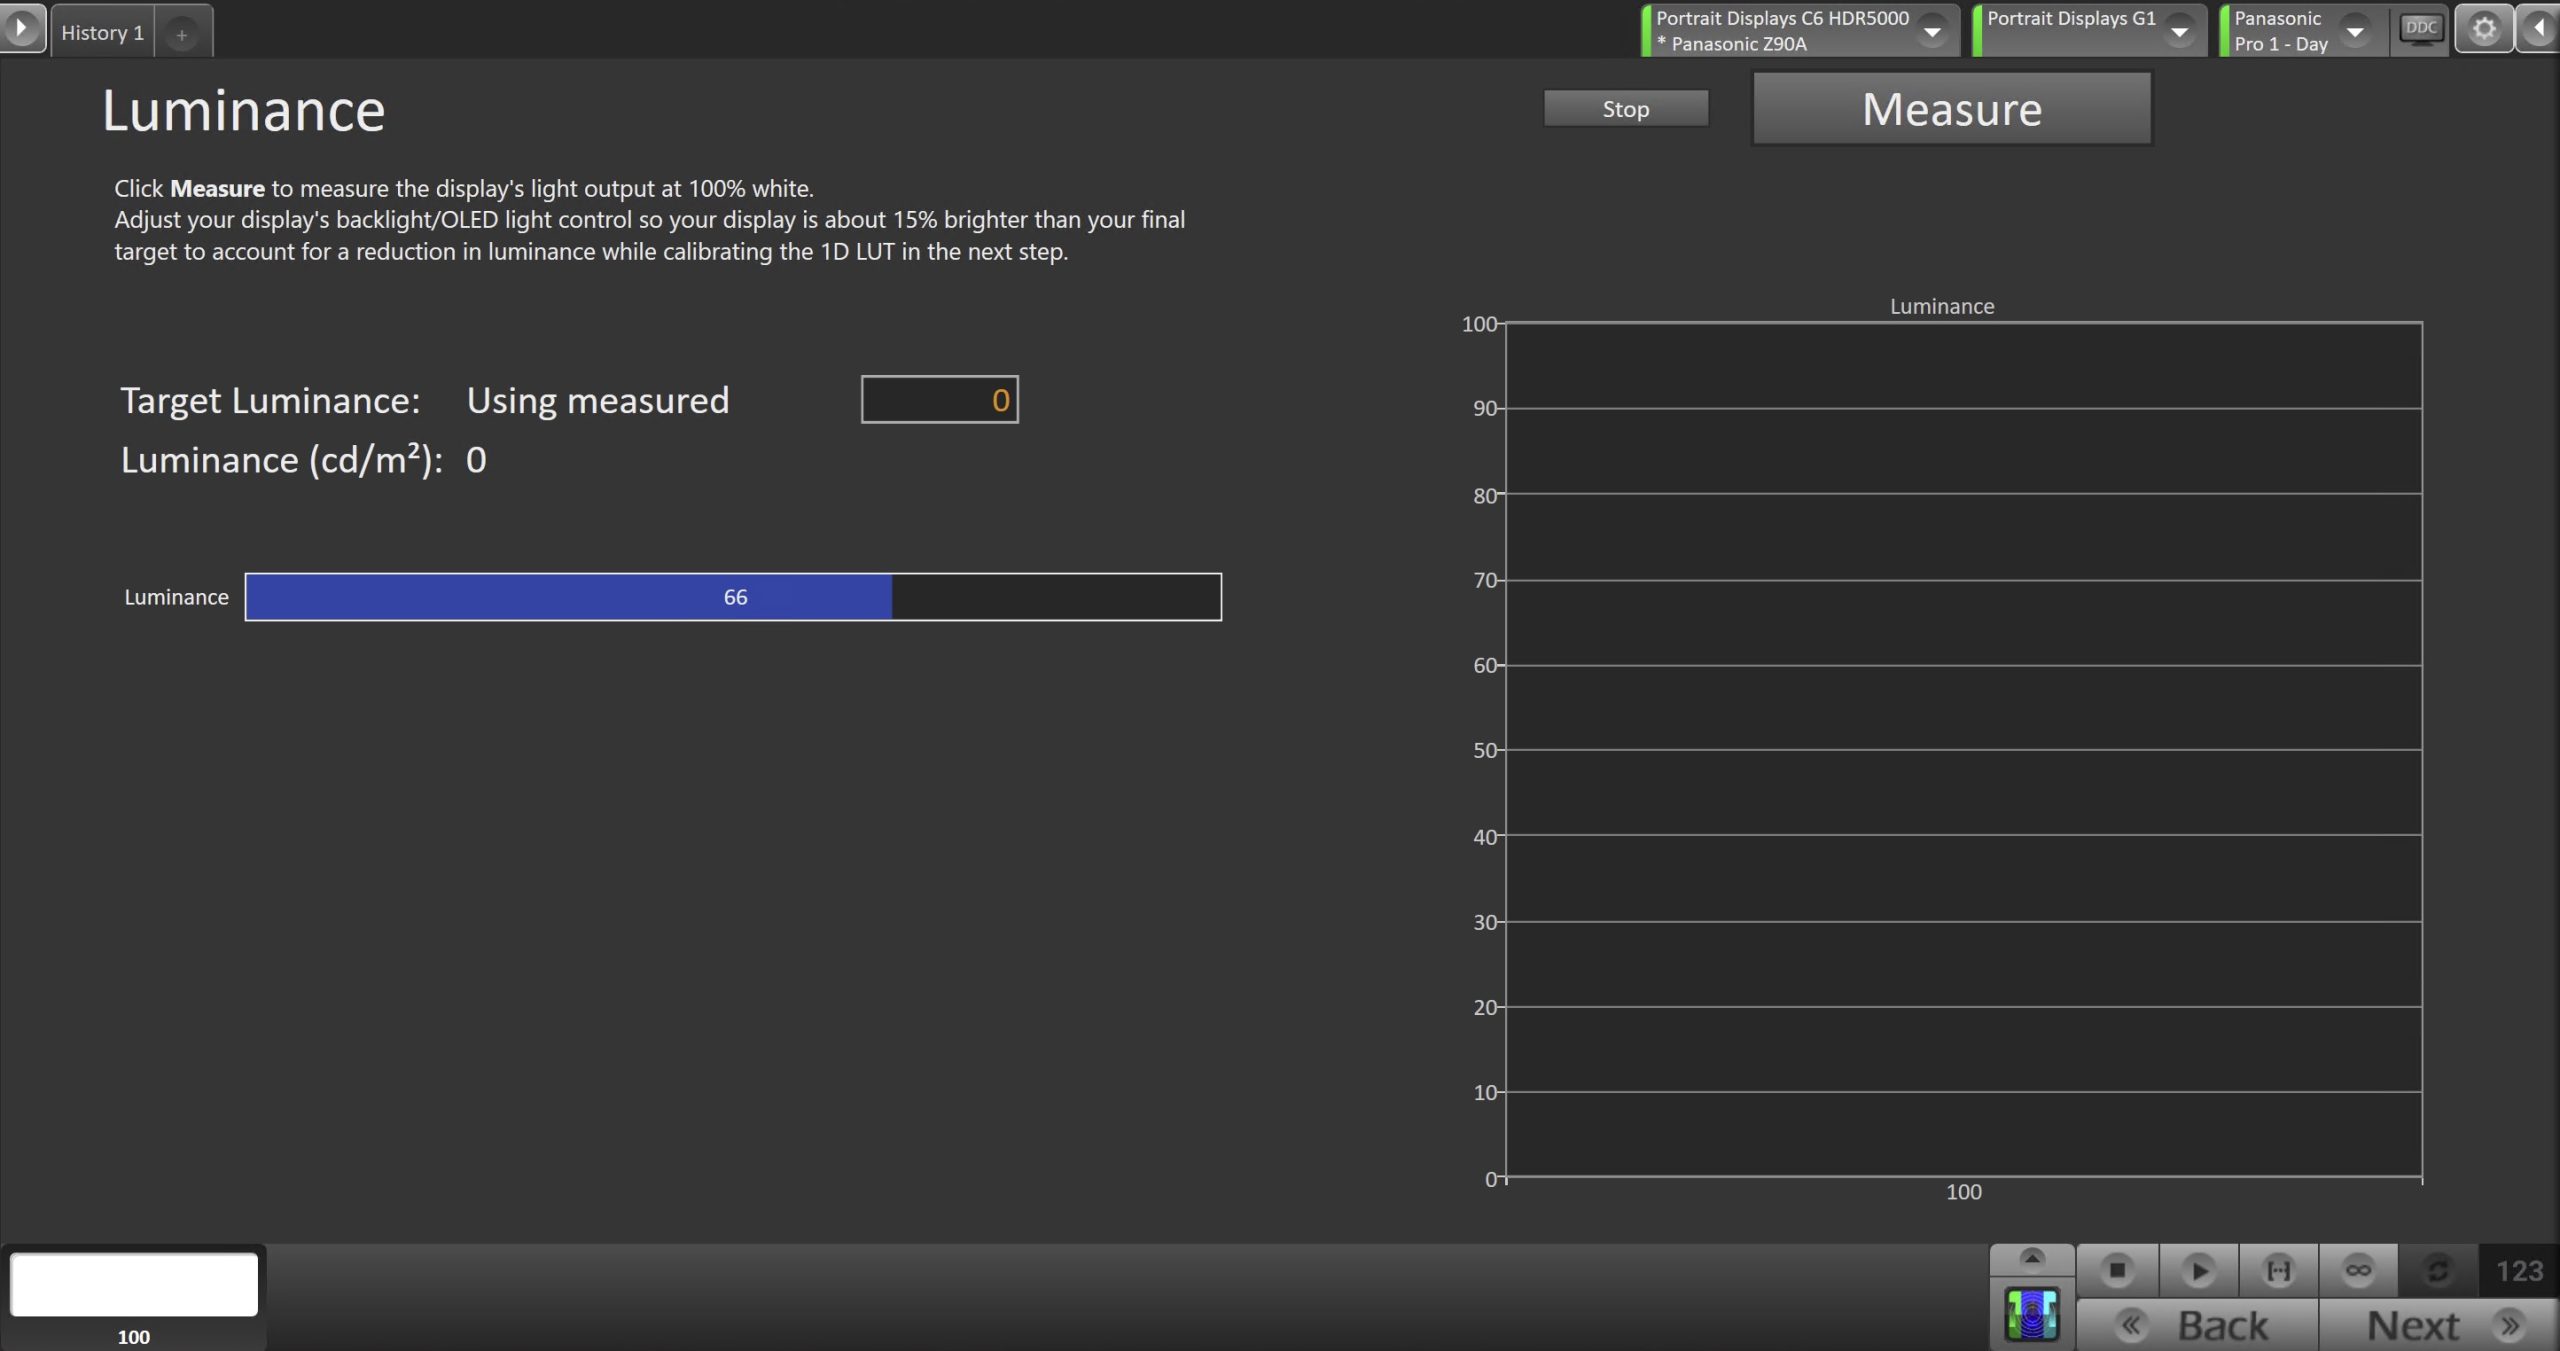
- Click Measure and adjust the Backlight slider as needed.
- Click Next to proceed
Step 6
- On this page, Calman will adjust your display’s White Balance
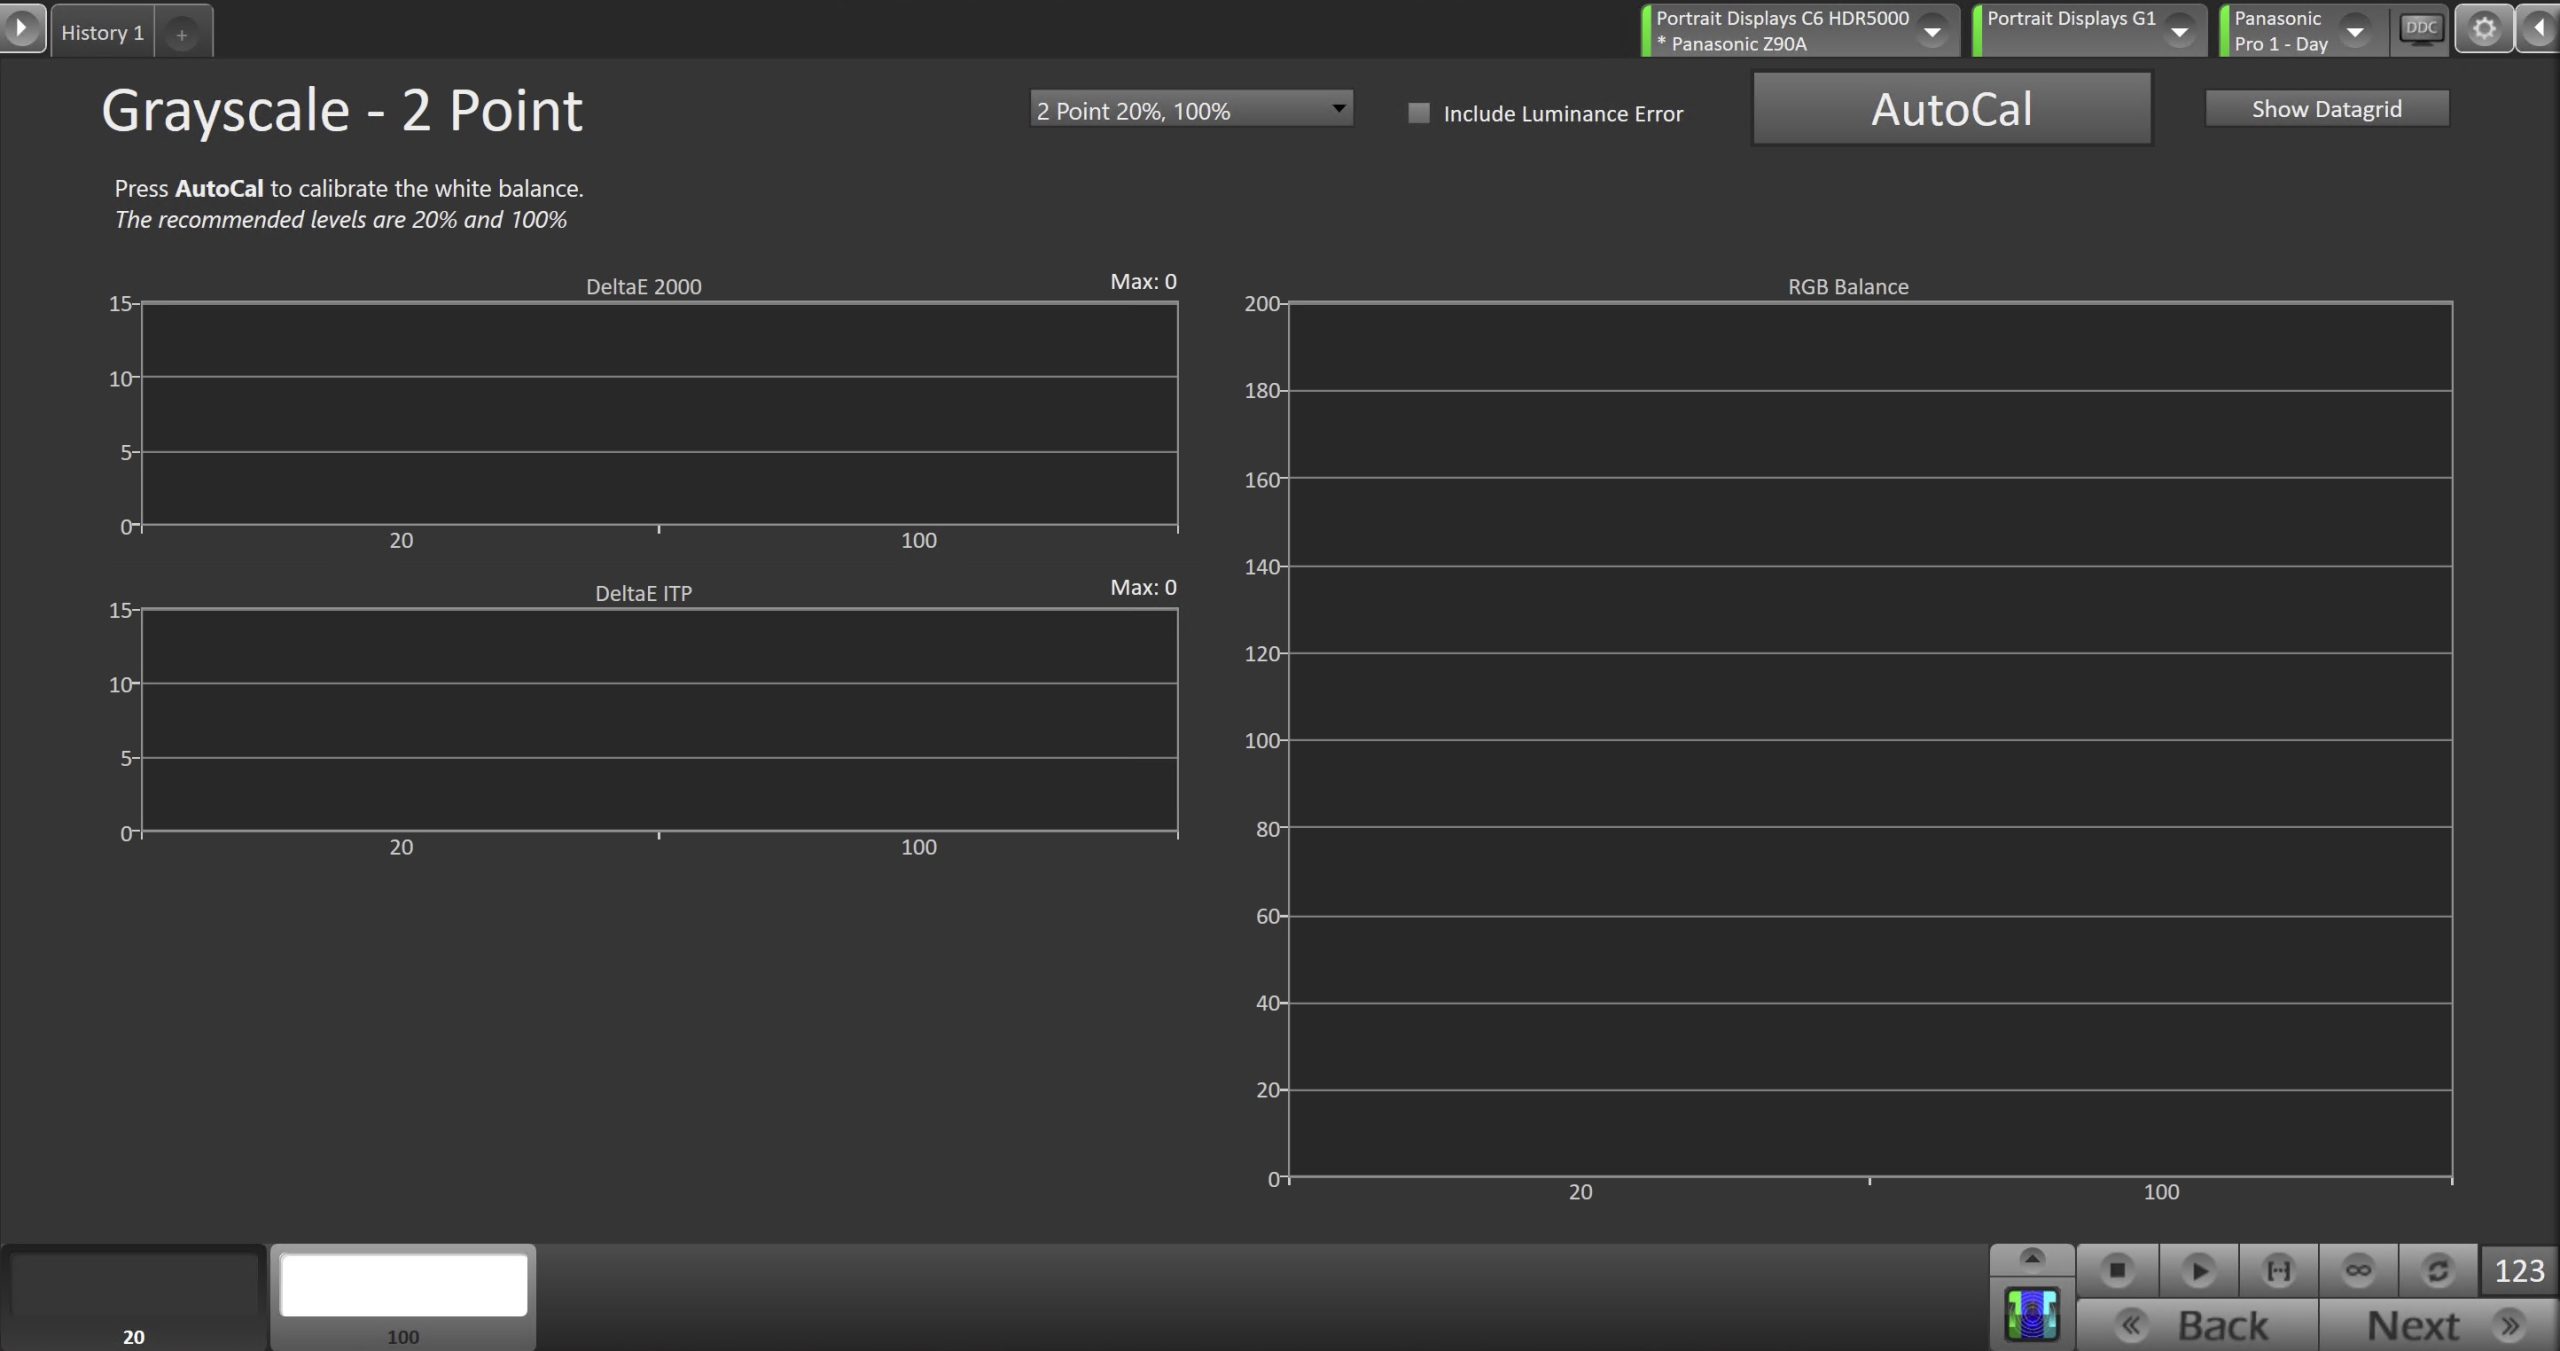
- Click the AutoCal button to perform the 2pt greyscale AutoCal
- Click Next to proceed
SDR Only – Gamma Setting
- Here you can adjust the TVs Gamma setting to best match your target gamma
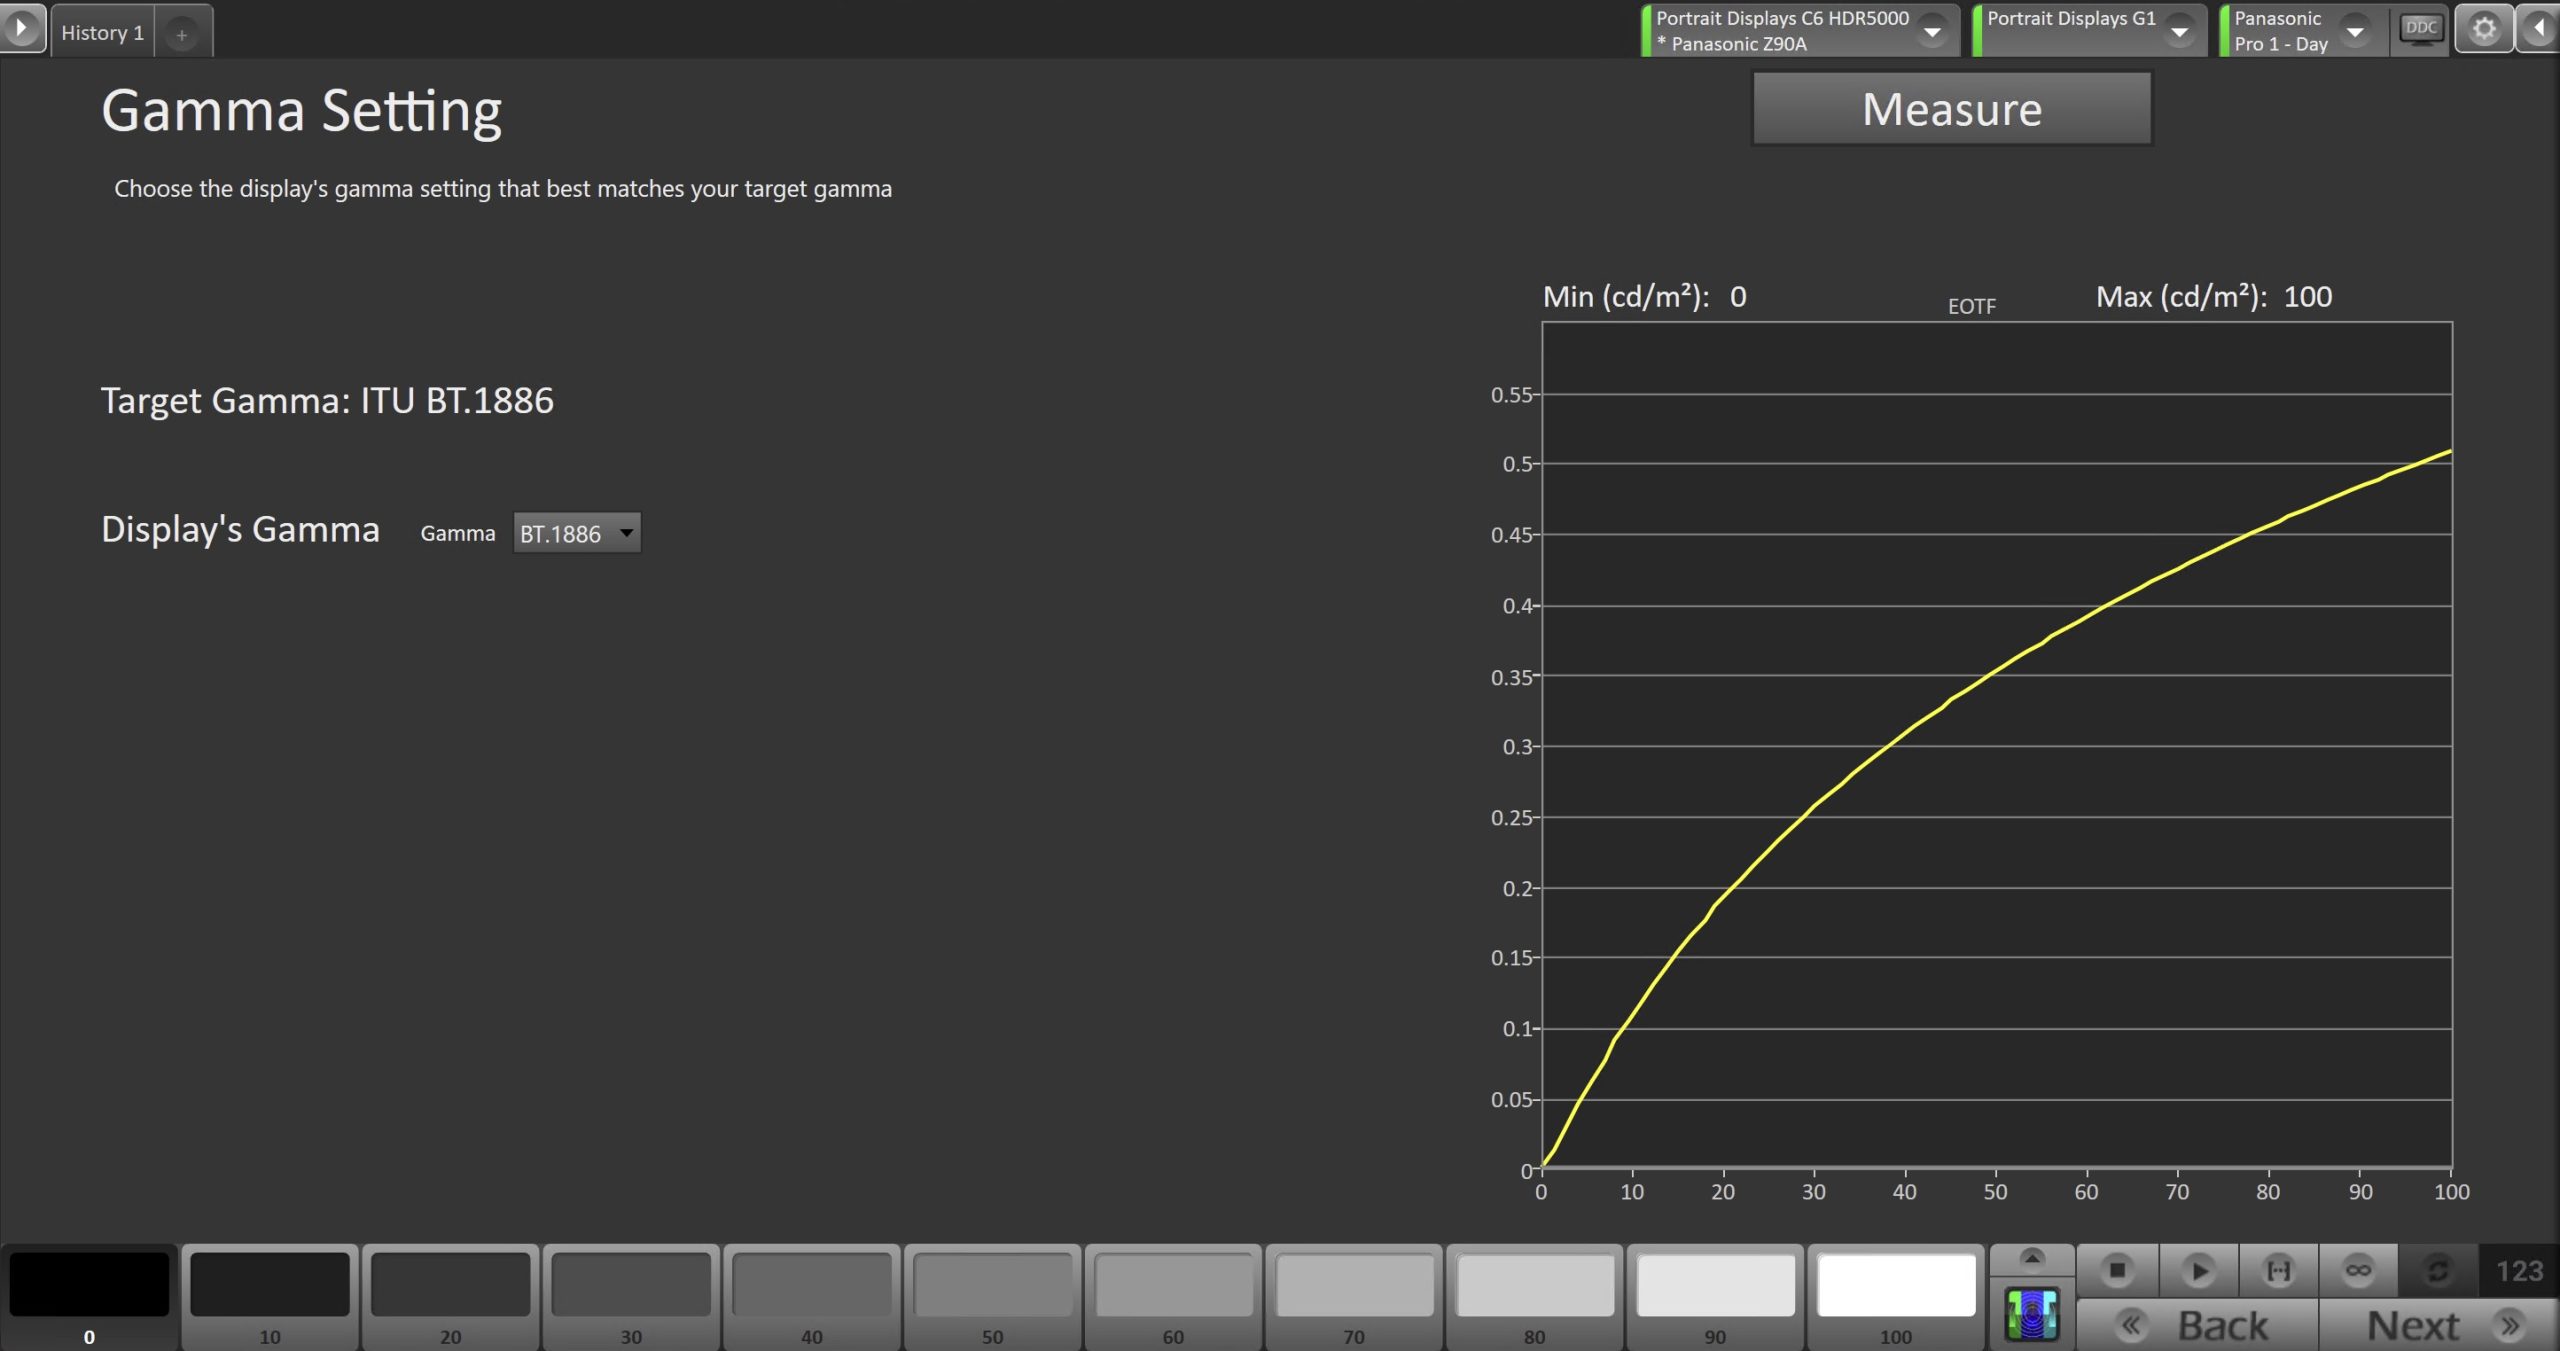
- Choose the formula that best matches your Gamma target, and click measure to verify. Modify the setting and re-measure as needed.
Step 7
- Here, Calman will adjust the Multipoint Greyscale.
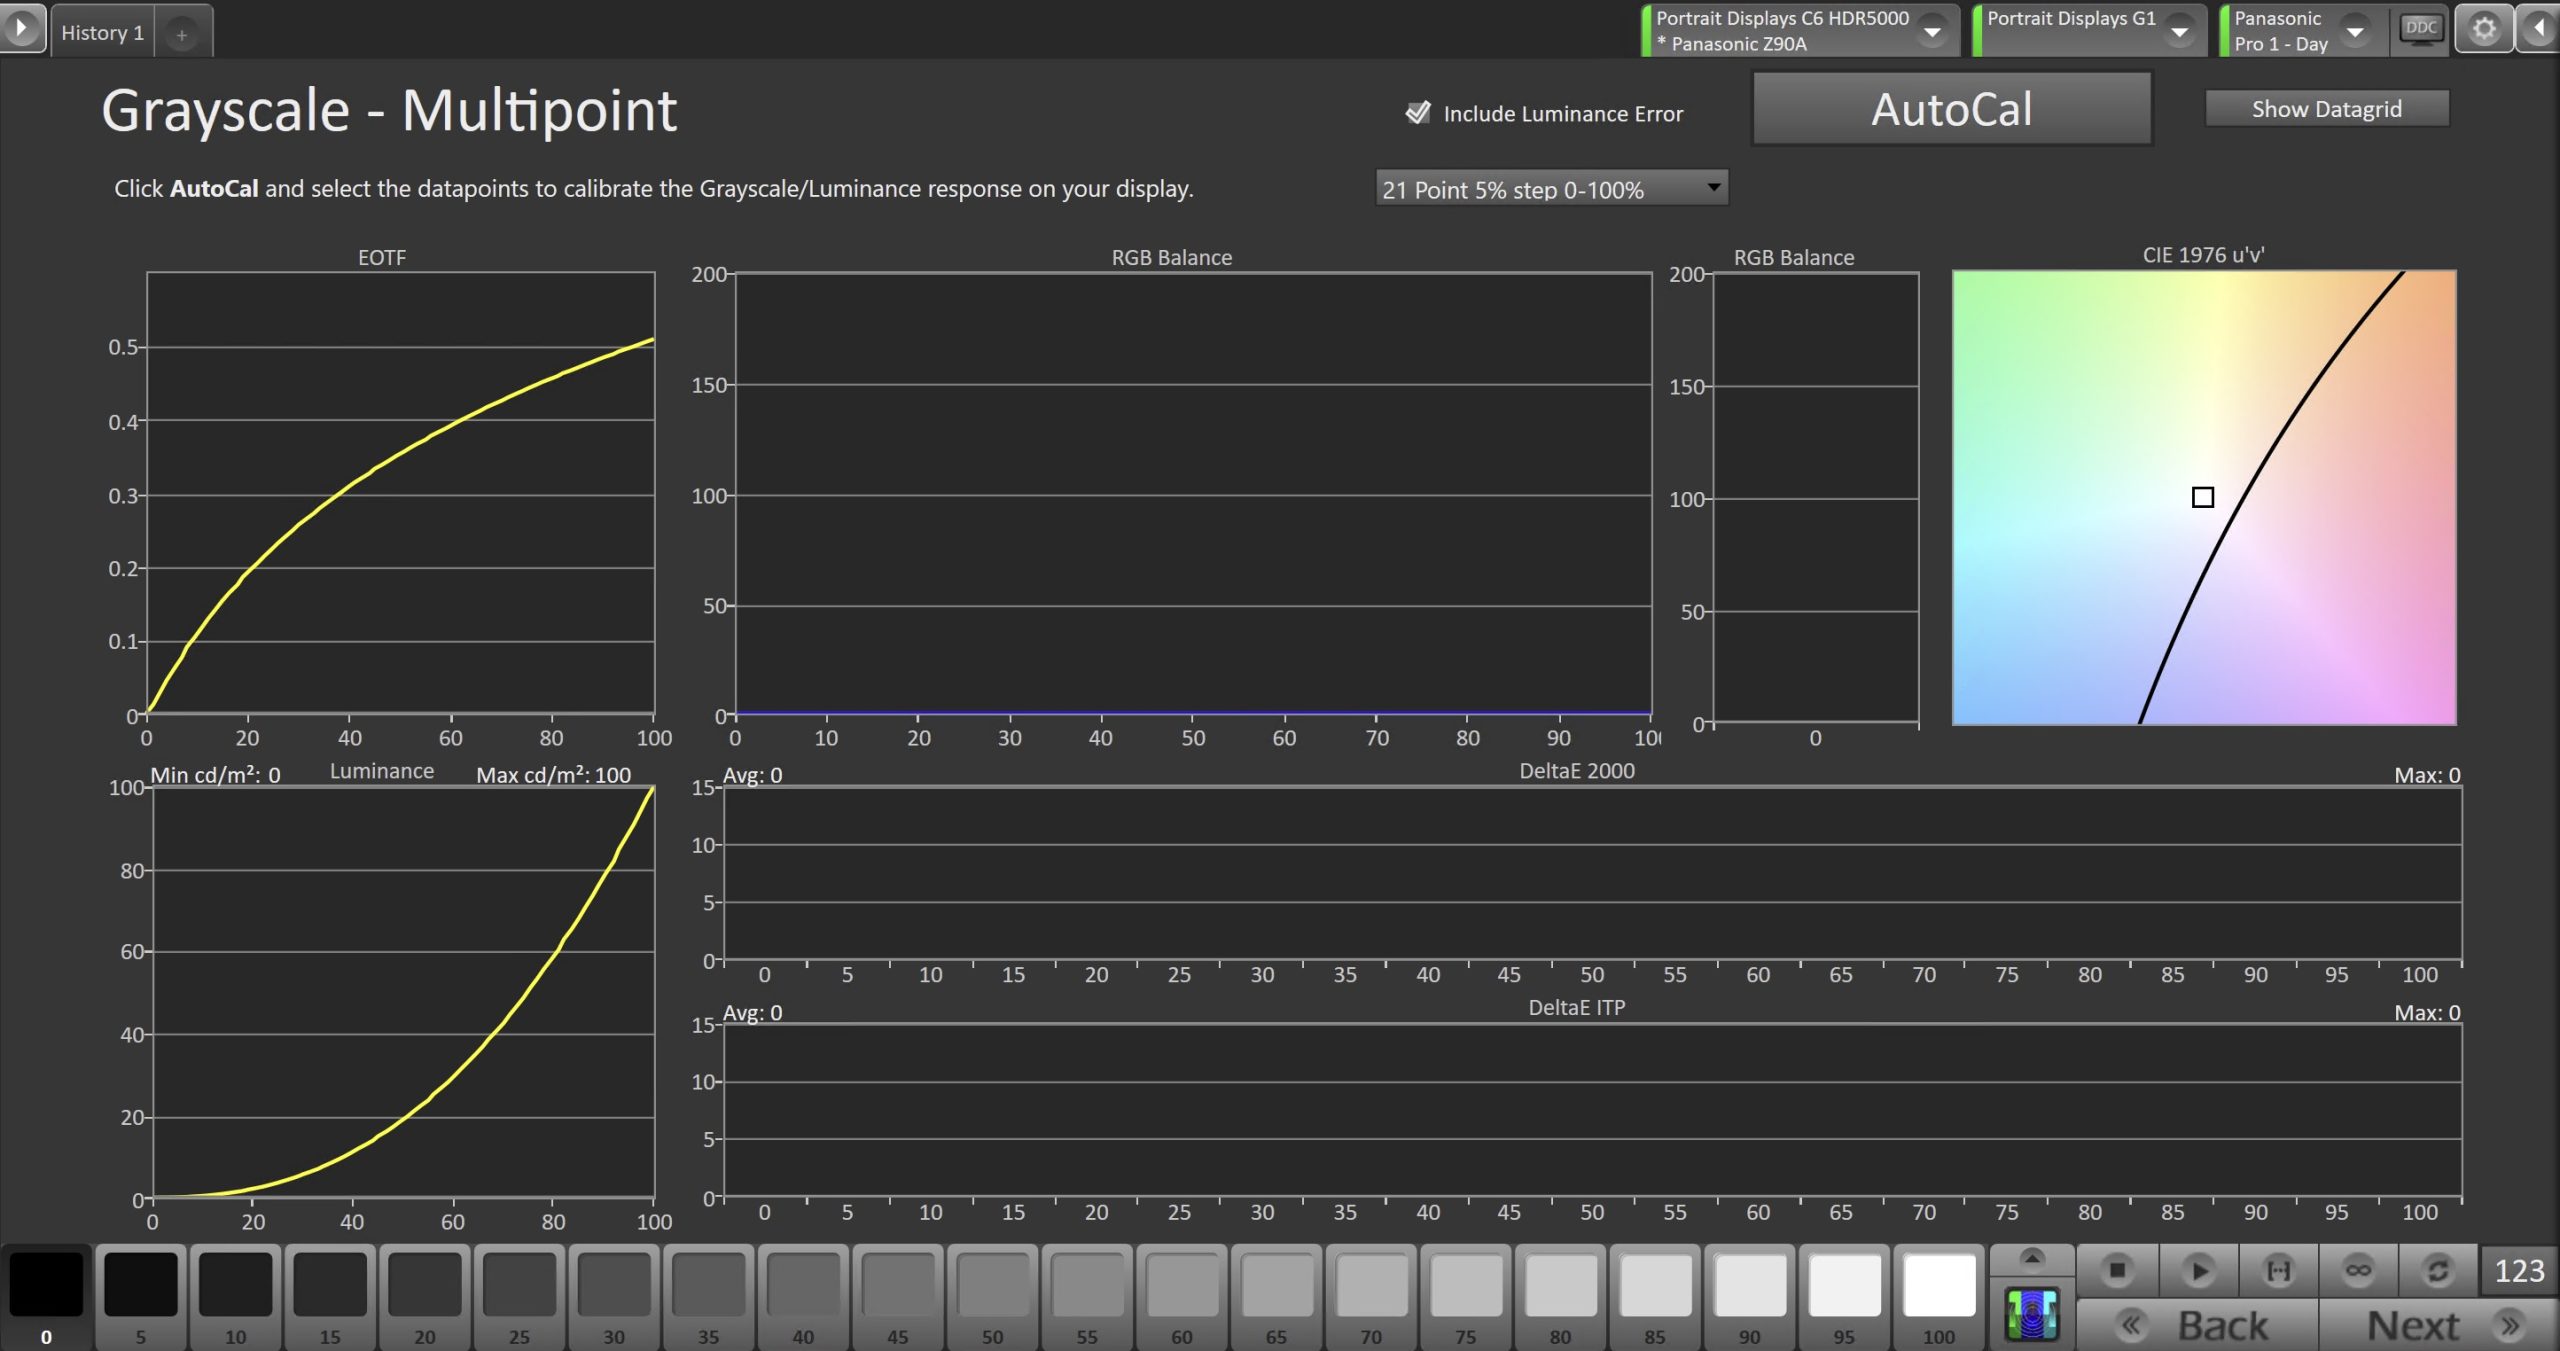
- Click the AutoCal button and select the correct data points in the AutoCal Dialog to auto-calibrate the Grayscale/Luminance response on the display.
- This should match the video range you chose in Step 1.
- Click OK to begin greyscale AutoCal.
- When AutoCal is complete, click the Next button to proceed.
Step 8
- On this page, Calman will calibrate the Color Gamut using a 3D LUT.
- Notes:
- If you choose “Off/Disabled” during the 3D LUT selection, you will not be able to complete color gamut calibration here.
- For 2013-2024 models, this step will be done using traditional CMS controls rather than a 3D LUT. See below for specific instructions for previous models.
- Notes:
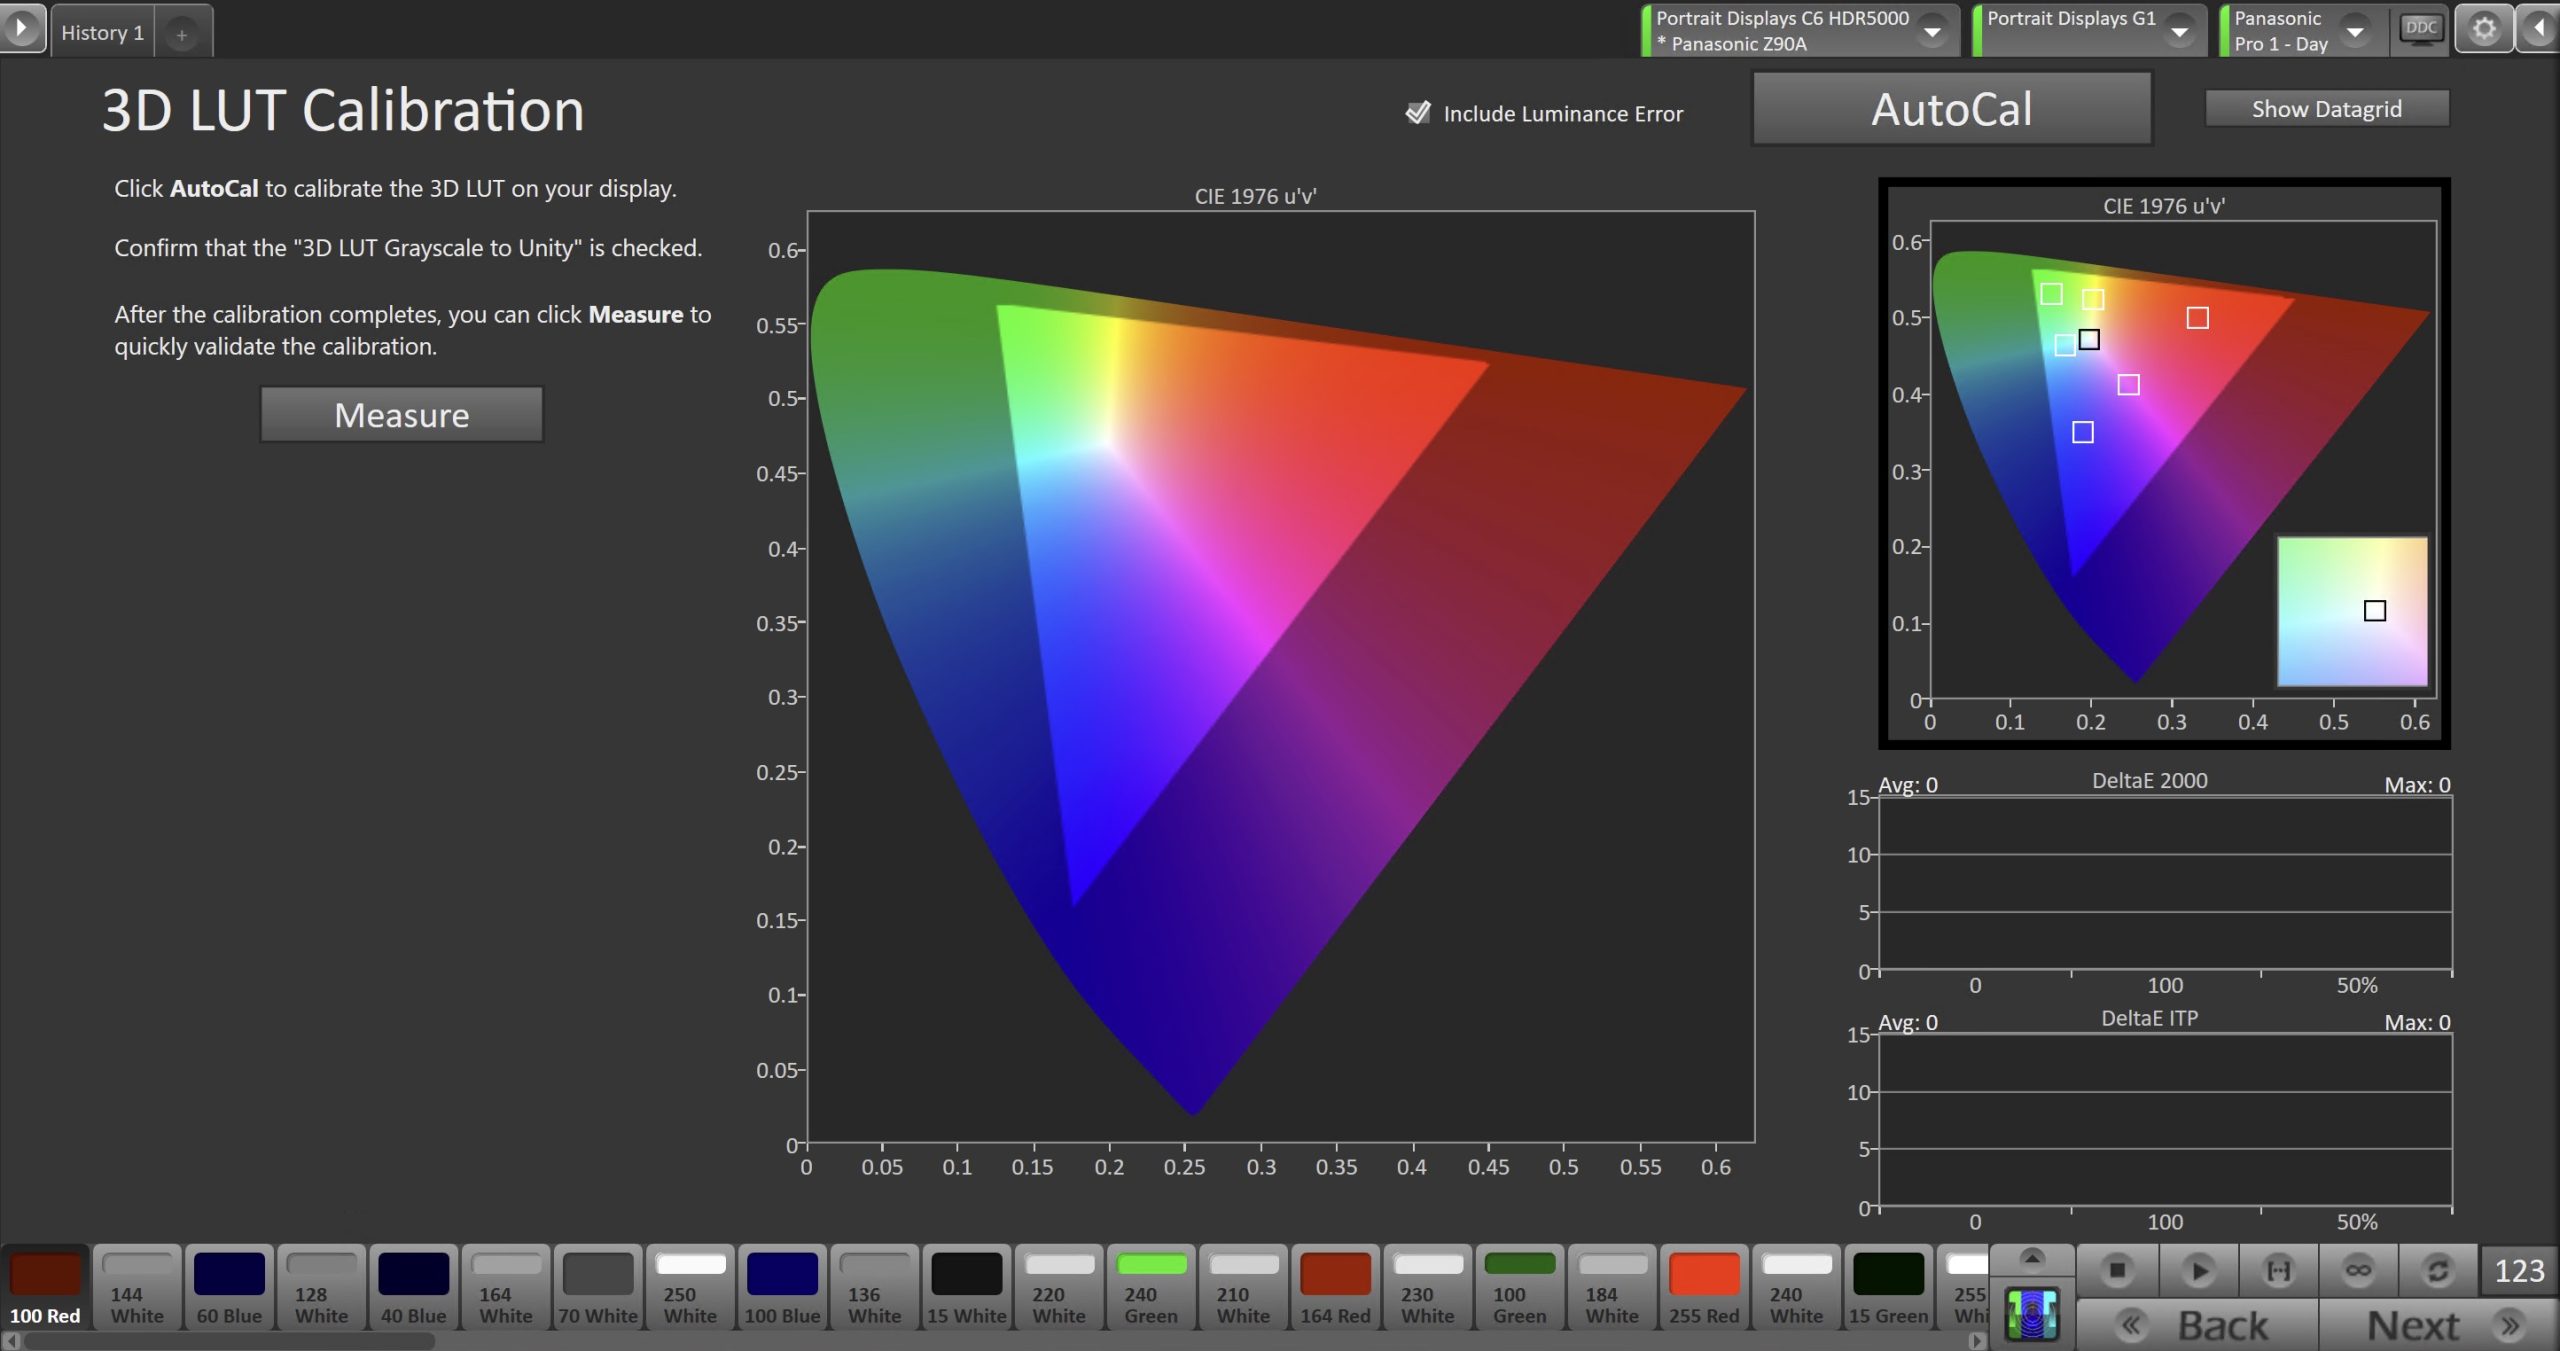
- Press the AutoCal button to open the AutoCal dialog
- Calman has multiple methods for creating a 3D LUT. For information about these LUTs see THIS ARTICLE.
- Confirm that 3D LUT Grayscale to Unity is checked
- Click OK to begin the colorspace AutoCal process
- When AutoCal is complete, press the Next button to proceed
Steps for 2013-2024 models
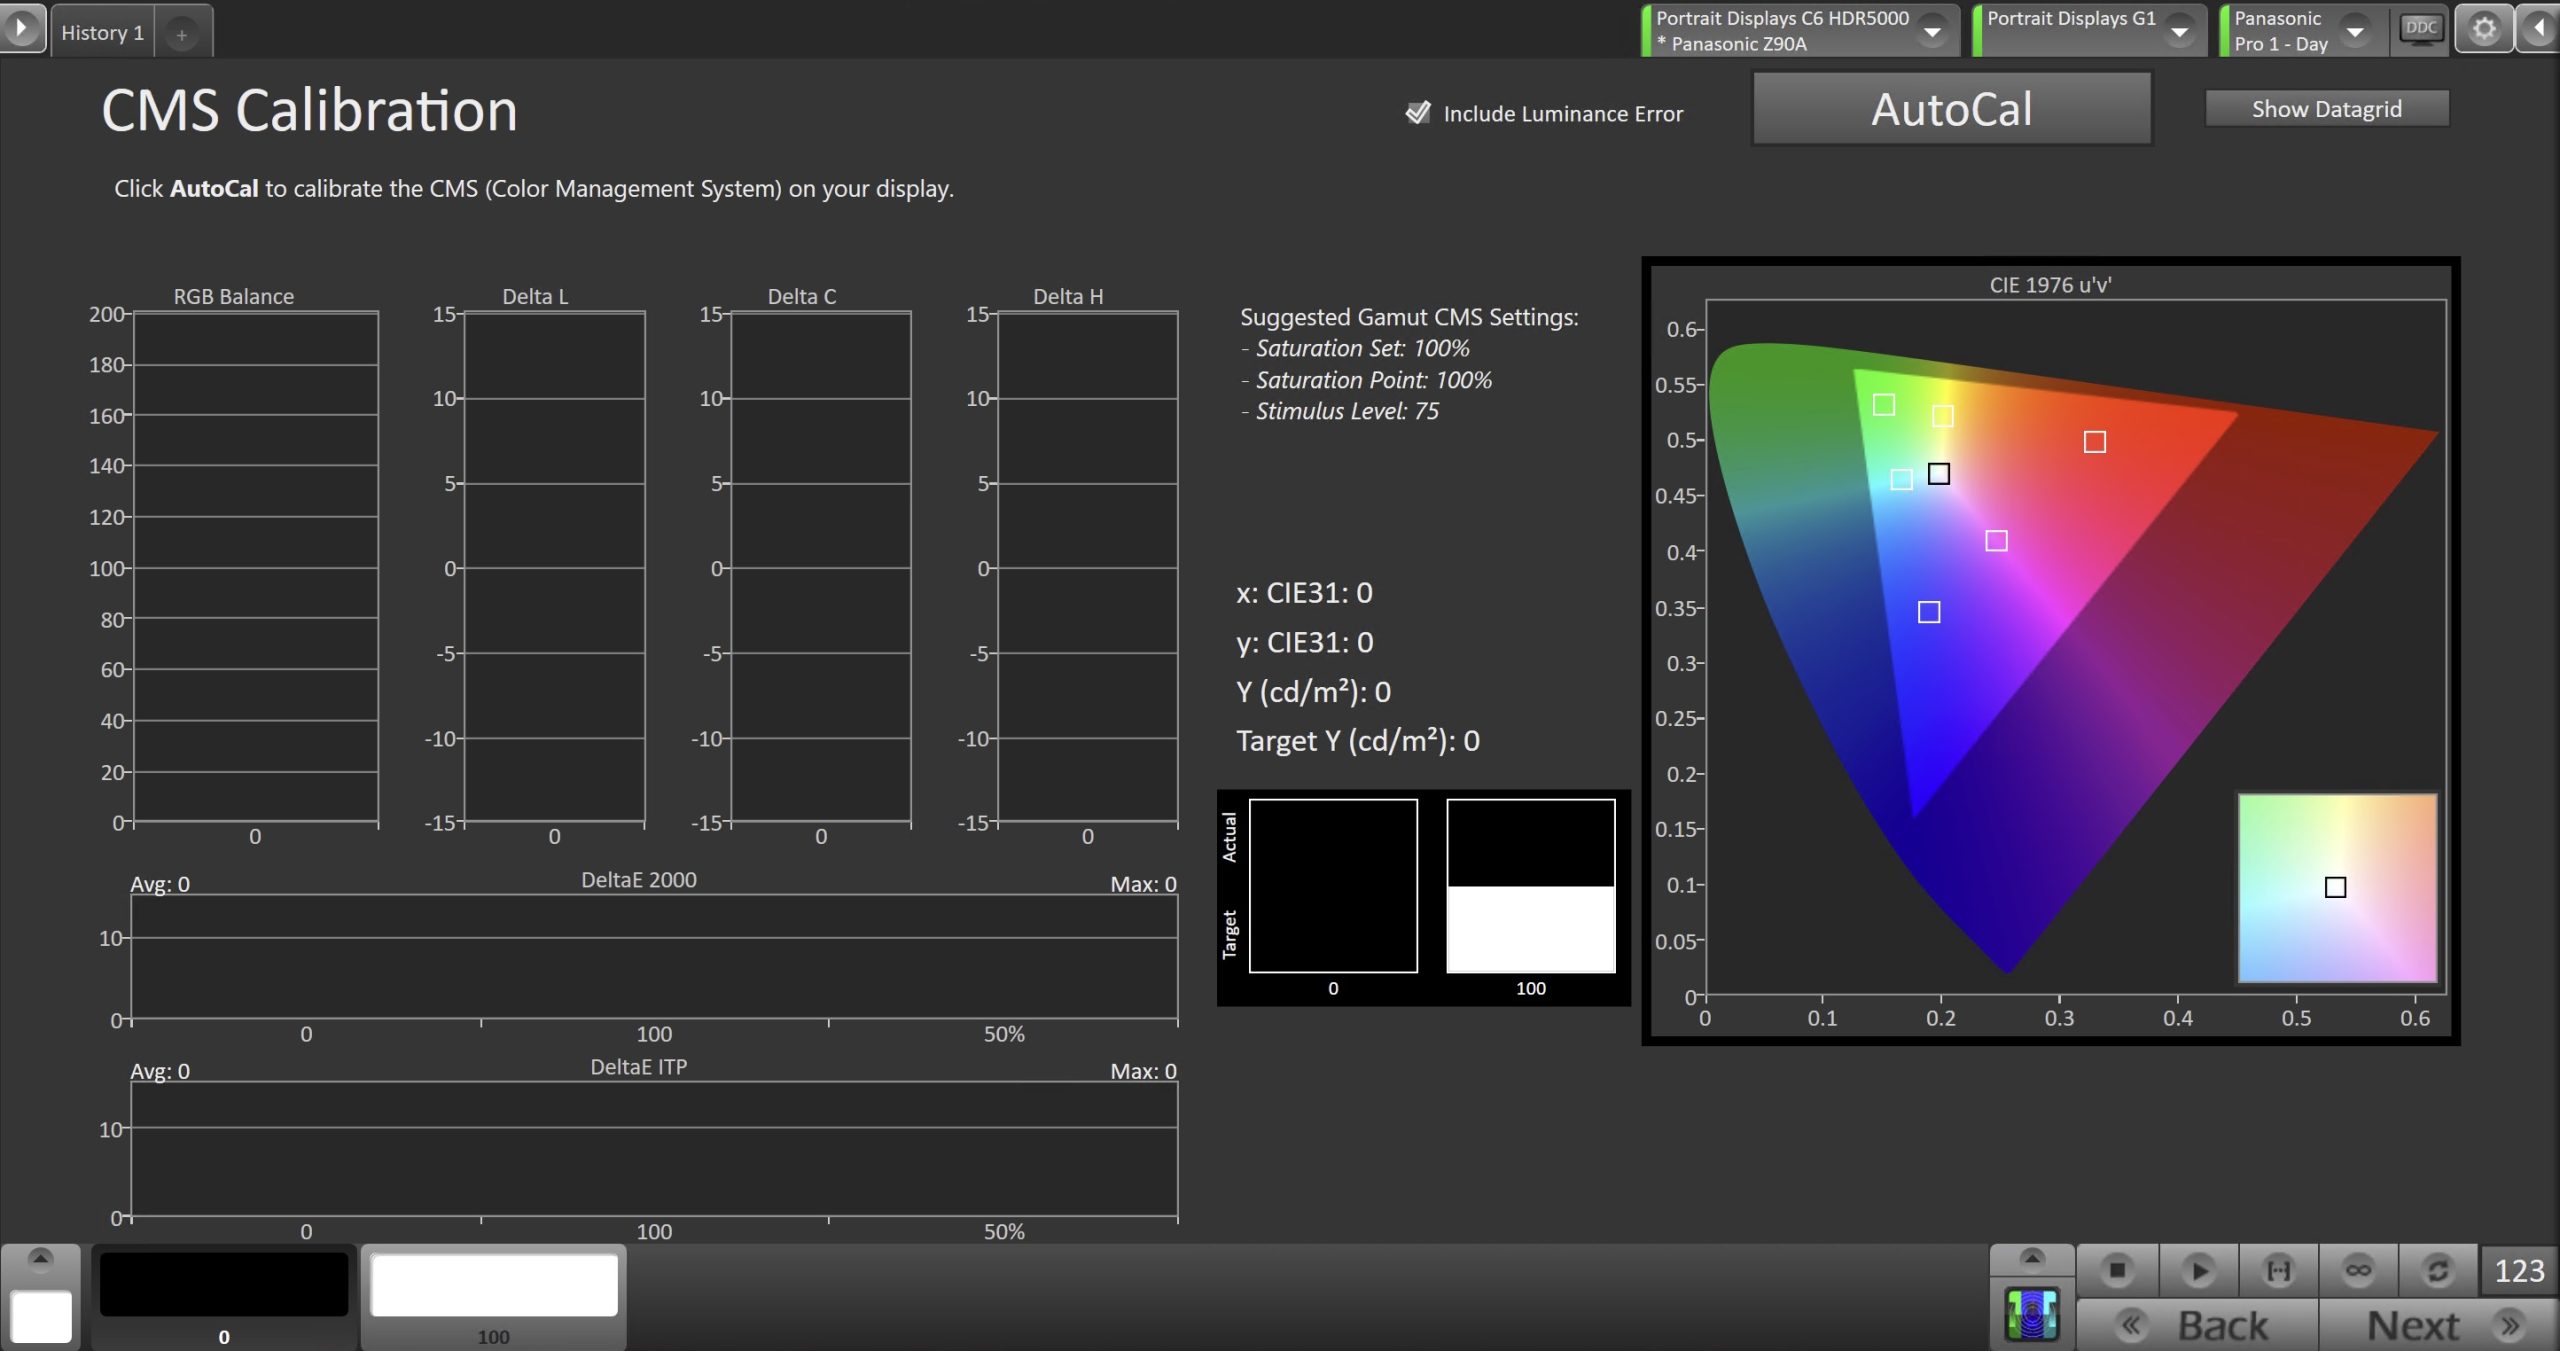
- Press the AutoCal button to open AutoCal dialog
- All options are preconfigured
- Click OK to begin colorspace AutoCal process
Step 9
- In this step, you’ll take measurements of the calibration results.
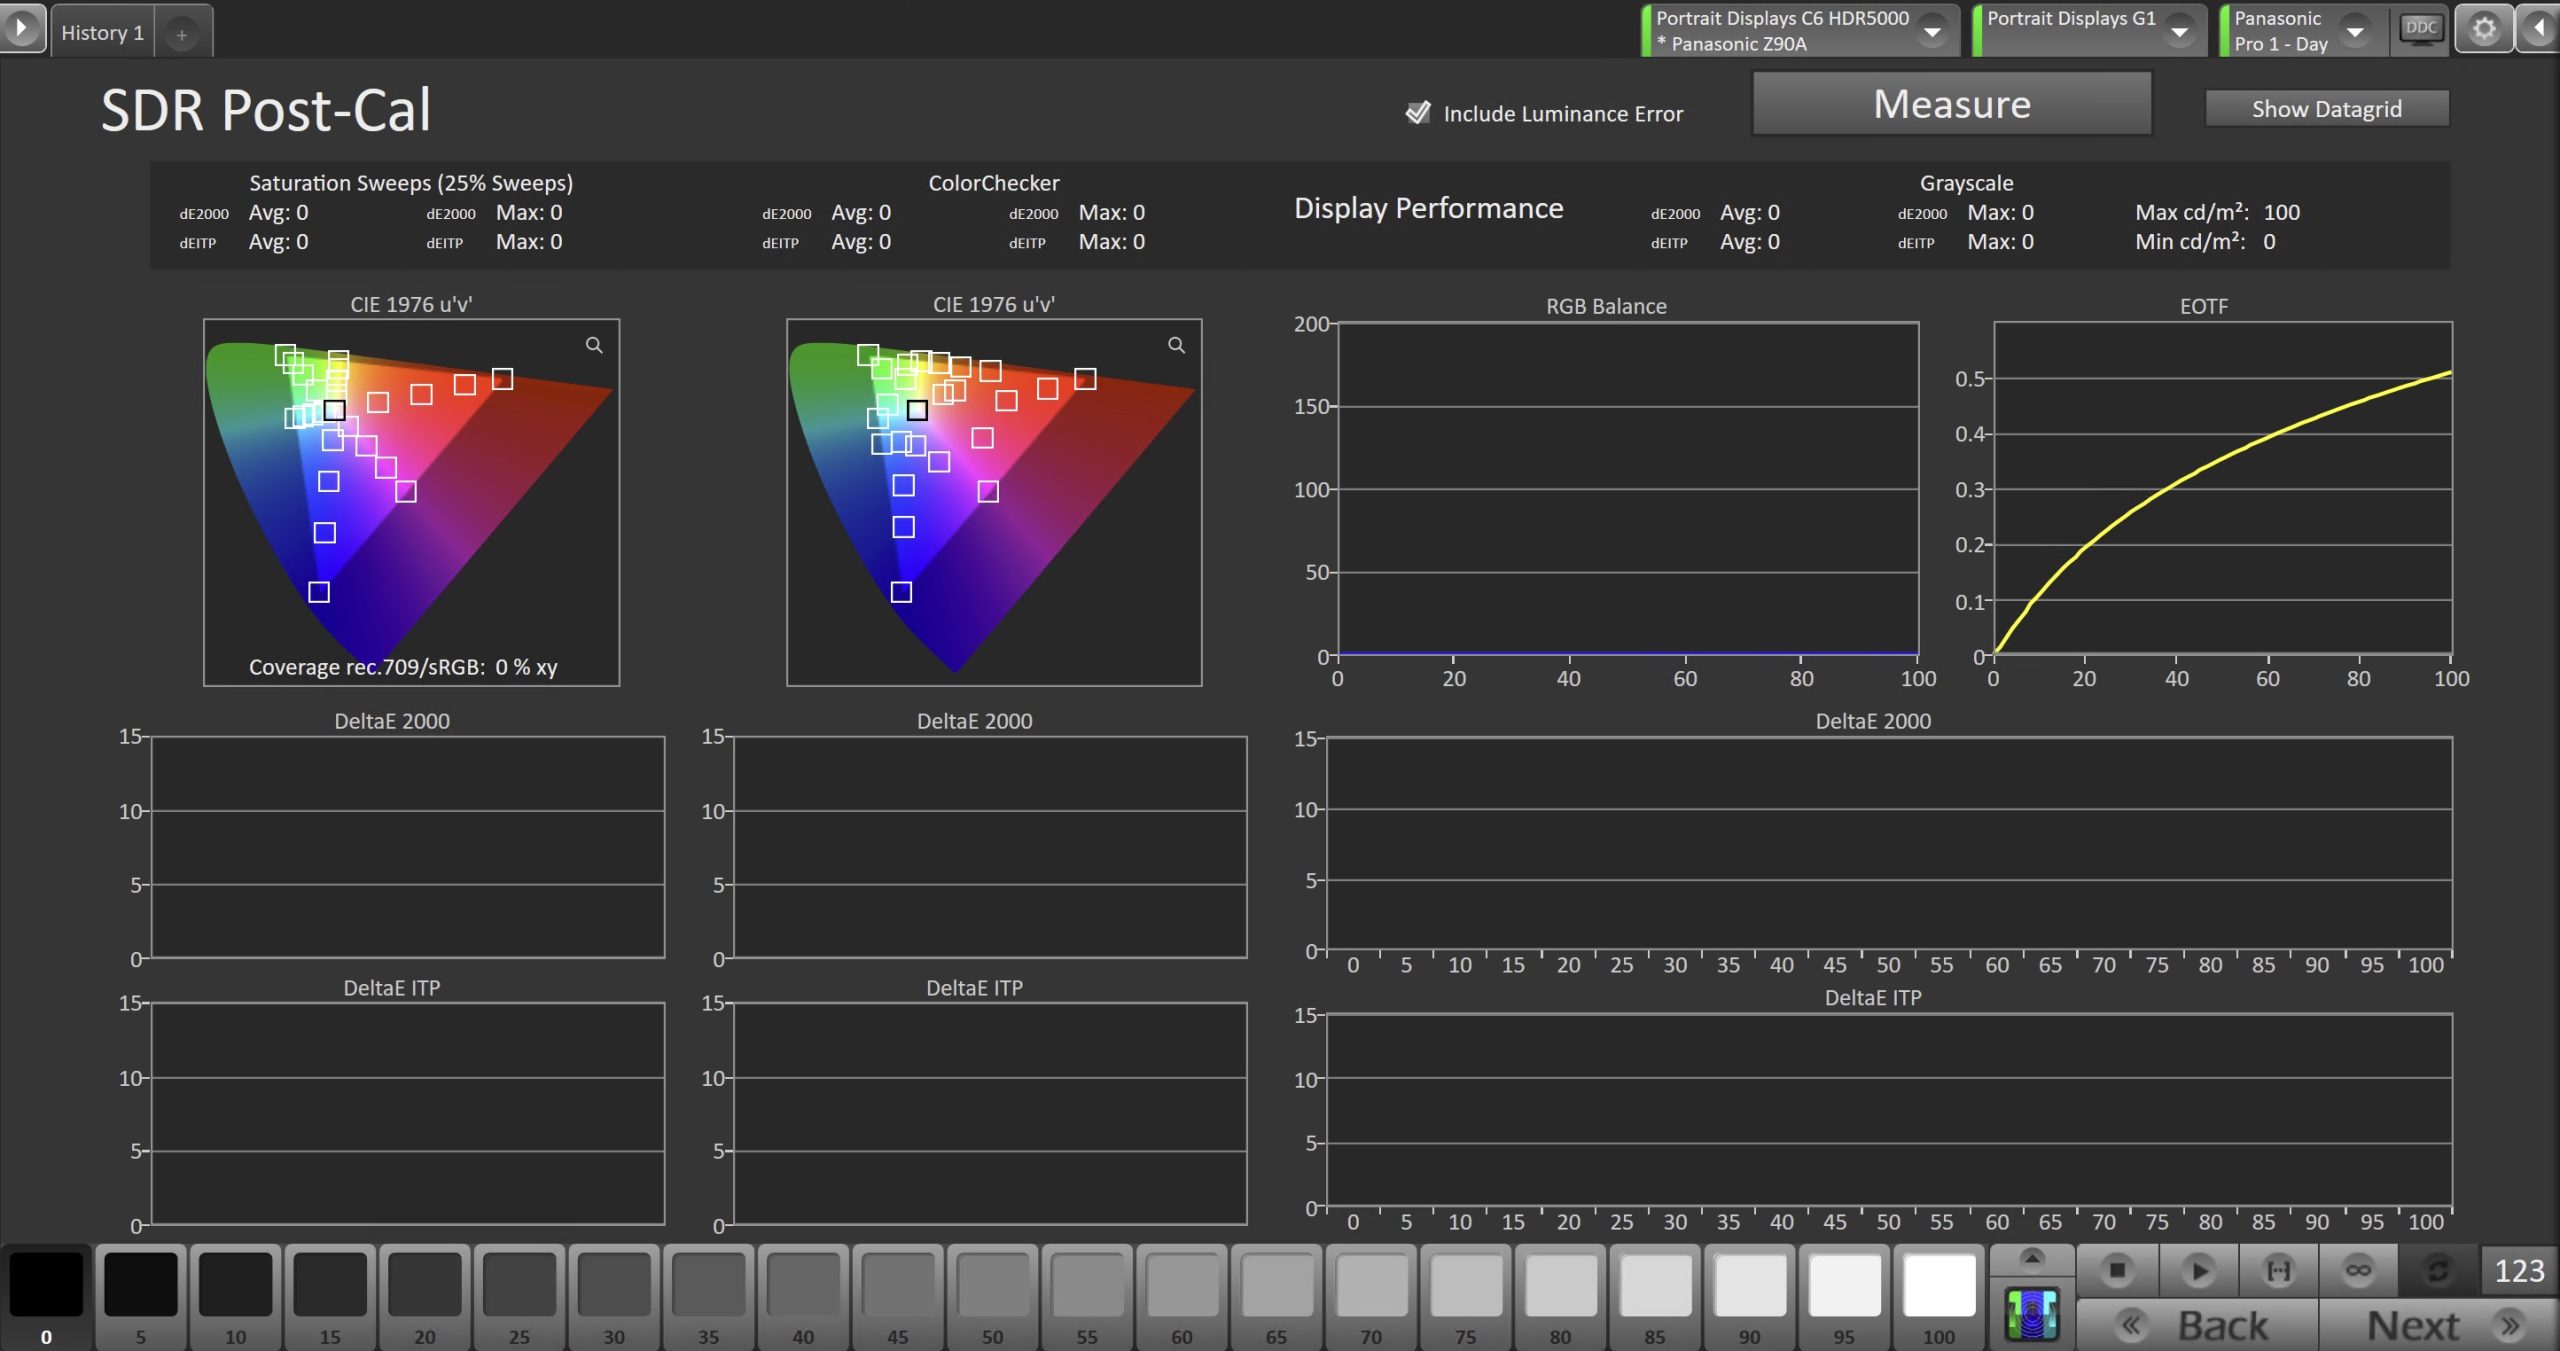
- To take Post-Calibration Measurements, click the Measure button to measure the display’s grayscale and color response.
- Click Next to proceed
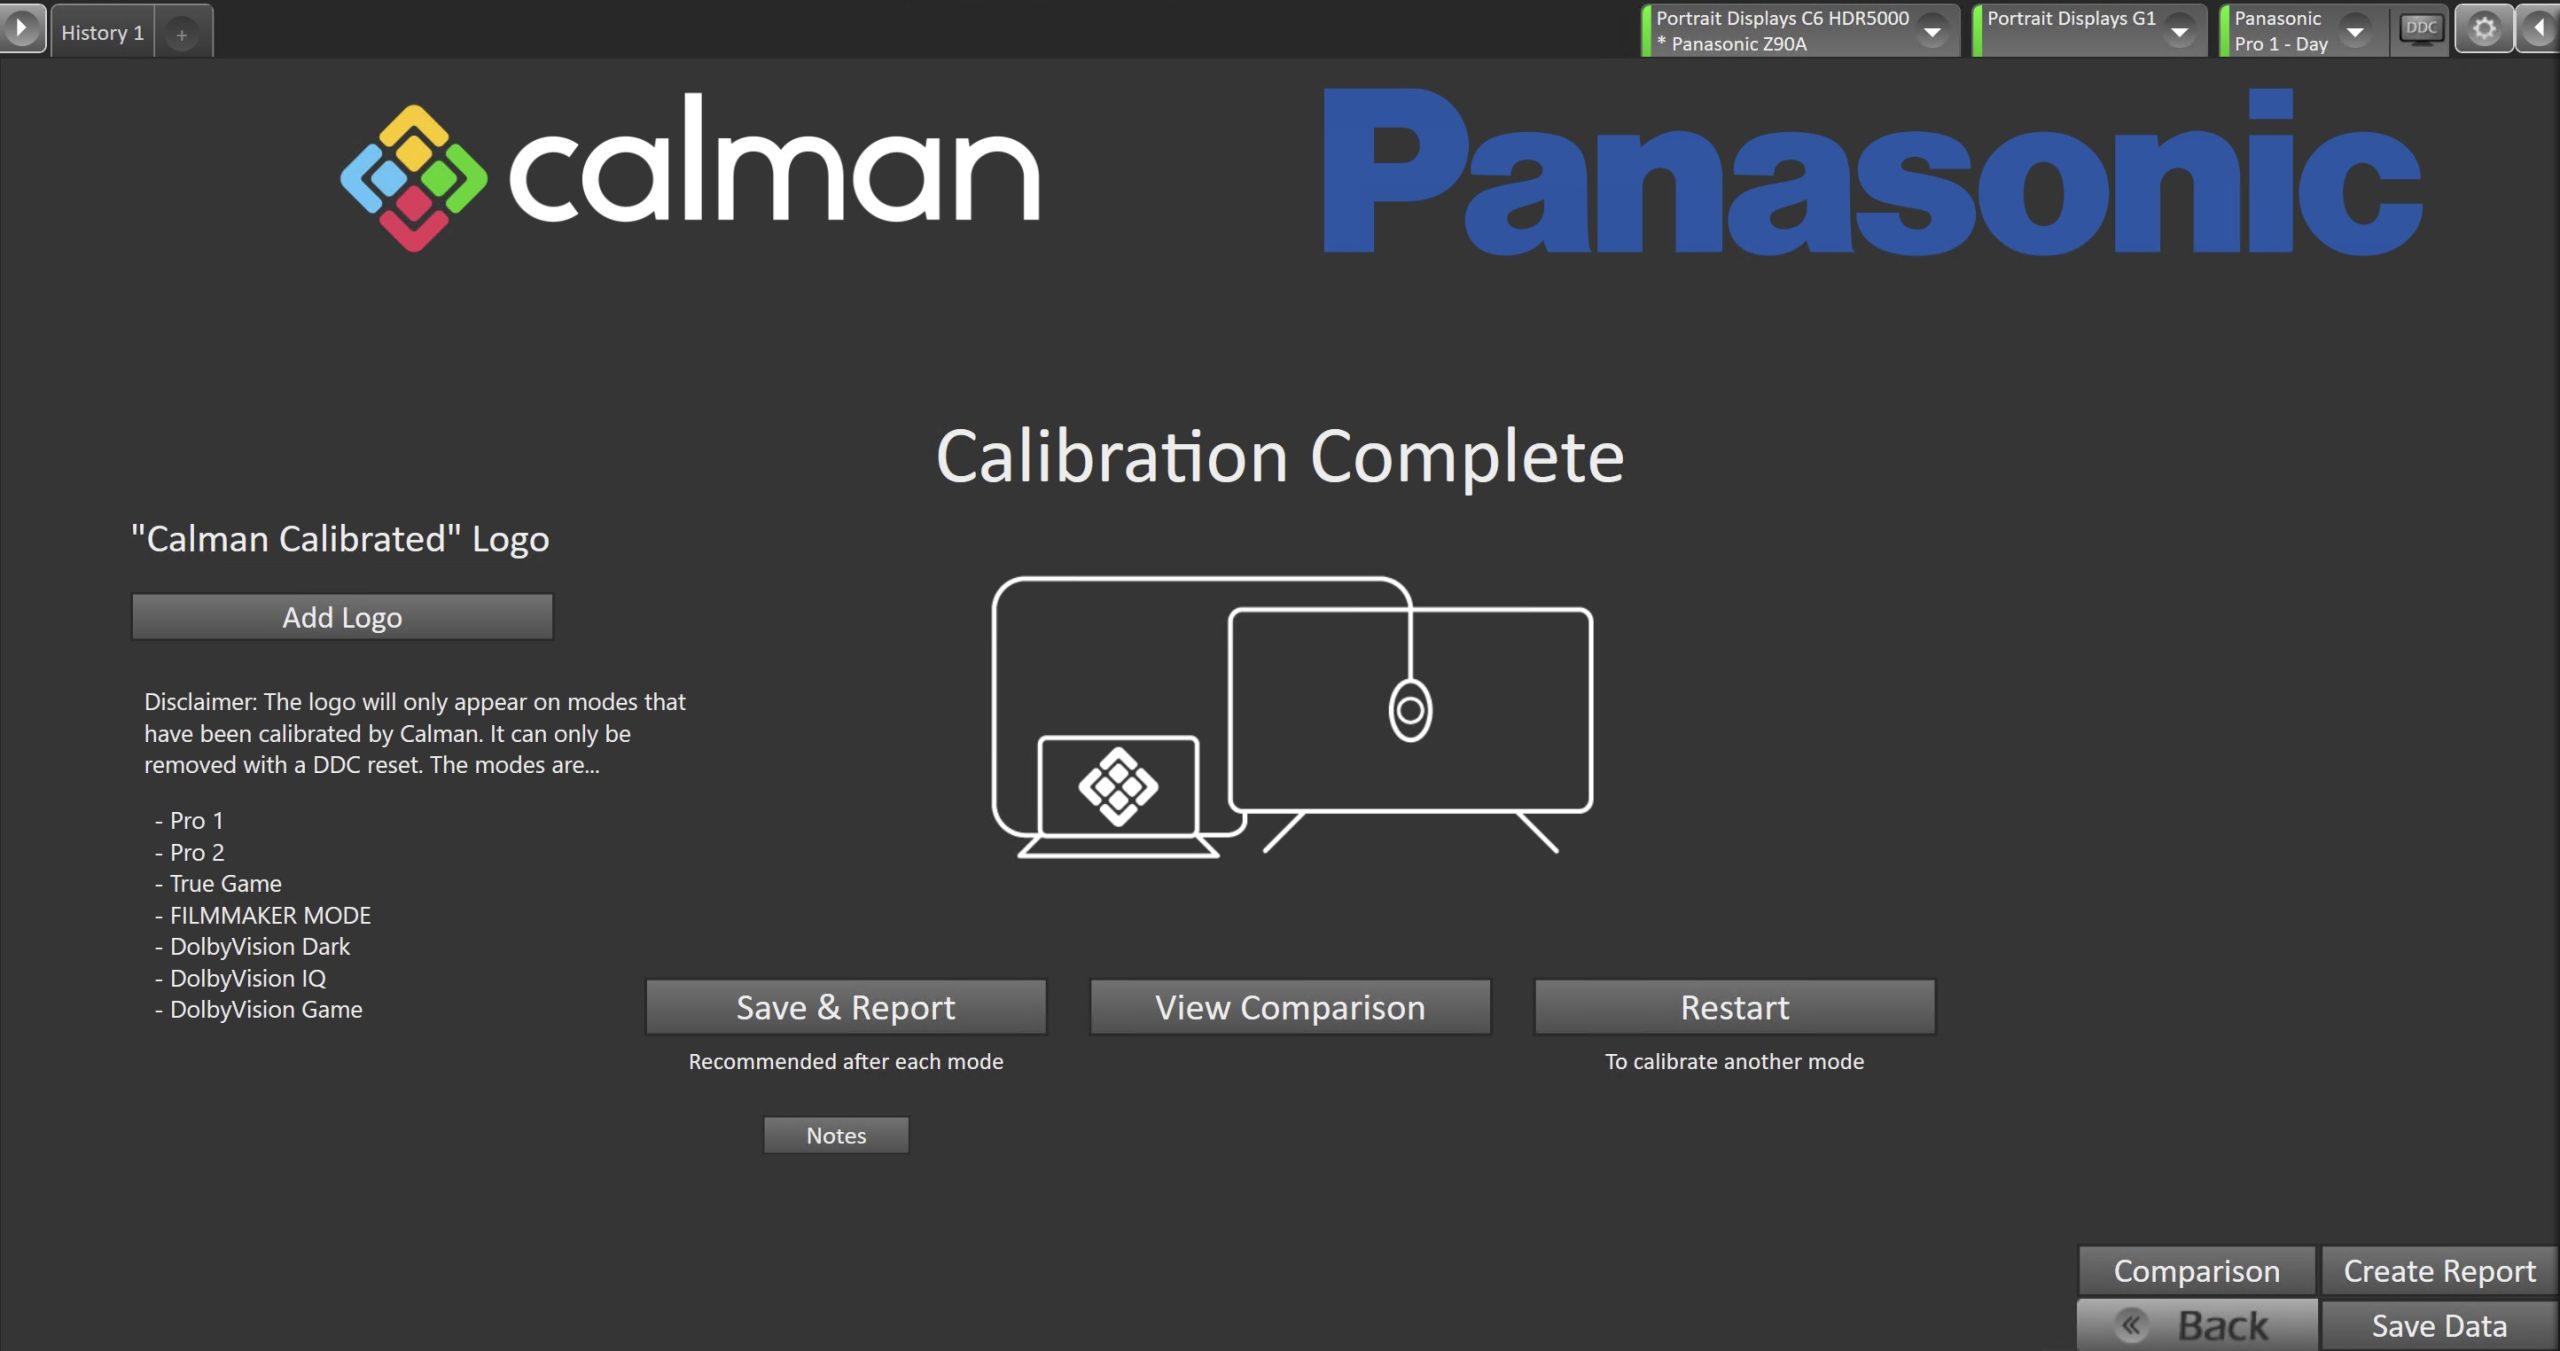
- On the Calibration Complete page, you can choose to…
- Add Logo
- Adds a “Calman Calibrated” logo next to the calibrated picture mode name.
- Save and Report
- Select Save and Report to generate the calibration report
- View Comparison
- Displays Pre and Post Calibration measurements of the calibrated mode side-by-side
- Restart
- Returns to the beginning of the workflow where a new mode or colorspace can be selected
- Note: Does not save workflow data
- Add Logo