
The Calman Manual Calibration Workflow provides the essential tools required to calibrate displays that do not support Calman AutoCal. This workflow guides you through manually adjusting display controls while using precise measurement feedback from Calman to evaluate grayscale, color, and gamma performance. It can be used with virtually any TV or display type and supports calibration for SDR and HDR, making it a flexible solution when automated calibration is not available.
Calman Required Version
- Calman Studio or Ultimate v5.17.0 or higher
Hardware Requirements
Step 1
-
-
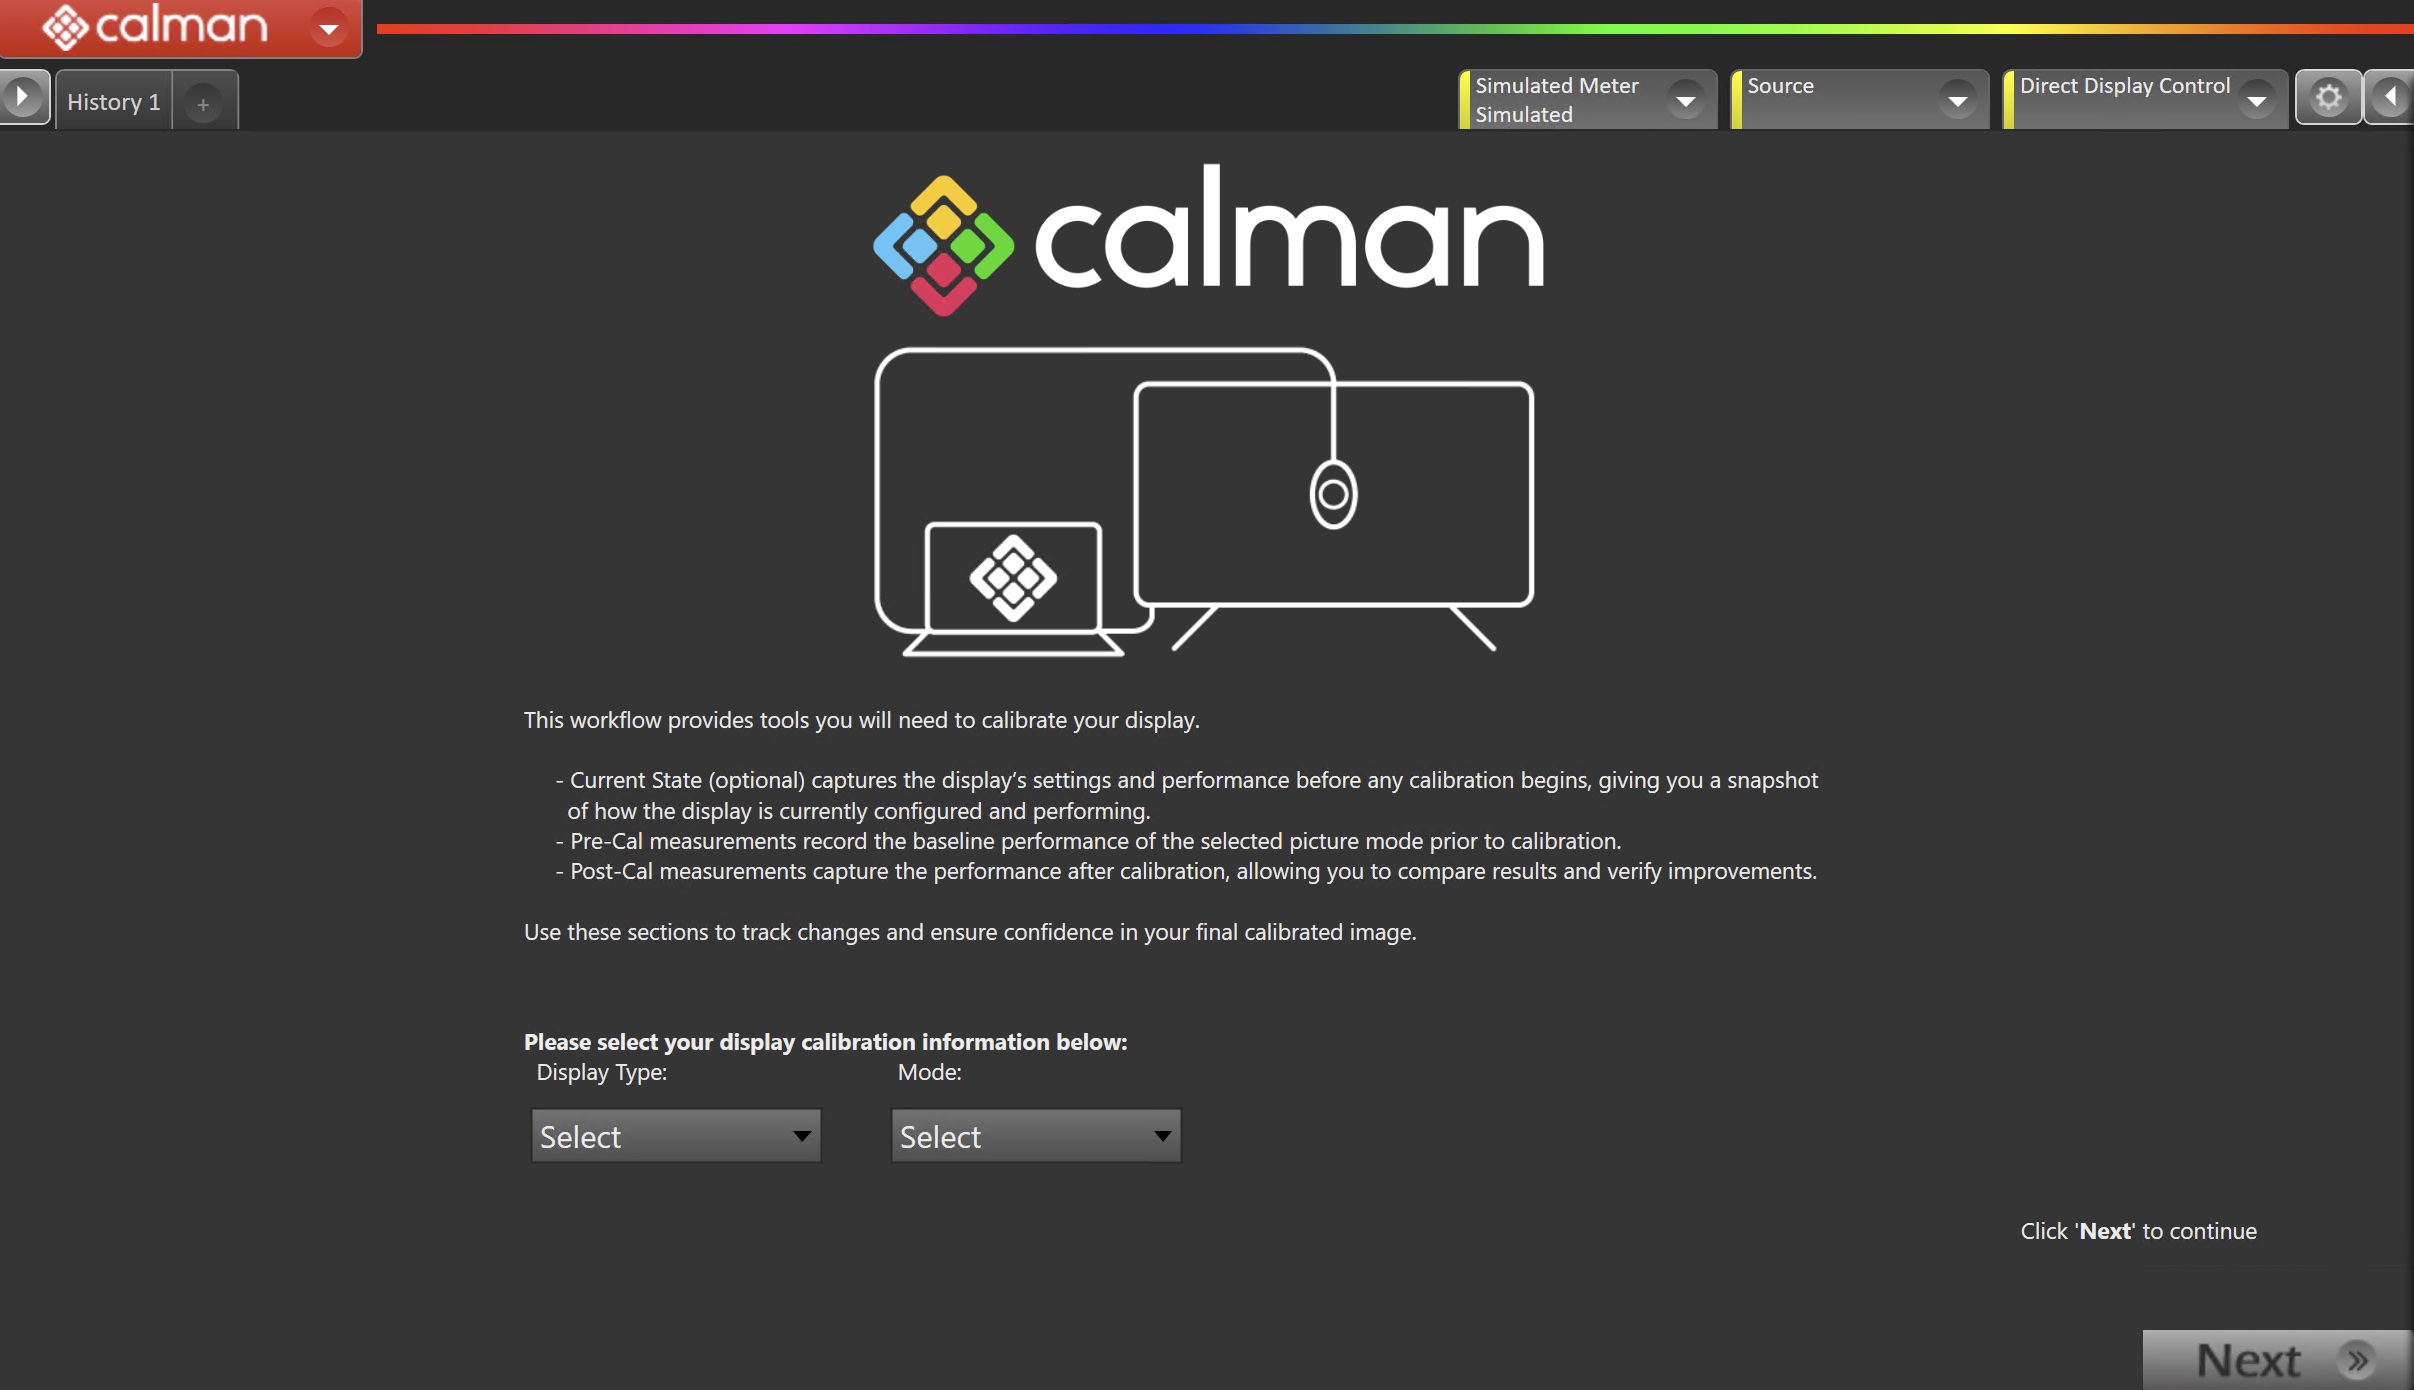
- From the Calman Menu in the top-left, choose Open Workflow Template -> Calibration and then Calman Manual Calibration.
-
-
-
- On the introduction screen, select your display type (LCD/OLED/Projector) and calibration mode (SDR/HDR) from the dropdown and click Next to proceed to Hardware Setup
-
Step 2
-
-
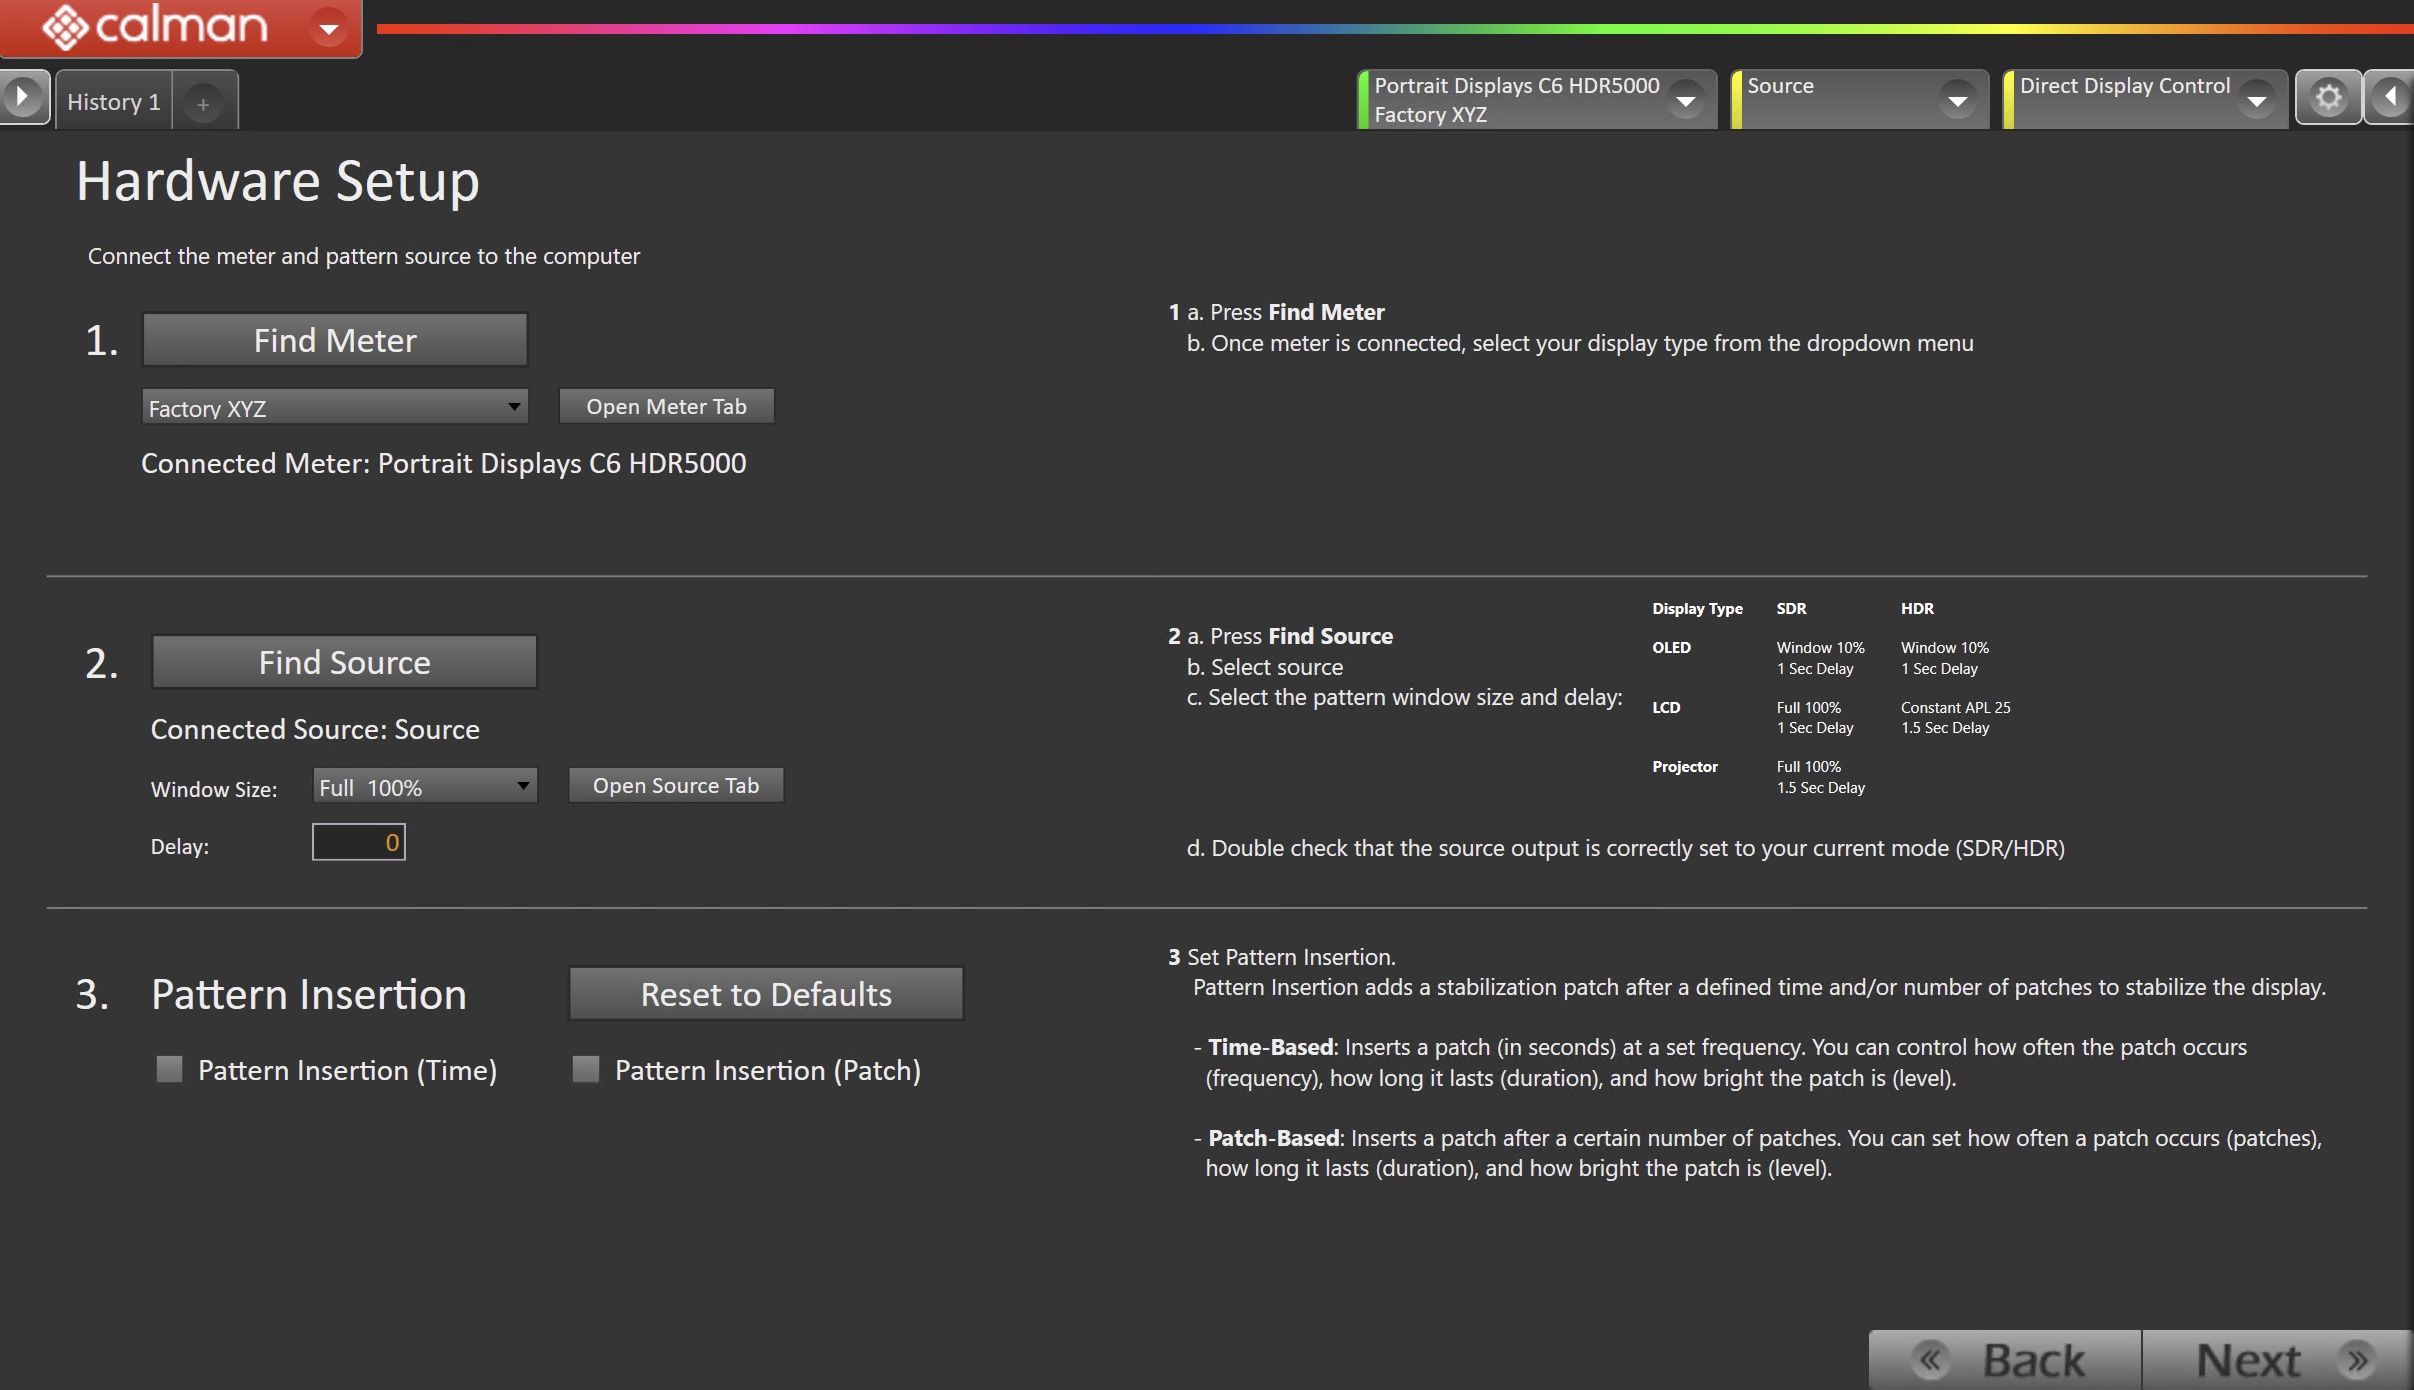
- Plug your meter into a USB port on the computer and press the Find Meter button on the left.
- When your meter is connected, select your display type from the dropdown
- Connect Pattern Source to your computer.
- Click the Find Source button, then select your source
- Select the pattern window size and delay (Note: these are guidelines; different pattern sizes and delays may be used when needed)
- OLED
- Window 10%
- 1 Second Delay
- LCD
- SDR: Constant APL 25/1.5 second delay
- HDR: Window 10%/1 second delay
- OLED
- Ensure your source is set to SDR or HDR corresponding to your choice in Step 1
- Set Pattern insertion
- Click the Reset to Defaults button to set the appropriate pattern insertion for the display and calibration type in Step 1
- LCD models do not require Pattern Insertion to be enabled.
- Click the Reset to Defaults button to set the appropriate pattern insertion for the display and calibration type in Step 1
- Click Next to proceed
- Plug your meter into a USB port on the computer and press the Find Meter button on the left.
-
Step 3
-
-
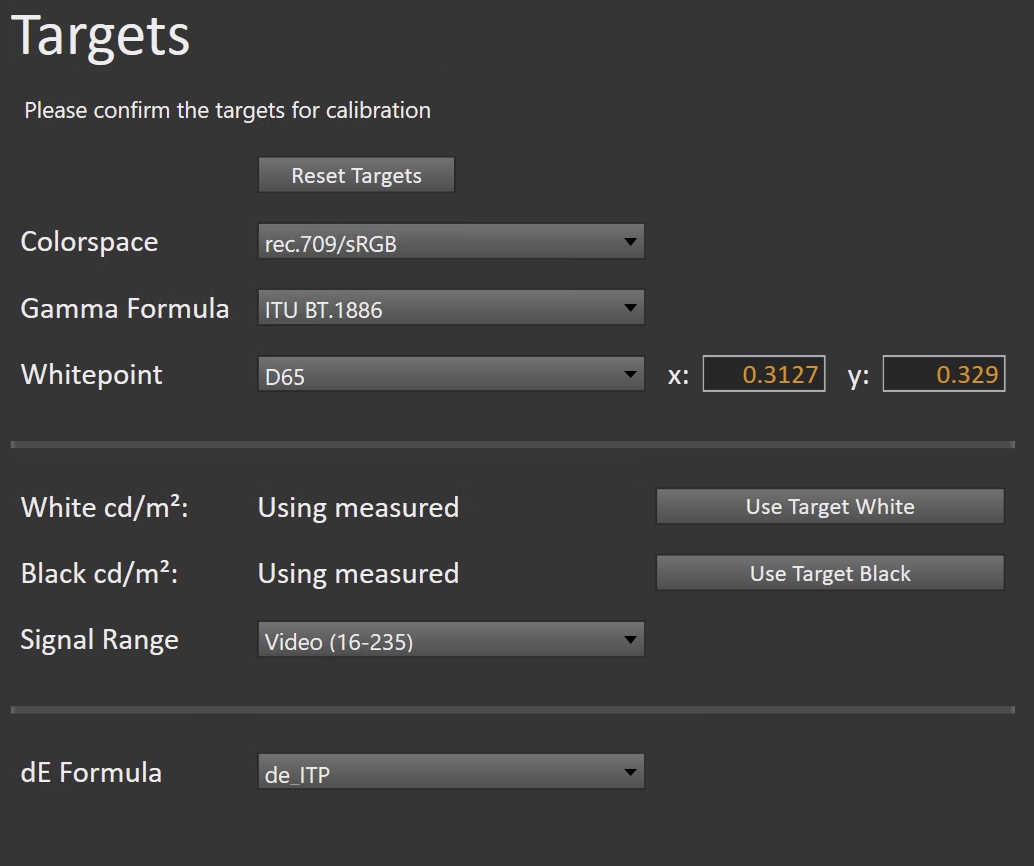
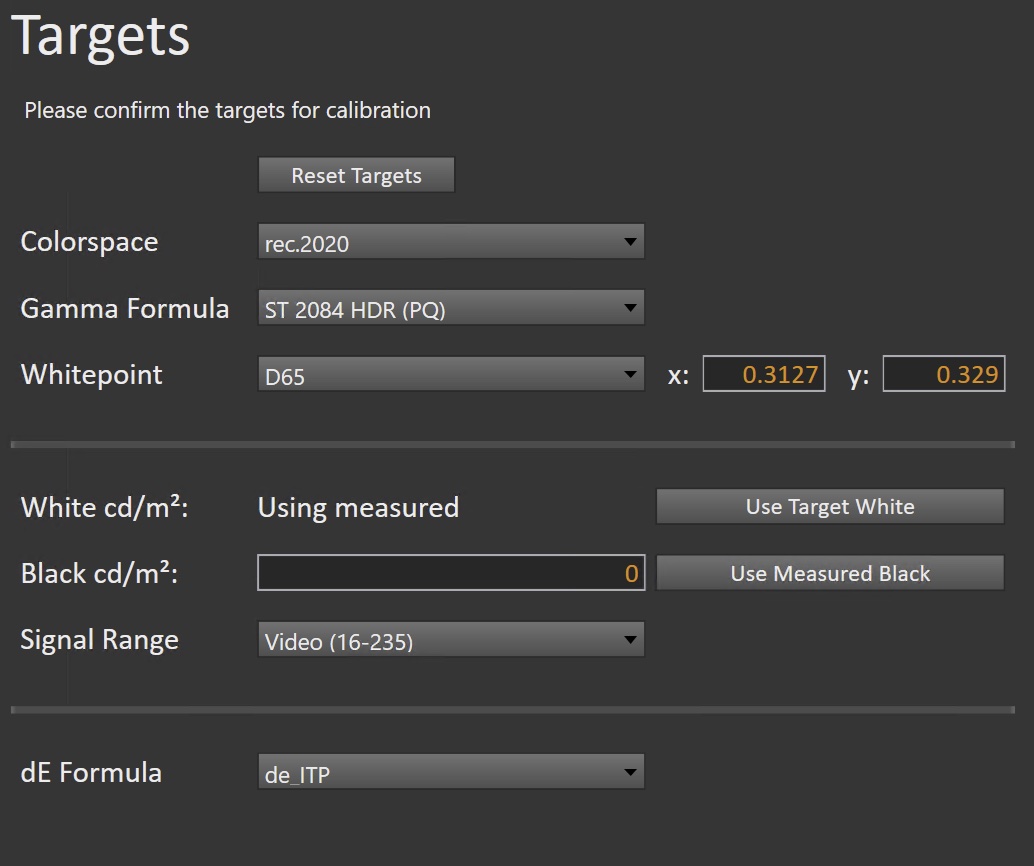
- Select the calibration targets
- Confirm/configure your calibration targets. These will be automatically set to common defaults by the options from Step 1
- Configuration Examples:
-
| SDR | HDR |
 |
 |
-
-
- Confirm your targets, and click Next to proceed
-
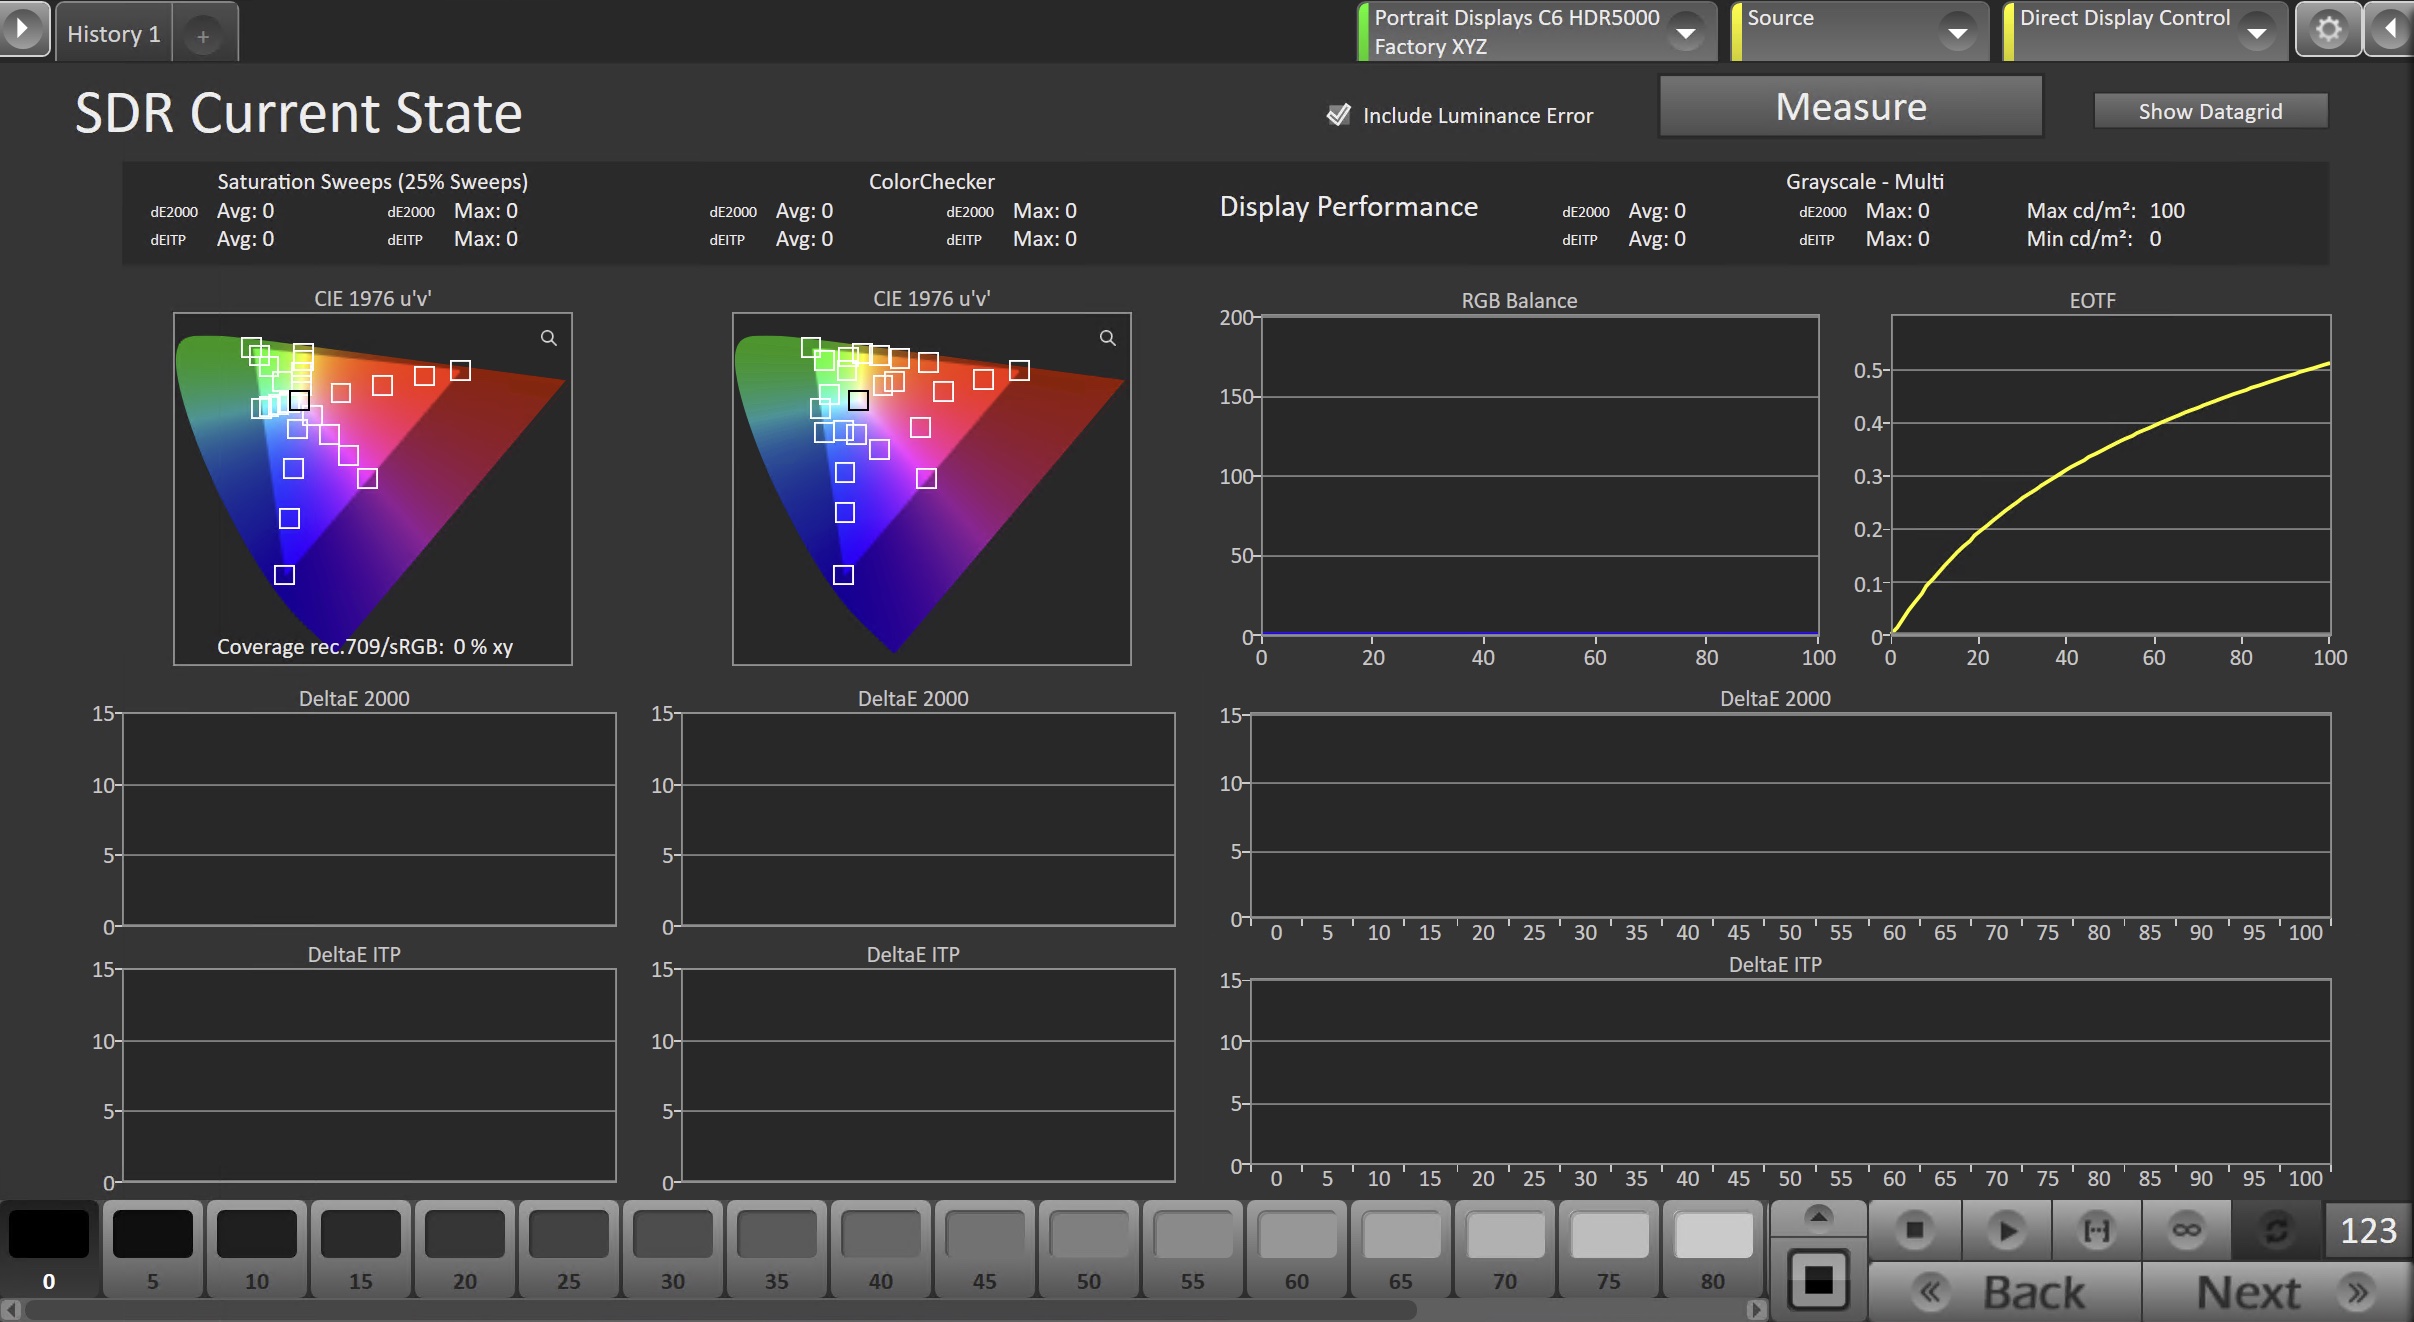
(Optional) Current State Measurements
-
-
- This workflow page is intended to document the monitor’s current operational state before establishing any DDC connection or selecting a calibration mode.
- This step can be skipped if documenting the current state is not needed. Another set of Pre-Calibration measurements will be taken in later steps.
-
-
-
- To take Current State Measurements, click the Measure button to measure the display’s grayscale and color response.
- Click Next to proceed
-
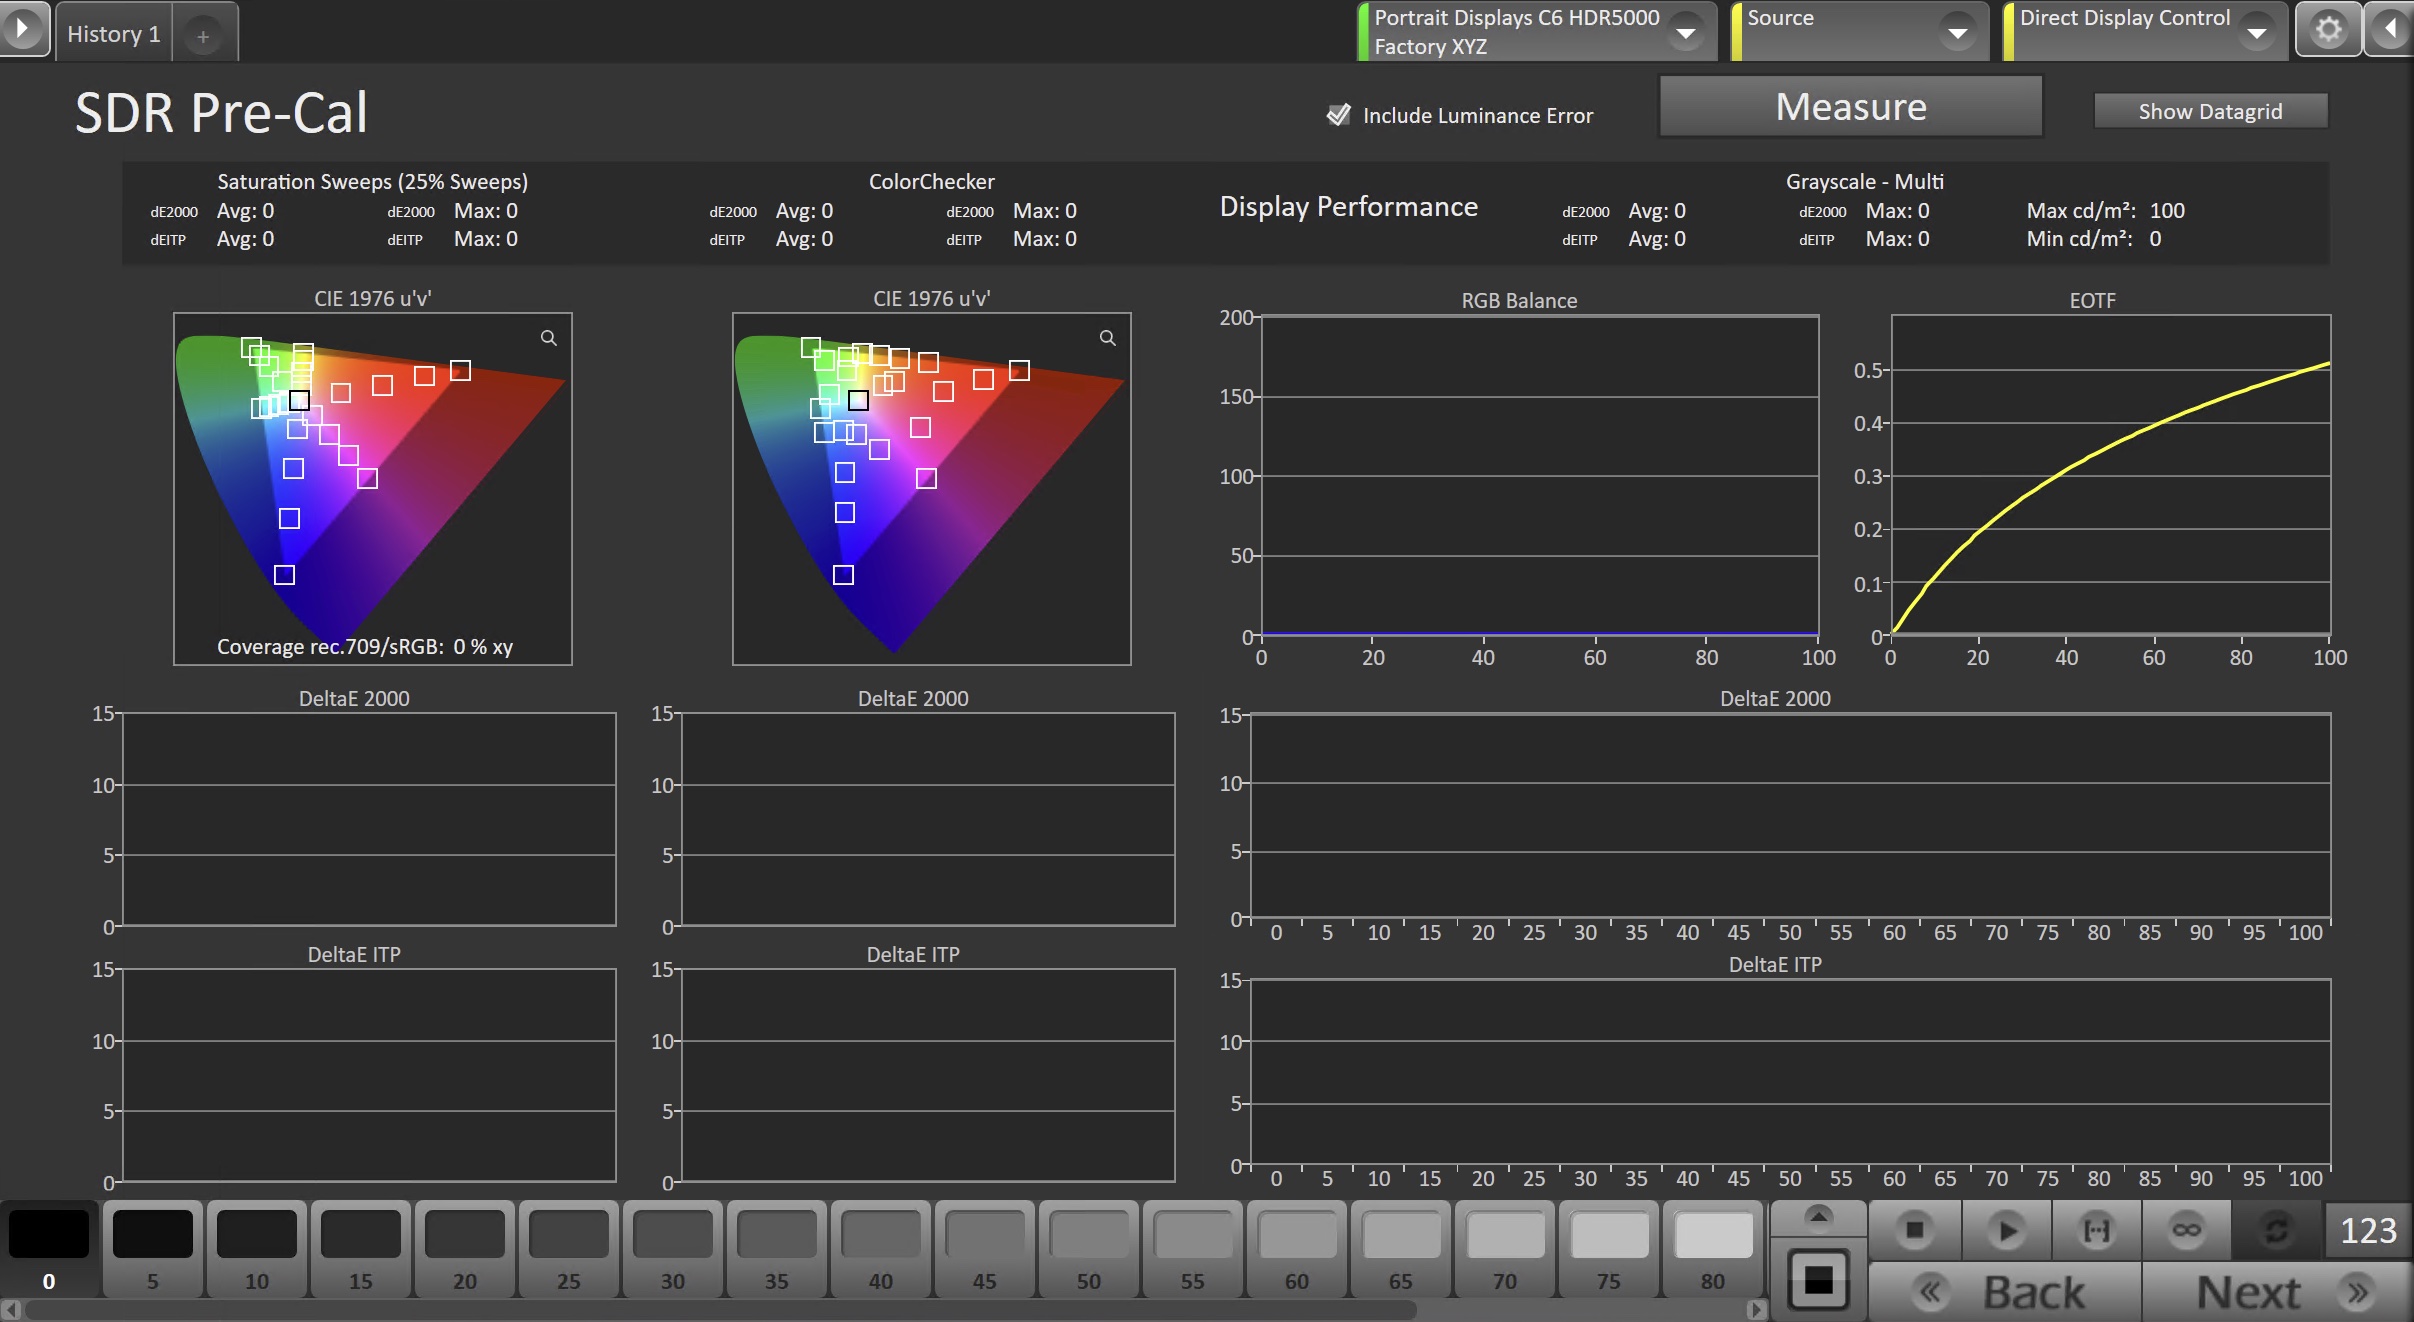
Step 4
-
-
- This workflow page is intended to document the target picture mode prior to calibration.
-
-
-
- To take Pre-Calibration Measurements, click the Measure button to measure the display’s rayscale and color response.
- This will provide a point of reference to compare the calibration results
- Click Next to proceed
- To take Pre-Calibration Measurements, click the Measure button to measure the display’s rayscale and color response.
-
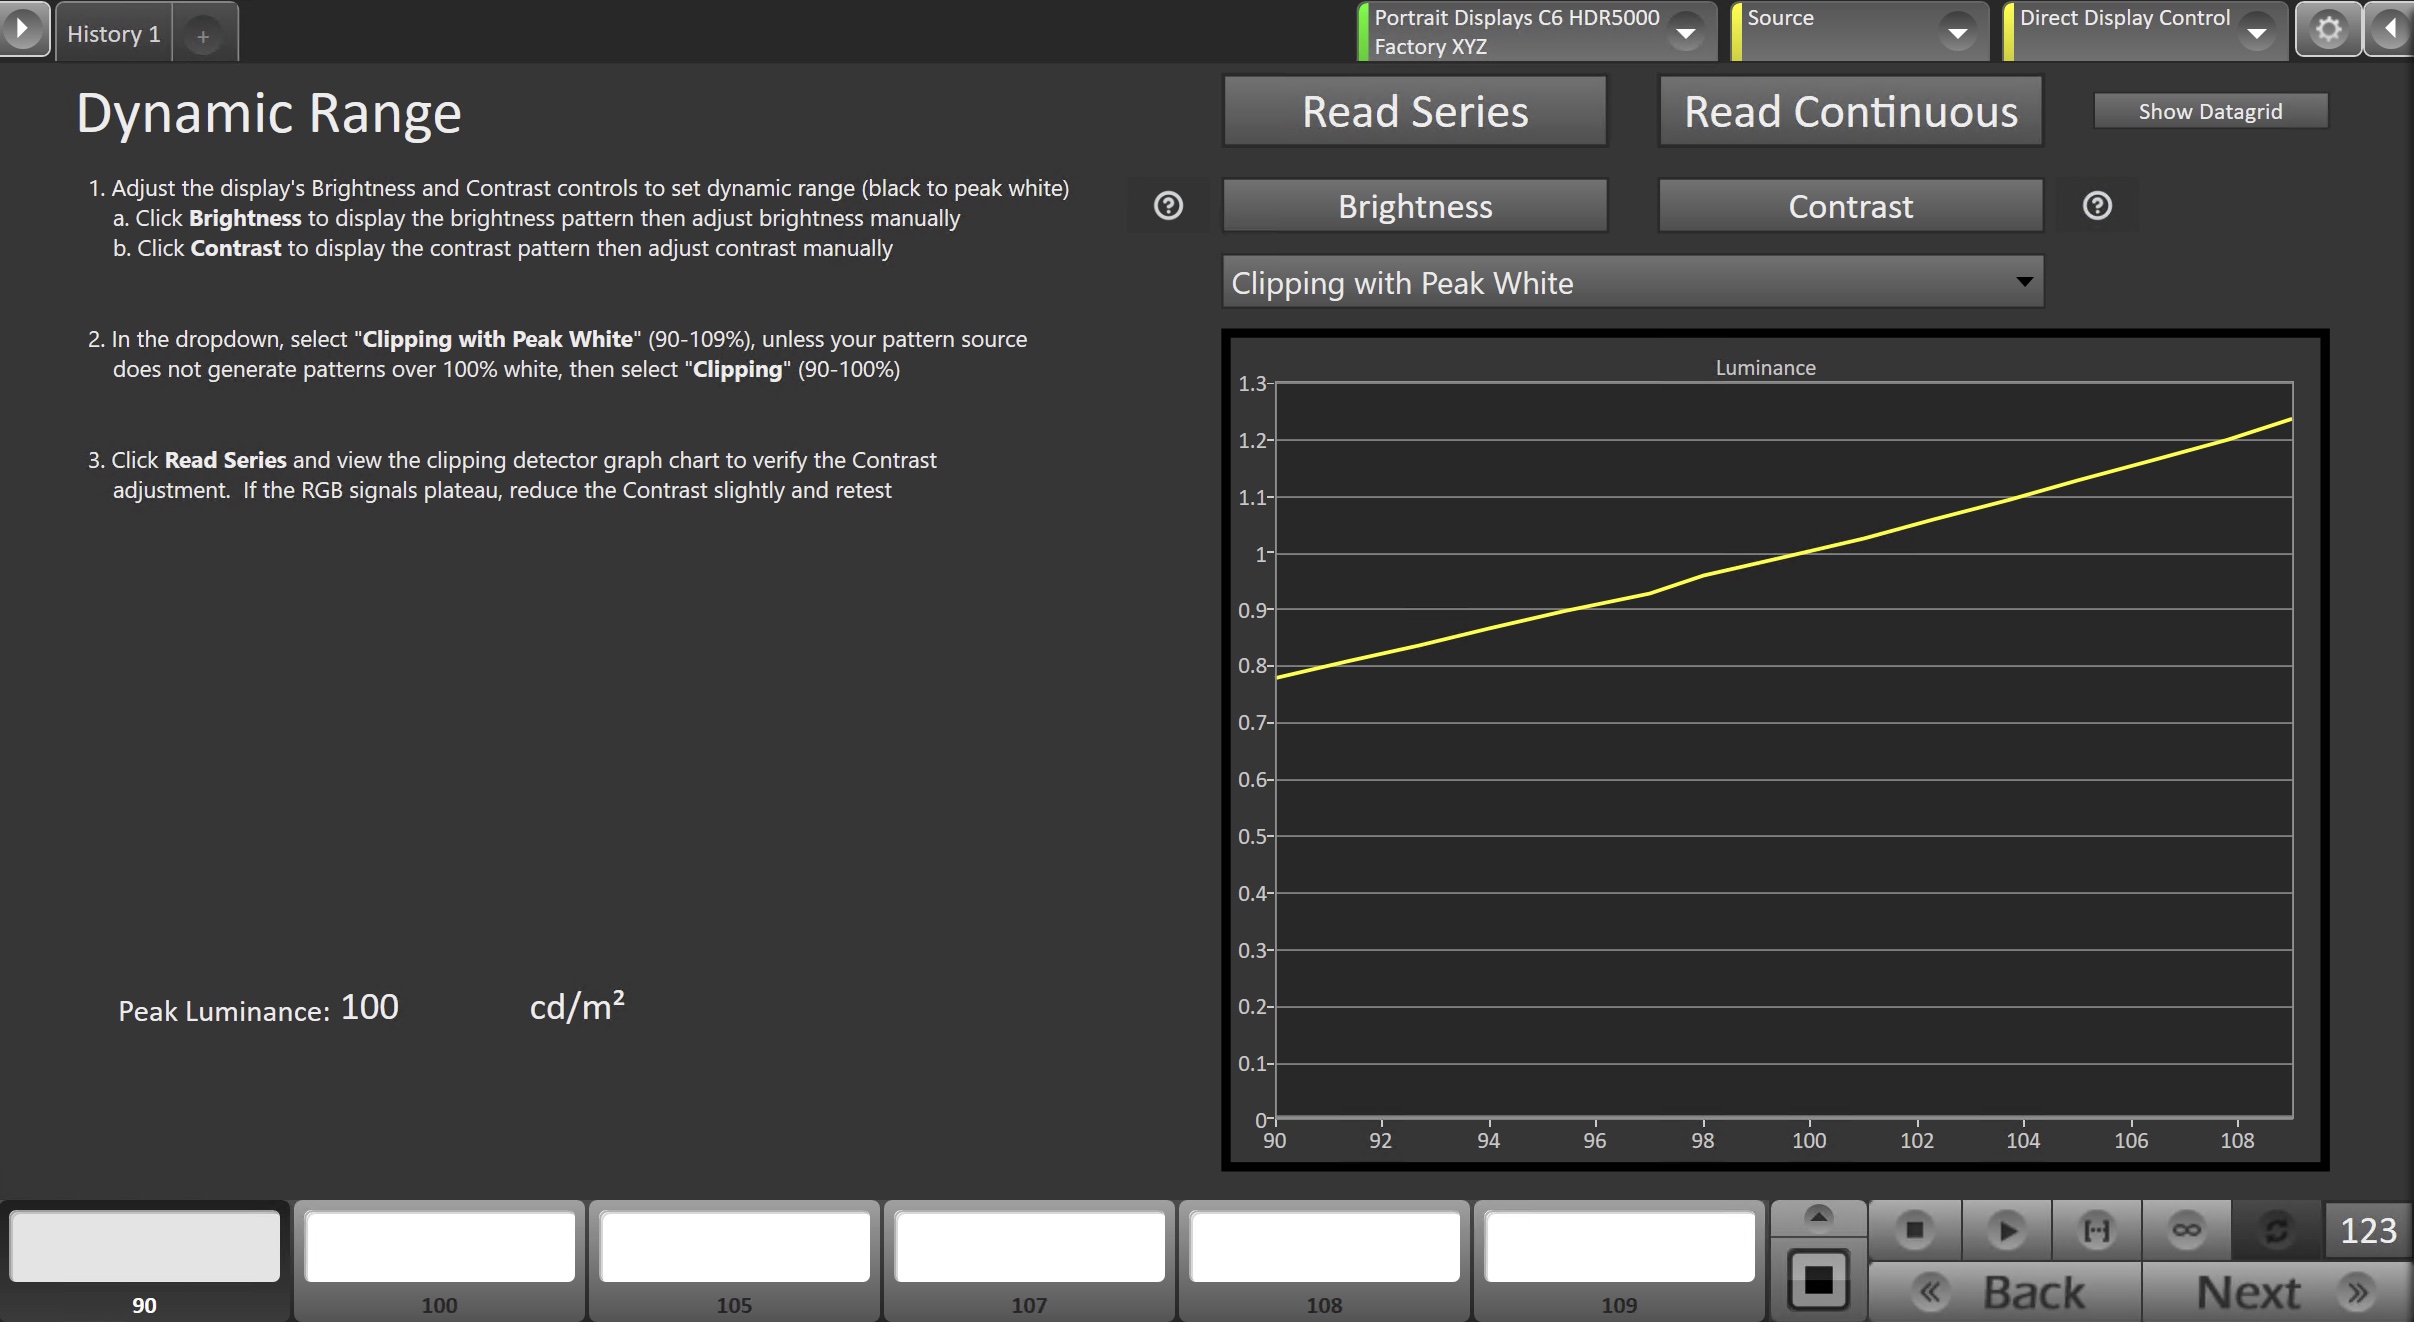
Step 5
This page is designed to evaluate a display’s brightness, Contrast, and detect any possible clipping
Note: This step will be skipped during HDR calibration
-
-
- Adjust the display’s Brightness and Contrast controls to set dynamic range (black to peak white)
- Click Brightness to display the brightness pattern then adjust brightness manually
- Click Contrast to display the contrast pattern then adjust contrast manually
- In the dropdown, select “Clipping with Peak White“ (90-109%), unless your pattern source does not generate patterns over 100% white, then select “Clipping” (90-100%)
- Click Read Series and view the clipping detector graph chart to verify the Contrast adjustment. If the RGB signals plateau, reduce the Contrast slightly and retest
- Adjust the display’s Brightness and Contrast controls to set dynamic range (black to peak white)
-
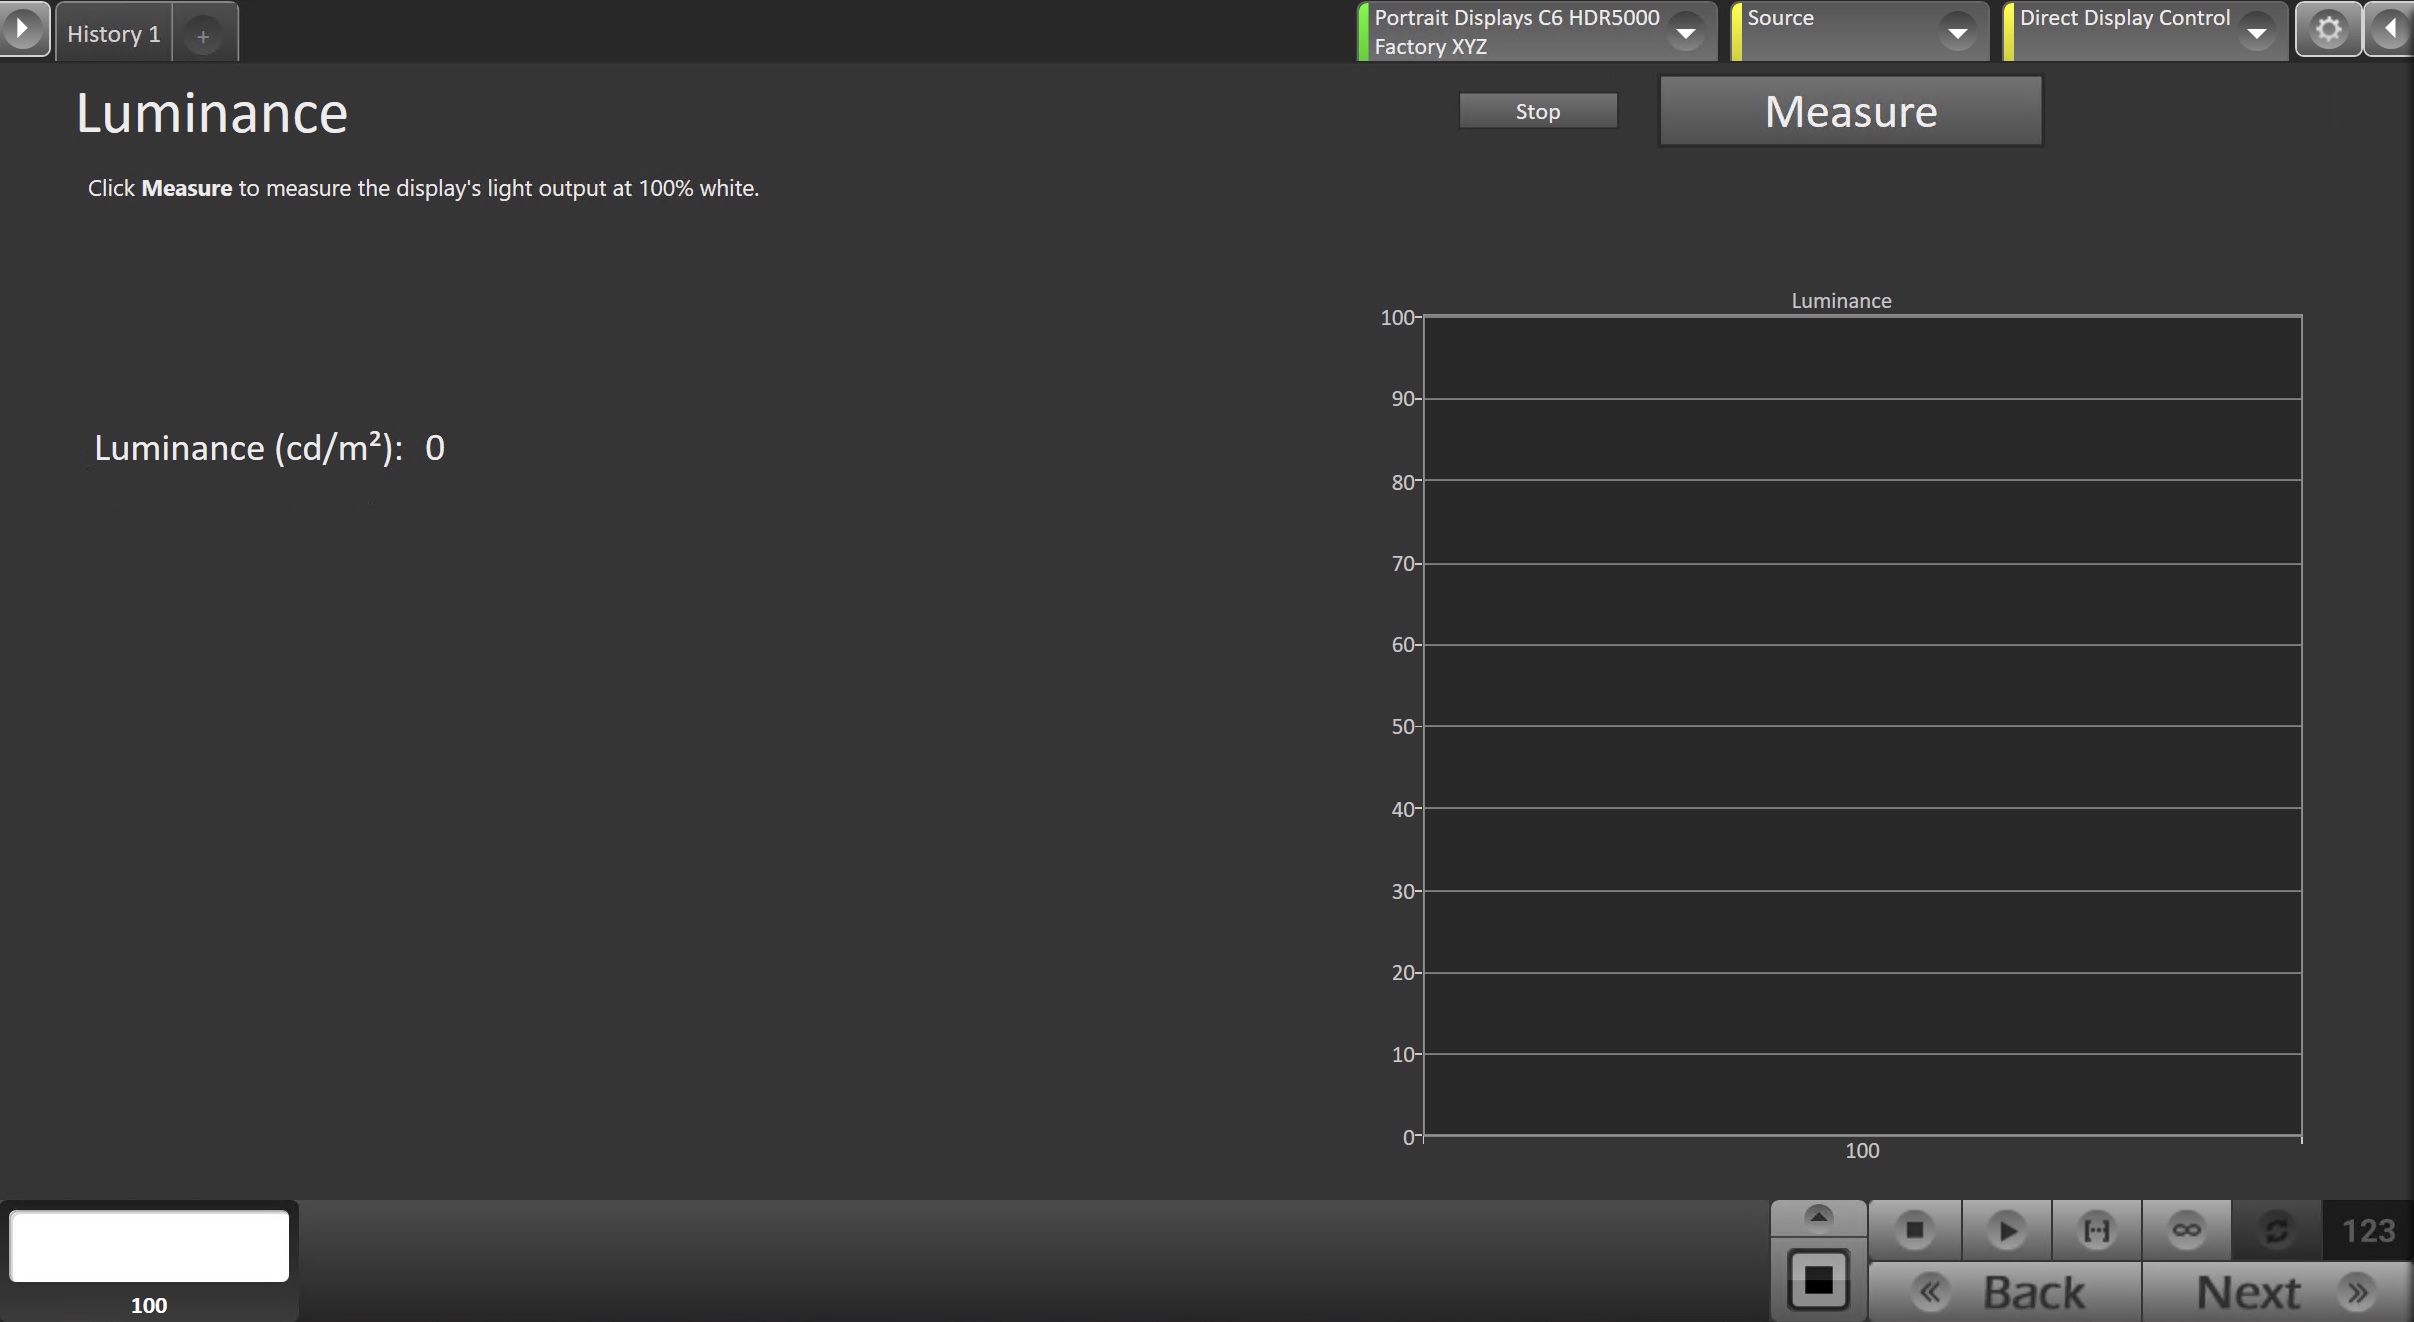
Step 6
Here, you can adjust the display’s Backlight setting to one that meets or exceeds your target luminance
Note: This step will be skipped during HDR calibration
-
-
- Click Measure and adjust the Backlight control as needed.
- Note: You may want to adjust to 10-20% over your desired luminance target to account for an expected drop during grayscale calibration
- Click Next to proceed
- Click Measure and adjust the Backlight control as needed.
-
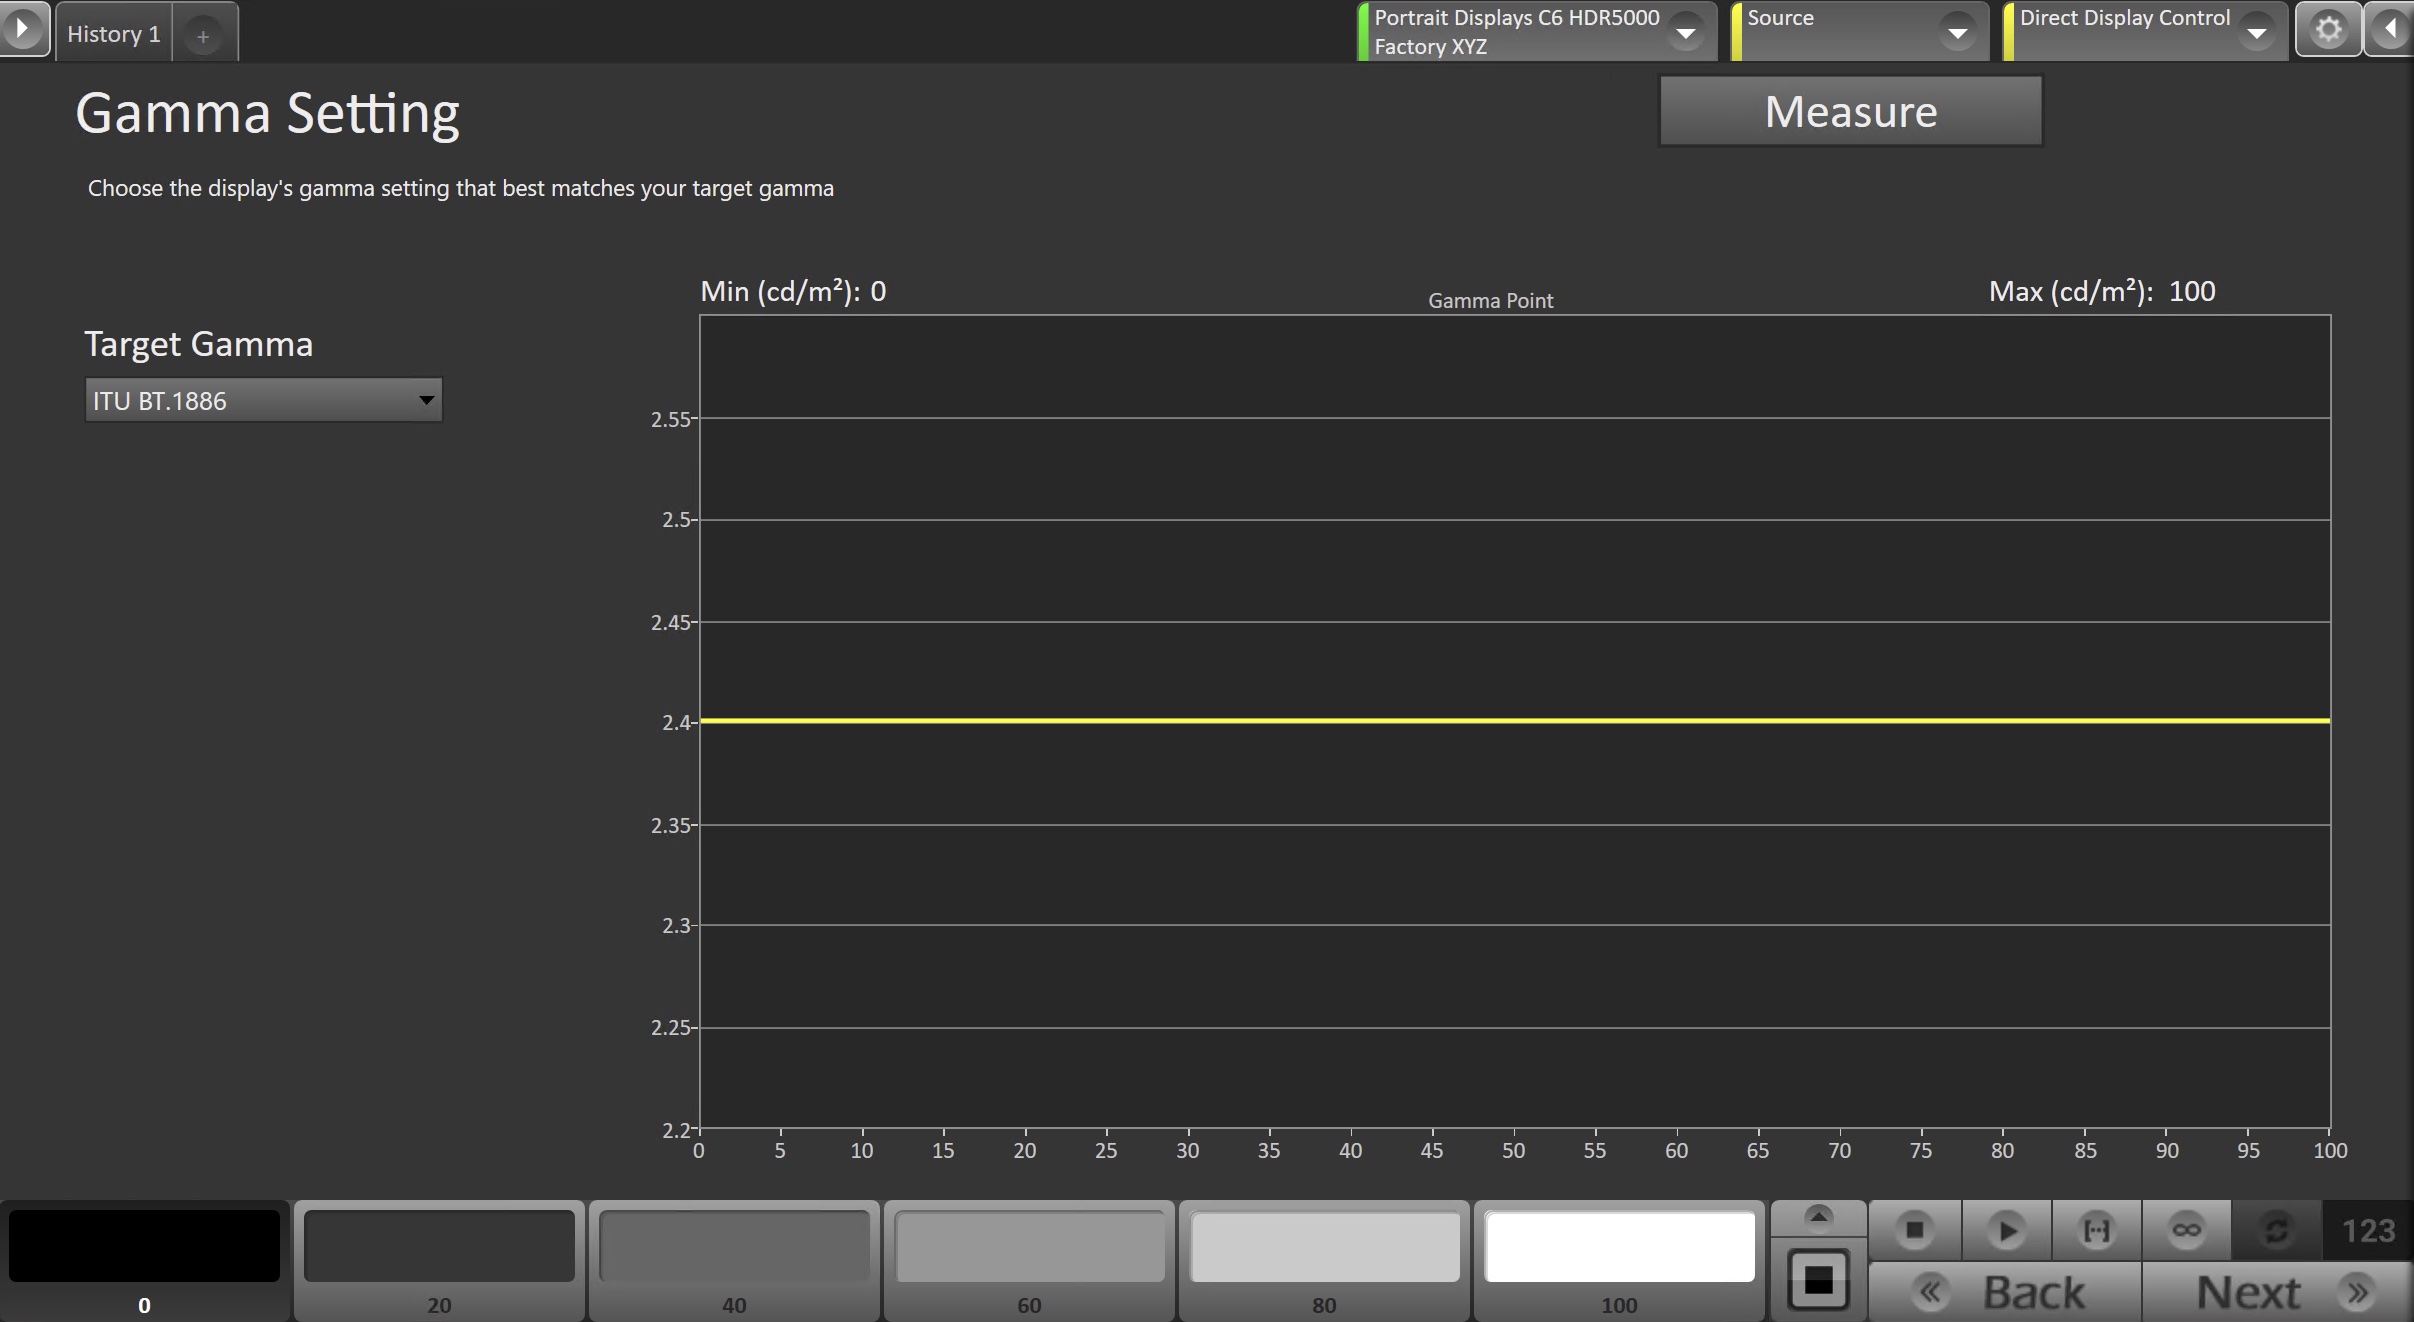
Step 7
This page is designed to measure and evaluate the display’s gamma performance.
-
-
- Ensure the Target Gamma is set to the appropriate target, and click Read Series to measure the display’s gamma performance.
- Adjust your TV’s gamma control to its closest match to the selected target.
- Click Next to proceed
-
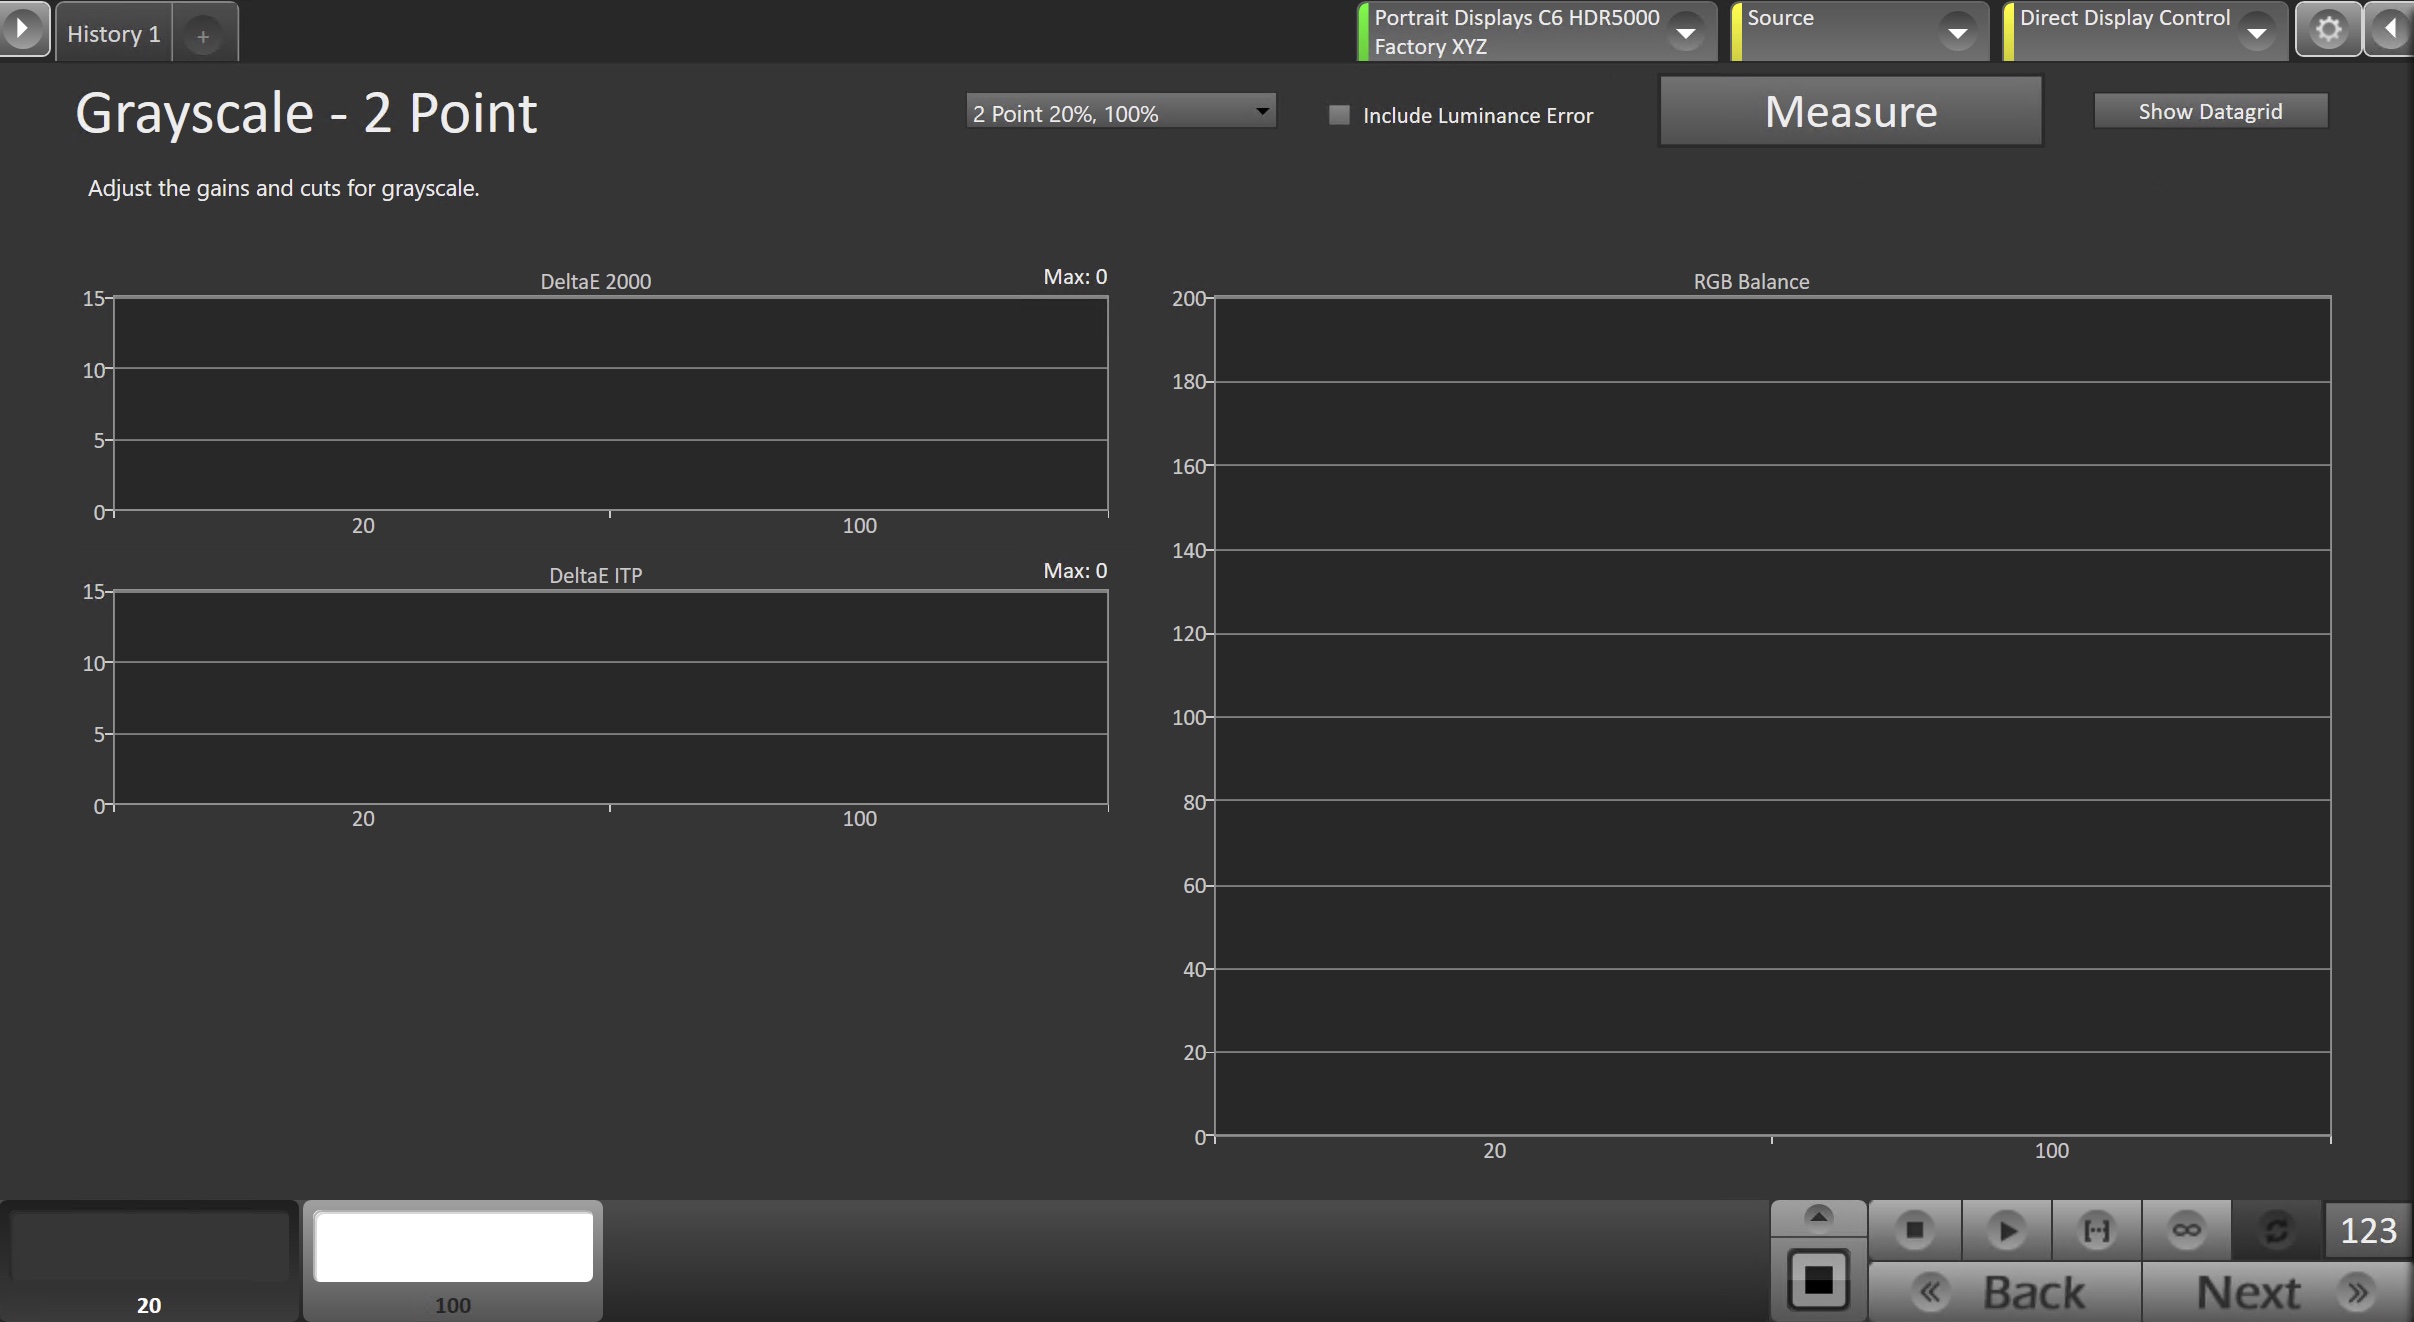
Step 8
On this page, you will adjust your display’s White Balance
-
-
- Using the dropdown near the top of the page, select the high and low levels for the display you’re calibrating.
- Click the Read Series to measure the display’s current white balance performance.
- On the bottom Pattern Slider bar, choose the high-brightness adjustment level.
- Press Read Continuous to begin continuous measurements.
- Adjust the display’s Red and Blue Gain controls to match the Green level on the single-level RGB Balance chart.
- Repeat Adjustments as Needed
- On the bottom Level Select bar, choose the low-brightness adjustment level (usually 20–30%).
- Adjust the display’s Red and Blue Offset controls to match the Green level on the RGB Balance chart.
- Repeat Adjustments as Needed
- After adjusting low brightness, check high brightness again. Some displays experience drift at high brightness after low-brightness adjustments.
-
- Repeat Gain (high brightness) and Offset (low brightness) adjustments until both levels are optimized and interaction is minimized.
-
-
More Info: Adjusting 2-Point White Balance for TV Calibration
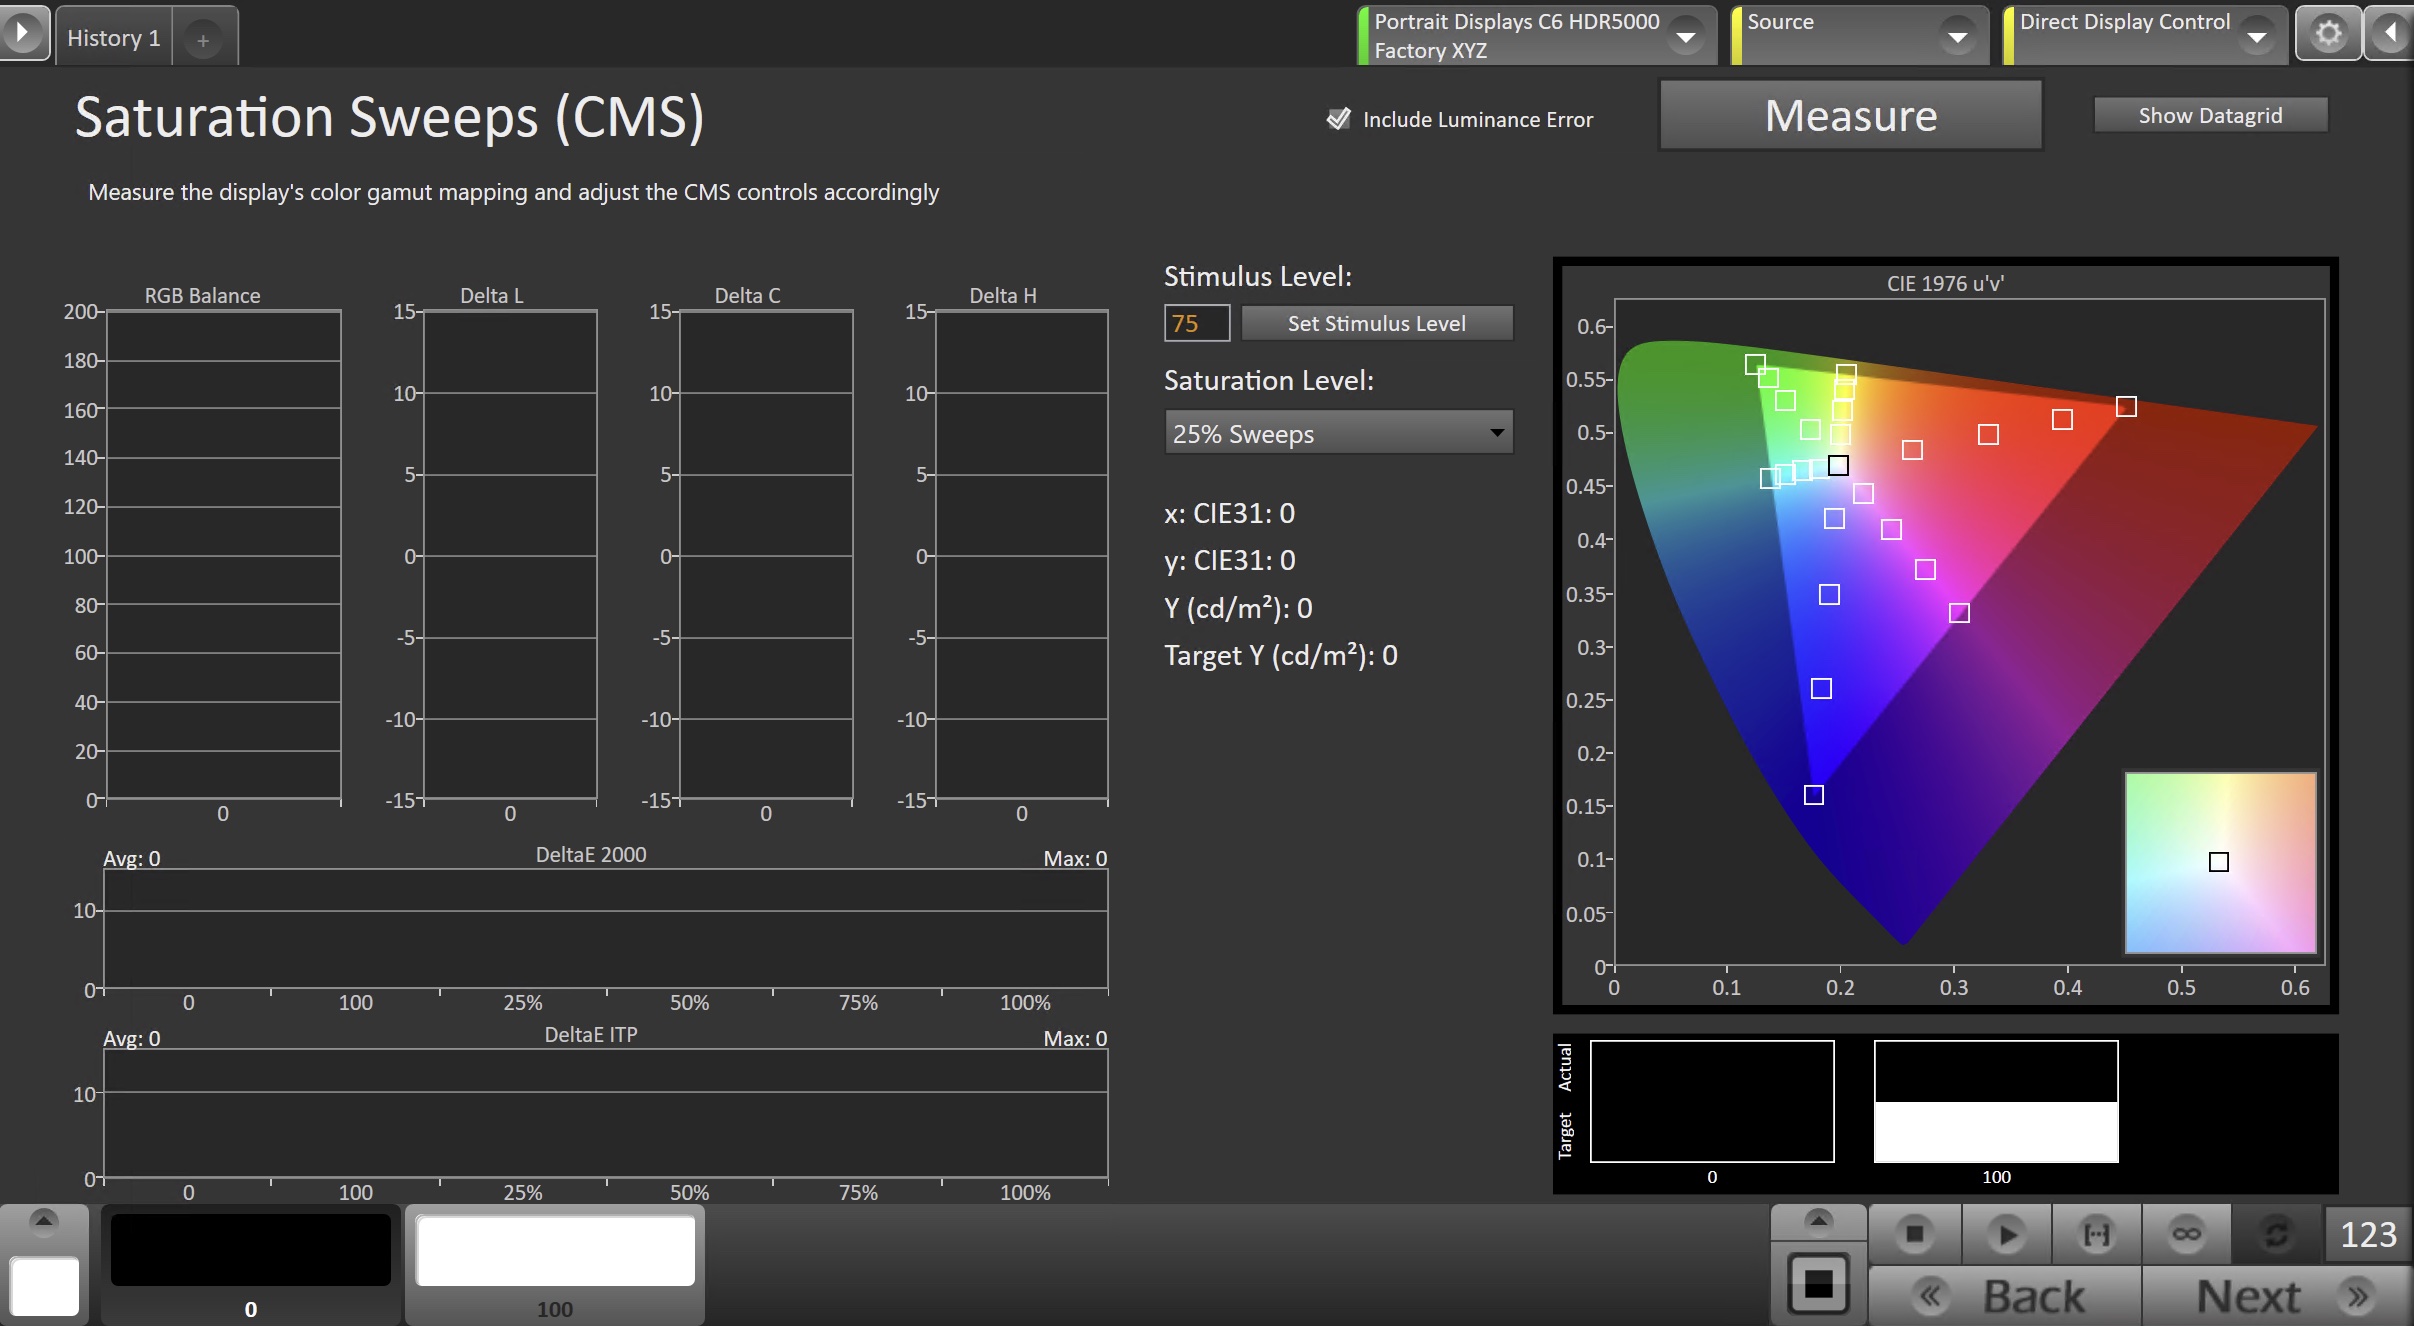
Step 9
Here, you will adjust your TVs built in color gamut adjustment (CMS)
-
-
- Use the Pattern Selector in the lower-left corner of Calman to select the Red primary.
- Click Read Continuous to begin live measurements.
- For HSL-Based CMS Controls
- Use the Delta L, C, and H charts to guide adjustments.
- Adjust Luminance first.
- Adjust Chroma/Saturation second.
- Adjust Hue last.
- For RGB or Six-Axis CMS Controls
- Use the RGB Balance chart to align the Red, Green, and Blue channels to the 100 target line.
- Adjust Red first.
- Adjust Blue second.
- Adjust Green last if required.
- For HSL-Based CMS Controls
- Repeat these steps for the Green and Blue primaries, and for Cyan, Magenta, and Yellow if the display provides secondary controls.
- Click Read Series to measure the final CMS results and confirm that the calibrated values fall within the expected tolerance.
-
More Info: Adjusting a Color Management System (CMS) for TV Calibration
Step 10
In this step, you’ll take measurements of the calibration results.

-
-
- To take Post-Calibration Measurements, click the Measure button to measure the display’s grayscale and color response.
- Click Next to proceed
-
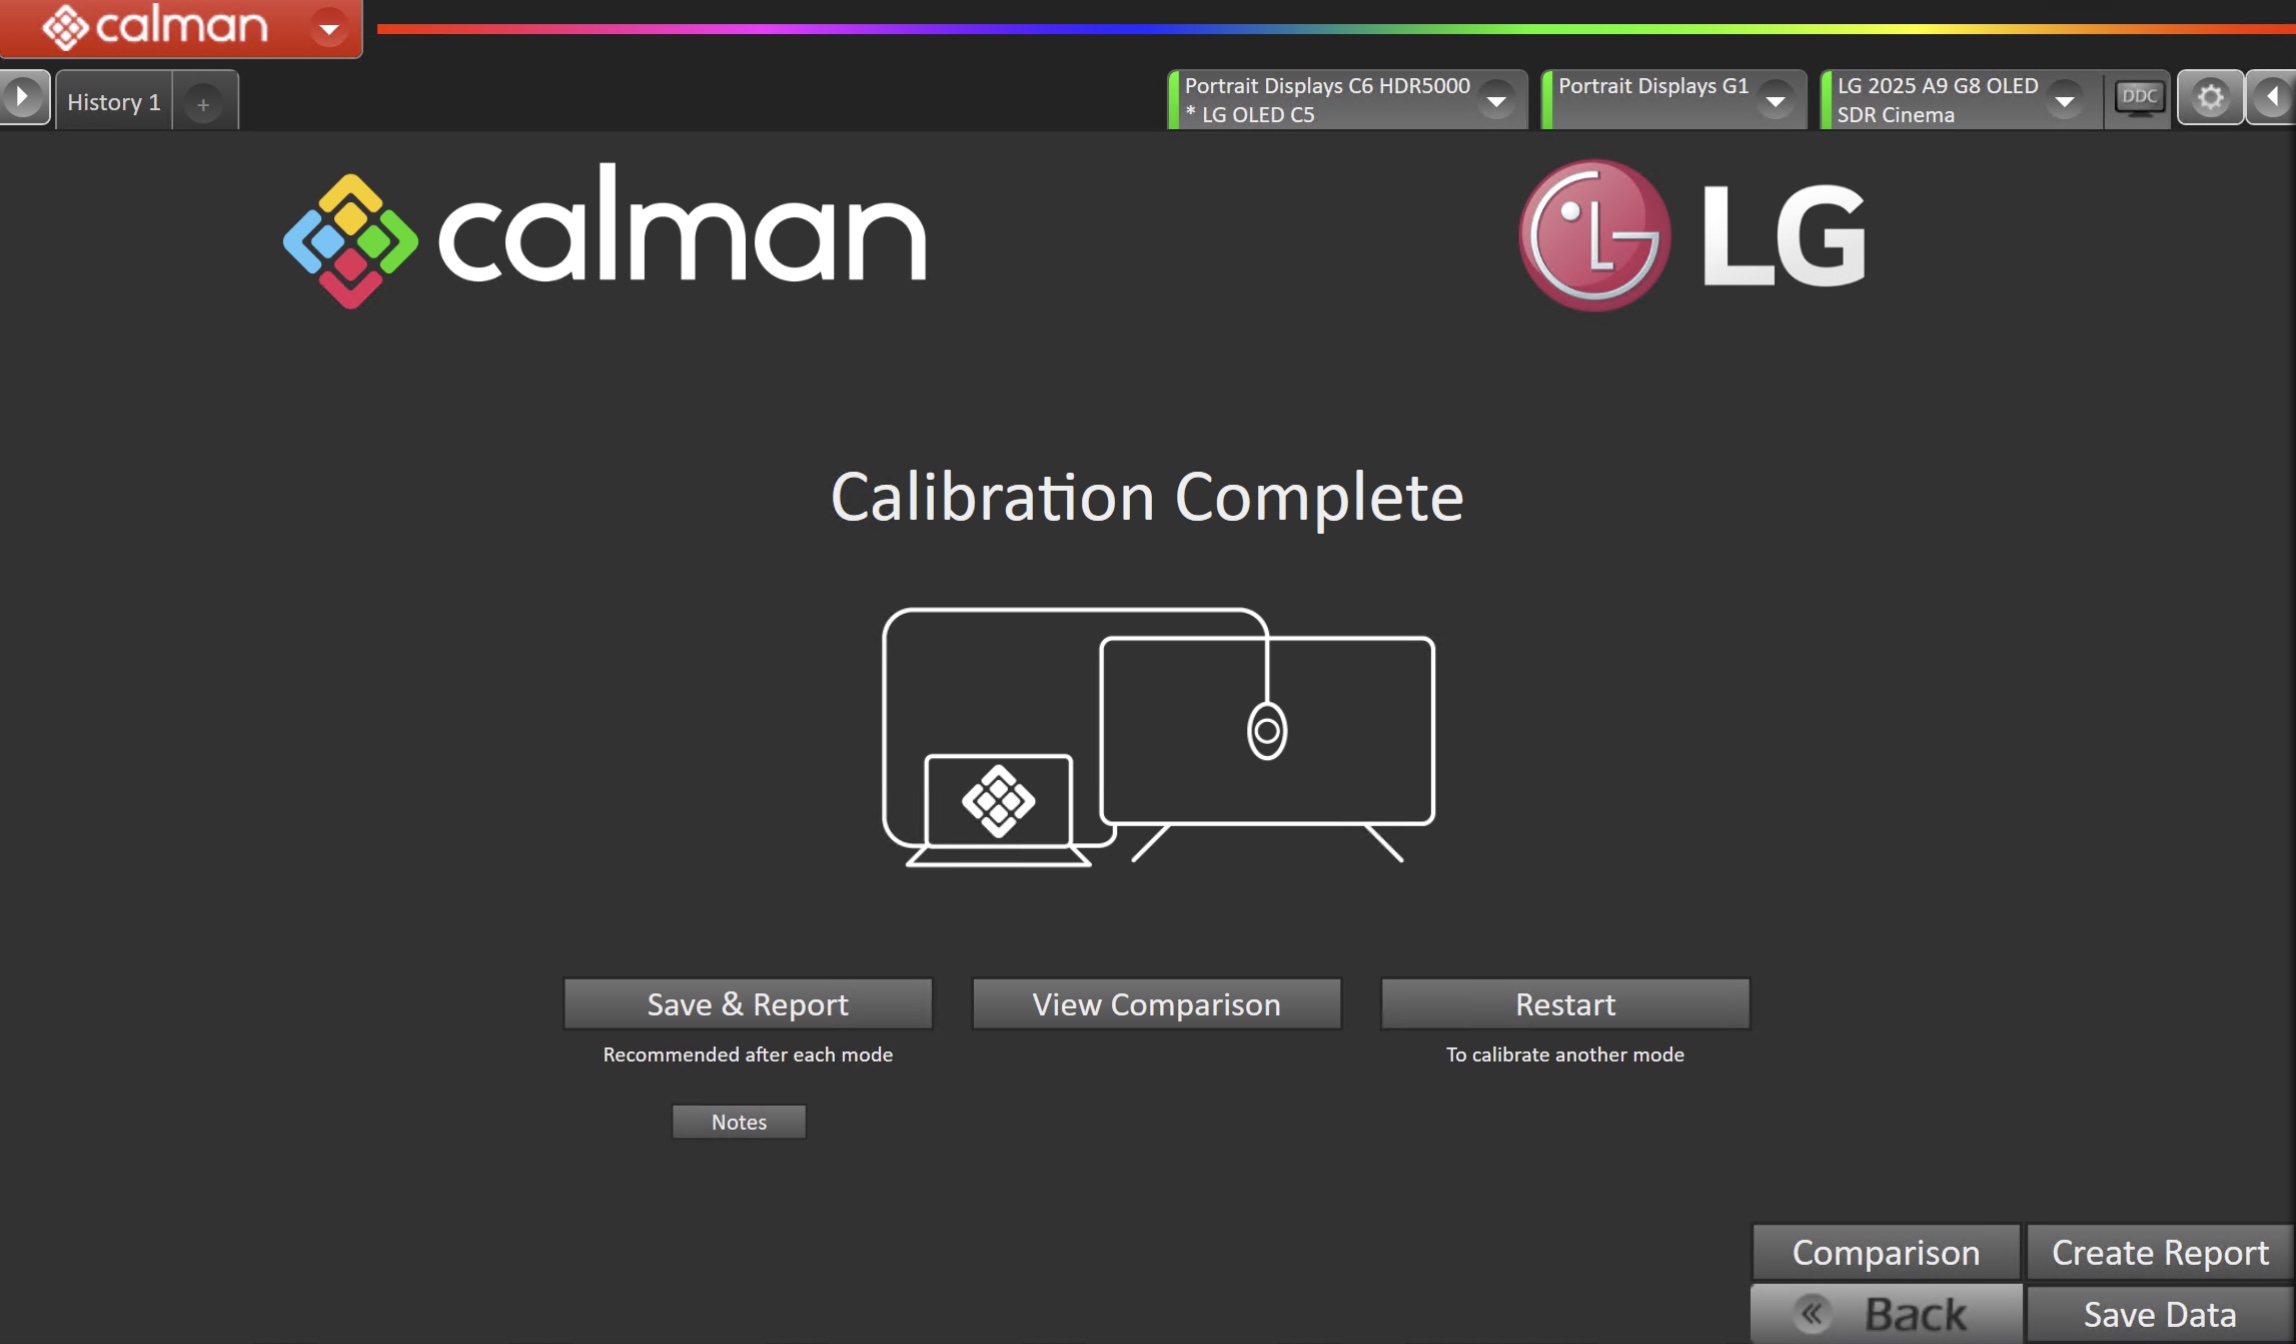
-
- On the Calibration Complete page, you can choose to…
- Save and Report
- Select Save and Report to generate the calibration report
- Note: Reporting not available in Calman Home
- View Comparison
- Displays Pre and Post Calibration measurements of the calibrated mode side-by-side
- Restart
- Returns to the beginning of the workflow where a new mode or colorspace can be selected
- Note: Does not save workflow data
- Save and Report
- On the Calibration Complete page, you can choose to…